Free Crochet Granny Square Bag Pattern That’s Easy to Follow

Design a beautiful crochet granny square bag with our free pattern providing easy-to-follow steps for a fun and creative project.
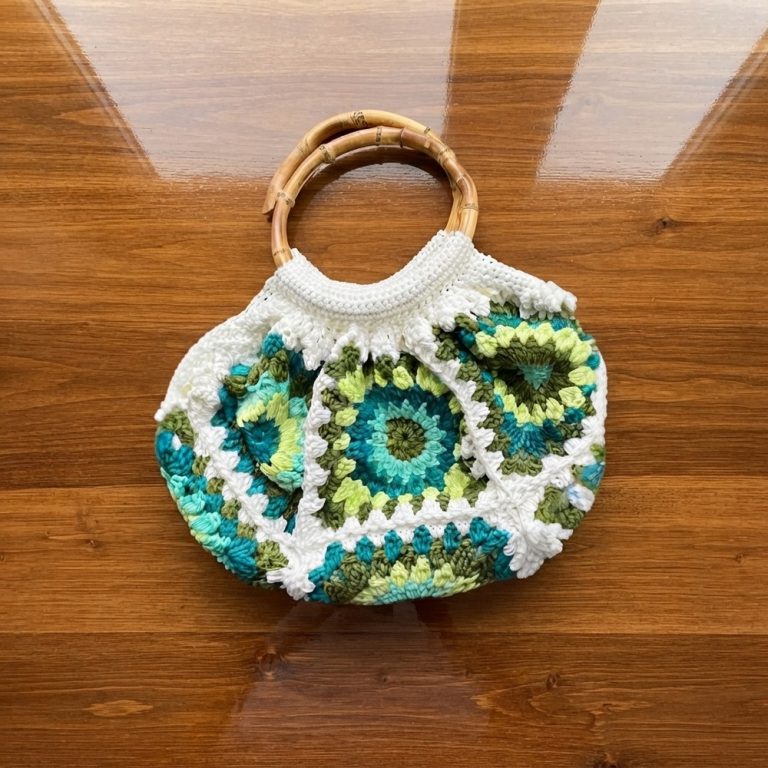
Handmade accessories always carry a special charm, and this crochet project is no exception. Free Crochet Granny Square Bag pattern introduces a wonderful way to combine style and functionality. Perfect for daily errands, casual meet-ups, or even as a thoughtful gift, this bag makes a lovely addition to warmer-season wardrobes like spring and summer.
Stylish & Simple Free Crochet Granny Square Bag Pattern
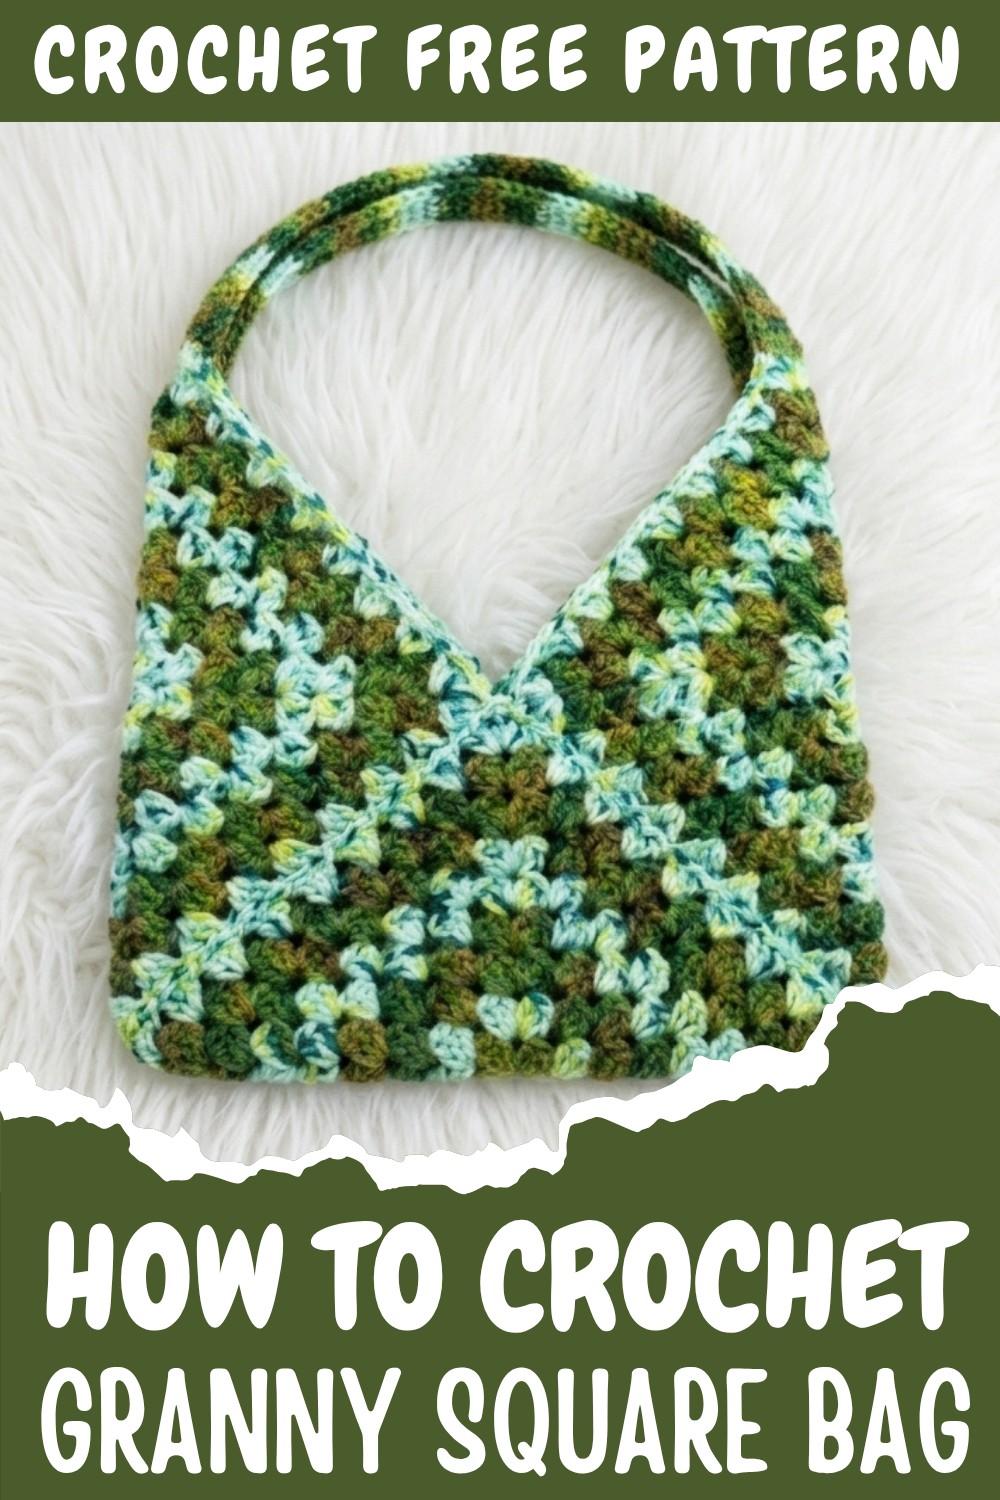
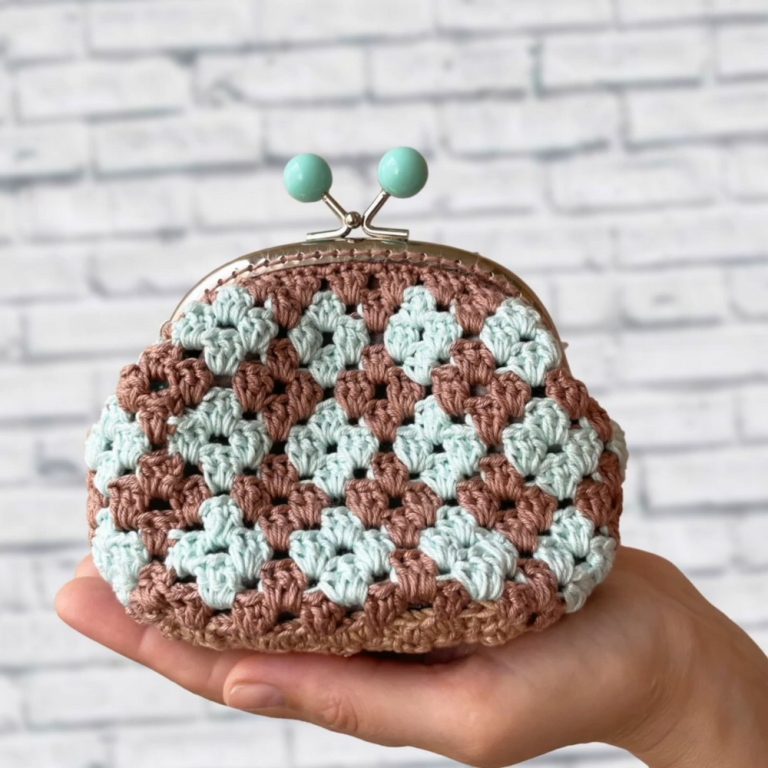
Two-tone color combinations give this design a versatile look that pairs beautifully with sundresses, denim, or relaxed vacation outfits. Beyond its aesthetic appeal, the spacious interior and lightweight feel make it practical for carrying essentials without effort. Whether it’s a trip to the farmer’s market or a stroll on the beach, this accessory is a natural fit for various occasions.
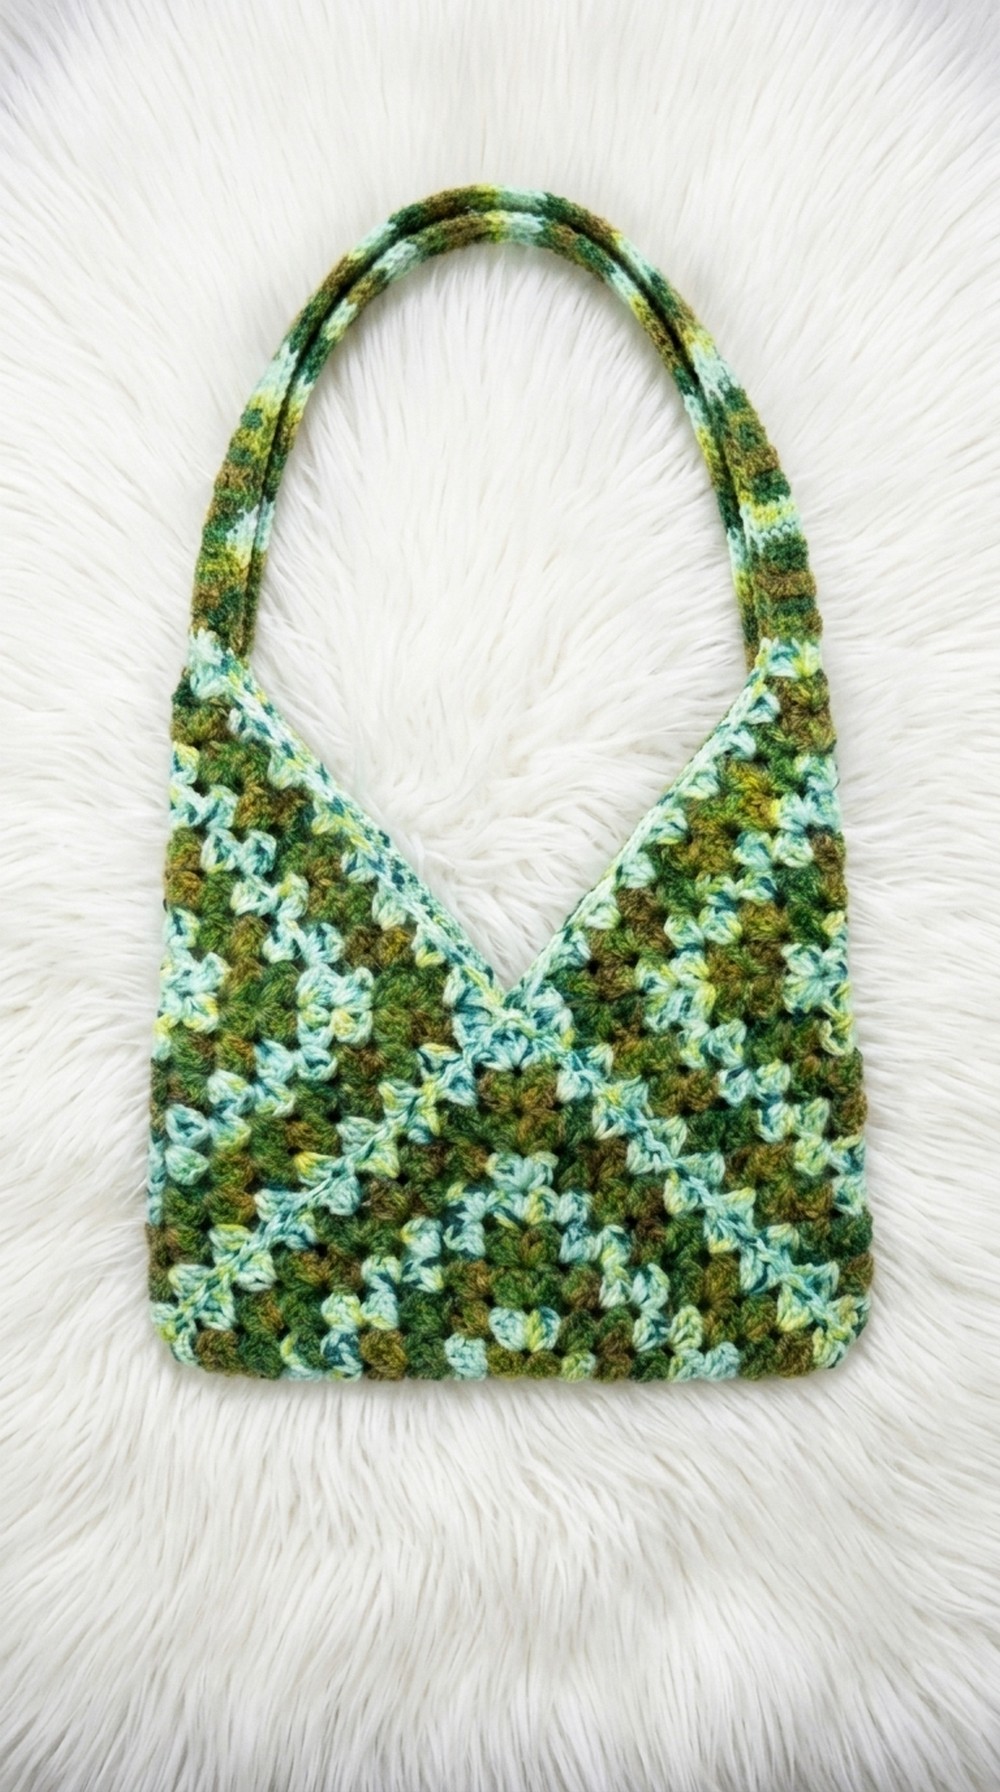
Texture and design details bring this bag to life. Delicately crocheted granny squares create a structured yet soft triangular body, while the smooth seams make everything feel polished and cohesive. Its hand-stitched strap adds extra durability, ensuring comfort during every use. Subtle patterns within the squares provide intricate detail that complements the bag’s simple yet refined style.
Crochet Pattern: Versatile Granny Square Bag
This crochet project creates a functional and stylish bag using just three granny squares. The design is simple yet versatile, making it an excellent accessory for carrying essentials. The pattern features traditional granny square construction, seamless assembly, and an adjustable strap.
Skill Level
Beginner to Intermediate
This pattern is ideal for beginners familiar with basic stitches and working in the round. It also provides opportunities for intermediate crocheters to hone their skills in assembling squares and constructing simple straps.
Materials
- Yarn:
- 4-ply acrylic yarn in two colors (approximately 80g per color).
- Crochet Hook:
- Size 3 mm, or any size appropriate for your yarn for optimal tension and neat results.
- Tools:
- Scissors.
- Yarn needle for weaving in ends and sewing the squares together.
Stitch Abbreviations
- CH – Chain
- DC – Double Crochet
- SP – Space
- SL ST – Slip Stitch
Special Stitches
- Magic Ring (MR): A technique to create a circular foundation with an adjustable center that can be tightened to close any gaps.
Useful Tips
- Consistent Tension: Maintain even tension to ensure all three granny squares are the same size, creating a neat finish during assembly.
- Joining Squares: Align the stitches carefully while sewing the squares together to avoid uneven or twisted seams.
- Color Changes: Be consistent in your color changes each round to achieve a clean two-tone effect.
- Strap Attachment: Double-reinforce the strap’s stitching to ensure durability, especially if the bag will carry heavier items.
Pattern Instructions
1. Creating the Granny Squares
Make three granny squares as outlined below.
- Magic Ring and Round 1:
- Start with a Magic Ring and secure it with a CH 2. (This counts as the first DC.)
- Work 3 DC, CH 1, then repeat 3 DC, CH 1 three more times into the ring.
- Pull the magic ring tight and join the round with a SL ST to your initial stitch. (You should now have four clusters of 3 DC.)
- Rounds 2–8:
- For each side space, work 3 DC, CH 1.
- For each corner space, work 3 DC, CH 2, 3 DC into the same space to create a corner.
- Join each round with a SL ST to close the round.
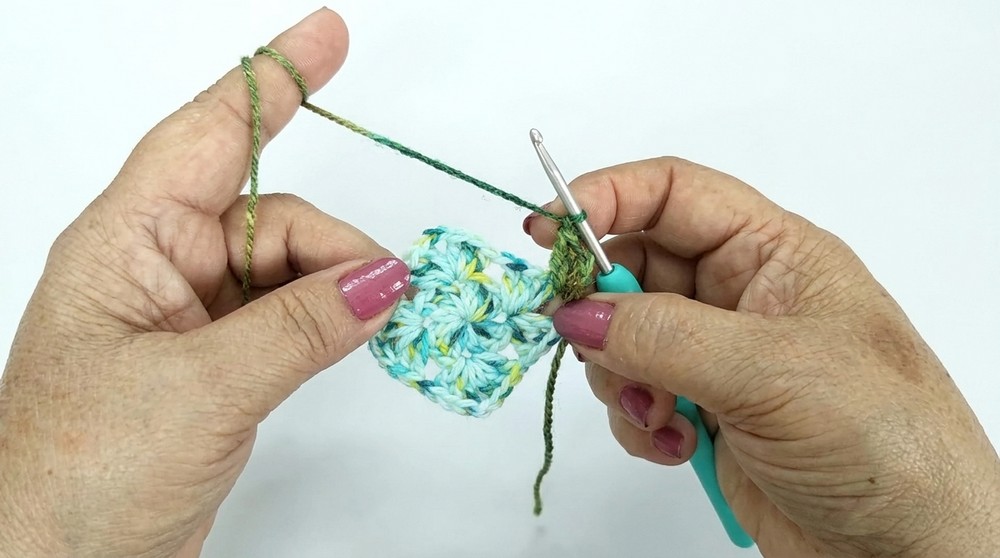
Example:
- Round 2: Work 3 DC, CH 2, 3 DC in each corner and CH 1 to separate clusters.
- Round 3: Continue working clusters into side spaces with 3 DC, CH 1, and corners as 3 DC, CH 2, 3 DC.
Repeat for Rounds 4 through 8, increasing the size of the square.
- Color Changes:
- Change colors at the end of every even-numbered round to create a neat two-tone pattern. To switch colors, finish the last pull-through of the previous round with the new color before joining with a SL ST.
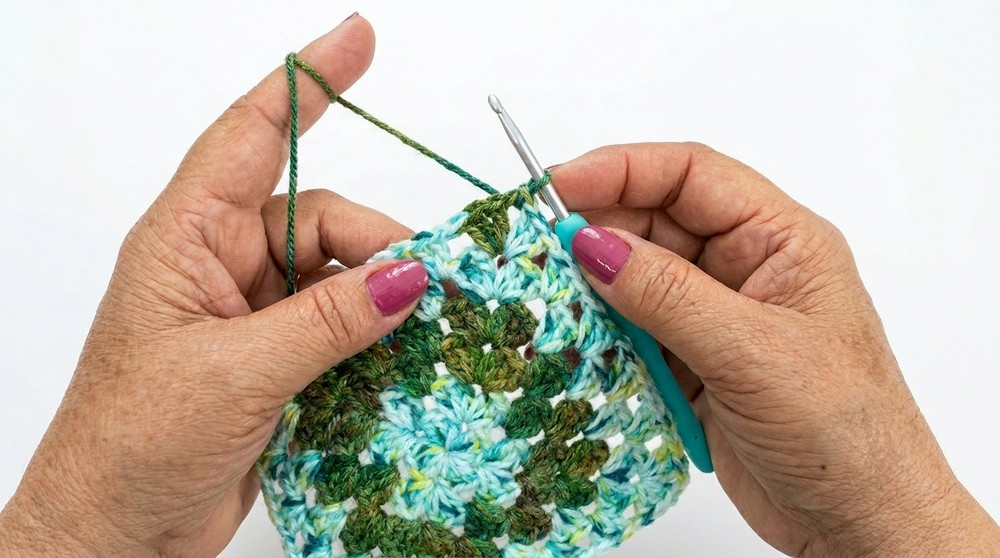
- Change colors at the end of every even-numbered round to create a neat two-tone pattern. To switch colors, finish the last pull-through of the previous round with the new color before joining with a SL ST.
- Round 9:
- Work the final round in your light-colored yarn. This should result in a square approximately 6 inches on each side.
- Finishing the Squares:
- Use the yarn needle to neatly weave in all loose ends on each square before proceeding to assembly. Ensure a clean finish to avoid bulky seams.
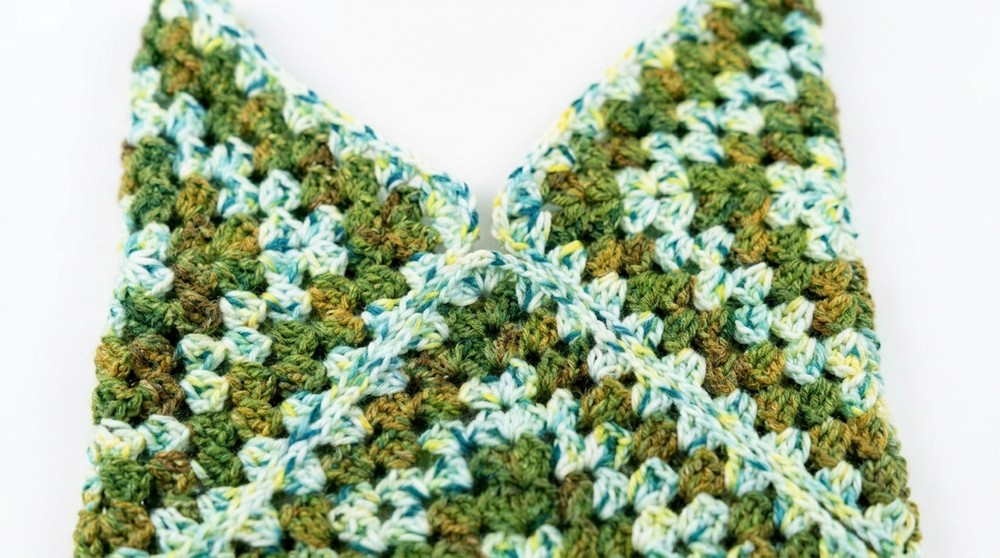
- Use the yarn needle to neatly weave in all loose ends on each square before proceeding to assembly. Ensure a clean finish to avoid bulky seams.
2. Assembly
Once all three granny squares are completed, they will be arranged into a bag shape and sewn together.
- Step 1:
- Arrange the squares into a triangular shape: place one square at the bottom for the base and the other two overlapping diagonally to form the sides of the bag.
- Step 2:
- Align the edges neatly and start sewing the squares together using a yarn needle. Use a whip stitch or a similar method, and carefully match up the DC clusters and chains to ensure a symmetrical finish.
- Step 3:
- Sew along the three sides of the triangular arrangement, leaving the top edge of the two side squares open to form the opening of the bag.
Ensure the seams are tight and neat for a sturdy and professional-looking finish.
3. Making the Strap
The bag strap is created as a separate element and attached to the corners of the bag.
- Step 1:
- Attach yarn to one corner where the bag opening begins.
- Step 2:
- Work 5 DC across a width of 5 stitches. CH 2 at the end of the row, turn, and repeat. Continue working in rows of 5 DC until the strap reaches your desired length (36 inches suggested for a shoulder bag).
- Step 3:
- Once the strap is complete, sew it securely to the opposite corner of the bag. Use a strong, double-reinforced stitch to ensure durability, especially if the bag will carry heavier items like books or groceries.
- Finishing Touches:
- Weave in all remaining yarn ends and inspect the strap for firm attachment.
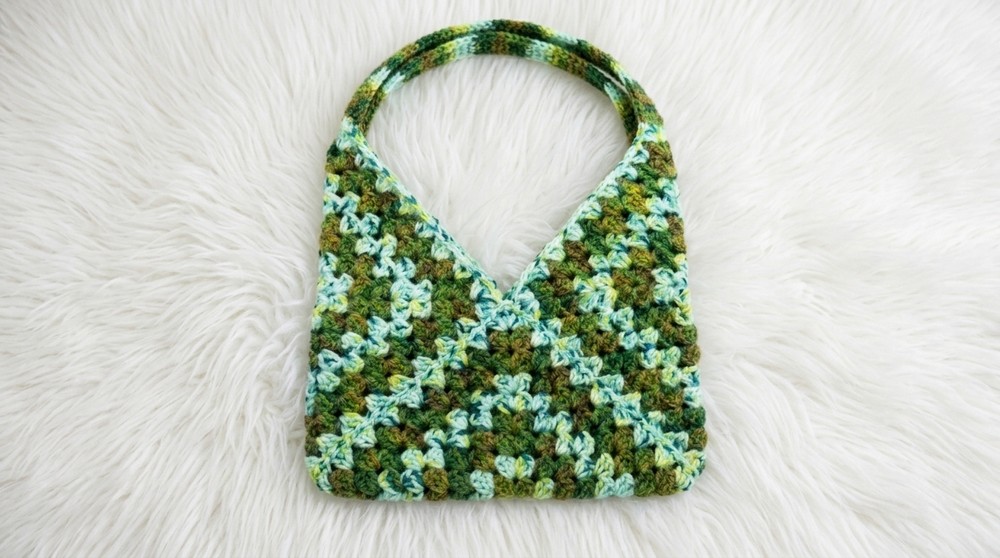
- Weave in all remaining yarn ends and inspect the strap for firm attachment.
Assembly and Sizing
The finished bag features a unique, triangular fold design with two overlapping granny squares forming the opening and one square as the base. When completed, the bag measures approximately 8 inches in width by 6 inches in depth, depending on yarn thickness and tension. The strap, at 36 inches, allows for a comfortable crossbody or shoulder fit.
Conclusion
This versatile granny square bag combines simplicity with functionality, making it a practical and stylish everyday accessory. The design is adaptable, allowing for personalization through color choices or strap length. Perfect for beginners and beyond, this project provides a great opportunity to refine your skills in granny square construction, assembly, and strap-making. With its sturdy seams and clean finishing techniques, the bag is as durable as it is visually appealing.