Free Crochet Rainbow Pattern You’ll Want to Try

Make your crochet projects burst with color using this Free Crochet Rainbow Pattern, offering simple steps to create a vibrant and heartwarming design effortlessly.
In summer after the rain the sun comes out and creates a beautiful rainbow in the sky. I wanted to keep that rainbow in my room as a reminder of that magical moment. Then suddenly I thought I could add it to my collection by crocheting it using bright yarn colors. This idea led me to try the free crochet rainbow pattern, which turned out to be a fun and colorful project.
Fun & Free Crochet Rainbow Pattern for Color Lovers
For help, I was scrolling through YouTube and found a channel called EASY CROCHET. Their videos are clear and easy to follow, making it perfect for beginners like me. The step-by-step instructions helped me crochet this bright and cheerful rainbow without any stress.
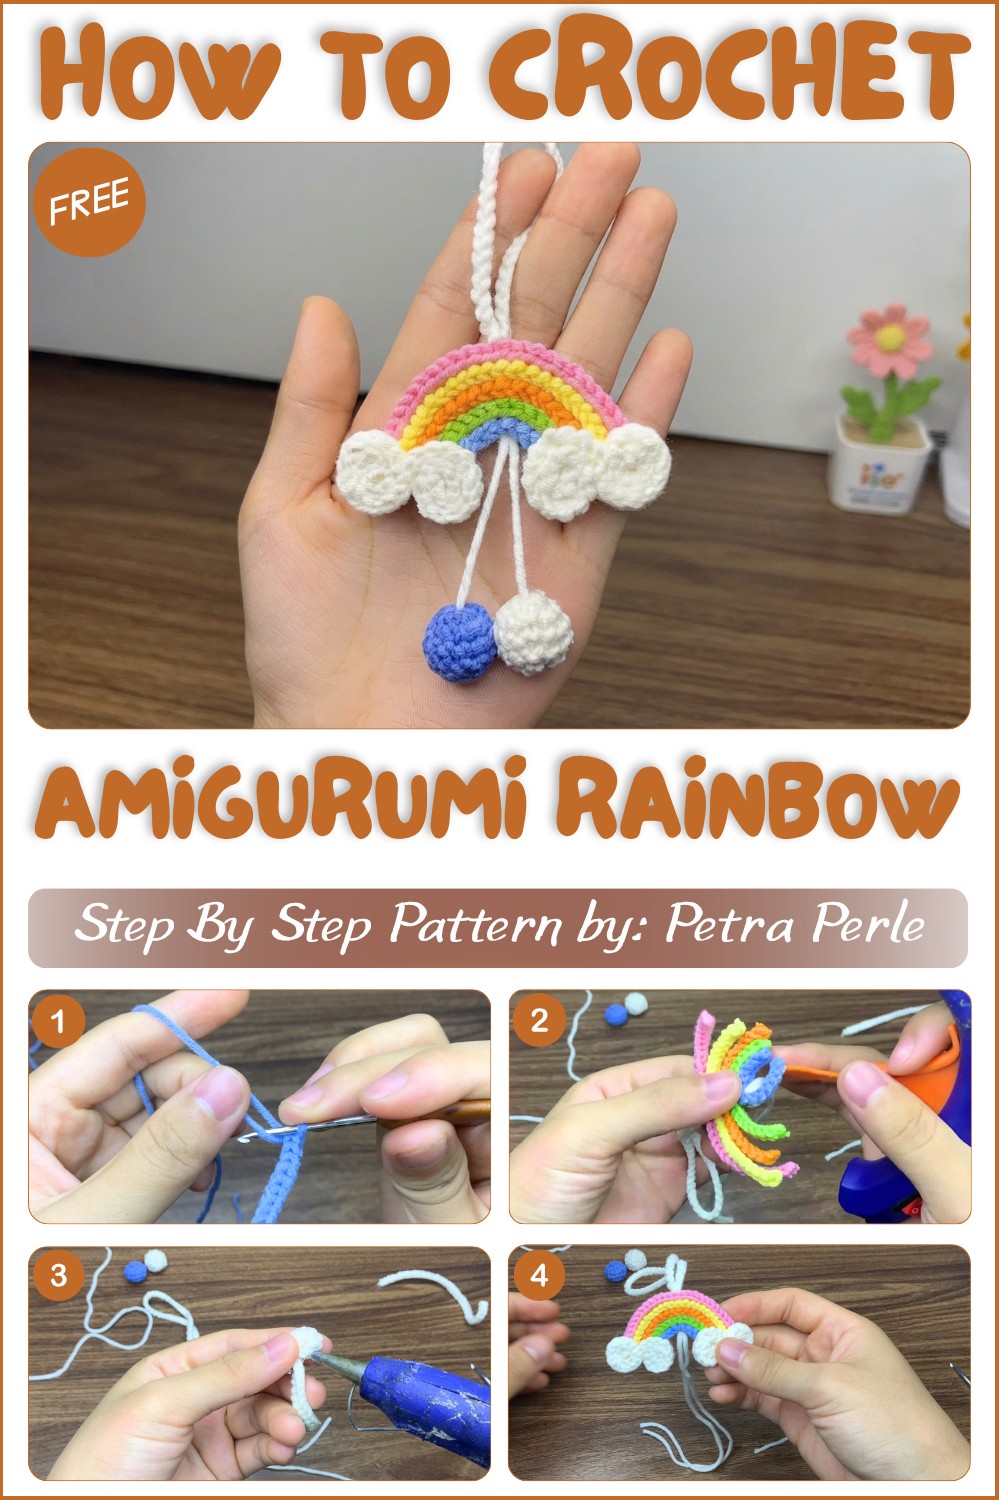
Thanks to their guidance, the project felt enjoyable, and I loved watching the rainbow form stitch by stitch. This crochet rainbow is not only pretty but also very versatile. You can use it as a charming decoration for your room, a lovely gift for someone special, or even turn it into a keychain or a wearable accessory.
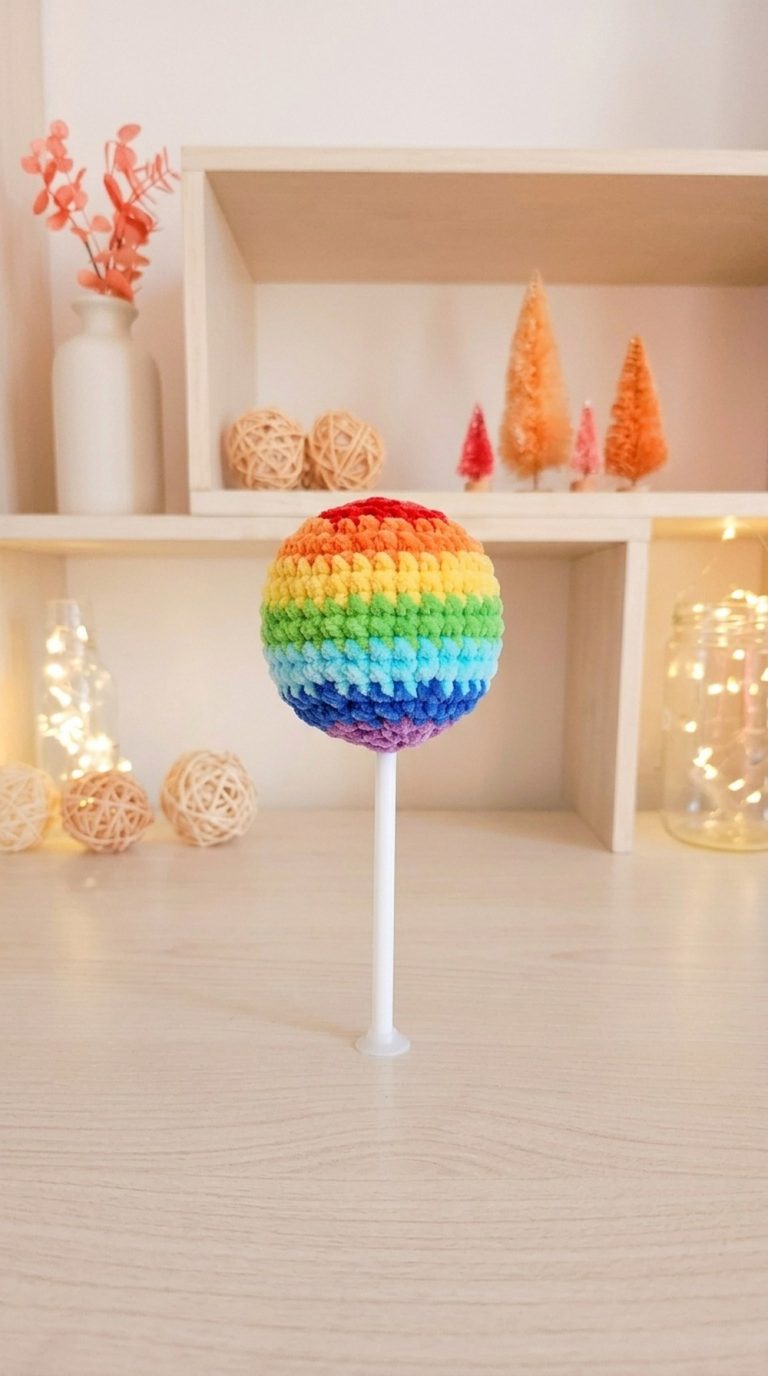
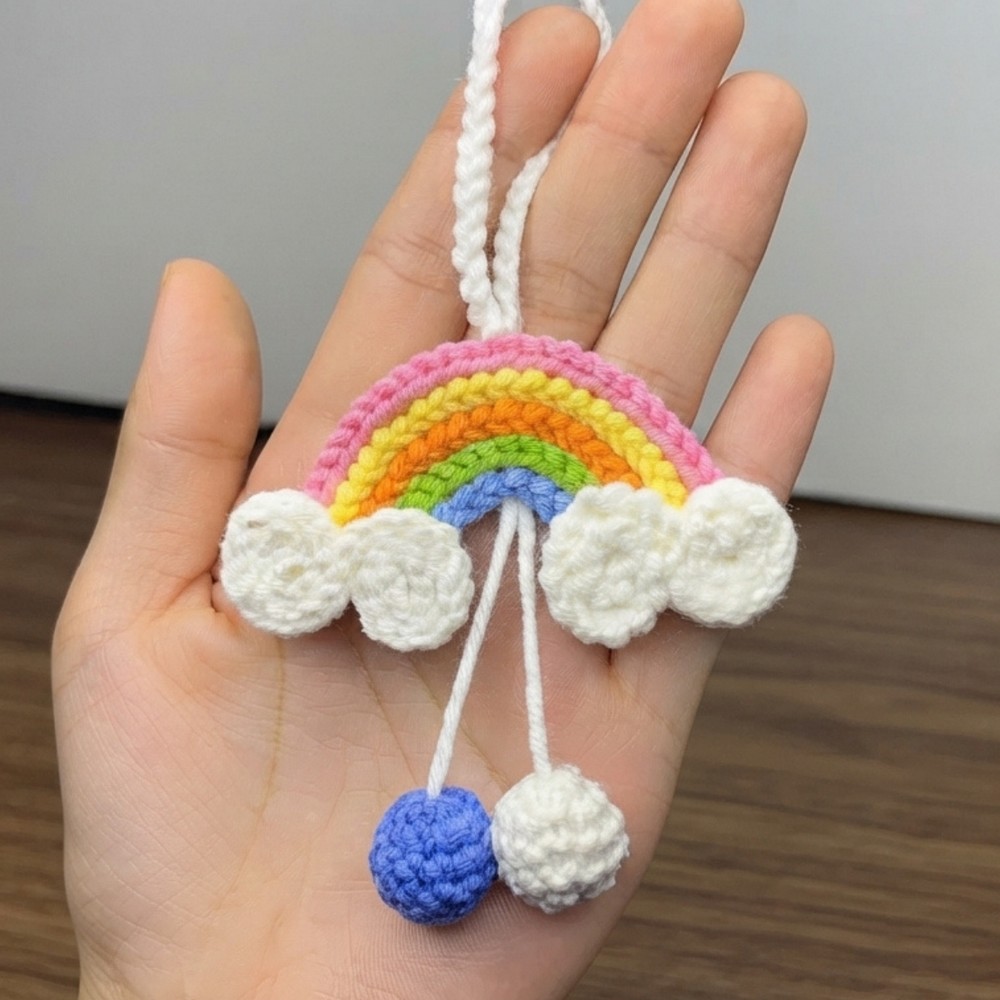
The finished rainbow has a perfect rounded shape with vibrant color bands that really pop. The soft yarn gives it a cozy and plush texture, while the cute fluffy cloud ends add a fun, whimsical touch. Its playful and joyful style makes it a standout piece wherever you choose to display or wear it.
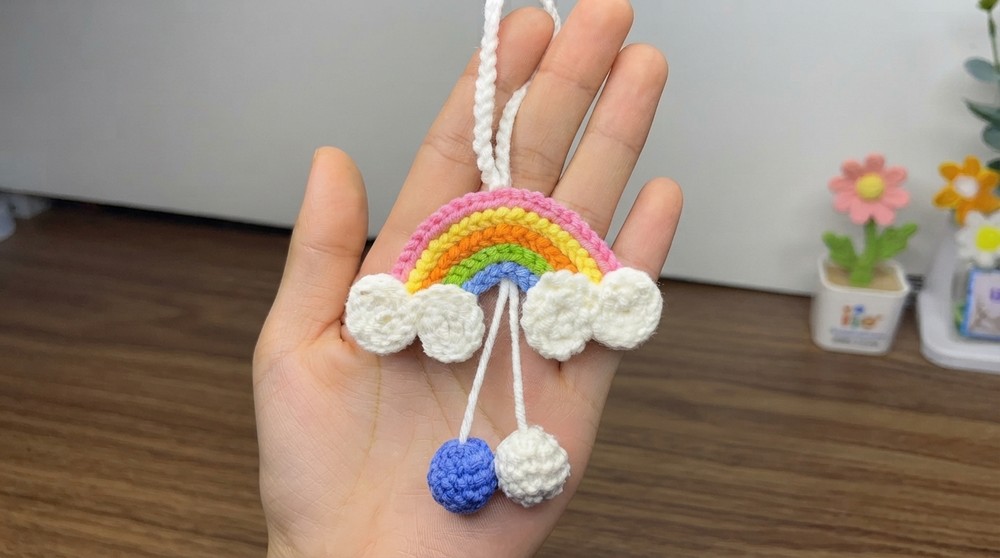
What I like most about this project is how customizable it is, you can pick your favorite colors or change the size to fit your needs. If you want a simple, happy, and creative crochet project, this free crochet rainbow pattern is a wonderful choice. Give it a try, and bring a little bit of sunny magic into your home.
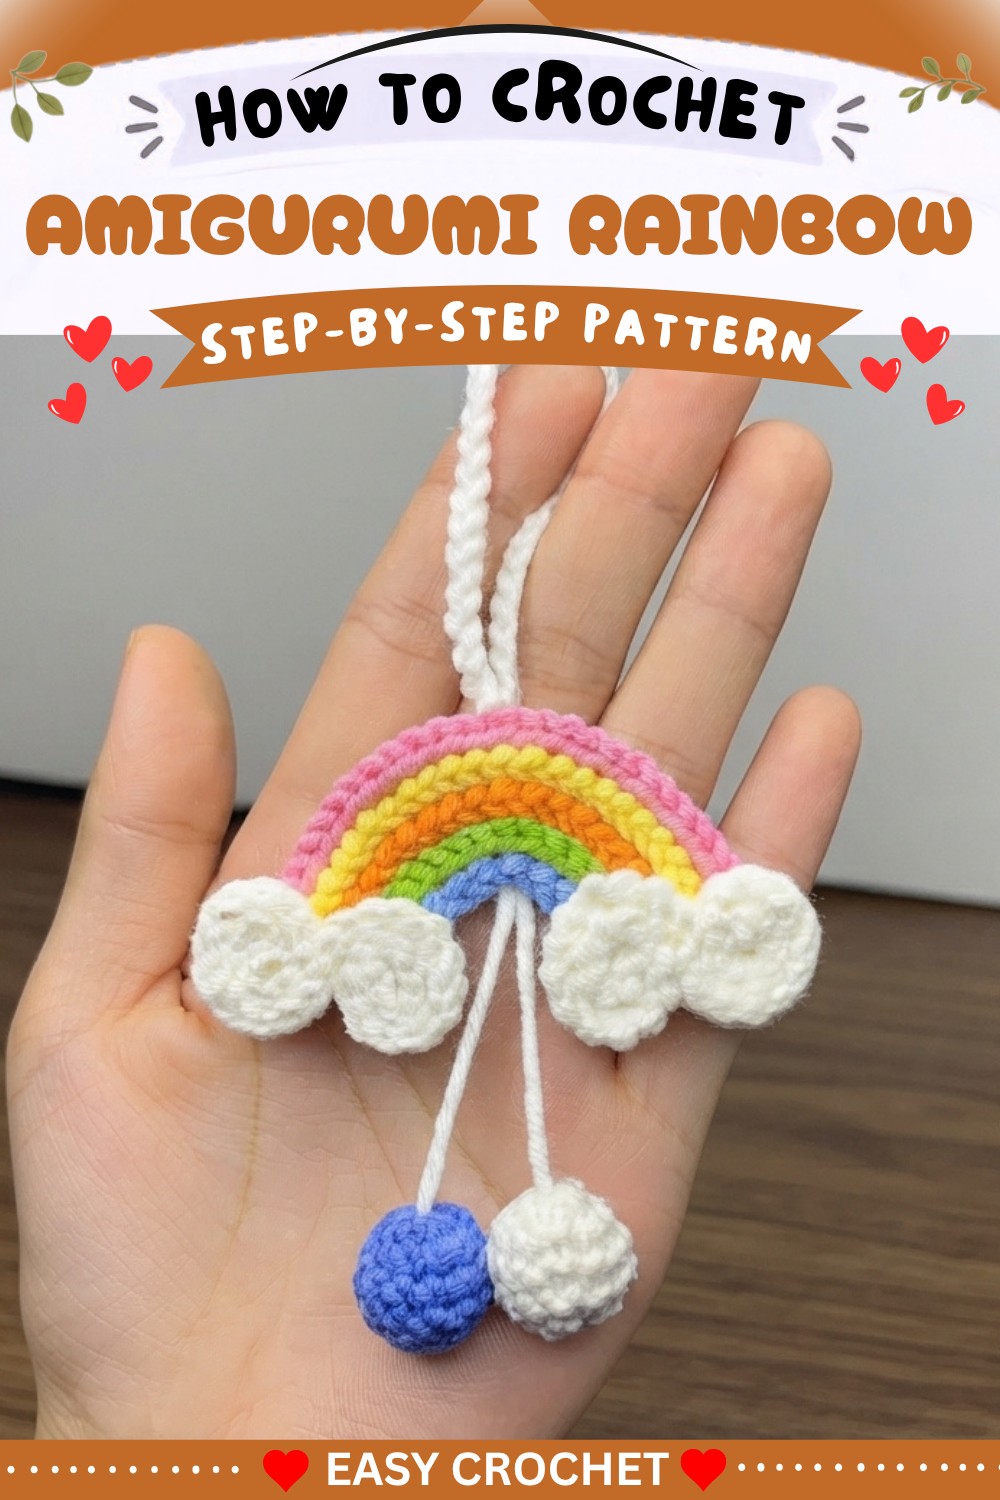
Rainbow with Cloud Keychain Crochet Pattern
In Pattern, I crocheted a rainbow, complete with a fluffy cloud and hanging spheres. The rainbow is a delightful project made with simple stitches, suitable for all skill levels. Join me step by step as we crochet this charming and colorful keychain.
Quick Overview Of Pattern
- Rainbow is composed of colored arches formed by single crochet stitches for each color.
- A soft, stuffed cloud is attached to the base of the rainbow.
- Two small spheres are crocheted and hung from the cloud.
- A braided yarn string creates a hanging strap.
- All parts are assembled and secured with hot glue and yarn.
Notes
- Use glue for attaching parts to keep the structure sturdy, especially at the points where the rainbow and clouds connect.
- Adjust the length and color order of the rainbow arches as you like.
- Spheres can be made in any color; consider matching or contrasting for a playful look.
- Take care when stuffing the spheres and cloud to avoid overstuffing, which can distort the shape.
Skill Level
Beginner
If you can crochet in the round, make single crochet, and work simple increases and decreases, you’ll do great.
Materials
- Yarn: Susan Family 4 and 5 (or similar; one slightly thicker, one slightly thinner)
- Blue, green, orange, yellow, pink (for rainbow)
- White or cream (for cloud and spheres)
- Any color for spheres/hanging strap
- Crochet hook: 2.5 mm
- Hot glue or craft glue (for assembling parts)
- Scissors
- Sewing needle
- Fiberfill or yarn scraps (for stuffing)
- Measuring tape (optional)
Measurements / Sizing
- Rainbow arch width: approx. 7 cm
- Cloud diameter: approx. 4–5 cm
- Spheres: approx. 1.5 cm in diameter
- Hanging strap length: approx. 7–10 cm (adjust as preferred)
- Finished keychain size: fits comfortably in palm
Gauge
Gauge is not essential; choose a hook that gives a firm fabric so stuffing does not show through.
Stitch Abbreviations
- ch: chain
- sc: single crochet
- sl st: slip stitch
- inc: increase (2 sc in same stitch)
- dec: decrease (sc 2 together)
Special Stitches
- Magic Circle: Make a tight adjustable ring for seamless spheres or cloud shapes.
The Crochet Pattern
A. Rainbow Arches
Repeat the following steps for each color in the rainbow.
Blue Arch (Shortest; Repeat for Each Color with Specified Stitch Count)
- With blue yarn, leave a long tail and make a slip knot.
- Begin by wrapping the yarn smoothly, pulling out a tail, and making a knot.
- Form foundation: Hold the yarn above the hook and pull it through the loops twice.
- Count each completed loop as 1 stitch.
- Continue pulling down and working across, making 14 stitches in total for the blue arch.
- Once completed, pull out the yarn, tie back in place, and push the fastening section to the back.
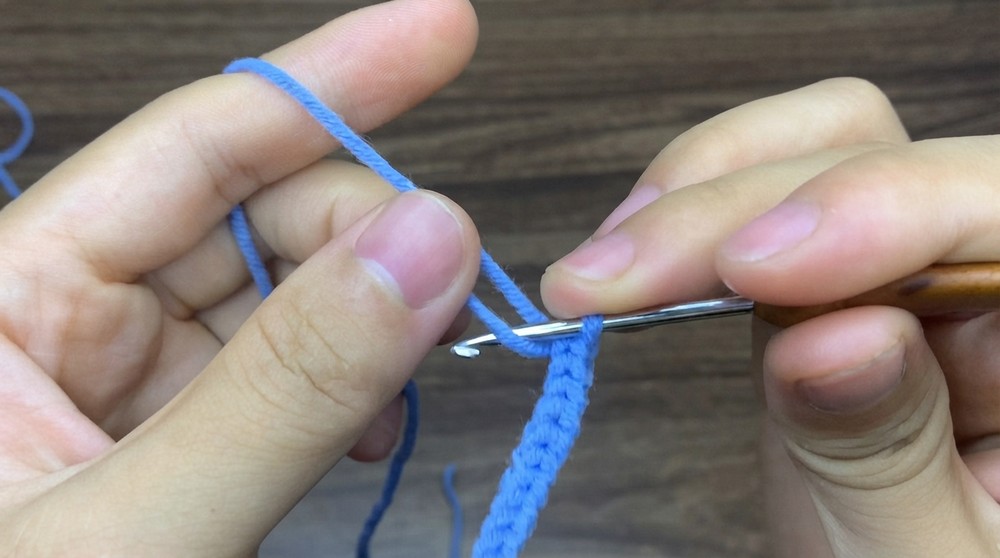
- Repeat the process for other colors with their respective stitch counts:
- Green: 18 stitches
- Orange: 22 stitches
- Pink: 30 stitches
- Yellow: 26 stitches
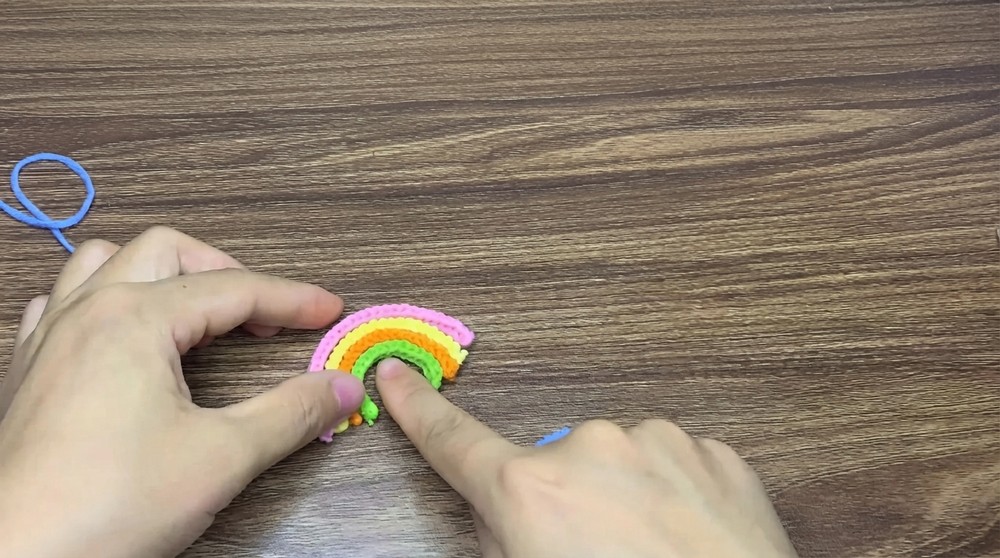
- The order of the arches (from shortest to longest): blue, green, orange, yellow, pink.
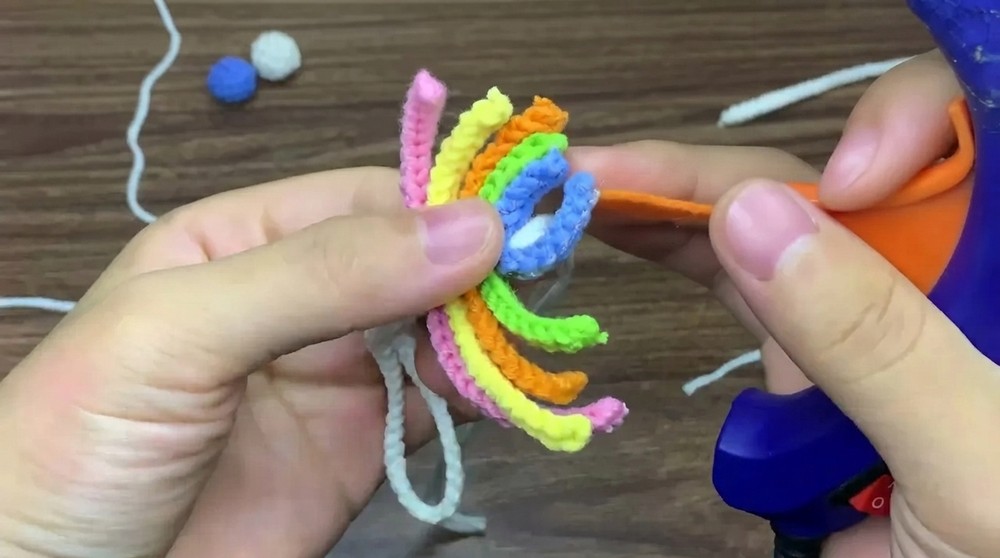
Tip: Each arch should be slightly longer than the previous to shape the rainbow.
B. Cloud Base
- Use white or cream yarn for the cloud.
- Make a magic circle.
- Rnd 1: 6 sc into magic circle. (6 stitches)
- Pull tight and sl st to first sc to close.
- Rnd 2: Ch 1, work 2 sc in each stitch around (12 stitches)
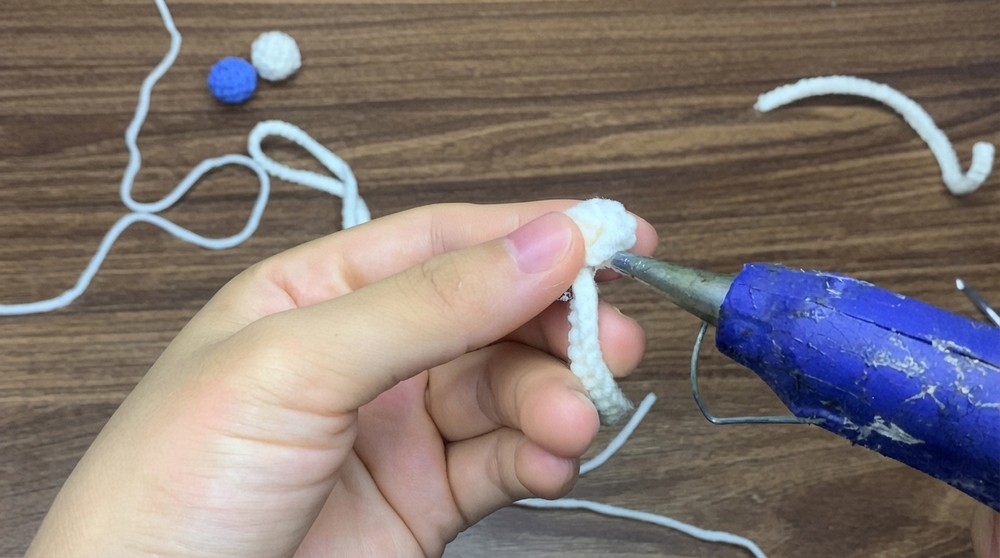
- Rnd 3 & 4: Ch 1, 12 sc in each round with no increases (12 stitches each round)
- Rnd 5: Work 6 decreases evenly spaced (sc two together across the round) (6 stitches)
- Stuff the cloud gently with fiberfill.
- Sew the opening closed, pulling tight so the shape stays round.
- Secure the yarn end and weave in.
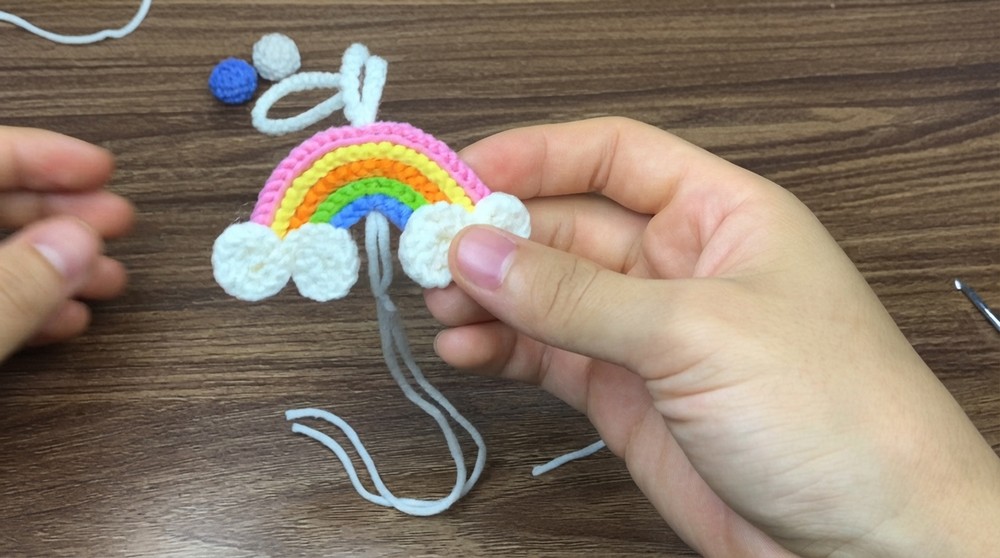
Tip: Leave a long tail for sewing the cloud to the rainbow and spheres.
C. Spheres (Make 2)
- With any desired color (cream or blue), make a magic circle.
- Rnd 1: 6 sc into magic circle. (6 stitches)
- Pull tight and sl st to first sc.
- Rnd 2: Ch 1, work 2 sc in each stitch around (12 stitches)
- Rnd 3 & 4: Ch 1, 12 sc in each round (12 stitches)
- Rnd 5: Work 6 decreases evenly spaced (6 stitches)
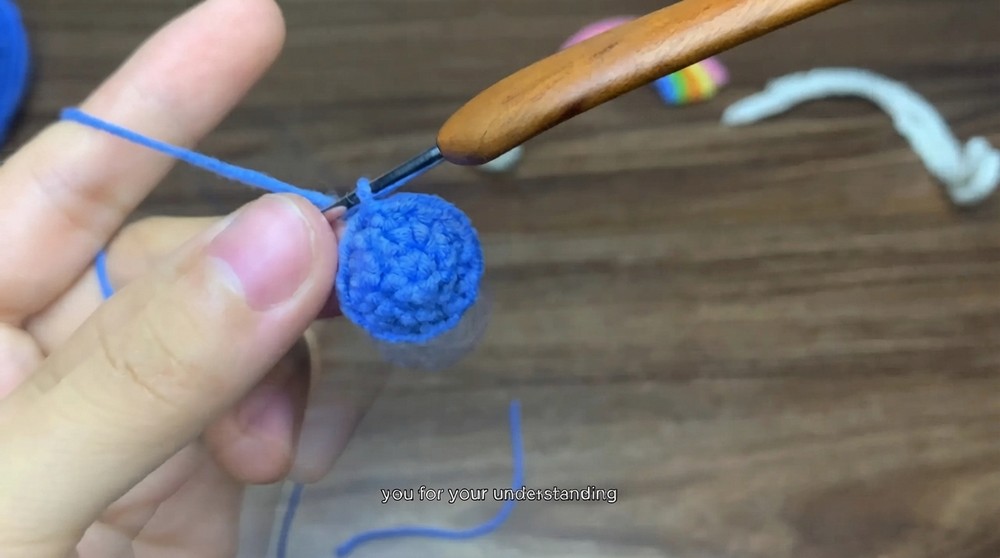
- Stuff gently.
- Sew opening closed, knot securely.
- Repeat for second sphere.
D. Hanging Strap
- With any yarn color, leave a long section for braiding.
- Braid or chain to desired length (approx. 7–10 cm, or as long/short as you prefer).
- Secure ends and use this strap for hanging your rainbow keychain.
Assembly & Finished Size
- Arrange rainbow arches in descending order (shortest to longest), forming a curved rainbow shape.
- Attach arches together using hot glue or craft glue, or sew for extra security.
- Secure rainbow to the cloud base with glue or yarn, placing the cloud across the rainbow arch’s bottom.
- Attach spheres to the cloud’s lower edge, using glue or sewing with the yarn tail.
- Braid the hanging strap and attach at the top center of the rainbow or to the cloud.
- Let glue dry thoroughly, then shape fibers or gently press down to fix the final form.
Final size: Rainbow keychain fits in the palm, approx. 5–7 cm wide and tall.
Conclusion and Ending Words
Congratulations on your finished rainbow keychain! It’s a wonderful, colorful project that lifts spirits with its soft texture and joyful hues. Thanks for watching and crocheting along—I’m glad we could make this together. Please visit your website and join future patterns for more creative ideas.