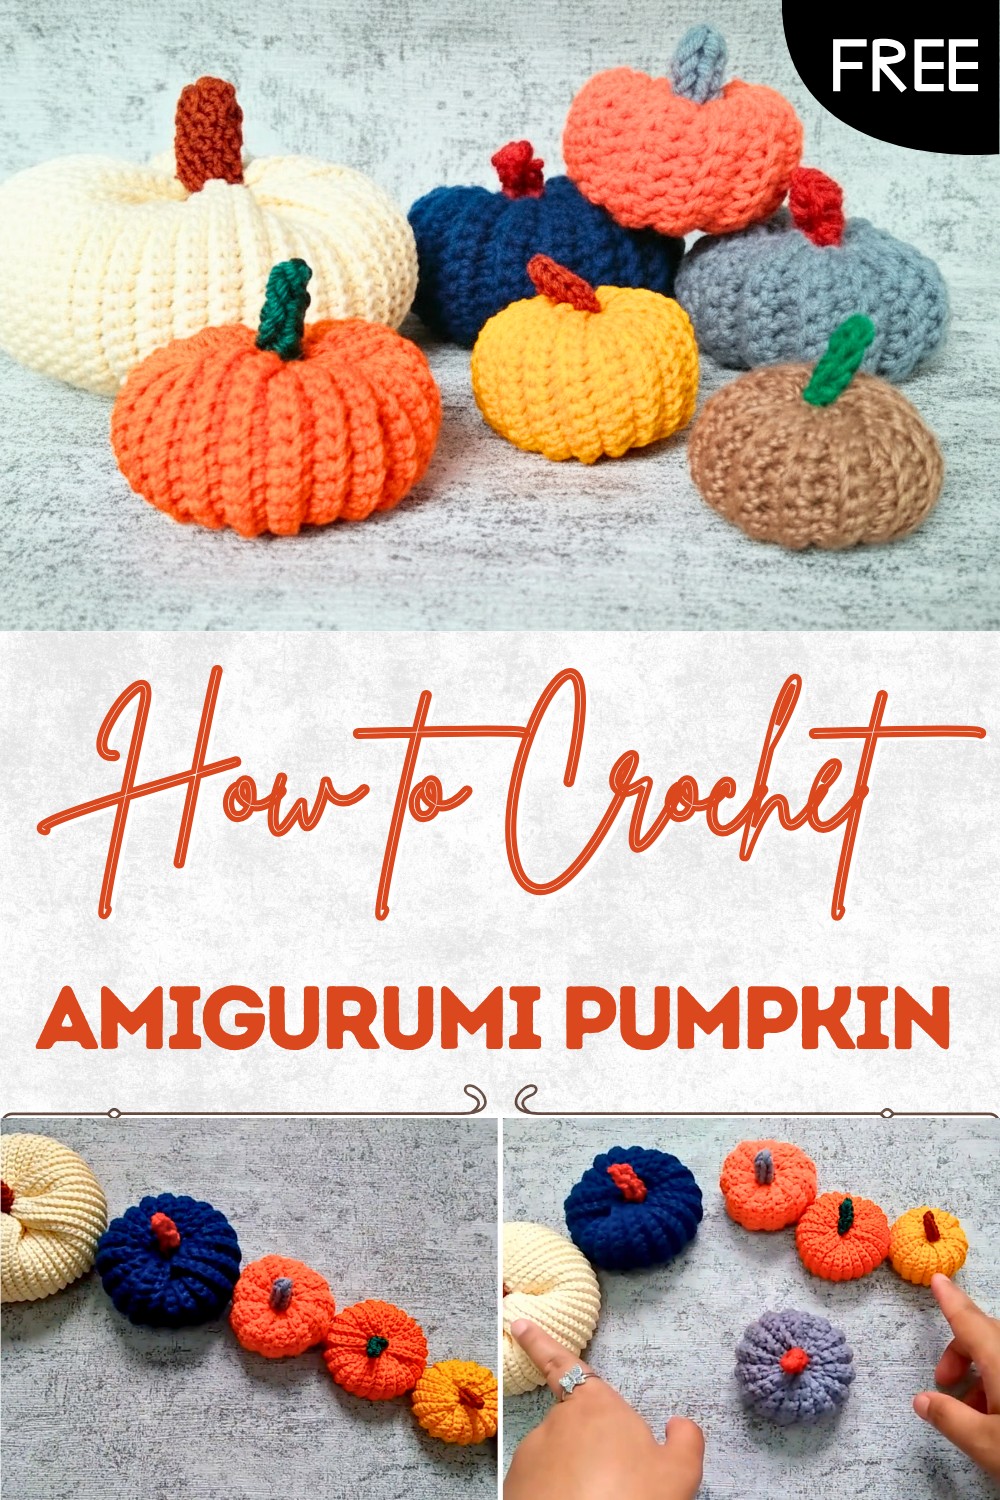
Free Crochet Amigurumi Pumpkin Pattern Perfect for Layered Outfits
Welcome cozy vibes with this free crochet amigurumi pumpkin pattern that looks festive soft and suits fall decor gifts and seasonal displays.
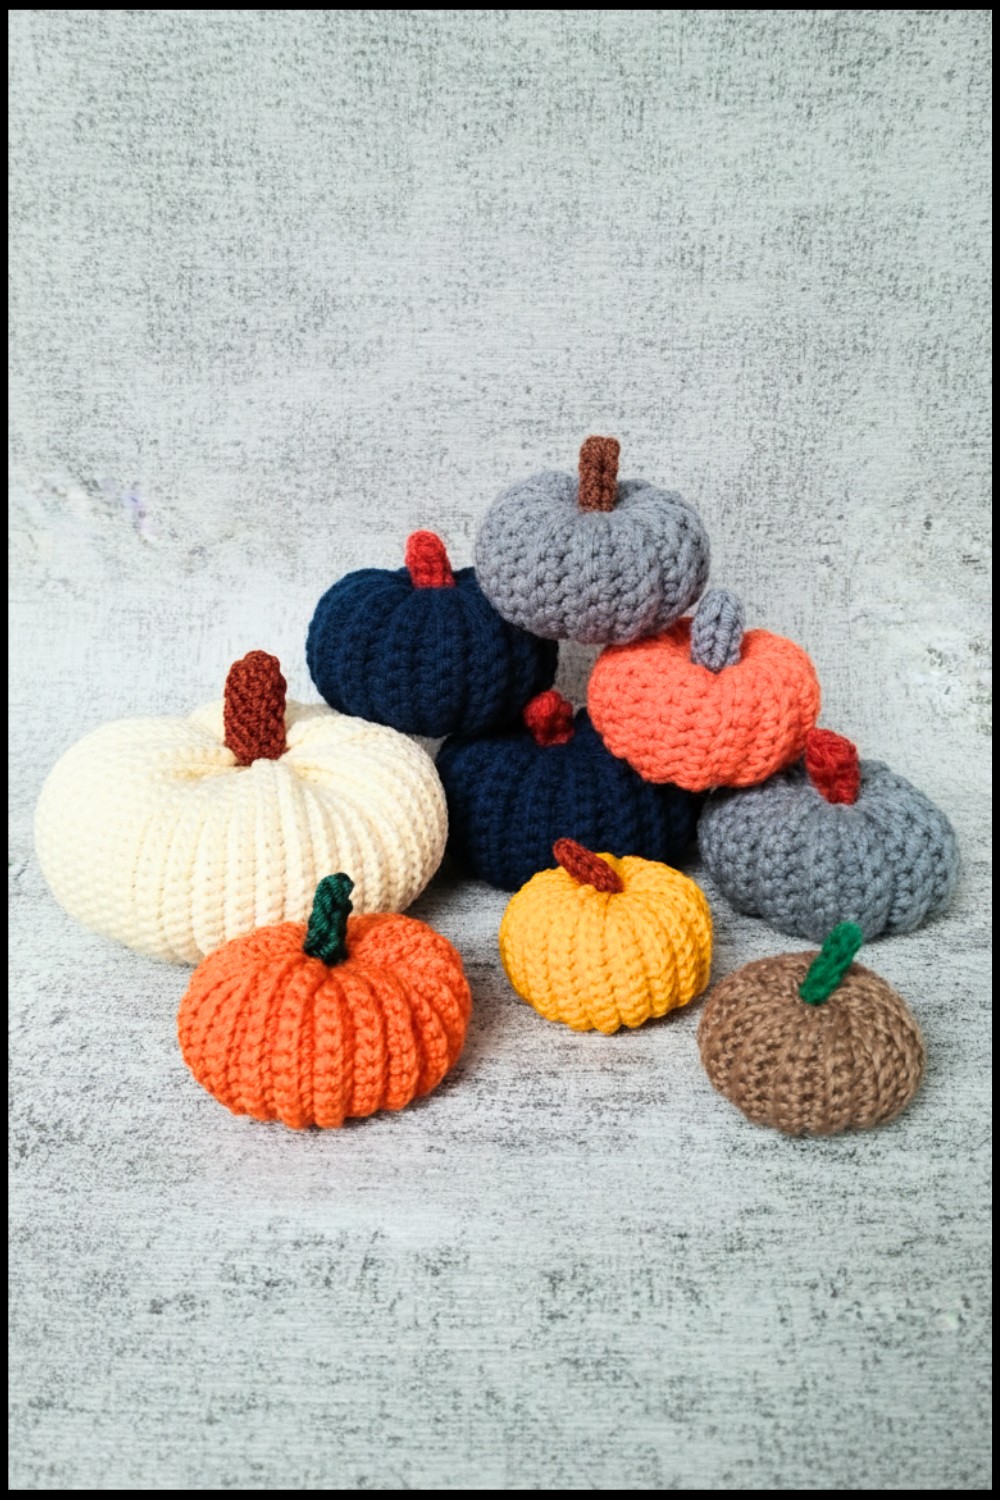
A small round shape begins to grow with gentle lines that form a cute little pumpkin full of charm and warmth. The Crochet Amigurumi Pumpkin pattern helps shape a soft and detailed pumpkin with a neat body and a tiny stem that looks natural and pleasing to the eyes. Its compact size makes it perfect for table decoration, shelf display, or adding a seasonal touch to any corner of the home. It can also be used as a thoughtful handmade item for friends and family.
Free Crochet Pumpkin Pattern
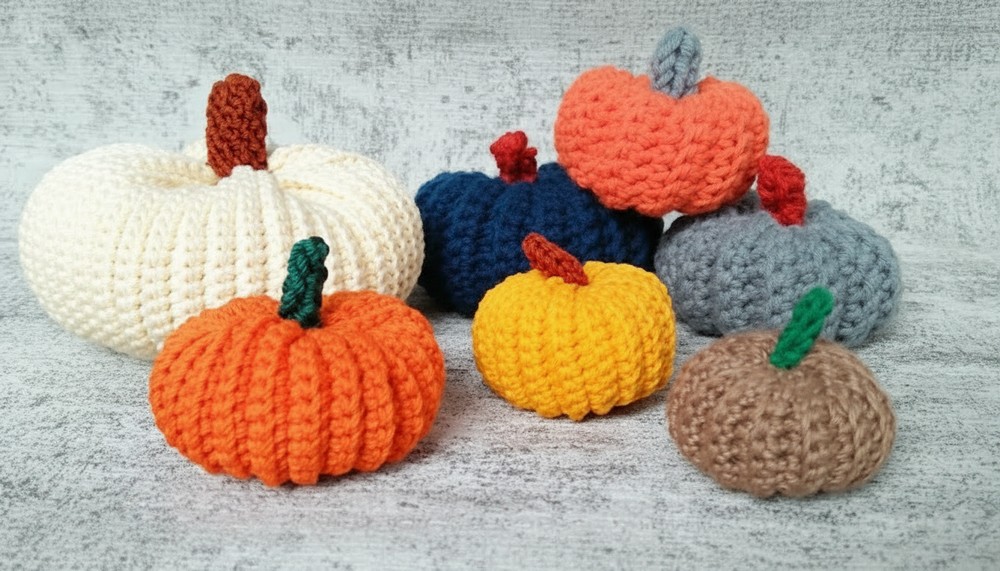
The texture feels smooth and firm, giving it a nice shape that holds well over time. The pattern is simple and easy to understand so anyone can complete it without confusion. The finished pumpkin looks bright and cheerful, bringing a cozy and happy feeling. It offers beauty, creativity, and comfort, turning simple material into a lovely decorative piece that adds warmth and a soft festive charm to everyday spaces.
Crochet Pumpkin Amigurumi Pattern
Materials
- Yarn:
- Milk cotton yarn (Sakura brand recommended)
- Or substitute with polyester, Balinese cotton, or any preferred worsted weight yarn
- Crochet Hook: Size 3.5 mm (US size E/4 or close to HP No. 6)
- Tapestry Needle
- Scissors
- Stuffing: Polyester fiberfill/Dacron
- Optional: Stitch marker (for counting rows), contrast color yarn for stem
Abbreviations (US Terms)
- ch = chain
- sl st = slip stitch
- sc = single crochet
- st(s) = stitch(es)
- Rnd = round
- FO = fasten off
Special Notes
- This pattern is worked flat in rows and then seamed to form a tube before gathering to shape the pumpkin.
- Adjust foundation chain length for different pumpkin sizes.
- The number of rows determines the width of the pumpkin (circumference), and the foundation chain dictates pumpkin height.
Instructions
1. Base Rectangle (Pumpkin Body)
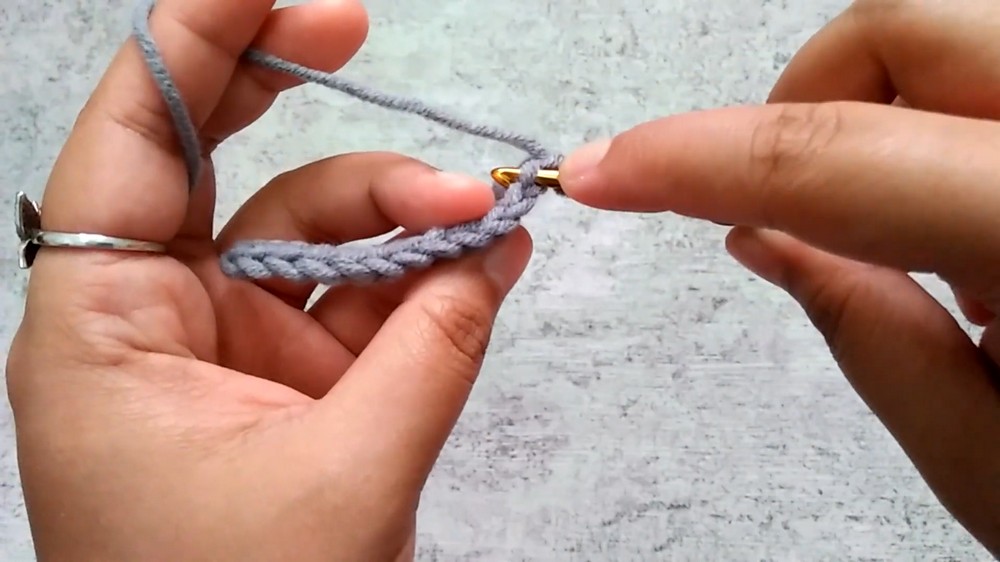
- Slip Knot: Create a slip knot and place it on the hook.
- Foundation Chain: Ch 13 (or your desired number for height).
Note: For example, ch 13 creates a shorter pumpkin. More chains = taller pumpkin. - Row 1:
- Sc in 2nd ch from hook and in each across (12 sc).
- (Turn work.)
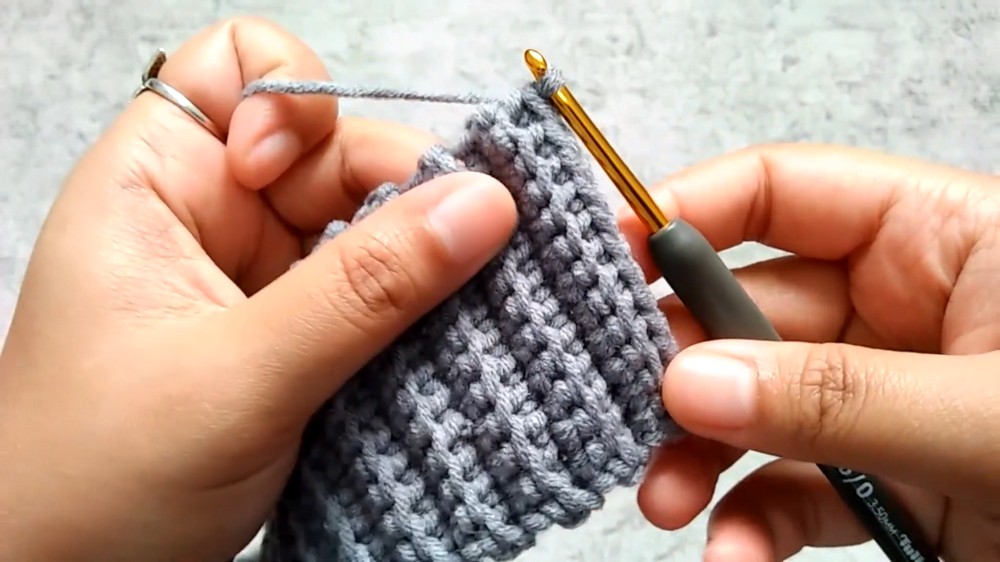
- Row 2:
- Ch 1, sc in the back loop only of each st across (12 sc).
- (Turn.)
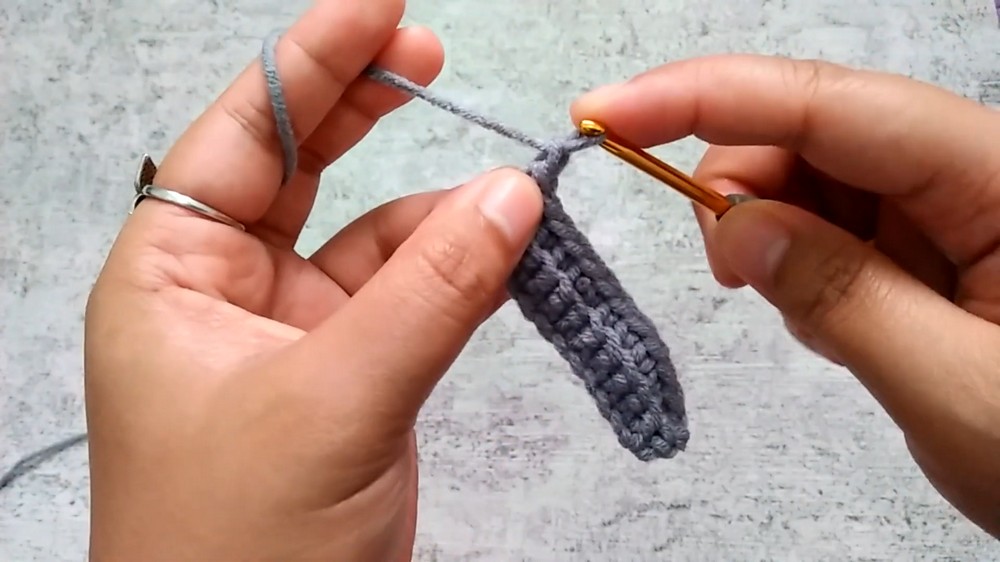
- Rows 3 and Onward:
- Repeat Row 2 for each subsequent row, always sc in the back loop only.
- Continue until you have a rectangle whose length equals approximately 3 times its width.
- Tip: To check, fold the rectangle as shown above — the length should wrap fully around itself three times.
2. Finishing Rectangle and Seaming
- Fasten Off:
- After completing the last row, ch 1, cut the yarn leaving a long tail (for sewing).
- Sew Side Seam:
- Fold the rectangle in half, aligning short edges.
- With tapestry needle and long yarn tail, sew the short edges together to form a tube.
- Secure and weave in any excess tail.
3. Forming Pumpkin Shape
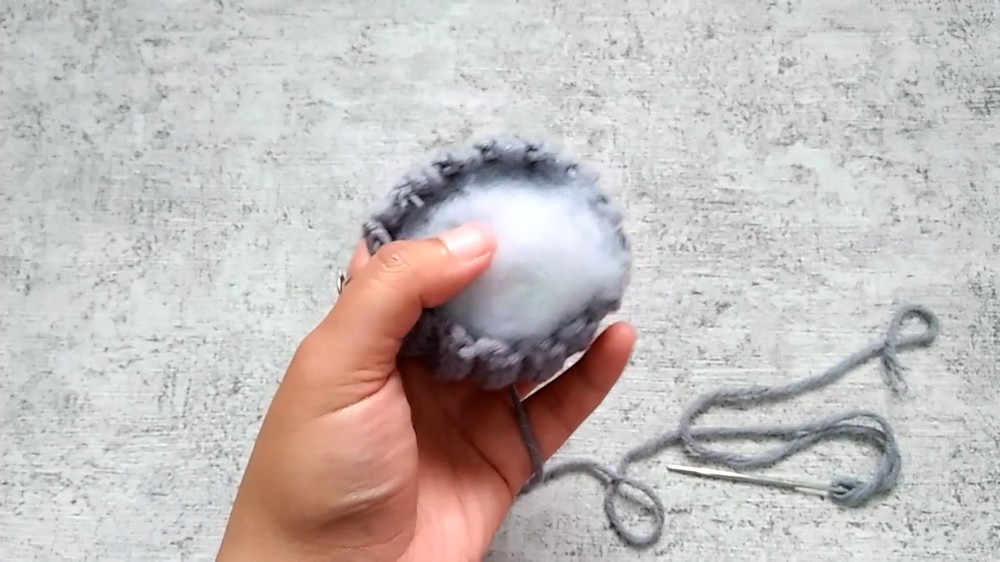
- Gather Bottom:
- Using the same tapestry needle and yarn, weave needle in and out around one open edge (bottom of the tube).
- Pull to gather tightly. Stitch across the opening as needed to fully close.
- Stuff:
- Stuff pumpkin with polyester filling to desired firmness.
- Stuff pumpkin with polyester filling to desired firmness.
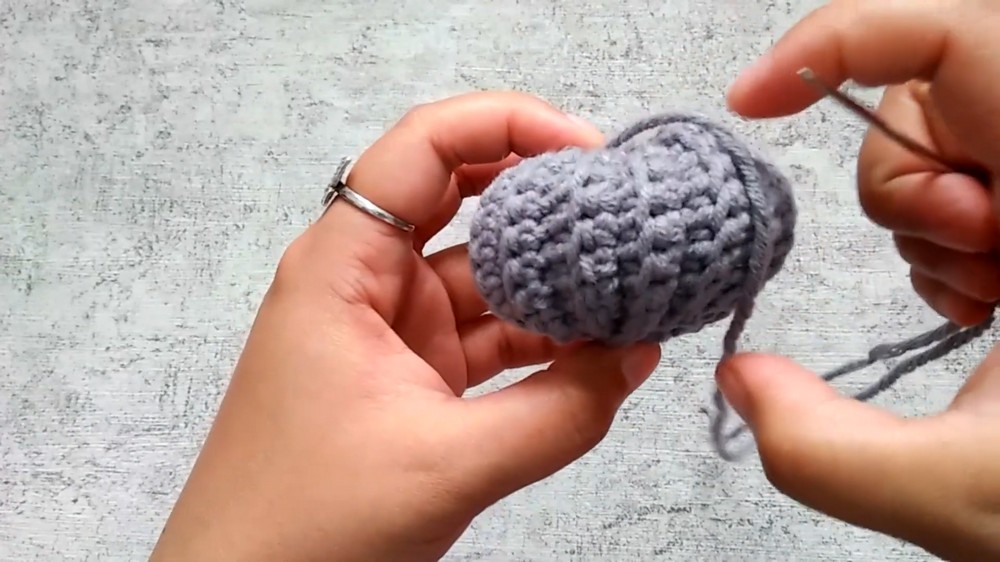
- Gather Top:
- Using a tapestry needle and new yarn if needed, weave around the other edge.
- Pull to close, but do not pull too tightly; allow a little opening for the stem.
- Secure yarn, but do not cut yet.
- Shape Pumpkin:
- For added realism, insert needle through the center top and bring it through to the bottom center several times, pulling gently to create a slight concave effect at the top and bottom.
- Knot and weave in end securely.
4. Stem
- Option 1:
Create an I-cord or spiral rope of desired length and thickness using green yarn. Sew securely to the pumpkin top. - Option 2:
Crochet a small cylinder for the stem:- Ch 5, join with sl st to form ring.
- Rounds 1-4: Sc around (5 sc per round), join, ch 1.
- FO, leaving tail for sewing.
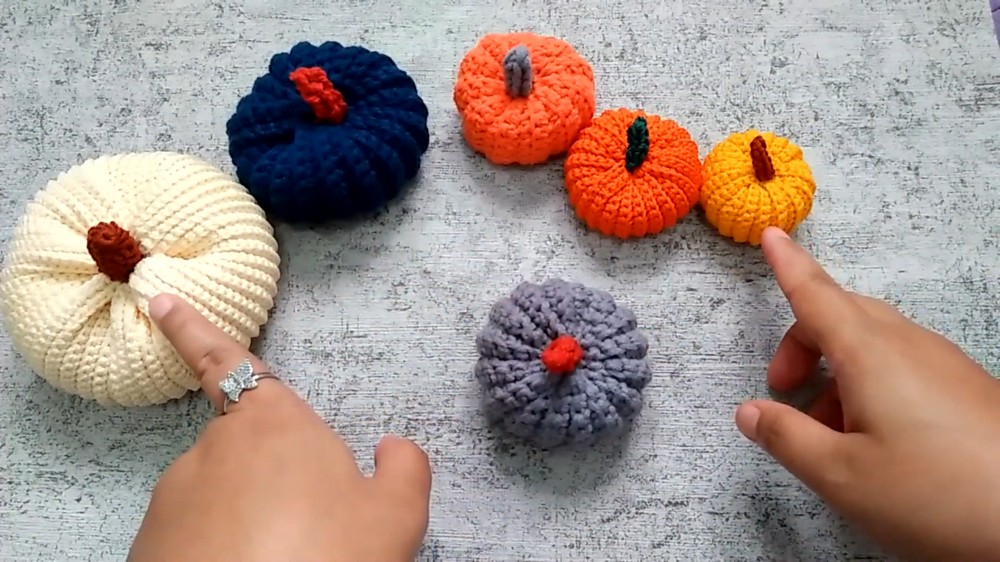
Conclusion
You now have a customizable crochet pumpkin amigurumi, perfect for seasonal decorations or gifts. Vary size by adjusting the starting chain (height) or the number of rows (circumference). Feel free to add embellishments like leaves or curly vines.
Pattern Correction & Tips
- Correction:
Ensure the rectangle’s length is at least three times its width for a rounded, full appearance. - Tip:
Always count stitches at the end of each row to maintain even sides—your sc in back loop only may be easy to miss at the edges. - Customization:
Change yarn type, weight, or use velvet for a trendy effect.