Duck Keychain Free Crochet Pattern for Backpacks

Personalize your keys with charm using this free crochet duck keychain pattern that’s quick to make and perfect for adding a playful touch to your accessories.
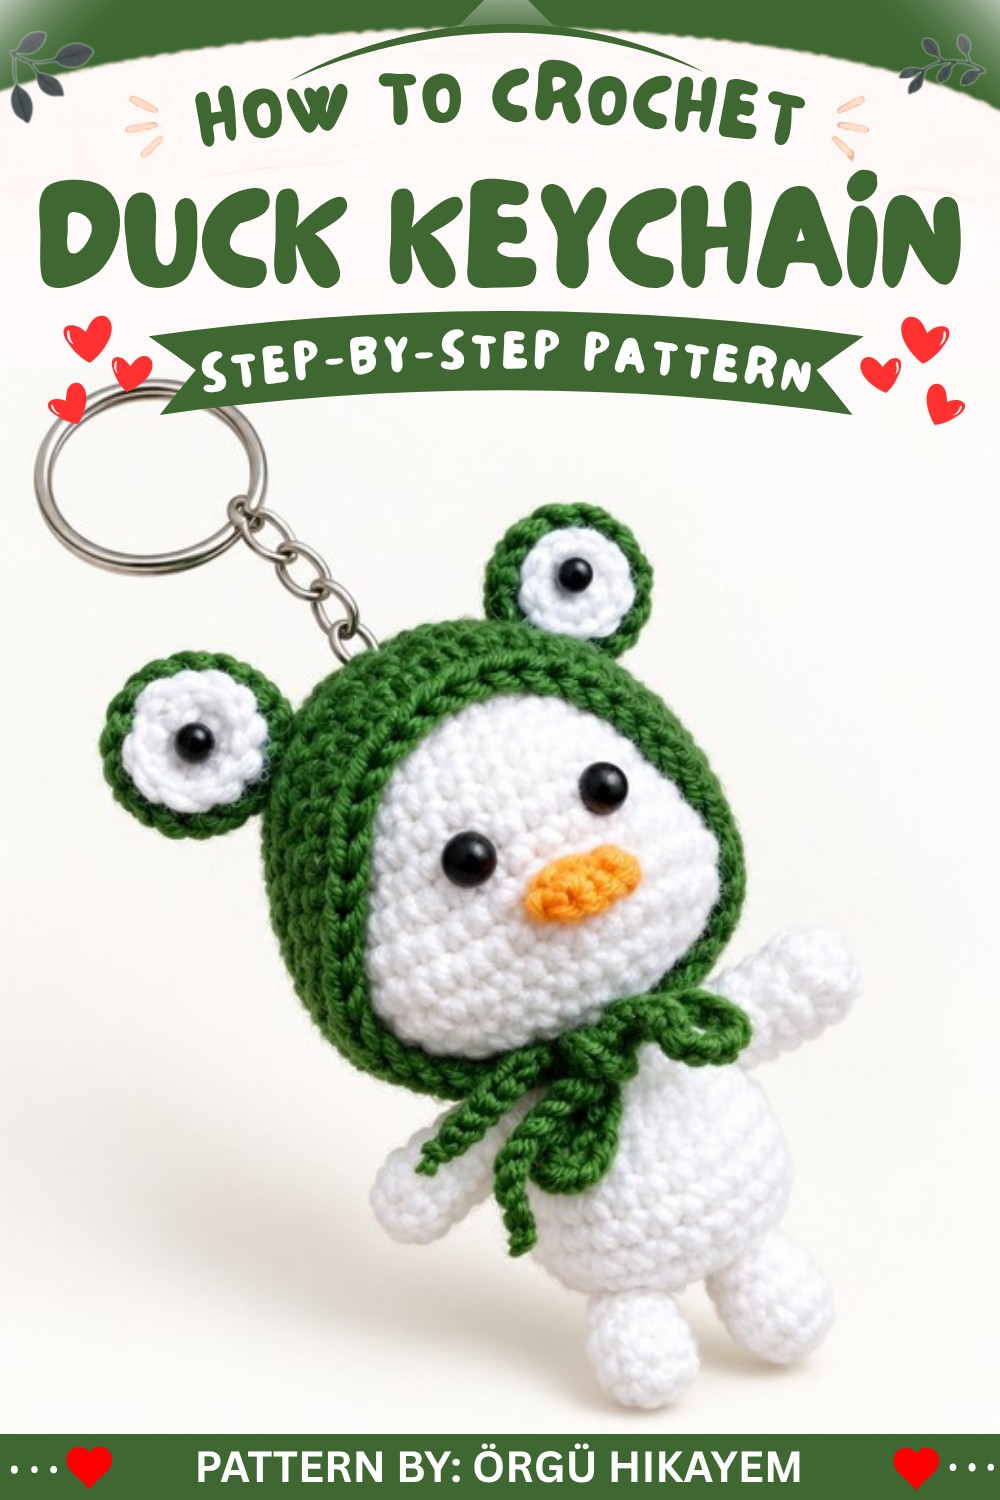
Crocheted keychains are small but mighty when it comes to adding charm to your everyday items. The Free Crochet Duck Keychain Pattern is a delightful project that lets you create an adorable little duck that’s perfect for accessorizing bags, keys, or even gifting to friends. These handmade keychains are great conversation starters and make thoughtful, handmade presents for loved ones.
Duck Keychain Free Crochet Pattern
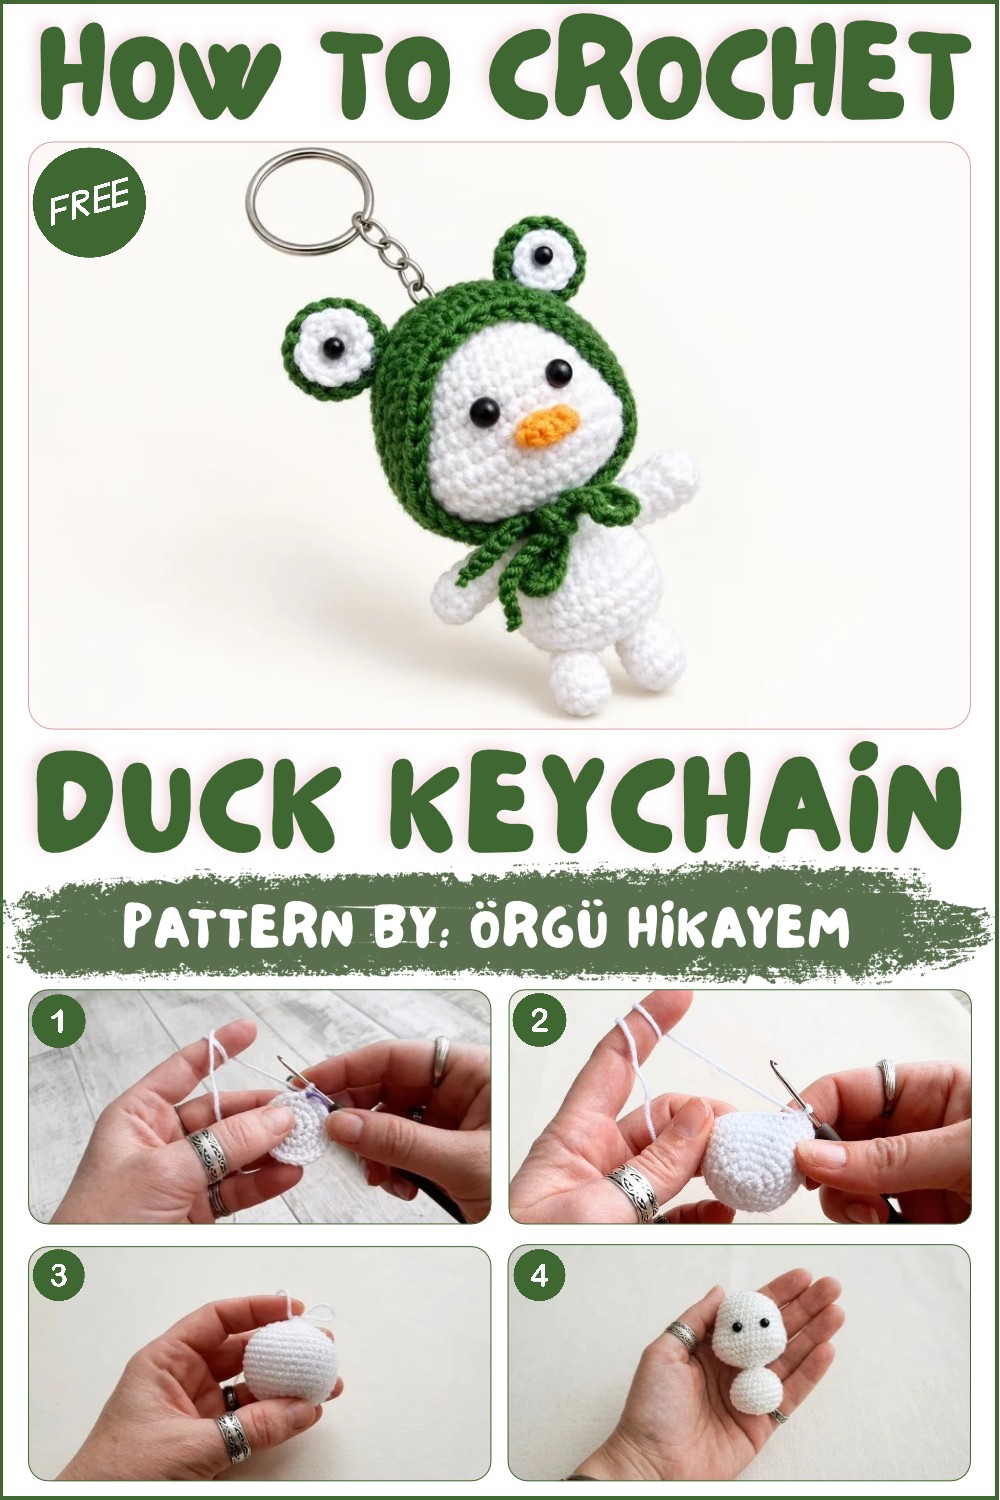
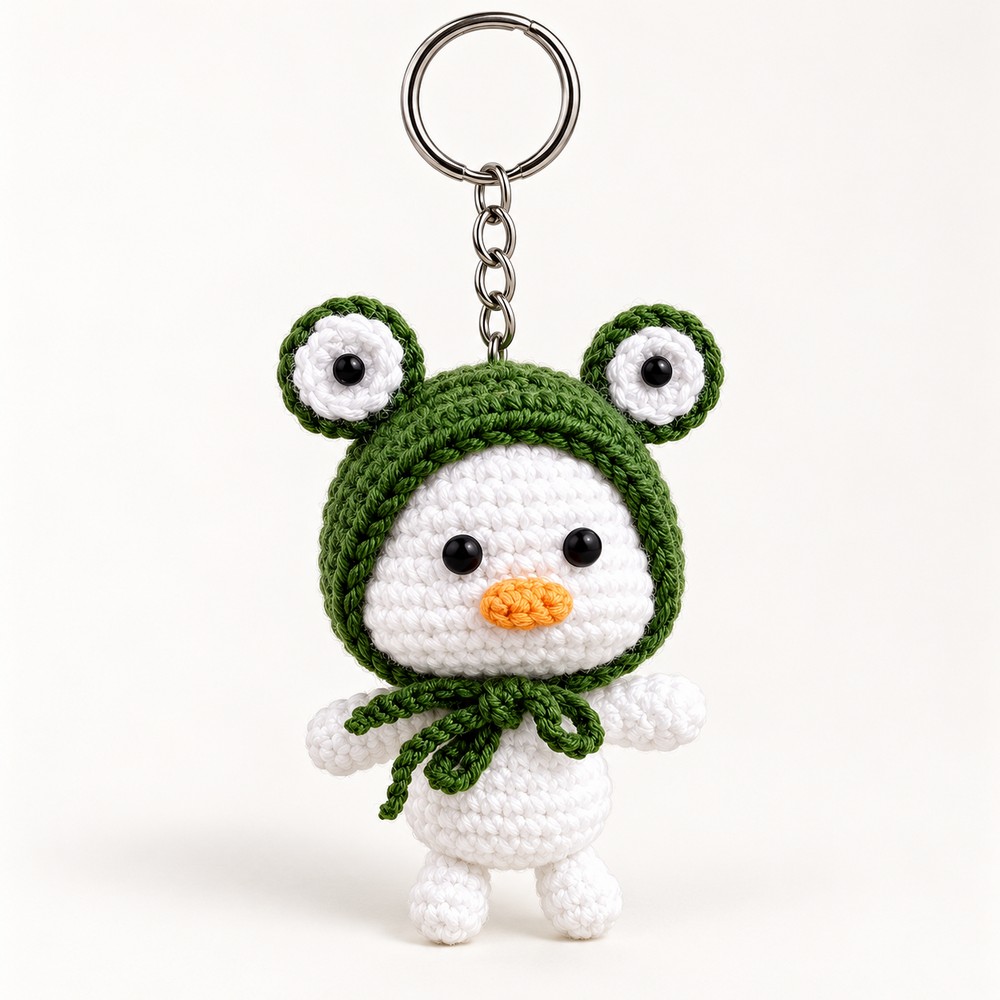
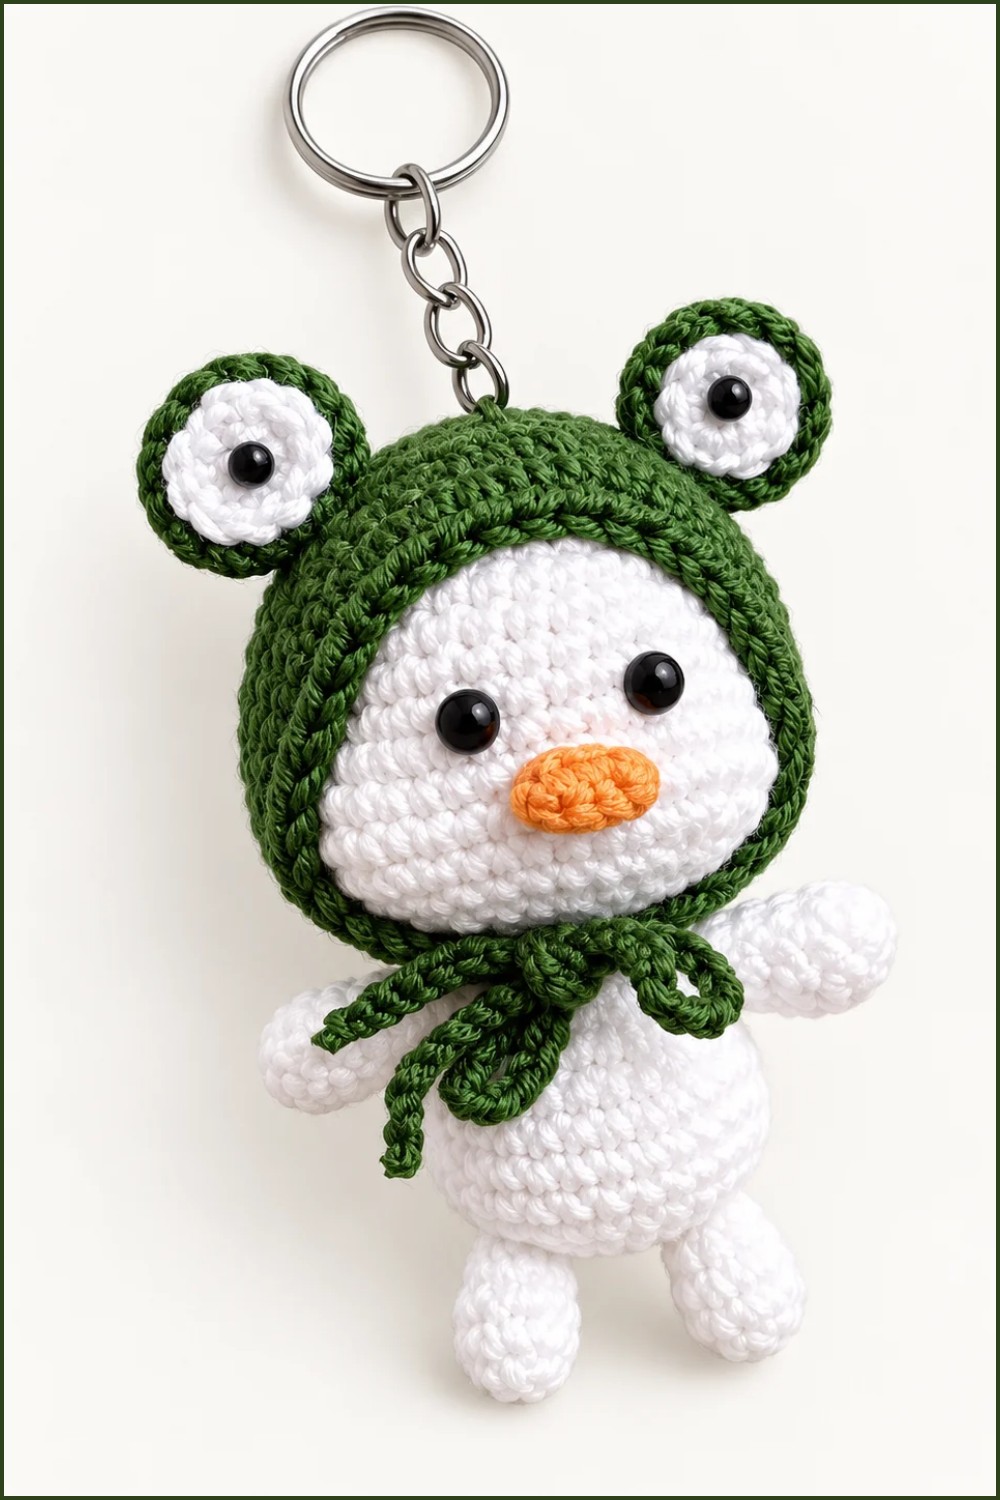
This cute duck keychain stands out with its rounded body, tiny beak, and cheerful expression. Its soft, textured stitches give it a charming, handmade look, while the bright yellow color often used makes it instantly eye-catching. The design is small yet detailed, and its lightweight feel ensures it’s as practical to carry as it is cute to display.
About The Channel:
The video tutorial from Örgü Hikayem makes this project easy to follow, offering clear guidance for every step. Their passion for crochet shines through, making learning even more enjoyable.
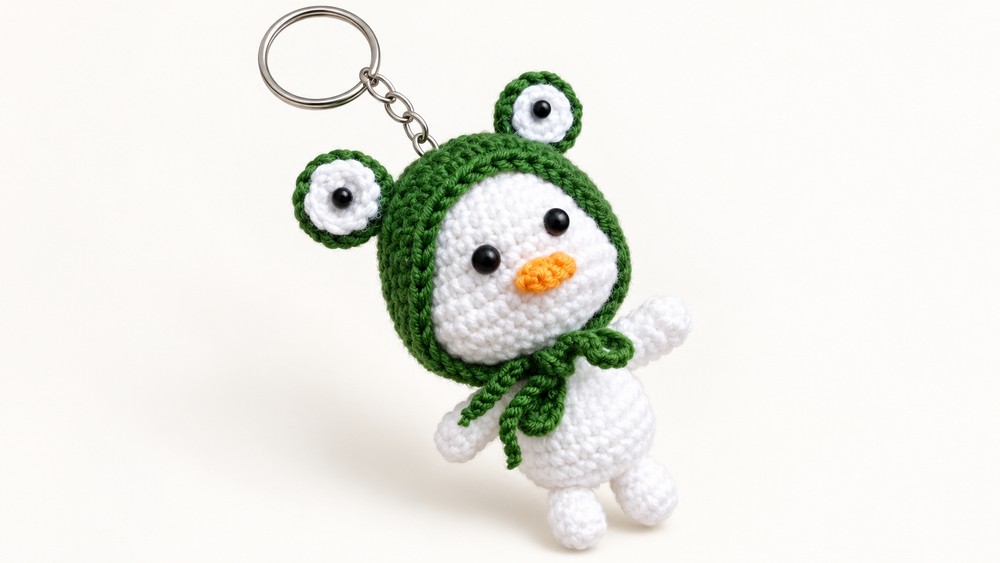
The pattern is great for crocheters of all skill levels who enjoy creating fun, decorative items with utility. It’s a quick and satisfying project, and you’ll learn shaping techniques, working in the round, and more. The end result is not only a cute keepsake but also a handy accessory!
Cute Crochet Duck Keychain Pattern – Step by Step Crochet Instructions
This pattern guides you through crocheting a cute keychain using Kartopu’s Baby One series yarn, which features anti-pilling properties. Following the video transcription, the keychain is worked primarily with single crochet stitches combined with increases and precise shaping over multiple rounds to form the head, body, limbs, and facial features. Crochet elements like magic rings, slip stitches, and chain stitches are employed to create a compact, adorable shape. The final assembly uses beads for the eyes and silicone glue to fix pieces sturdily. Let’s begin making this charming keychain.
Pattern Highlights
Crochet Head and Face
- Start with a magic ring and work rounds of single crochet (sc) stitches in increasing numbers to shape the head.
- Strategic increases define shape, with specific stitch counts on each row to keep the sphere neat.
- Eye placement is done by adding beads on designated stitch positions.
Body and Limb Construction
- The body is created through single crochet rounds combined with decreases to taper form.
- Arms and legs are made separately in small rounds and later attached using slip stitches and glue to maintain durability.
- Mouth piece is crocheted separately and glued for secure application.
Finishing Techniques
- The hat uses half-double crochet stitches for texture and shaping with increases and decreases.
- Beads for eyes are added to give expression.
- Final assembly includes attaching all parts with silicone glue and securing with knots.
Notes
- Maintain consistent tension throughout for smooth curves and professional finish.
- Use stitch markers to keep track of beginning of rounds if needed, especially for counting increases and decreases.
- Crochet piece tight enough to avoid gaps between stitches for stuffing (if applied) and aesthetic integrity.
- Adding beads during the construction demands precision to ensure correct placement.
- Silicone glue is recommended for fastening arms, legs, mouth, and beads effectively without stitching.
Skill Level
Intermediate
This project involves:
- Magic ring creation
- Working in continuous rounds
- Single crochet, half double crochet stitches
- Increases and decreases
- Embedding beads
- Assembly techniques using glue
Materials
- Kartopu Baby One series yarn (used in white and other colors for details)
- Crochet hook, suitable size for yarn (approx. 2.5 mm – 3.5 mm recommended)
- Small beads for eyes
- Silicone glue gun
- Needle for slip stitching and joining parts
- Scissors
Measurements / Sizing
- Finished keychain measures approximately 7–9 cm tall (excluding keyring).
- Head is roughly spherical with about 24–40 stitches circumference at widest part.
- Limbs proportionate to body, sized small to fit keychain scale.
Gauge and Stitch Pattern
- Single crochet (sc) is the primary stitch used, worked in rounds for shaping.
- Half double crochet (hdc) appears in the hat accessory portion.
- Gauge is flexible but stitches should be tight enough to hold stuffing and maintain form.
Stitch Abbreviations
| Abbreviation | Term | Description |
|---|---|---|
| ch | Chain | A basic foundation stitch |
| sc | Single Crochet | Basic crochet stitch forming dense fabric |
| sl st | Slip Stitch | Joins rounds, transitions smoothly |
| inc | Increase | 2 sc in one stitch; increases stitch count |
| dec | Decrease | Crochet two stitches together; reduces count |
| hdc | Half Double Crochet | Taller stitch than sc, used for hat texture |
Special Stitches
Magic Ring (mr)
A technique for creating a tight closed center when working in rounds.
Increase (inc)
Working 2 single crochet stitches into one stitch to expand the round.
Decrease (dec)
Usually crocheted by inserting the hook through two stitches and working them together to reduce stitch count.
The Crochet Pattern
Head
Round 1:
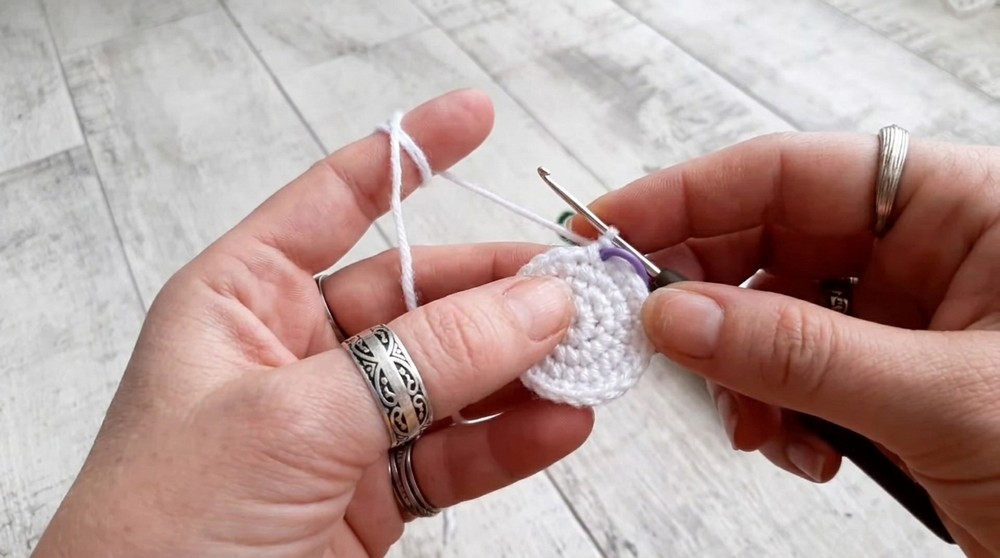
- Make a magic ring and work 8 single crochets (sc) into it.
Round 2:
- Increase stitch count to 16 by working into each stitch (1 sc, 1 sc) across.
Round 3:
- Work one single crochet, then one increase (inc) — repeat until the end of the round, resulting in 24 stitches.
Round 4:
- Crochet 24 single crochets (sc) evenly without increases.
Round 5:
- Work the sequence: 2 single crochet (sc), then 1 increase (inc) repeated around to reach 32 stitches.
Rounds 6 to 9:
- Crochet 32 single crochets (sc) in each round without increases or decreases.
Round 10:
- Make 8 single crochets (sc), then work 4 increases spaced appropriately, followed by 7 single crochets and 4 additional increases, then finish with 9 single crochets.
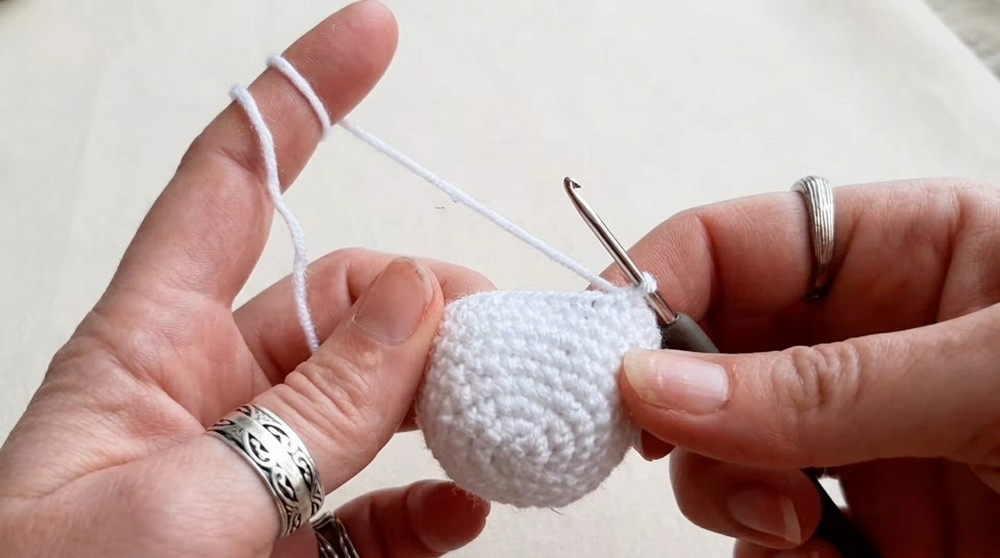
Round 11:
- Crochet 40 single crochets (sc) evenly around without any increase or decrease.
Round 12:
- Crochet 8 single crochets (sc); next, perform a cycle of one single crochet (sc) followed by one increase (inc) four times; then 7 single crochets.
Round 13:
- Crochet 8 single crochets (sc) and then repeat four times: one single crochet (sc) and one decrease (dec).
Rounds 14 to 16:
- Work decreasing rounds as per the script to taper the shape to 16 stitches.
Round 17:
- Crochet 8 decreasing single crochets (sc) stitches, finishing with 8 remaining.
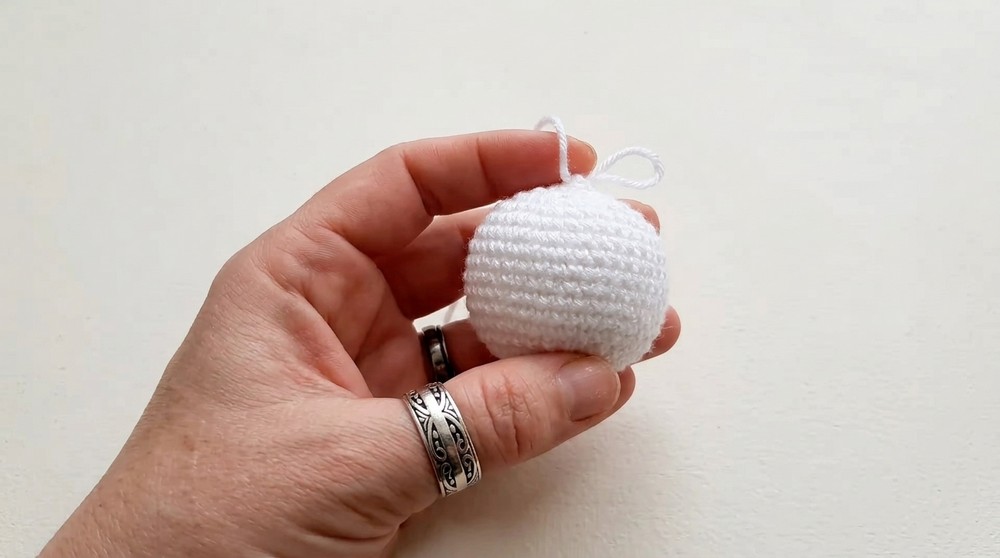
Eye Placement
- Insert small beads into the designated sites corresponding to the increases made during Round 12 for proper positioning.
- Secure beads with single crochet (sc) stitches around, ensuring tight hold.
Body
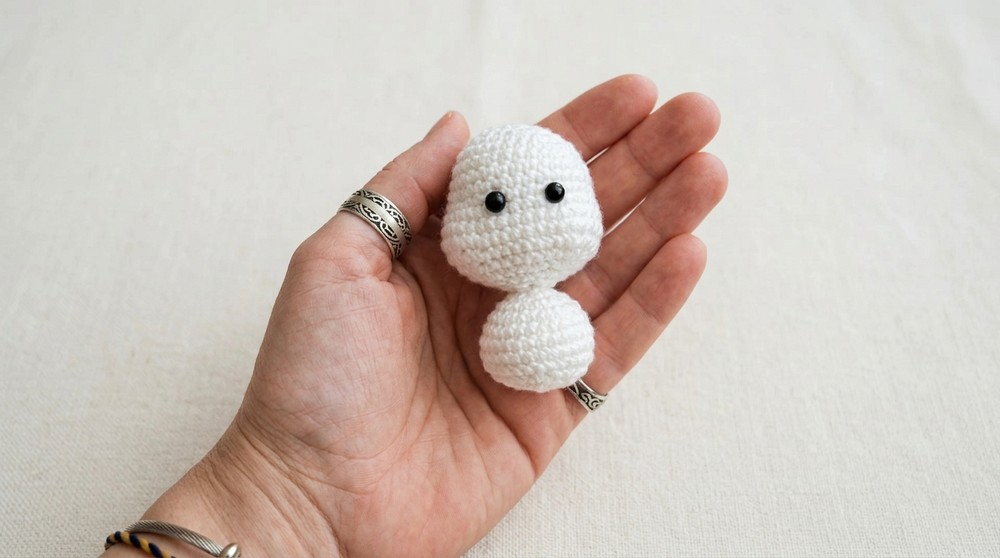
Row 1:
- Chain 6 and work 6 single crochets (sc) starting from second chain from hook.
Rows 2-4:
- Crochet 6 single crochets (sc) rows without increase or decrease. Join with slip stitch at end.
Row 5:
- Work 2 single crochets (sc), then 1 decrease (dec), repeated around.
Finishing:
- Stuff body before closing. Close and secure last stitches firmly.
Arms (make 2)
- Use magic ring, crochet 6 single crochets (sc), join with slip stitch.
- Crochet 3 rounds of 6 single crochets (sc) without changes.
- Finish and sew or glue in place.
Legs (make 2)
- Chain 6, crochet 6 single crochets (sc) on second chain from hook.
- Repeat 4 rows as above for lengthening; finish shaping as directed.
Mouth
- Chain 5, starting from second chain, crochet 3 single crochets (sc).
- Slip stitch final to secure.
Hat
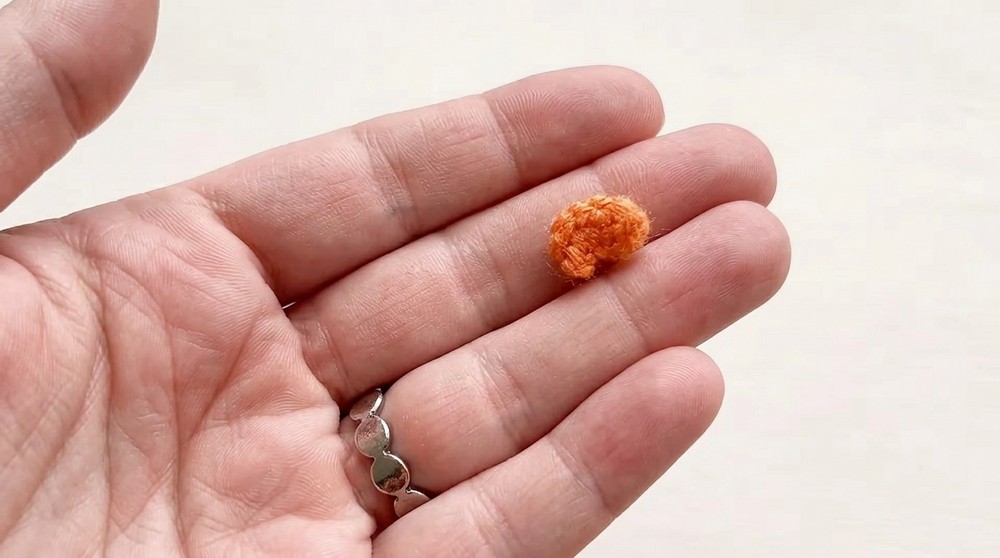
- Chain 2, then crochet 8 half double crochets (hdc) in magic ring.
- Continue increasing rounds by doubling stitches until 16.
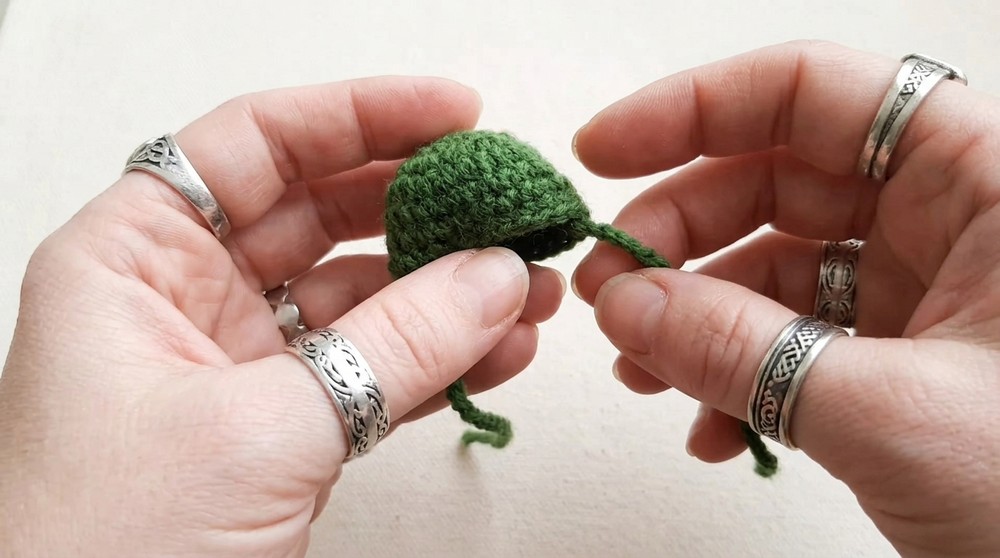
- Crochet further rounds alternating single and double crochets to shape hat.
- Finishing at 32 stitches per row.
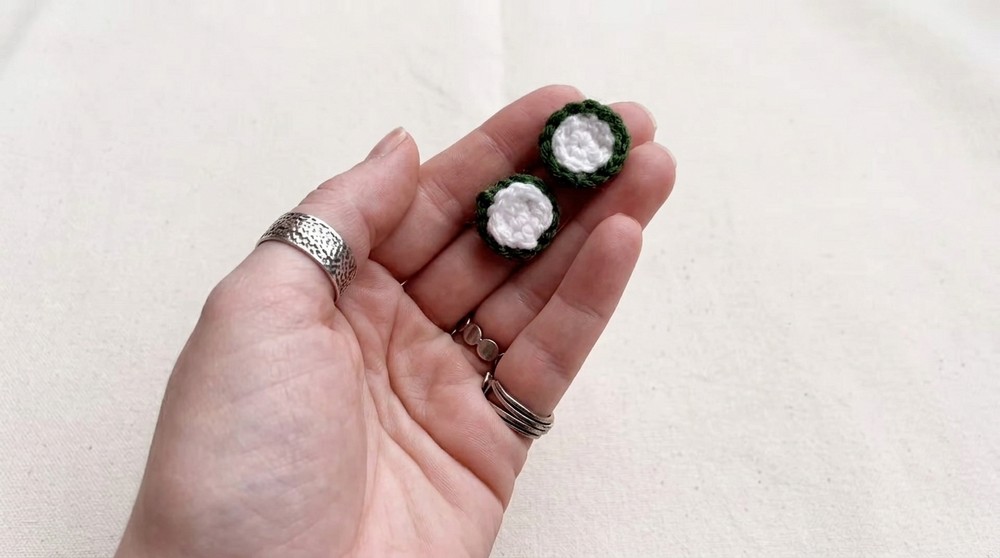
Assembly & Finished Size
- Attach eyes with beads in corresponding positions using slip stitches and glue.
- Join arms and legs to body either by sewing or gluing for durability.
- Attach mouth piece by gluing in place.
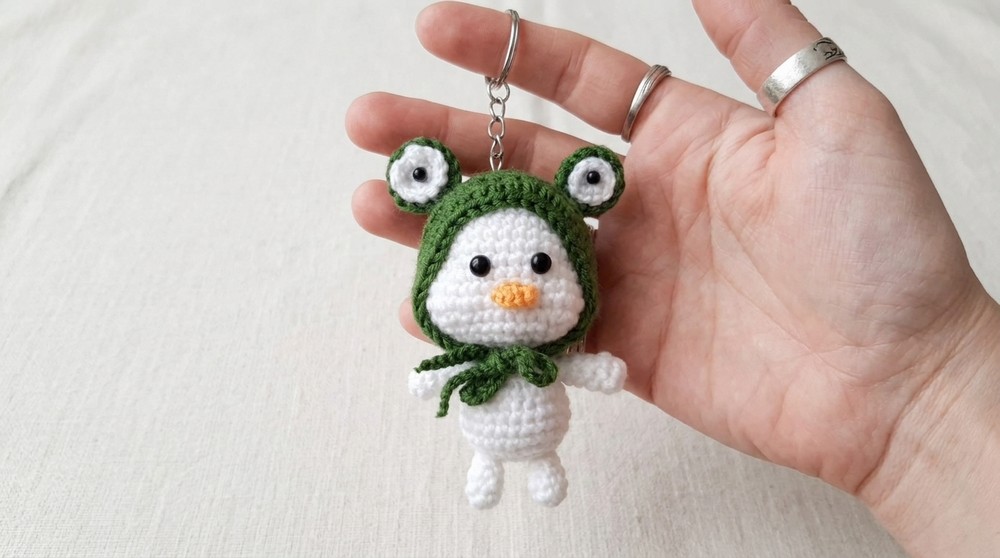
- Place hat on head and secure with a few strategically placed stitches.
- Attach keychain hardware securely to the finished figure.
- Finished keychain is approximately 7–9 cm high and sturdy enough for daily use.
Conclusion
This adorable crochet keychain project provides a satisfying blend of fundamental techniques and intricate shaping, ideal for intermediate crocheters. The extensive use of single crochet stitches, combined with carefully placed increases and decreases, crafts a rounded and expressive amigurumi figure. The visual appeal is enhanced with carefully attached bead eyes and a textured half double crochet hat. Using Kartopu’s Baby One yarn guarantees a soft, durable finish resistant to pilling. Assembly through a combination of sewing and silicone glue ensures sturdiness appropriate for an accessory that should endure repeated handling. This keychain makes a perfect handmade gift or personal keepsake and is a testament to how crochet transforms simple stitches into charming art pieces.