Easy Crochet Butterfly Keychain Pattern for Beginners

Spark creativity on your accessories with the Free Crochet Butterfly Keychain Pattern, giving instant joyful flair for bags, keys, or gifts.
Sometimes the smallest crochets bring the biggest joy, and that’s exactly how it feels to crochet a butterfly keychain. If transforming polyester thread into delicate wings that mimic nature’s beauty and crocheting a multi-purpose butterfly that can adorn your keys, bags, or even become a decorative showpiece for home.
Quick free crochet butterfly keychain pattern for weekend projects
The pattern is versatile, letting you pick from vibrant colors like sunny yellows for a cheerful look, soothing blues for a calm vibe, or monochrome shades for an elegant touch. What makes this pattern unique is its simplicity matched with intricate details, created using techniques such as the magic ring, chains, and slip stitches. These stitches make the butterfly look realistic while being sturdy enough to use every day.
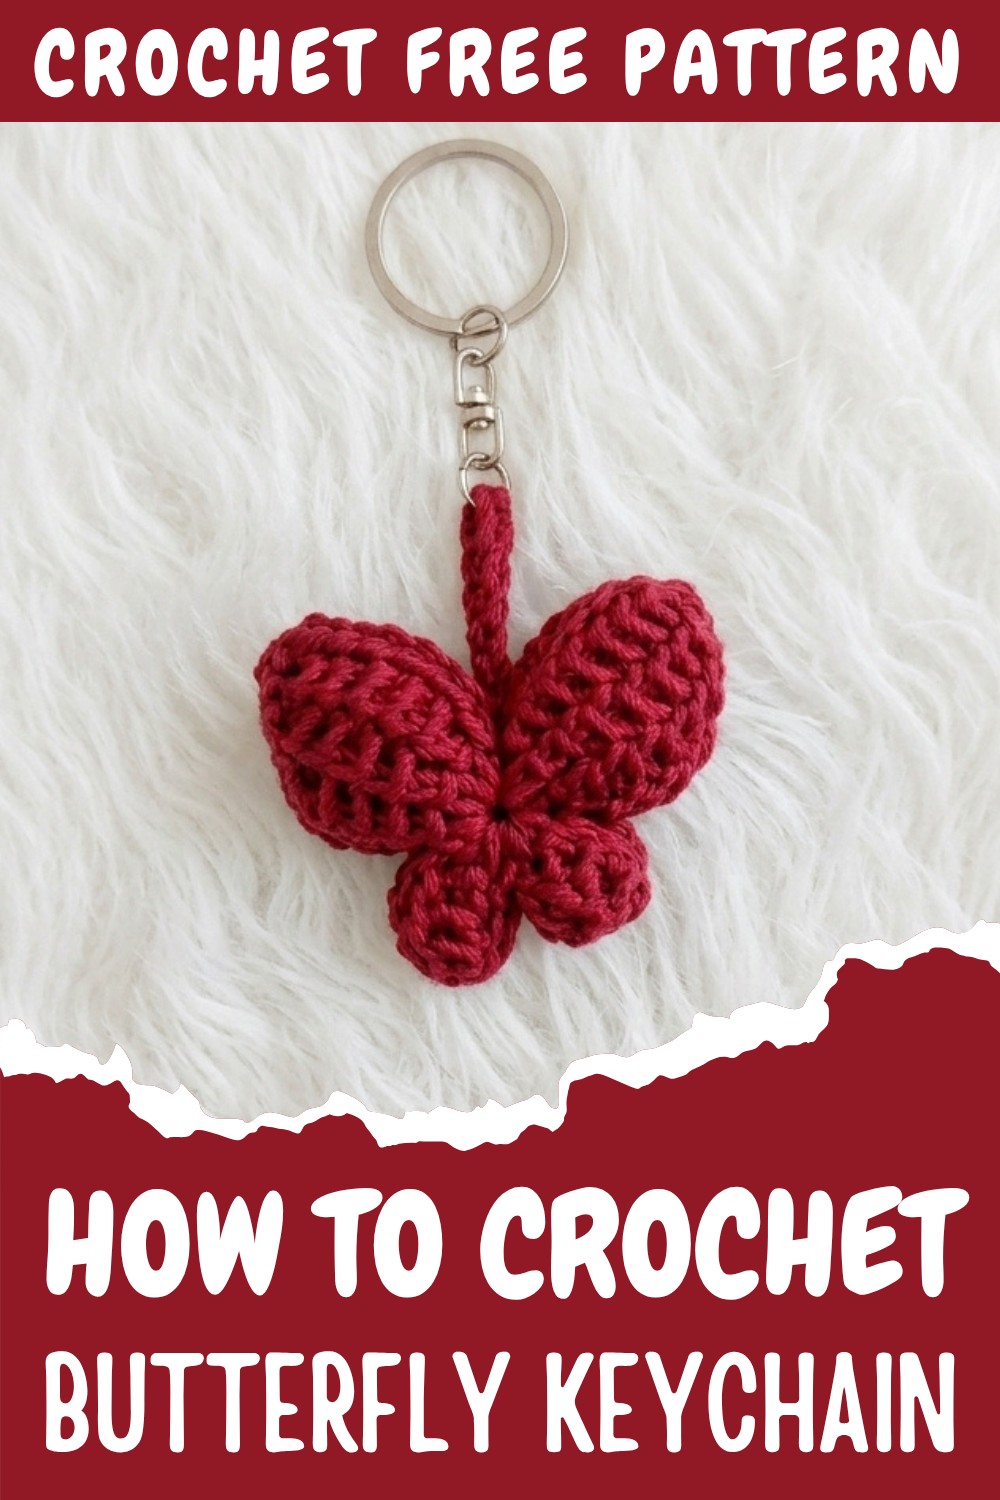
This crochet pattern combines functionality with charm. Whether you use it as a fashionable keyring, attach it to a handbag zipper, or hang it somewhere in your crochet room, it’s bound to catch attention. The magic ring, used as the foundation, creates a seamless circular center, while chains and hooks work together to form delicate yet structured wings. Filling the wings with dacron adds a lovely 3D puffed effect that brings the butterfly to life. Beginners will enjoy the straightforward steps, while seasoned crocheters can explore creating butterflies in various sizes and textures.
From this pattern, you’ll learn how to create magic rings, work through loops for layered wings, and finish neat edges using slip stitches. These techniques open the door to a whole new world of crochet projects like flowers, appliqués, decorative ornaments, or even animal-shaped toys. It’s beginner-friendly yet creative enough to inspire customization.
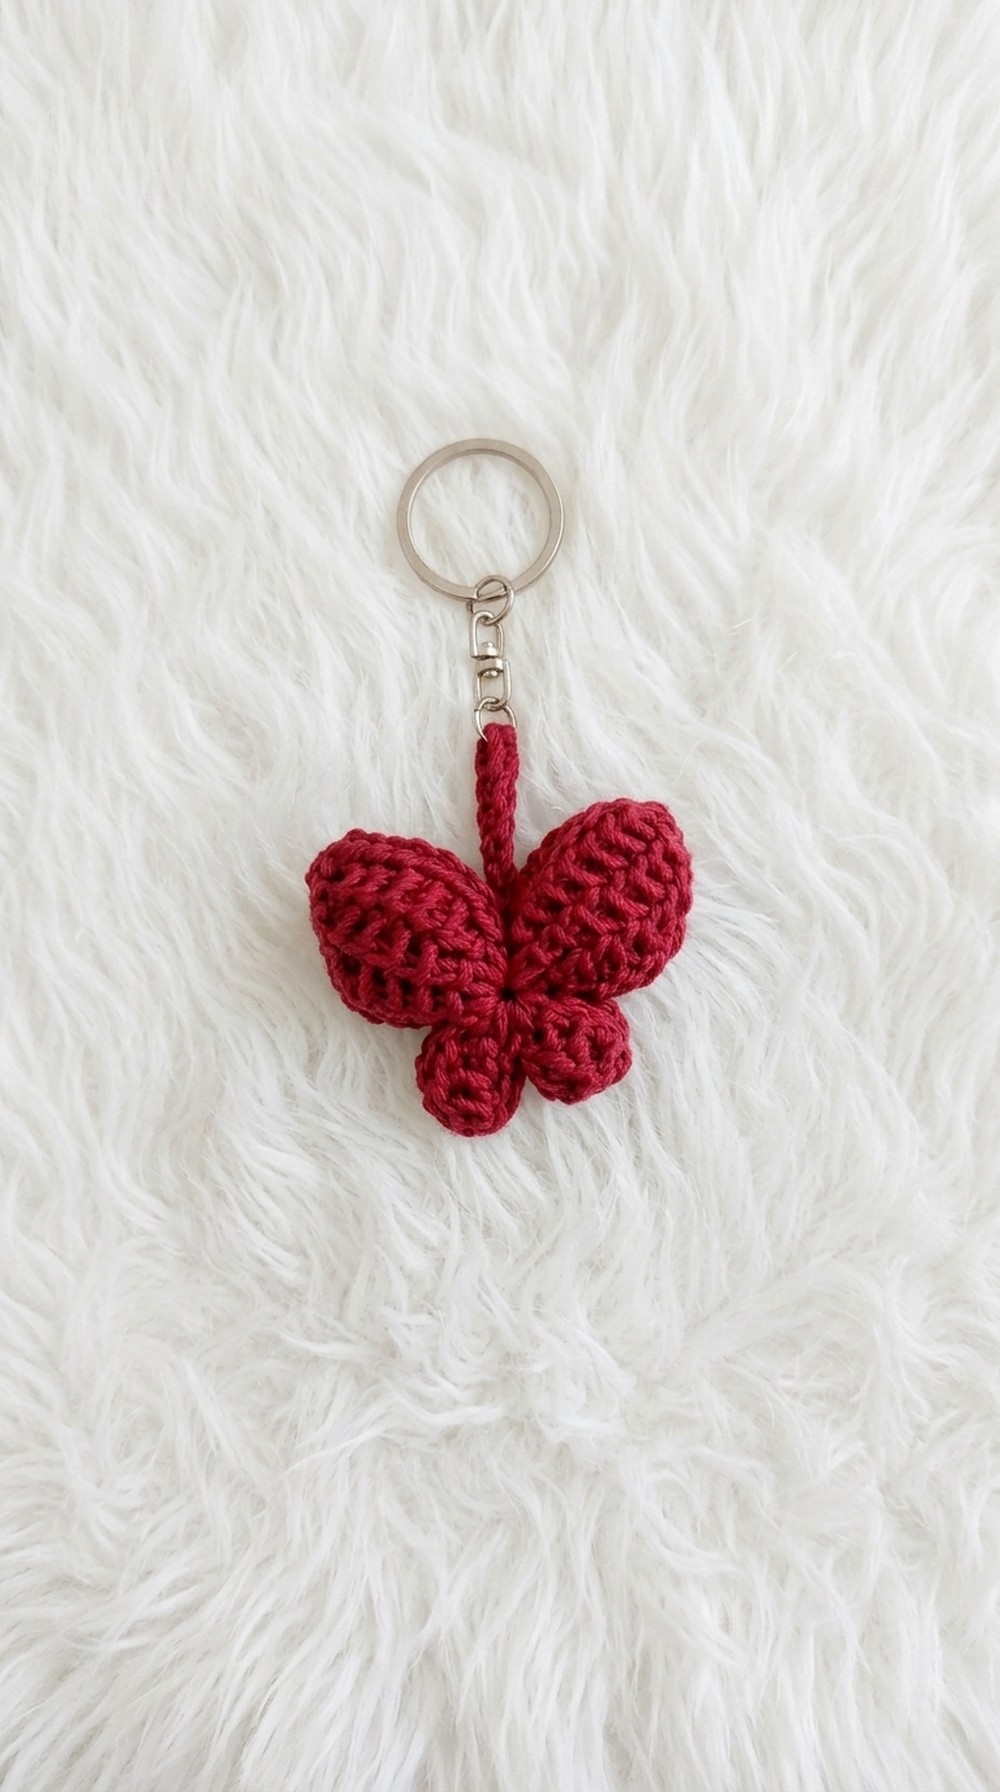
Crochet Butterfly Keychain Pattern
Crocheting is an expressive and creative project, and this butterfly-shaped keychain is a beautiful way to showcase your skills. Designed to be functional and decorative, it can be used as a keychain charm or a unique hanging decoration. Its small yet intricate pattern is achieved using techniques such as magic rings, chains, and slip stitches. This tutorial works through each step with clear instructions. You’ll also learn how to assemble the butterfly using filling and finishing touches to create the final product.
Skill Level & Terminology
- Skill Level: Advanced Beginner
- Terminology: US Crochet Terms.
Materials & Tools
- Yarn: Polyester thread (e.g., Onitsuga polyester thread) in Crimson red.
- Crochet Hook: Size 4/00 (2.5 mm)
- Additional Tools:
- Keychain hook
- Tapestry needle for sewing and tidying edges
- Fiber filling (dacron) for the wings
- Match or lighter (optional, for sealing thread ends)
- Pliers (optional, for attaching hooks)
Gauge
- Gauge: This pattern does not rely on specific gauge. Aim for tight stitches to ensure the butterfly holds its shape.
Abbreviations List
- MR: Magic Ring
- Ch: Chain
- SC: Single Crochet
- SLST: Slip Stitch
- Hook: Referring to pulling yarn through loops
Special Stitch Instructions
- Magic Ring: A crochet technique used to create a circular foundation.
- Slip Stitch: Used for joining and finishing rows or creating a neat edge.
Finished Size
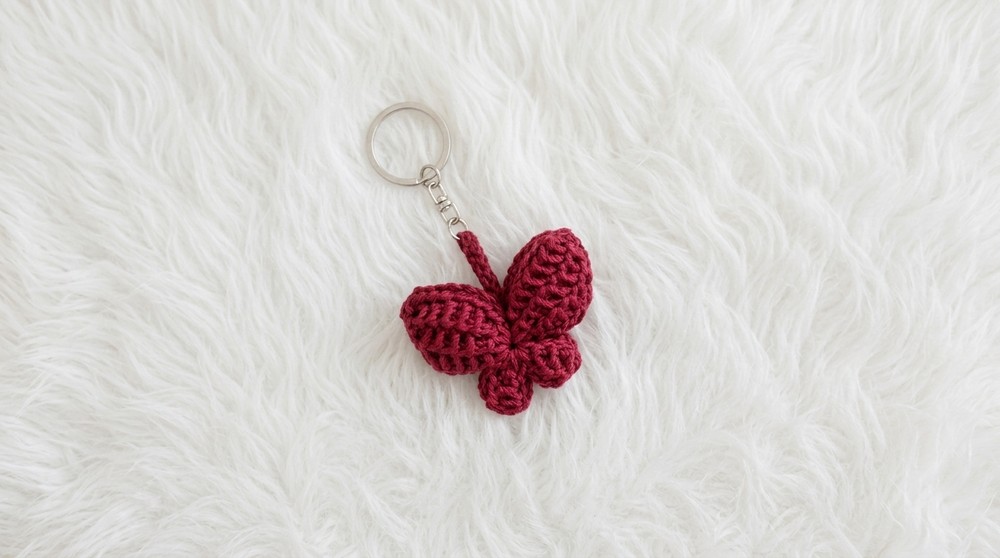
- Dimensions: Approx. 6 cm wide x 6 cm long including wings and body.
The Pattern
1. Butterfly Wings – Large Front Wings
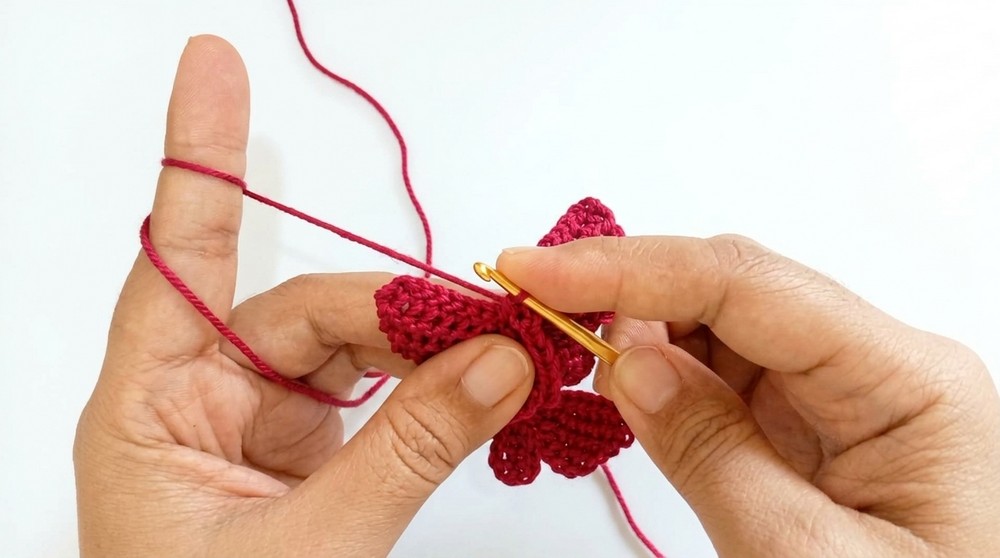
- Start with a Magic Ring (MR): Cross the yarn to form a circle and hook through the loop to begin.
- Chain 8 (Ch): Create eight chains in the MR.
- Work into the back loops of the chain:
- Hook yarn for 7 loops in the back of the chain to build a curved pattern.
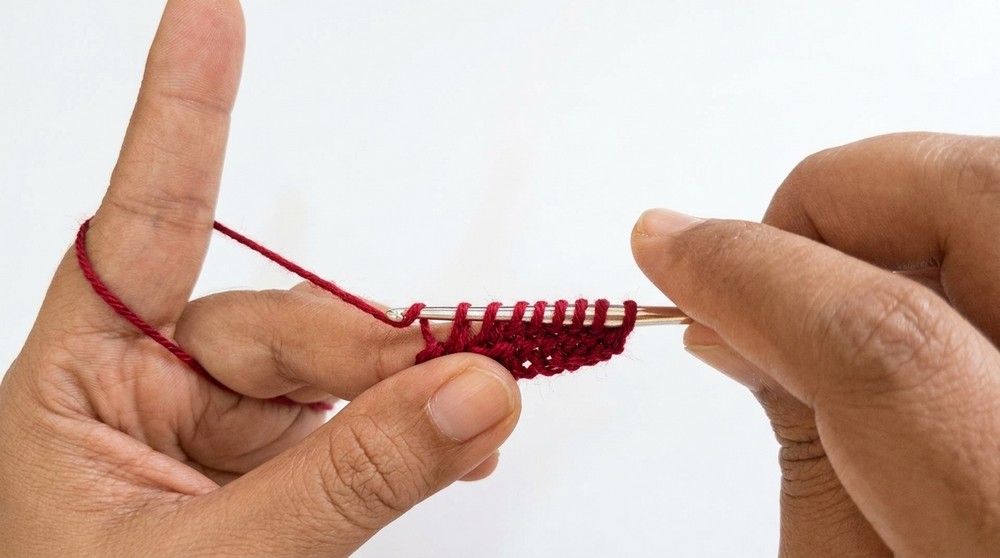
- Hook the 8th loop through the MR for stability.
- Hook yarn for 7 loops in the back of the chain to build a curved pattern.
- Remove loops two at a time:
- Hook yarn and pull through in sets of two loops until only two loops remain.
- Hold the long thread tail at the end of your stitch to keep the tension controlled.
- Finish with SLST:
- Make a slip stitch in the long thread you held earlier.
- Repeat the steps to create 3 additional rows for the larger wings.
Completion Note: The large wings will consist of four rows (adding stitches gradually). Don’t rush—controlling the thread tension is key to making round, smooth wings that hold their shape.
2. Butterfly Wings – Smaller Back Wings
- Begin with Ch 4 in the MR.
- Work into the back loops like before:
- Hook yarn for 4 loops, one for each chain.
- Add a 5th loop by hooking through the MR.
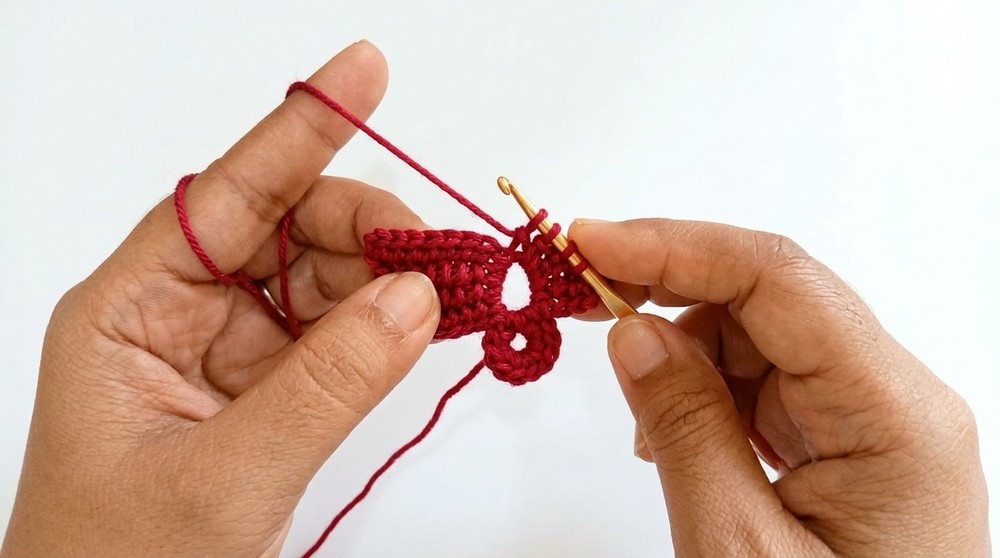
- Remove loops two at a time:
- Hook yarn and pull through two loops until only two remain.
- Hold the thread tail like before.
- Continue with SLST:
- Complete each stitch with a slip stitch at the thread tail.
- Repeat one more row for the small wings. End with another SLST to secure.
Completion Note: You should have two smaller wings now. These will form the back portion of the butterfly. Keep the stitches tight so they complement the larger wings.
3. Butterfly Assembly – Connecting Wings
- Create Chain (Ch):
- Using one thread end, make Ch 15 or adjust length based on preference.
- Secure the chain to center:
- Connect it by slip stitching at the center of the butterfly’s body.
- Fill wings with dacron: Carefully stuff dacron into each wing.
- Ensure the filling is distributed evenly for a puffed and smooth shape. Avoid overstuffing.
- Sew edges:
- Use the tapestry needle to sew the edges of the wings together at the center.
Completion Note: By attaching all wings to the body and adding dacron for volume, you will now have a fully formed butterfly. Adjust the chain length based on its intended use as a keychain or decoration.
4. Final Touches
- Finish by adding the keychain hook:
- Using pliers, attach the hook to the chain ring at the top of the butterfly.
- Tidy any loose threads using the tapestry needle.
- Use a match or lighter to seal thread ends for a cleaner finish.
Pattern Overview
This butterfly keychain uses:
- Magic Ring for the base
- Chains (Ch) for the foundation
- Hook loops for building wings
- Slip stitches (SLST) to finish clean edges
The pattern involves simple techniques but creates an intricate and impressive final product. Fill it with dacron to give the wings a 3D shape, and personalize it by exploring colors or embellishments.
Assembly & Finishing
- Secure connections: Check that the wings and body are firmly sewn together.
- Ensure stuffing is uniform: Adjust dacron in the wings as necessary.
- Attach the keychain hook securely using pliers.
Summary of Skills You’ll Learn
- Magic Ring techniques
- Building wings with loop hooks
- Attaching chains and sewing edges
- Using dacron stuffing
Final Words
With this beautiful butterfly keychain, you’ve learned several creative crochet skills that can be applied to other decorative projects. Customize it to fit your interests, whether it’s used as a keychain or hung as a decoration. Practice slow and steady work, as the result is worth the effort.