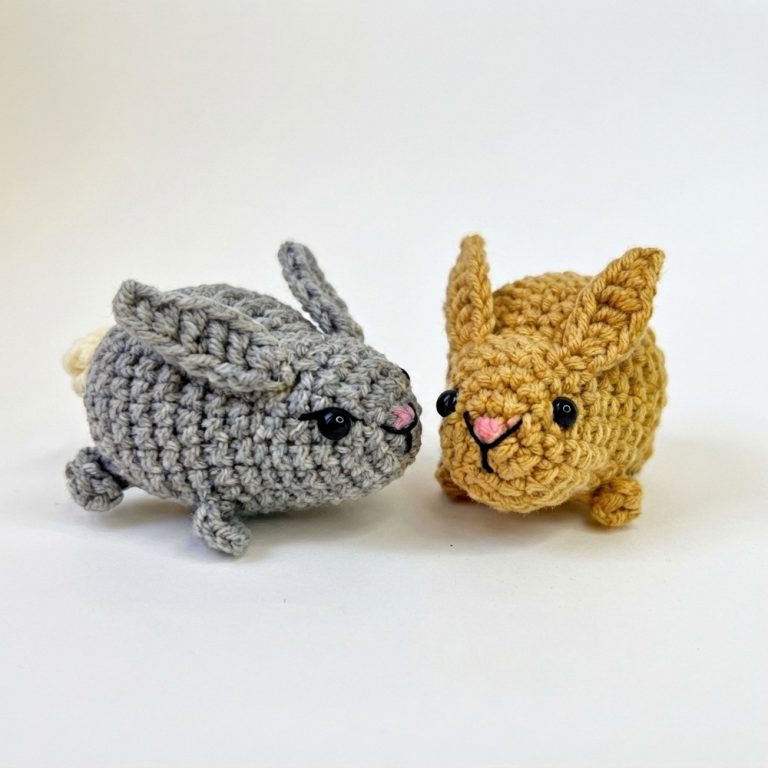
Free Crochet Bunny Pattern for Minimalist Nursery Toys & Decor

Solve your search for easy amigurumi ideas with this free crochet bunny pattern, featuring textured stitches and minimal sewing techniques.
Who doesn’t love an adorable bunny? This crochet bunny pattern is the perfect project to bring one to life, right from the comfort of your home! Designed with simplicity in mind, it’s great for beginners but still detailed enough to be a joy for seasoned crocheters.
Adorable Crochet Bunny Pattern for Baby Gifts & Easter Home Decor
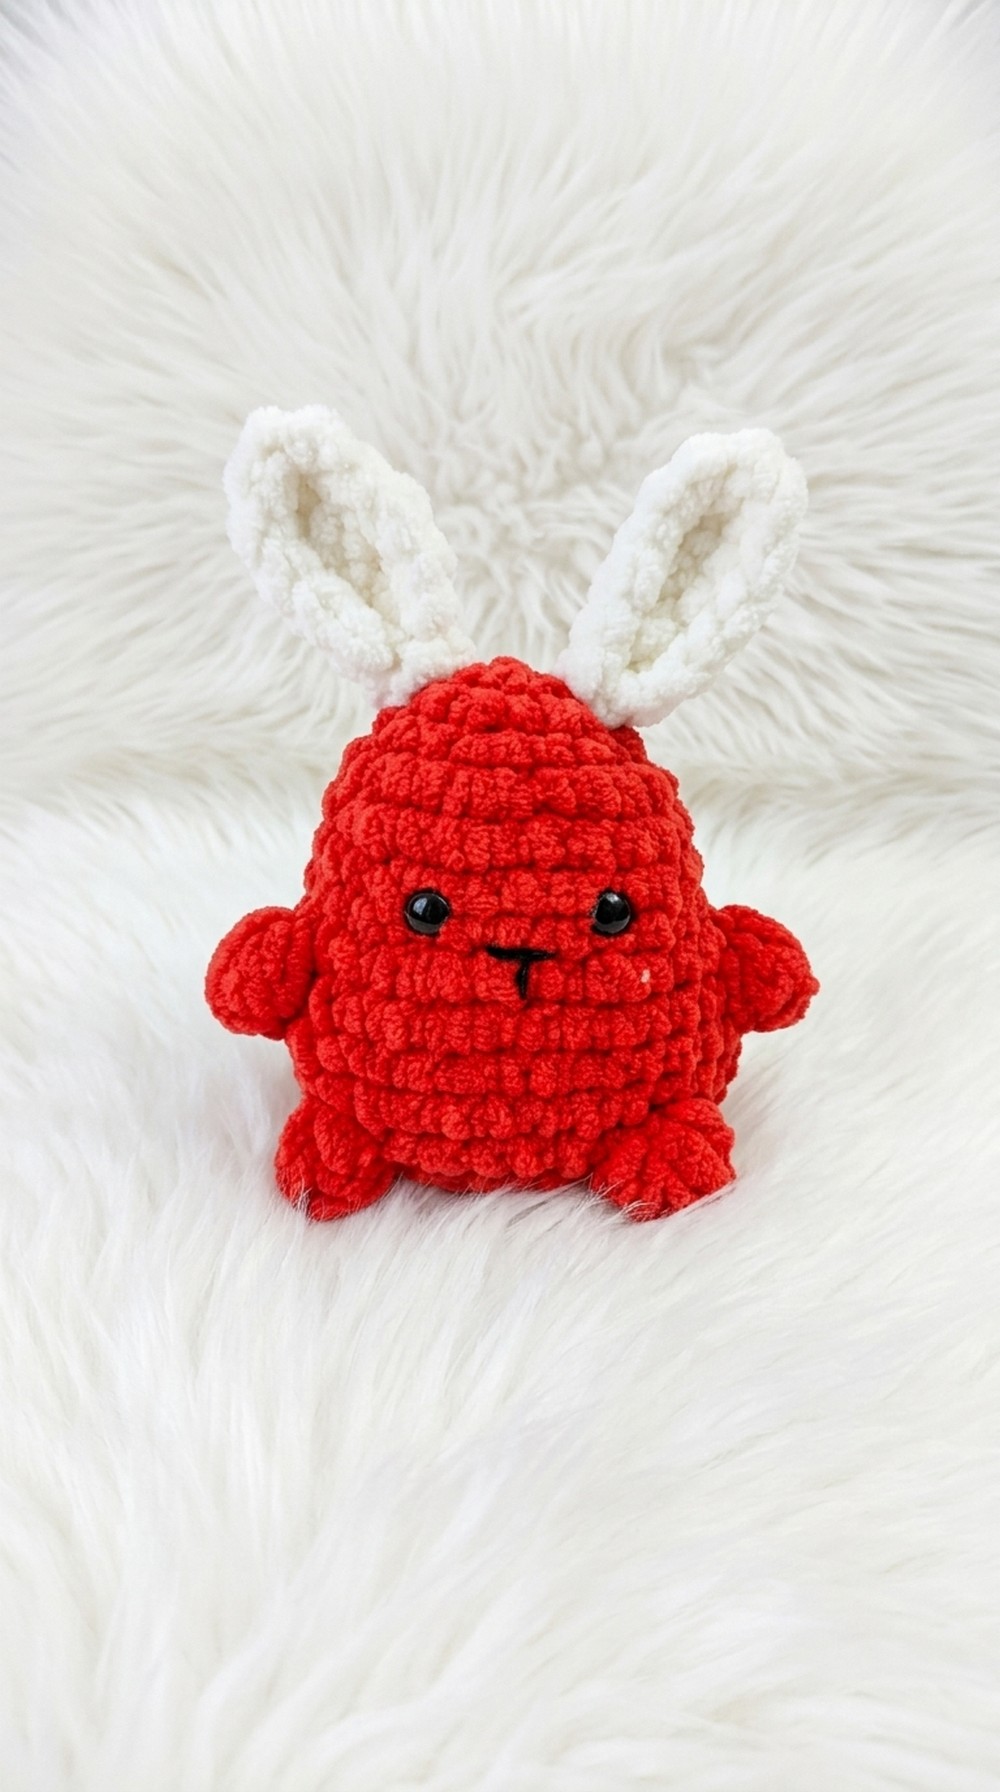
The true charm of this bunny lies in its soft, chunky body, its floppy ears, and its perfectly fluffy tail made using the popcorn stitch; a special technique that adds so much texture and personality to the design. Once you get the hang of it, you can use the popcorn stitch to make fun details for flowers, blankets, or even decorative accents on other crochet animals.
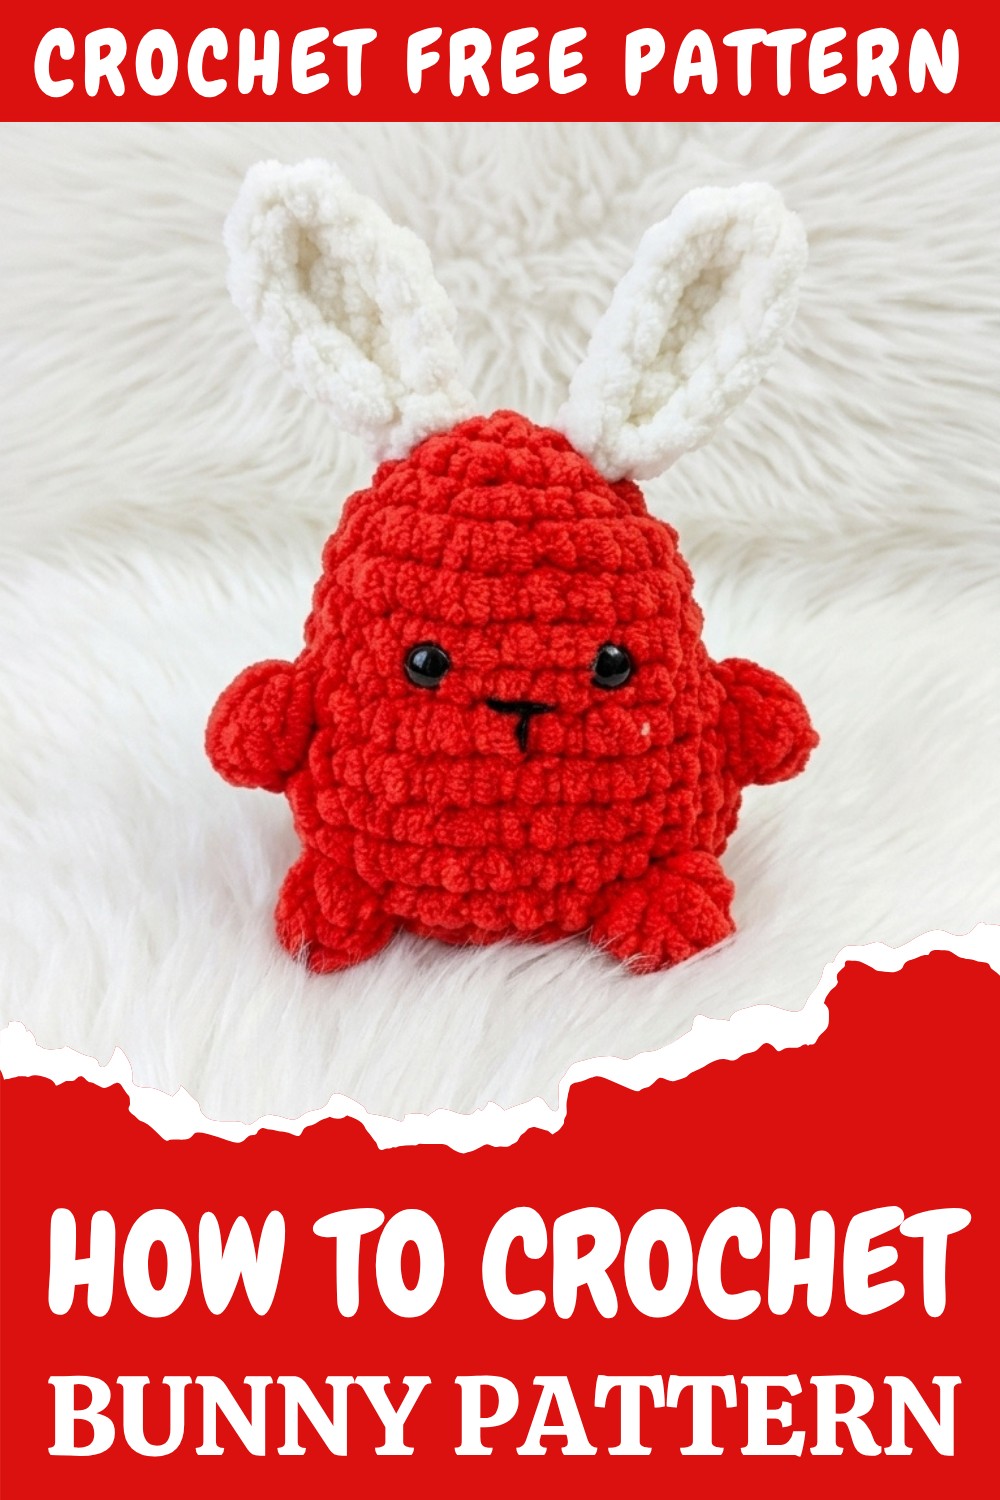
Uses
- Perfect as a baby gift or nursery decor.
- Great for Easter celebrations as a festive craft.
- Can be customized with colors to create themed plush animals.
It’s a versatile little project that serves as a perfect handmade gift for babies, nursery decor, or cheerful Easter decorations. What’s even better is that you can customize it in so many ways! From changing the color palette to playing with different yarn textures and sizes, this pattern lets you get creative while keeping the process delightfully simple. It also requires minimal sewing, so you’ll breeze through most of it with basic stitches like single crochet and magic ring.
This bunny pattern not only teaches you how to shape and stuff amigurumi (crochet plush) but also helps you get familiar with increases, decreases, and working in rounds—key techniques for crocheting other adorable animals. Once you’ve mastered your bunny, you’ll feel confident enough to create plush bears, cats, or even fun keychain characters. It’s not just a pattern; it’s your gateway into the colorful world of crochet animals. Whether you’re making it for someone special or for yourself, this pattern is sure to fill your heart with joy—and maybe even inspire your next crochet adventure.
Step-by-Step Detailed Pattern: Free Crochet Bunny Pattern
This adorable crochet bunny is a cute and cuddly project, perfect for beginners who want to create whimsical amigurumi toys. Designed with simple stitches such as magic ring, single crochet (sc), and the popcorn stitch, this pattern creates a bunny that requires minimal sewing while giving it charming details like a tail, ears, and expressive eyes. It’s ideal for gifting, home decor, or baby accessories. The pattern emphasizes easy-to-follow techniques, making it suitable for both new learners and experienced crocheters.
Beginner to Intermediate. Users only need basic knowledge of single crochet, magic ring, and simple increases or decreases.
Suggested Yarn:
Chunky yarn or wool (4-ply recommended). You can choose any color and even opt for vibrant shades or pastels to customize your bunny.
Tools Needed:
- Crochet Hook: 5mm
- Yarn used in bright red color
- Safety Eyes (optional, can use yarn for embroidered eyes)
- Yarn Needle
- Stitch Markers (or safety pins)
- Scissors
Step-by-Step Crochet Bunny Pattern
1. The Body:
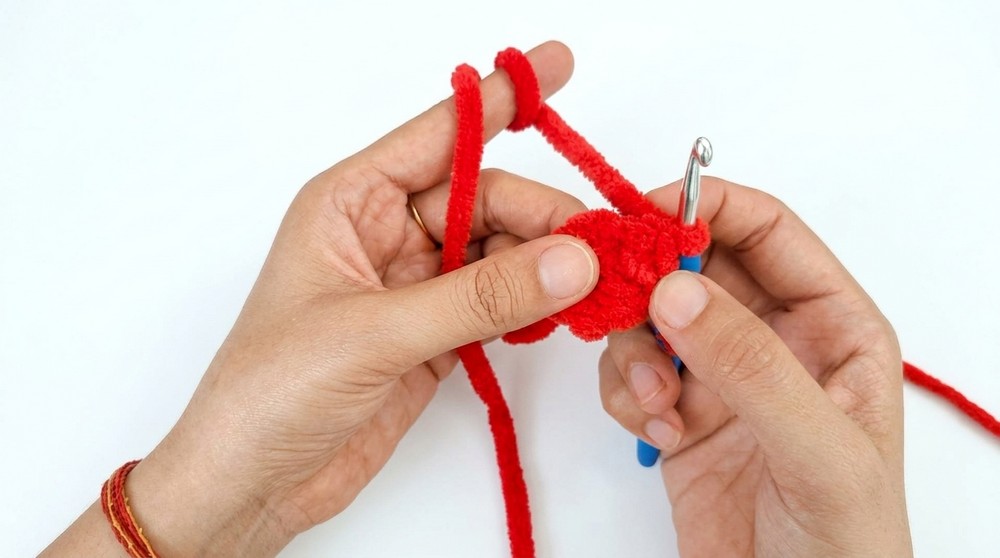
- Start with a Magic Ring:
- Make a magic ring.
- Chain 2.
- Work 6 single crochets (sc) into the ring. (Tutorial Tip: If you find forming a magic ring challenging, you can use alternative methods like chaining 2 and working into the first chain).
- Round 2 (Increase):
- Mark the first stitch using a stitch marker for accuracy.
- Work 2 single crochets (sc) in each stitch (you will end with 12 single crochets).
- Round 3:
- Work 1 single crochet in the first stitch and then work 2 single crochets in the next stitch. Follow this pattern: 1 sc, 2 sc. You’ll end with 18 stitches.
- Round 4 (Increase):
- Work 2 single crochets in one stitch, then 1 single crochet in the next two stitches. Repeat this sequence until the round ends (you will have 24 stitches).
- Rounds 5–7:
- No increase rounds! Work 1 single crochet in each stitch. Keep 24 stitches throughout.
- Round 8 (Increase Again):
- Repeat the increase pattern (follow Round 4) until you have 32 stitches.
2. Adding Arms with Popcorn Stitches:
- Round 9:
- Begin with 9 single crochets (sc).
- Create a Popcorn Stitch at the next stitch as follows:
- Work 5 double crochet (dc) stitches into the same stitch.
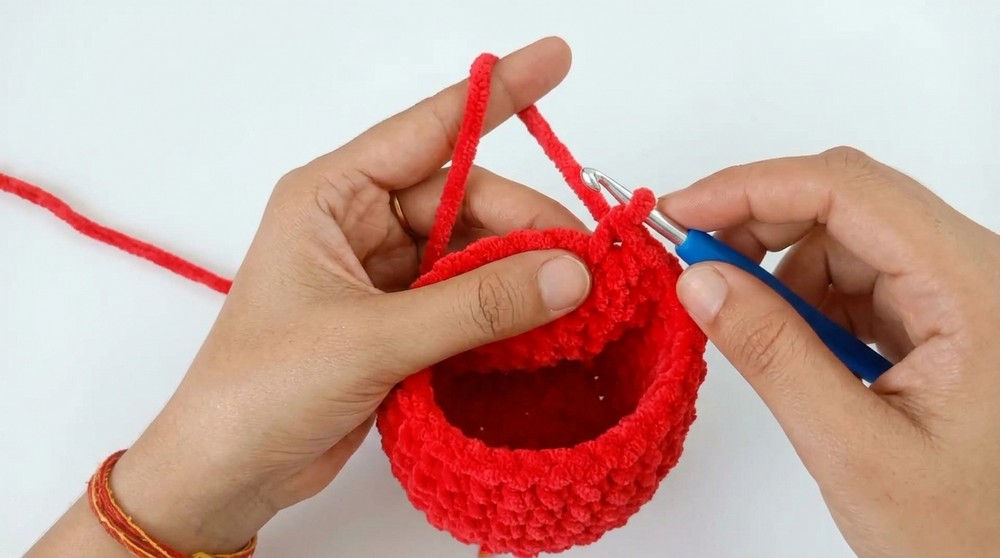
- Pull the last loop slightly, insert your hook into the first dc stitch, pull the loose loop through, and fasten.
- Work 5 double crochet (dc) stitches into the same stitch.
- Continue with 13 single crochets after the popcorn stitch, and form another popcorn stitch.
3. Rounds 10–11:
- Work single crochet in every stitch, covering even popcorn stitches seamlessly. Ensure stitch count remains 32 stitches.
4. The Tail:
- Round 12:
- Create a Popcorn Stitch again for the tail location.
- Work single crochet in the next 11 stitches and form another popcorn stitch.
5. Ears:
- Make two ears:
- Start with a chain of 6.
- Work single crochets back along the chain, skipping the first chain stitch. Repeat for one row.
- Increase at one end and repeat rows with single crochet, turning after each row until desired ear shape.
- Attach ears to the head (tutorial recommends aligning ears between the second and fourth rounds of the bunny’s body).
6. Decreasing to Close the Bunny:
- Round 13:
- Begin decreasing to shape the top of the bunny by using invisible decreases. Insert into the front loops of two stitches, pull through all three loops. Repeat throughout the round.
- Round 14:
- Further decrease every other stitch until you have a small opening.
7. Adding Eyes and Nose:
- Safety Eyes Placement:
- Attach safety eyes (or embroider yarn eyes if you don’t have them). Eyes should be between rounds 6 and 7.
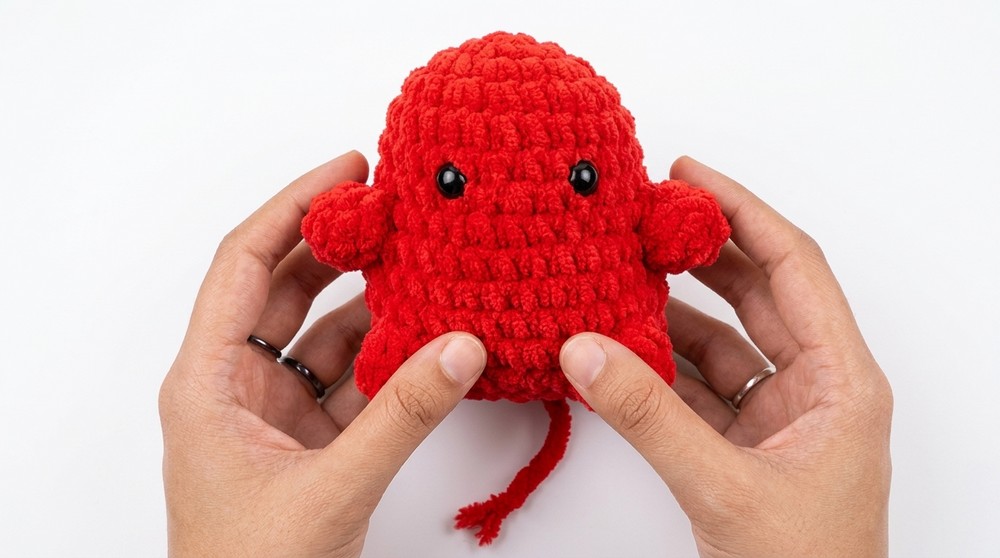
- Attach safety eyes (or embroider yarn eyes if you don’t have them). Eyes should be between rounds 6 and 7.
- Nose:
- Use black yarn to create a cute triangle nose centered below the eyes.
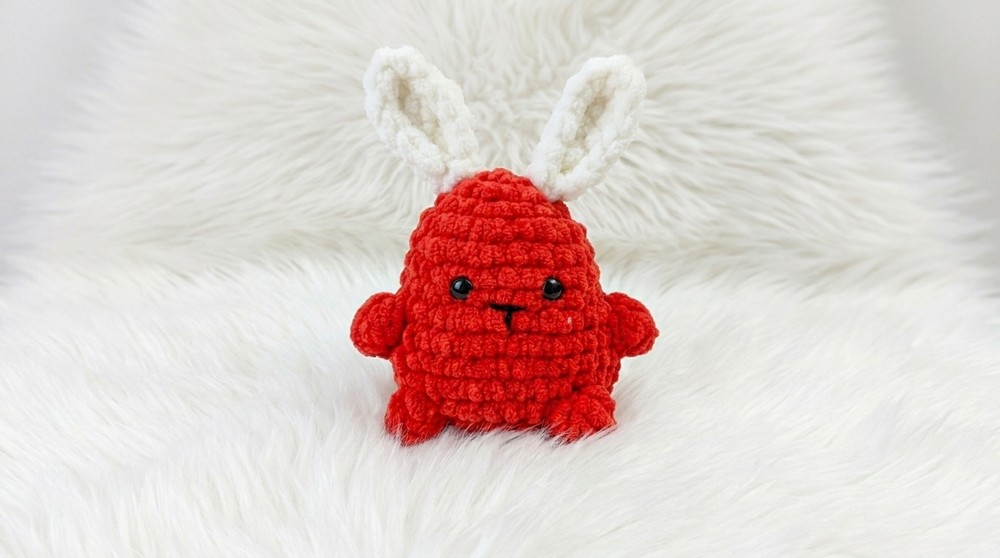
- Use black yarn to create a cute triangle nose centered below the eyes.
Special Techniques Used:
- Magic Ring: Provides a seamless, tight center for the bunny’s body.
- Popcorn Stitch (pc): Gives the bunny arms and tail a unique textured effect.
- Invisible Decreases: Ensures smooth closing at the top.
Necessary Tips:
- Tension: Aim for uniform tension in all rounds to prevent uneven shapes.
- Stuffing: Check all areas for consistent filling to avoid hollowness.
- Safety Eyes: If gifting to small children, opt for embroidered eyes for safety.
Conclusion:
The Free Crochet Bunny Pattern offers both creativity and simplicity, making it the perfect project for beginners exploring amigurumi. The combination of textured details like popcorn stitches and smooth single crochets creates a charming bunny ideal for various purposes. With minimal sewing required, this pattern makes the crocheting process easy and enjoyable.