FREE Crochet Strawberry Bucket Hat with This Pattern

Learn how to crochet a stylish strawberry bucket hat with this easy-to-follow pattern featuring detailed instructions and unique design.
Sunny days often call for a fun and fresh way to stay shaded, especially for little ones who love to play outdoors. The Free Crochet Strawberry Bucket Hat pattern perfectly captures that spirit, offering a delightful accessory that adds a pop of color and charm to summer wardrobes. Ideal for spring and summer adventures, this hat keeps kids comfortable while bringing a whimsical vibe to their look.
Crochet Strawberry Bucket Hat Pattern For Kids
Its vibrant strawberry design makes it more than just sun protection, it’s a playful statement piece that pairs beautifully with casual outfits, picnic attire, or seaside ensembles. Whether at a park, beach, or garden party, this bucket hat brightens any occasion with its cheerful appeal and kid-friendly style.
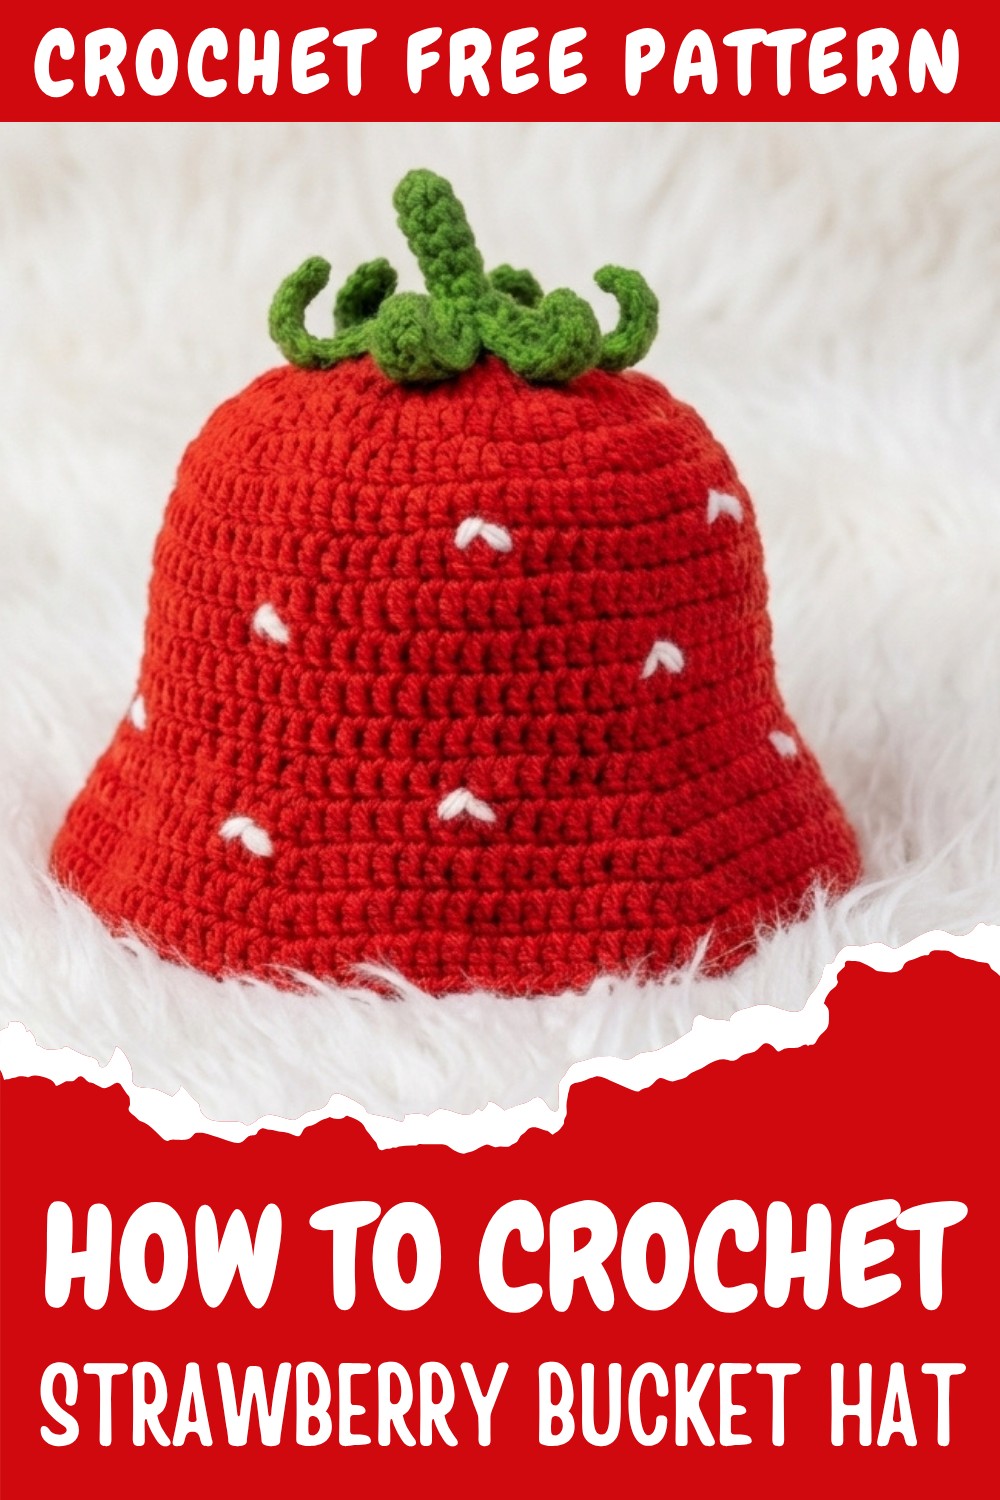
The texture of the hat is soft and breathable, thanks to the use of milk cotton yarn in a five-ply weight, which provides just the right balance between sturdiness and comfort. The carefully crafted rounds form a smooth crown that fits snugly, while the brim features gentle increases to create a nicely flared shape that offers practical sun coverage.
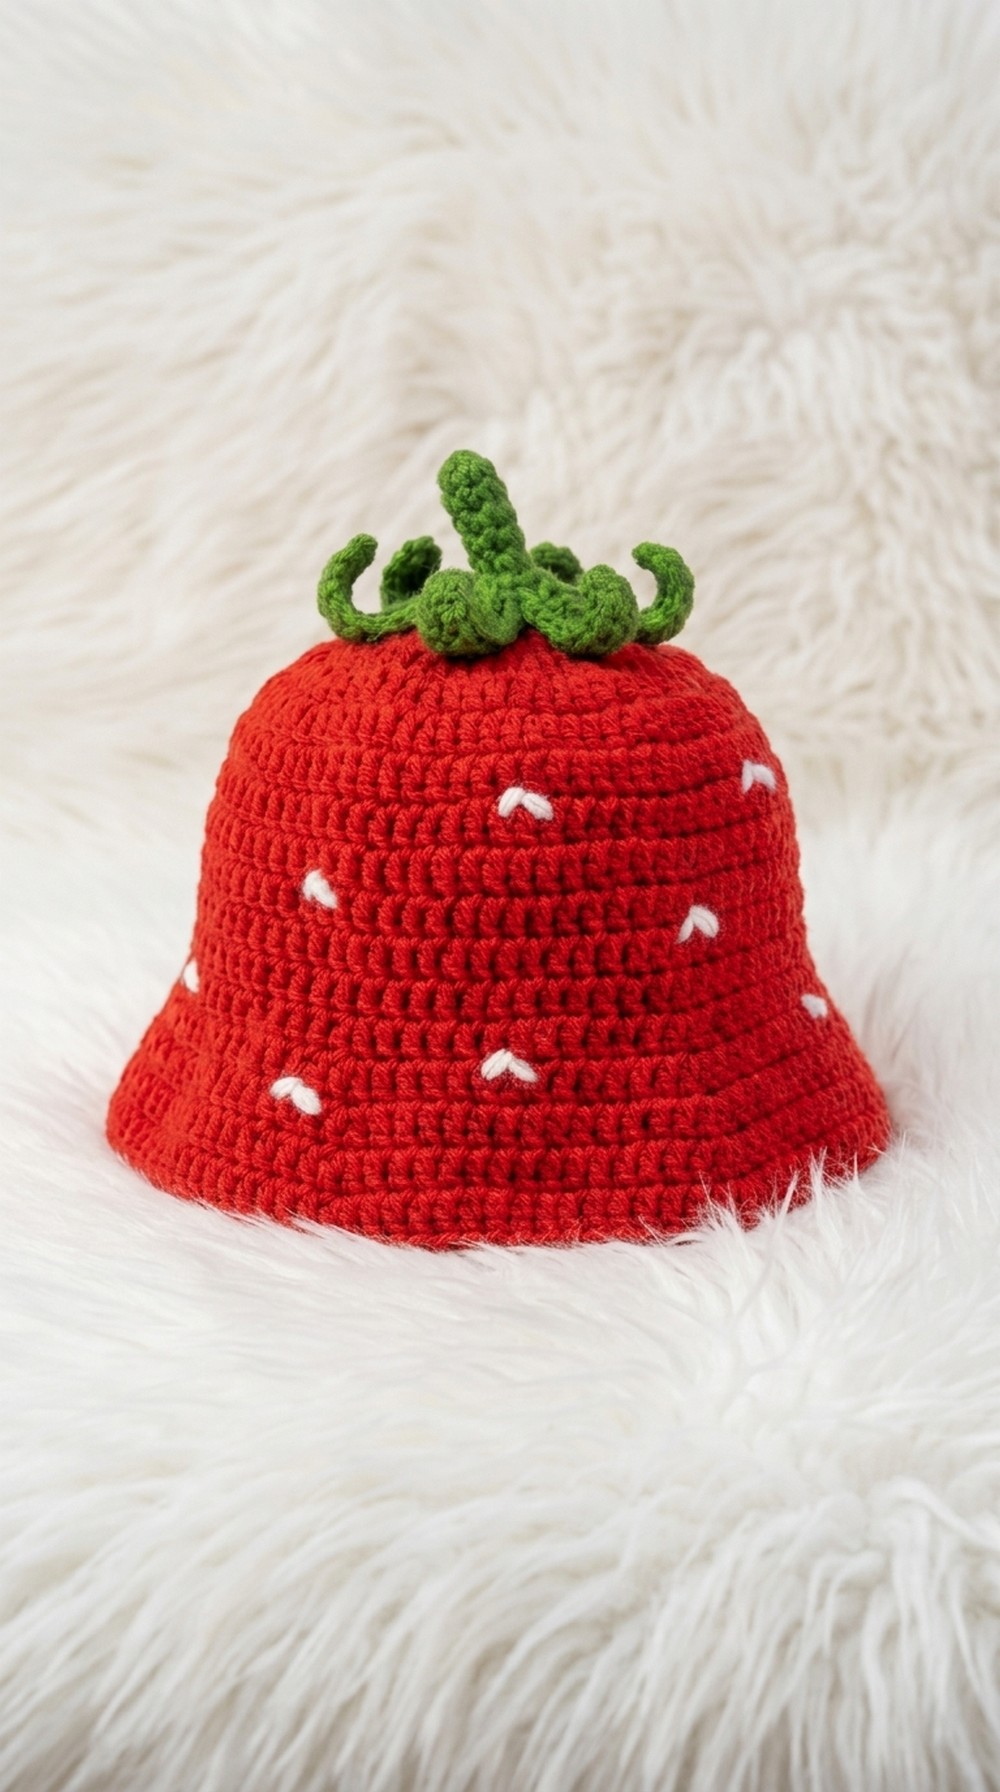
Standout details include the charming strawberry seeds added with neat white stitch accents, and the leafy stem and leaves crafted with playful curls that bring the fruit to life. This Free Crochet Strawberry Bucket Hat pattern invites creativity and warmth, making it a perfect handmade gift or cheerful personal accessory for sunny days.
Crochet Strawberry Bucket Hat Pattern
The Strawberry Bucket Hat is a delightful and functional crochet project, ideal for children or adults. Its whimsical design, complete with a textured brim and playful strawberry seed details, makes it a fun addition to any wardrobe. By following this pattern, you can create a bucket hat in various sizes, from kids to adults, and even personalize it with different accents.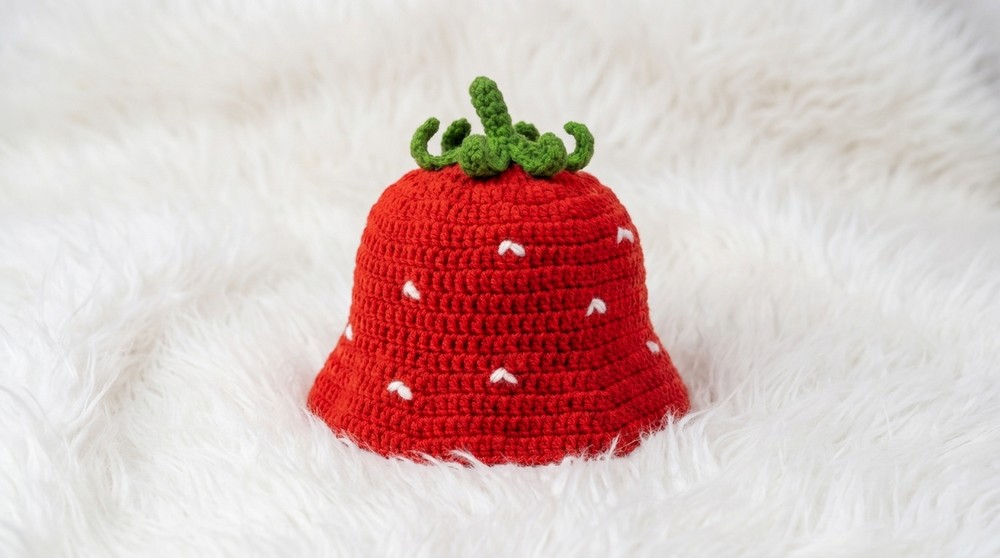
Skill Level
Intermediate – This pattern involves working in continuous rounds, increases, and decorative customization using techniques like the double magic ring and extended double crochet stitches. Perfect for crocheters comfortable with foundational stitches and shaping.
Materials
- Yarn:
- 5-ply milk cotton yarn (red for the top and body, green for the stem and leaves, and white for the seeds).
- Approximately 2 balls (more than enough for one hat).
- Hook:
- 4 mm crochet hook for the leaves and stem.
- 5 mm crochet hook for the primary bucket hat rounds.
- Additional Supplies:
- Scissors.
- Yarn needle (for weaving in ends and assembling leaves).
- Tape measure (to check dimensions).
Stitch Abbreviations
- Ch: Chain
- Sl St: Slip Stitch
- SC: Single Crochet
- DC: Double Crochet
- Inc: Increase (work two stitches into the same stitch)
- Ext DC: Extended Double Crochet
- Tr: Triple Crochet
Special Stitches
Double Magic Ring
- Wrap the yarn around your fingers twice to form two loops.
- Insert the hook under both loops, yarn over, and pull up a loop.
- Chain 2 to secure the double magic ring.
- Work all stitches into the ring before pulling the tail tight to close the loops completely.
Extended Double Crochet (Ext DC)
- Yarn over, insert hook into the next stitch, yarn over, and pull up a loop.
- Yarn over, pull through one loop to extend the stitch height.
- Continue finishing the stitch as a regular DC. This stitch height falls between DC and Tr.
Useful Tips
- Fit Adjustments: For larger sizes, continue increasing as described after the sixth round. Use a tape measure to check the diameter (guide provided in the pattern).
- Tension Control: Consistent tension creates smooth stitches and ensures the hat dimensions are accurate.
- Customization: Add fewer or more rounds to vary the hat’s height and brim width.
- Seed Placement: Distribute white seeds randomly to mimic a strawberry’s natural look. Knot securely to prevent unraveling.
Pattern Instructions
The pattern is broken down into sections: Bucket Hat Top, Hat Body, Brim, and Stem and Leaves with customization for the seeds.
1. Bucket Hat Top
The top portion of the hat starts with a series of increasing rounds to form a circular shape.
Round 1
- Create a double magic ring.
- Ch 2 (does not count as a stitch).
- Work 12 DC into the magic ring.
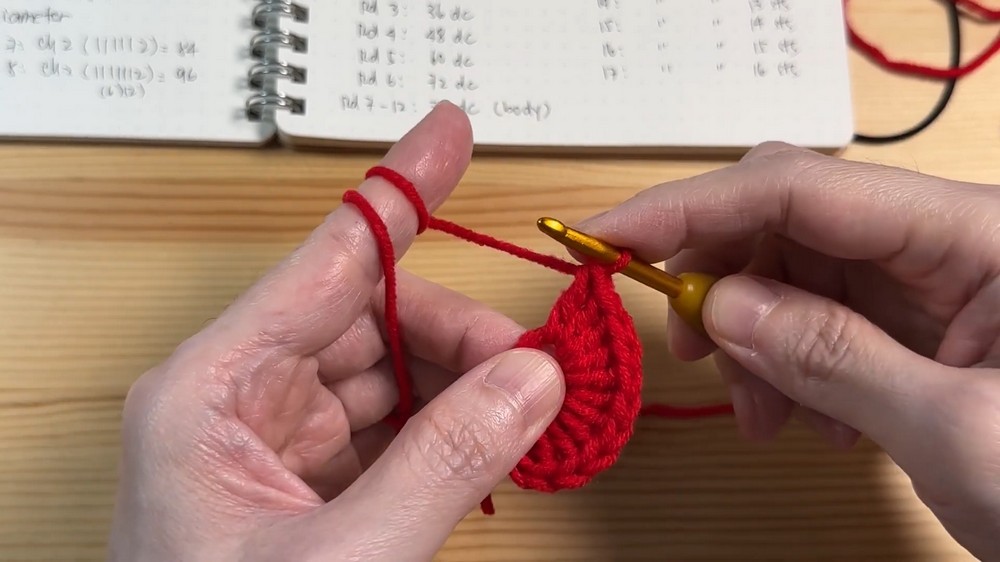
- Pull the tail tightly (observe which yarn thread moves) to close the ring.
- Join with a Sl St into the first DC.
- (Total: 12 DC)
Round 2
- Ch 2 (does not count as a stitch).
- Work 2 DC in each stitch around.
- Join with a Sl St into the first DC.
- (Total: 24 DC)
Round 3
- Ch 2.
- Work 1 DC in the first stitch, 2 DC in the next stitch around (pattern: 1 DC, Inc).
- Join with a Sl St into the first DC.
- (Total: 36 DC)
Round 4
- Ch 2.
- Work 1 DC in the first two stitches, 2 DC in the third stitch around (pattern: 1 DC, 1 DC, Inc).
- Join with a Sl St into the first DC.
- (Total: 48 DC)
Round 5
- Ch 2.
- Work 1 DC in the first three stitches, 2 DC in the fourth stitch around (pattern: 1 DC, 1 DC, 1 DC, Inc).
- Join with a Sl St into the first DC.
- (Total: 60 DC)
Round 6
- Ch 2.
- Work 1 DC in the first four stitches, 2 DC in the fifth stitch around (pattern: 1 DC, 1 DC, 1 DC, 1 DC, Inc).
- Join with a Sl St into the first DC.
- (Total: 72 DC)
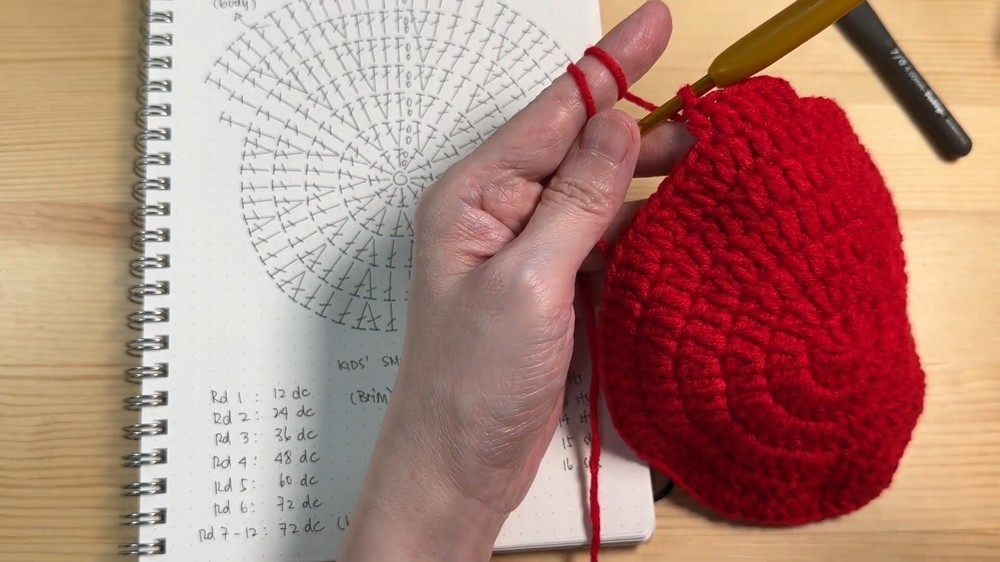
- The top of the hat measures approximately 5.25 inches (13.5 cm) in diameter for a kids’ size.
2. Body of Hat
The sides of the hat are straight, without increases.
Rounds 7 to 12
- Ch 2.
- Work 1 DC in each stitch around. (Total: 72 DC per round)
- Continue until the body measures 6 cm (2.5 inches).
If a longer body is needed, add 1–2 more rounds as desired.
3. Hat Brim
The brim involves increases to create a wider edge.
Round 13
- Ch 2.
- Work 1 DC in the first 11 stitches, 2 DC in the 12th stitch around (pattern: 11 DC, Inc).
- (Total: increases in every 12th stitch.)
Subsequent Rounds
- Continue the pattern, increasing every 13 stitches in the next round, and then every 14 stitches in the following round.
- Stop increases at Round 17, finishing the brim.
- Join and finish with an invisible join using a yarn needle for a clean edge.
4. Stem and Leaves
Stem
- Create a magic ring.
- Work 6 SC into the ring and close tightly.
- Work two rows of 6 SC.
Leaves
- Ch 11.
- Skip the first chain, Sl St into the second chain.
- Work as follows:
- 2 SC in the next two chains.
- 2 HDC in the following two chains.
- 3 DC in each of the next three chains.
- 1 Ext DC in the next chain.
- 1 Tr in the last chain.
- Skip two stitches and Sl St into the next.
- Create six leaves total.
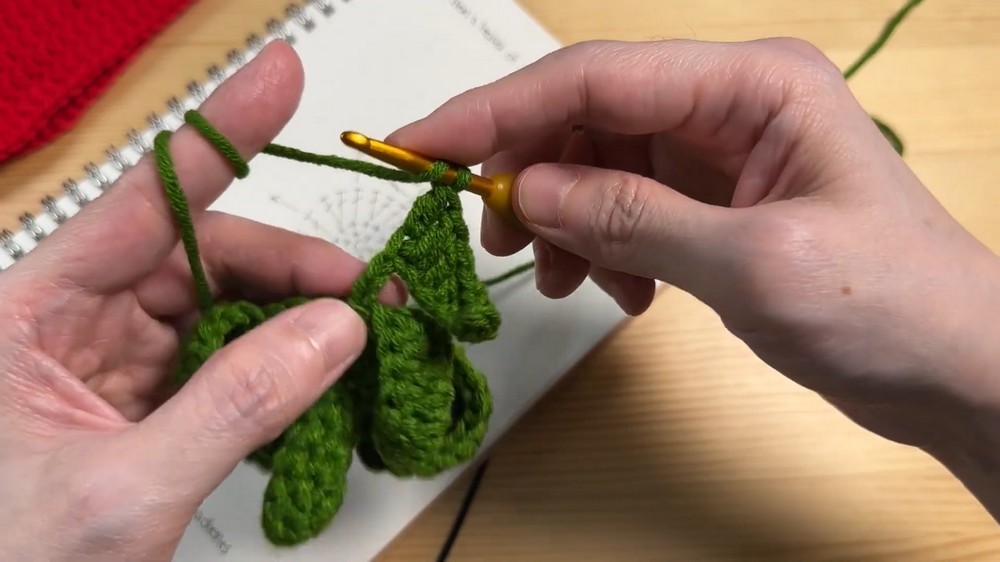
5. Seeds and Final Details
For the white seeds:
- Cut several strands of white yarn, approximately 10 inches long each.
- Randomly stitch each strand onto the red body of the hat to mimic strawberry seeds. Use an inverted “V” shape for seed placement. Knot and secure each strand.
Conclusion
The Strawberry Bucket Hat is a playful and functional accessory, perfect for kids and adults alike. Customize the design with different colors or patterns to suit your style, and enjoy the creative process of making something uniquely personal.