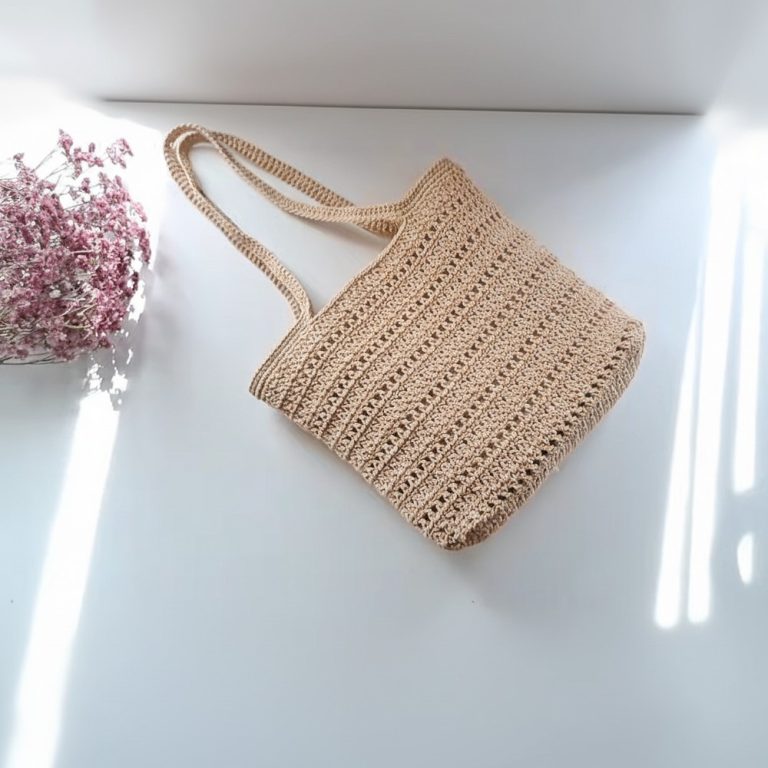
Free Crochet Crossbody Bag Pattern Explained Simply
Stylish and functional free crochet bags pattern, invites you to personalize stunning accessories for every outfit and occasion with charm.
A bag with neat stitches and charming shapes adds a touch of beauty to daily life. Some are roomy enough for shopping trips or carrying books, while others are just right for holding coins or tiny treasures. Patterns like crochet Bags pattern help you make these bags to fit your needs, with easy steps anyone can follow. The designs are built for comfort and strength, useful for every day and gentle on your hands.
Free Crochet Tote Bag Pattern for Everyday Use
Each bag can become a favorite for its usefulness, making it simple to keep things safe when you go out. No need to spend too much since homemade bags are practical and can even become gifts for someone special. When you finish, you feel proud and happy, knowing your bag is unique. These pattern make it easy for all ages to try, letting everyone enjoy the beauty and features that make each bag more than just something to carry things in—it’s also a sign of care and creativity.

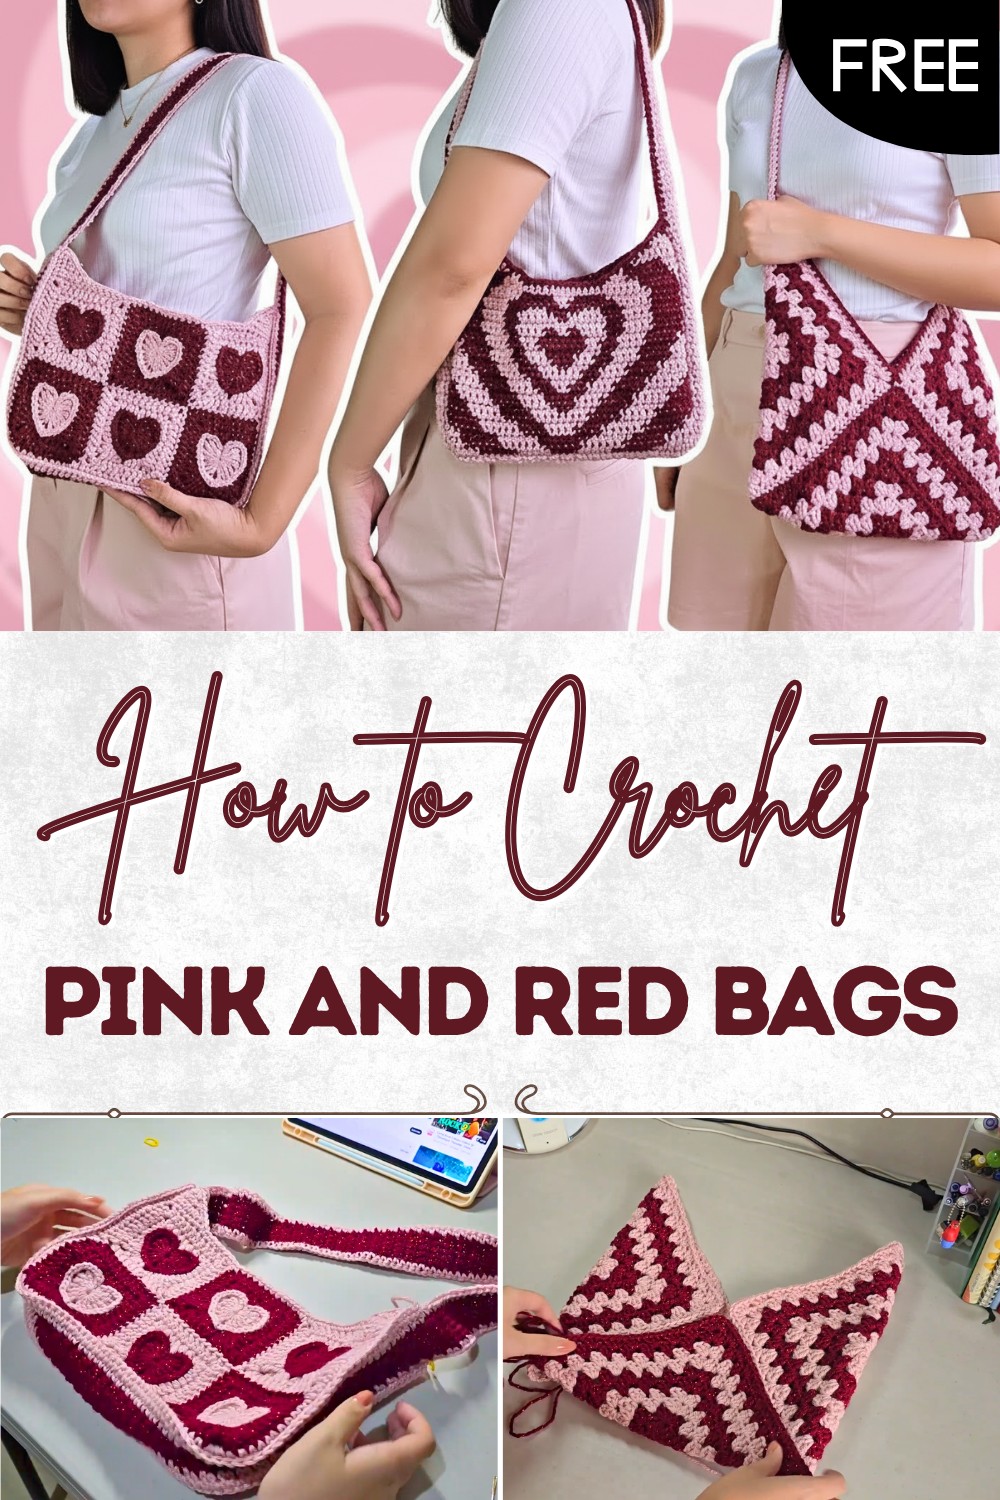
Valentine’s Day Crochet Bag Collection
Materials
- Yarn:
- Worsted weight (#4) acrylic yarn (e.g., Big Twist Value Pound in Light Rose, Big Twist Twinkle in Red)
- Optional: any worsted weight yarn with or without glitter for accents
- Hooks:
- 5.5 mm crochet hook (for granny square/heart granny square bags)
- 5 mm crochet hook (for straps or tighter stitches)
- 6 mm (used for swatching)
- Notions:
- Tapestry (yarn) needle
- Scissors
- Blocking mats, pins, and a steam iron/steamer (for blocking panels)
- Stitch markers
- Optional: Lining fabric, zipper/fasteners, sewing needle and thread (for lining)
Key Abbreviations (US Terms)
| Abbreviation | Definition |
|---|---|
| ch | chain |
| sc | single crochet |
| dc | double crochet |
| hdc | half double crochet |
| sl st | slip stitch |
| st(s) | stitch(es) |
| rep | repeat |
| RS | right side |
| WS | wrong side |
Special Notes
- Each bag consists of two main panels and a strap; simple finishing by sewing/attaching with single crochet.
- Make color changes as described or personalize.
- Adjust panel/strap size to your preference.
- Gauge is not strictly crucial but impacts bag size.
- Optional: Add lining for structure.
- These are beginner to intermediate patterns.
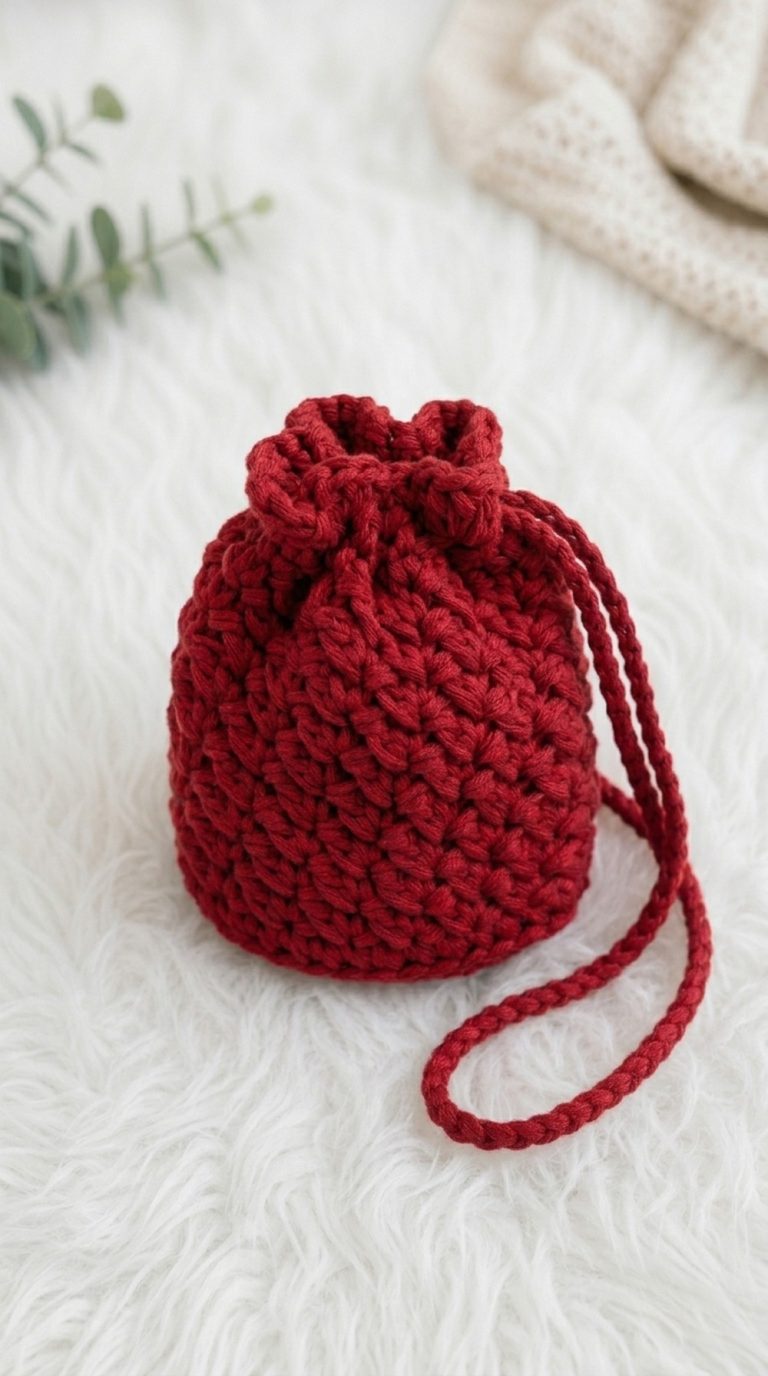
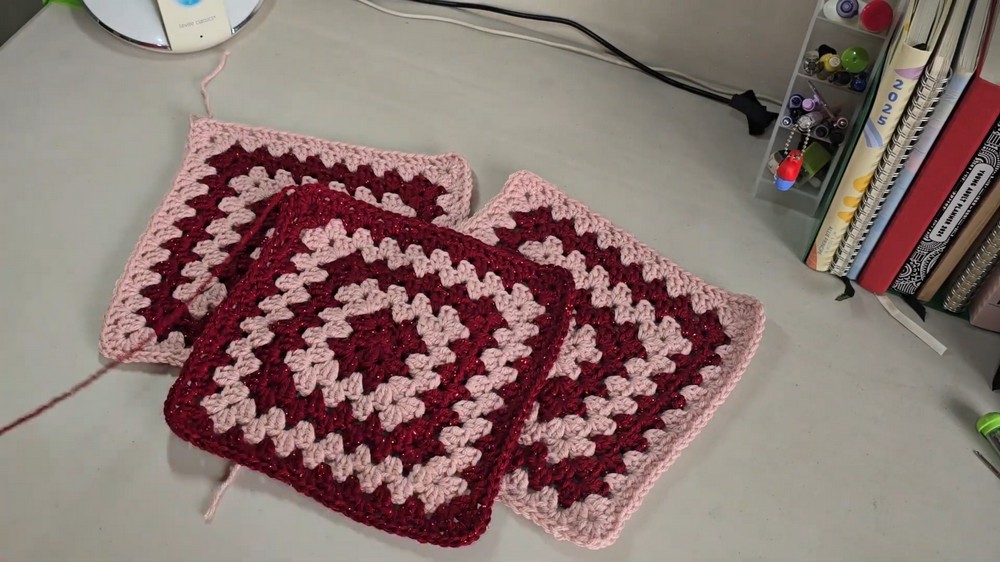
1. Simple Granny Square Bag
Panels (Make 3 Large Squares)
- Start: With selected color, ch 4, sl st to form a ring.
- Round 1: Ch 3 (counts as dc), 2 dc in ring, ch 2, 3 dc in ring; rep from * to * two more times, ch 2, sl st to top of beg ch-3.
- Round 2: Sl st to next ch-2 sp, ch 3, 2 dc in same sp, ch 2, 3 dc in same sp (corner made), ch 1, (3 dc, ch 2, 3 dc) in next corner sp; rep around, join.
- Rounds 3–12: Continue as a traditional granny square: corners are [3 dc, ch 2, 3 dc] in each corner space; sides are [3 dc, ch 1] in each space. Change colors every 2 rounds, or as desired.
- For two squares, start with pink and alternate to red.
- For one square, start with red and alternate to pink.
- Each square should be roughly 12″ diagonal.
- Fasten off. Weave in ends.
Assembly
- Fold two squares into triangles.
- Place the third square beneath, layering according to video instructions for desired shape.
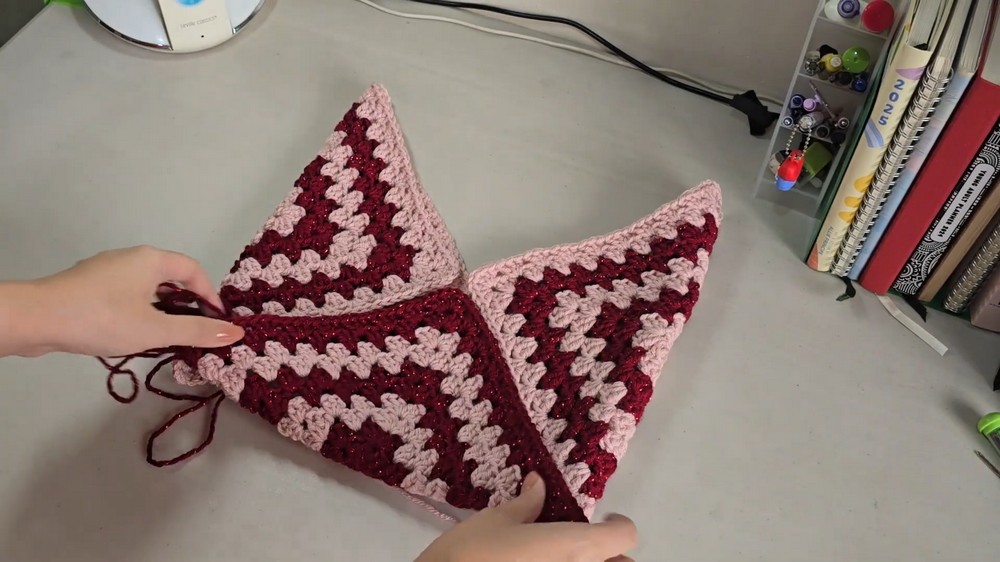
- Sew squares with the mattress stitch (insert under outer loops of each square and draw yarn through), working on the WS.
- Weave in ends and turn bag RS out.
Strap (Tunisian Crochet Optional)
- Attach yarn to bag corner.
- Pull up 3–4 loops for a foundation (e.g., pick up a loop in each of 3 adjacent sts).
- Forward Pass: Yarn over, pull through 1, yarn over, pull through 2 across until 1 loop remains.
- Next Rows: Insert hook under next vertical bar, pull up a loop—repeat to end, then complete a forward pass as above.
- Continue in Tunisian Simple Stitch to desired length.
- Repeat for the second side (other bag corner).
- Straps should be long if you want the bag to be adjustable or used as crossbody.
- Finish the top edge and strap with a round of single crochet for neatness.
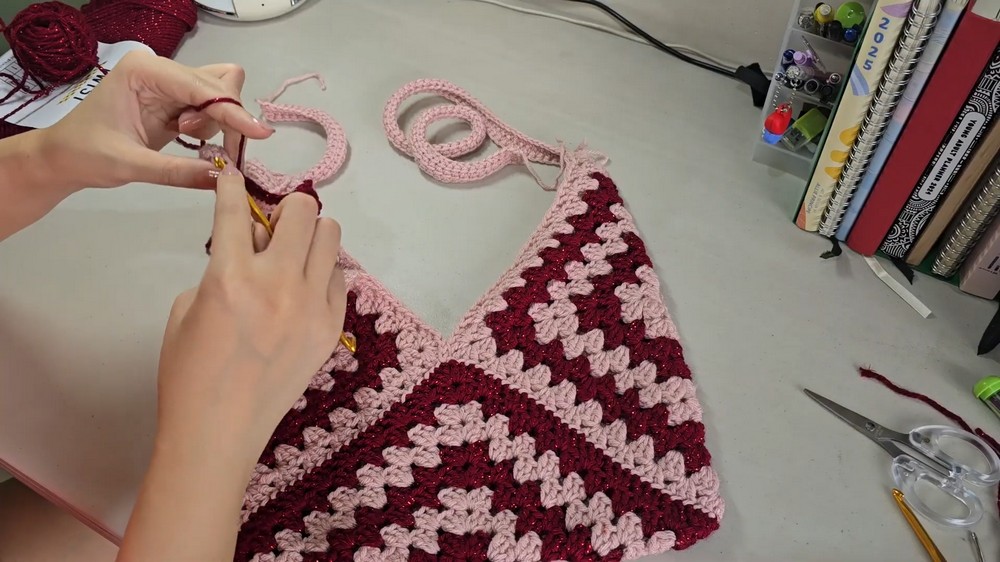
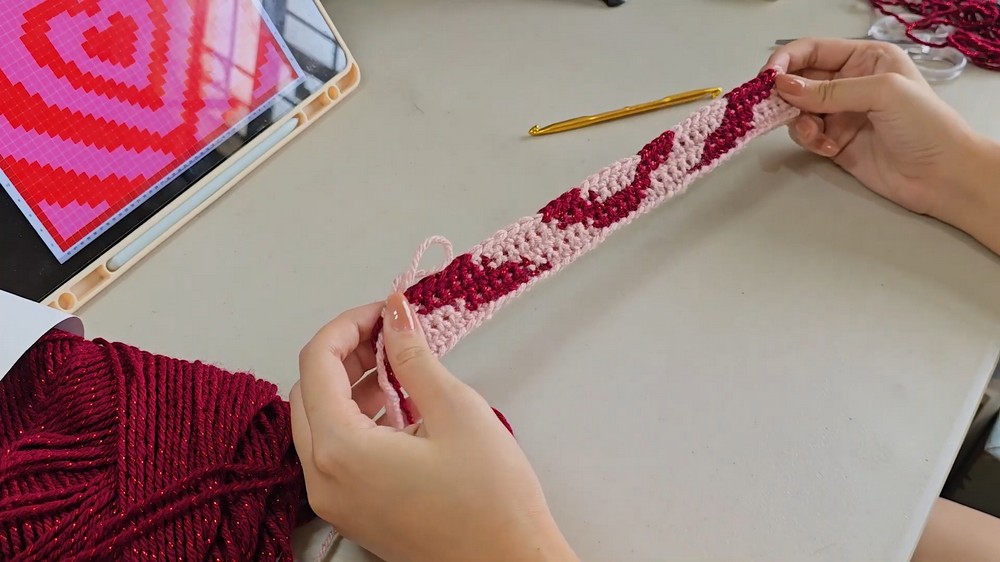
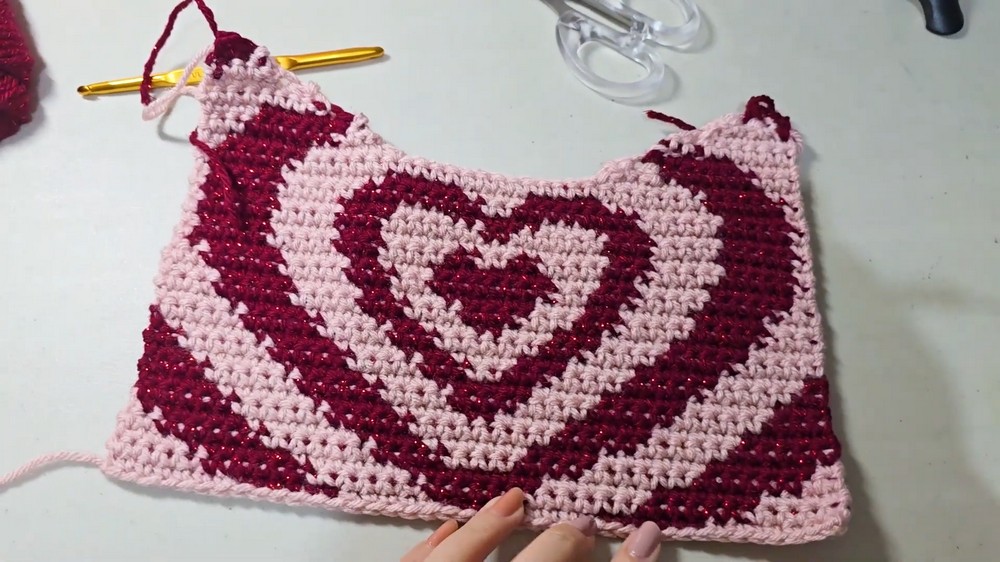
2. Powerpuff Heart (“Y2K” Tapestry) Bag
Main Panels (Make 2)
- Foundation: With pink, ch 41.
- Work in Rows of sc: Use tapestry crochet method to follow a heart chart (available on Pinterest or in similar tapestry patterns).
- To change color: On the last yarn over of sc, switch to new color.
- Carry unused yarn inside the stitches.
- Keep tension even to prevent puckering.
- Each panel: Single crochet following heart graph (~40 rows; adjust for desired size, sample is about 8×8 inches).
Join Panels
- Strap: With pink, ch 8, turn.
- Row: Sc in 2nd ch from hook and across (7 sts), ch 1, turn. Repeat until you have a long strip (sample: 114 rows for first round, then 89 more for full bag).
- Attach Strap: Lay first main panel RS facing. On the inside of the bag, sl st or sew strap around the first panel’s three sides.
- Add Second Panel: Attach second panel in the same way on the other side of the strap with sl st or by sewing.
- Join Strap Ends: Sew or sl st the ends of the strap together to complete the loop.
- Finishing: Add a round of sc with red yarn to the strap and opening edges.
- Weave in ends, flip RS out.
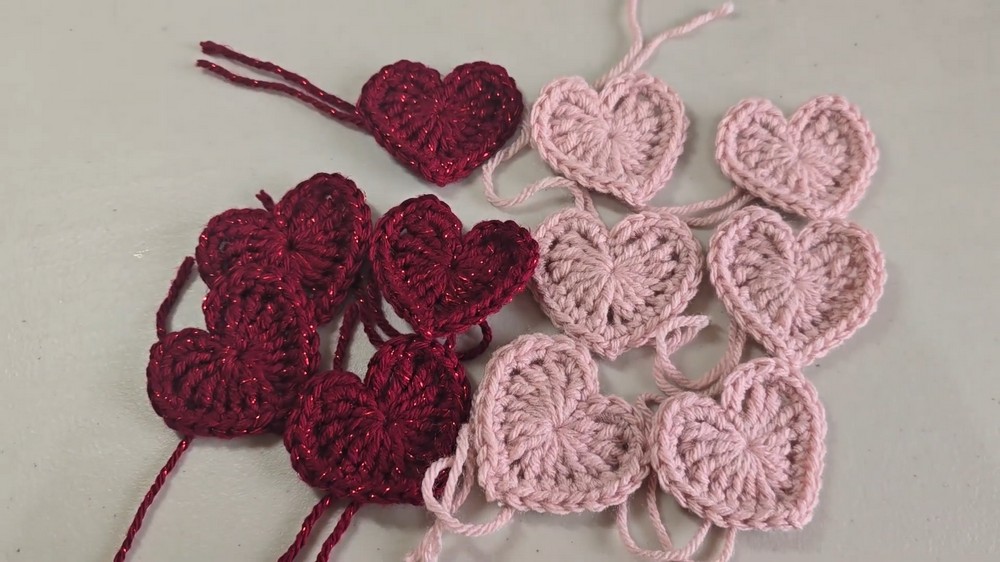
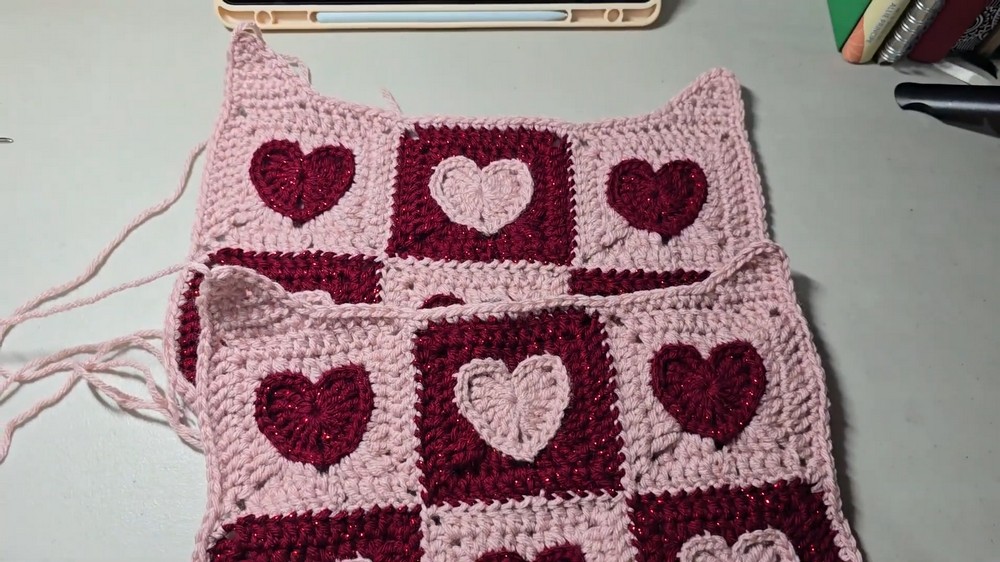
3. Heart Granny Square Bag
Make 12 Heart Granny Squares
- Follow a Heart Granny Square Tutorial: (Refer to a detailed YouTube/video tutorial especially for the heart motif center.)
- Make 6 red and 6 pink squares (total 12).
- Join the squares to make two panels (6 squares per side) arranged in desired color order.
Triangular Side Gusset
- On two corners of each panel:
- Attach yarn, sc 6,
- Turn, decrease 1 st at the end of each row only on the inside (creating a triangle), keep the outside edge straight.
- Continue, always decreasing at same side, until 1 st remains (makes a defined triangle for bag shape).
- After triangles, sc evenly around entire panel, placing 3 sc at each corner for a neat edge.
- At “dips”/joins between squares, place hdc across to smooth the curve if needed.
- At “dips”/joins between squares, place hdc across to smooth the curve if needed.
Block Panels
- Wet or steam block panels on a mat to flatten and shape.
Strap
- With red yarn, ch 7.
- Sc across each row (6 sts), for 198 rows (or desired length).
- Sew or sl st the Strap ends together to form a loop.
- Sc a border around the strap with contrast color (e.g., pink).
Assembly
- Attach strap to each panel with sc, arranging so sc ridge appears on outer side for definition.
- Join panels to completed strap; weave in ends.
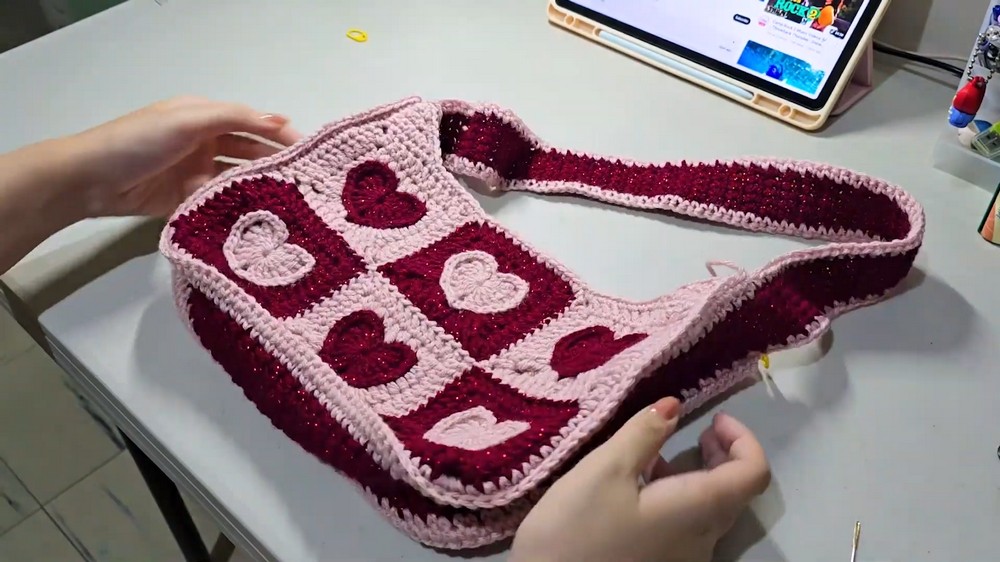
Conclusion
These three Valentine’s themed crochet bags—a classic granny square, a tapestry crochet heart (Powerpuff style), and a heart granny square—offer a variety of techniques: traditional granny, colorwork/tapestry, and motif assembly. They are ideal for self-expression, gift giving, and learning or practicing foundational crochet methods.
Pattern Correction
- Use mattress or whipstitch for seaming, always on the wrong side.
- For tapestry sections, keep floats loose and even.
- Block all motif panels for best results before assembly.
Tips
- Adjust square, panel, or strap size for your ideal bag size.
- For a sturdier bag, add a fabric lining and a zipper.
- Take care when color changing in tapestry crochet to avoid yarn peeking through.
- Have fun with color combos for distinctive results.