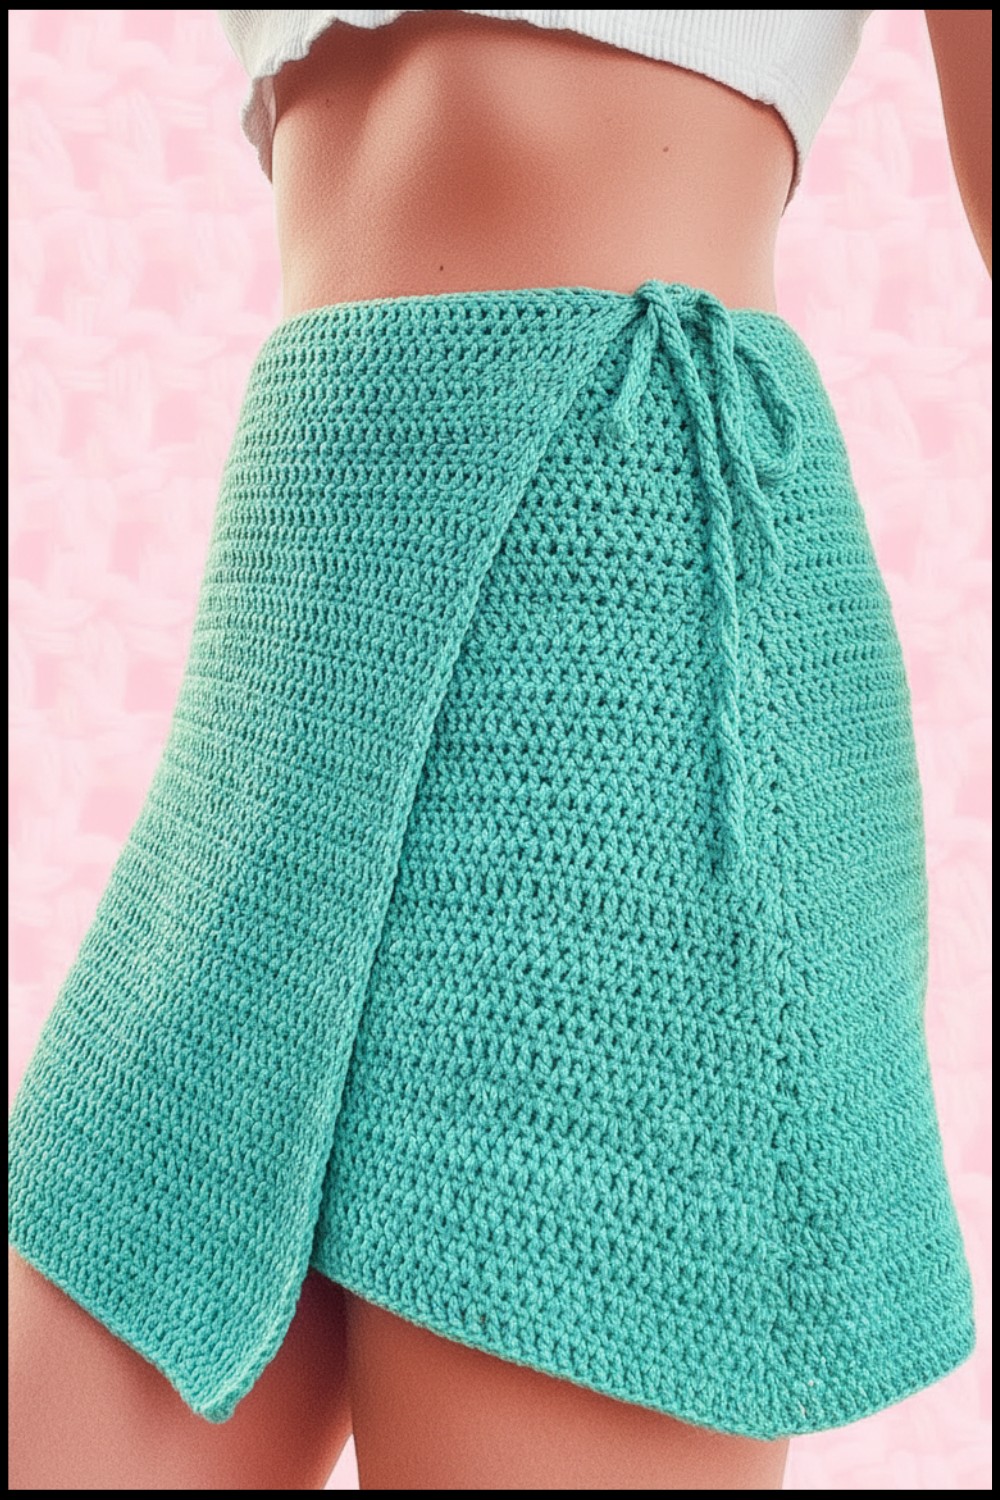
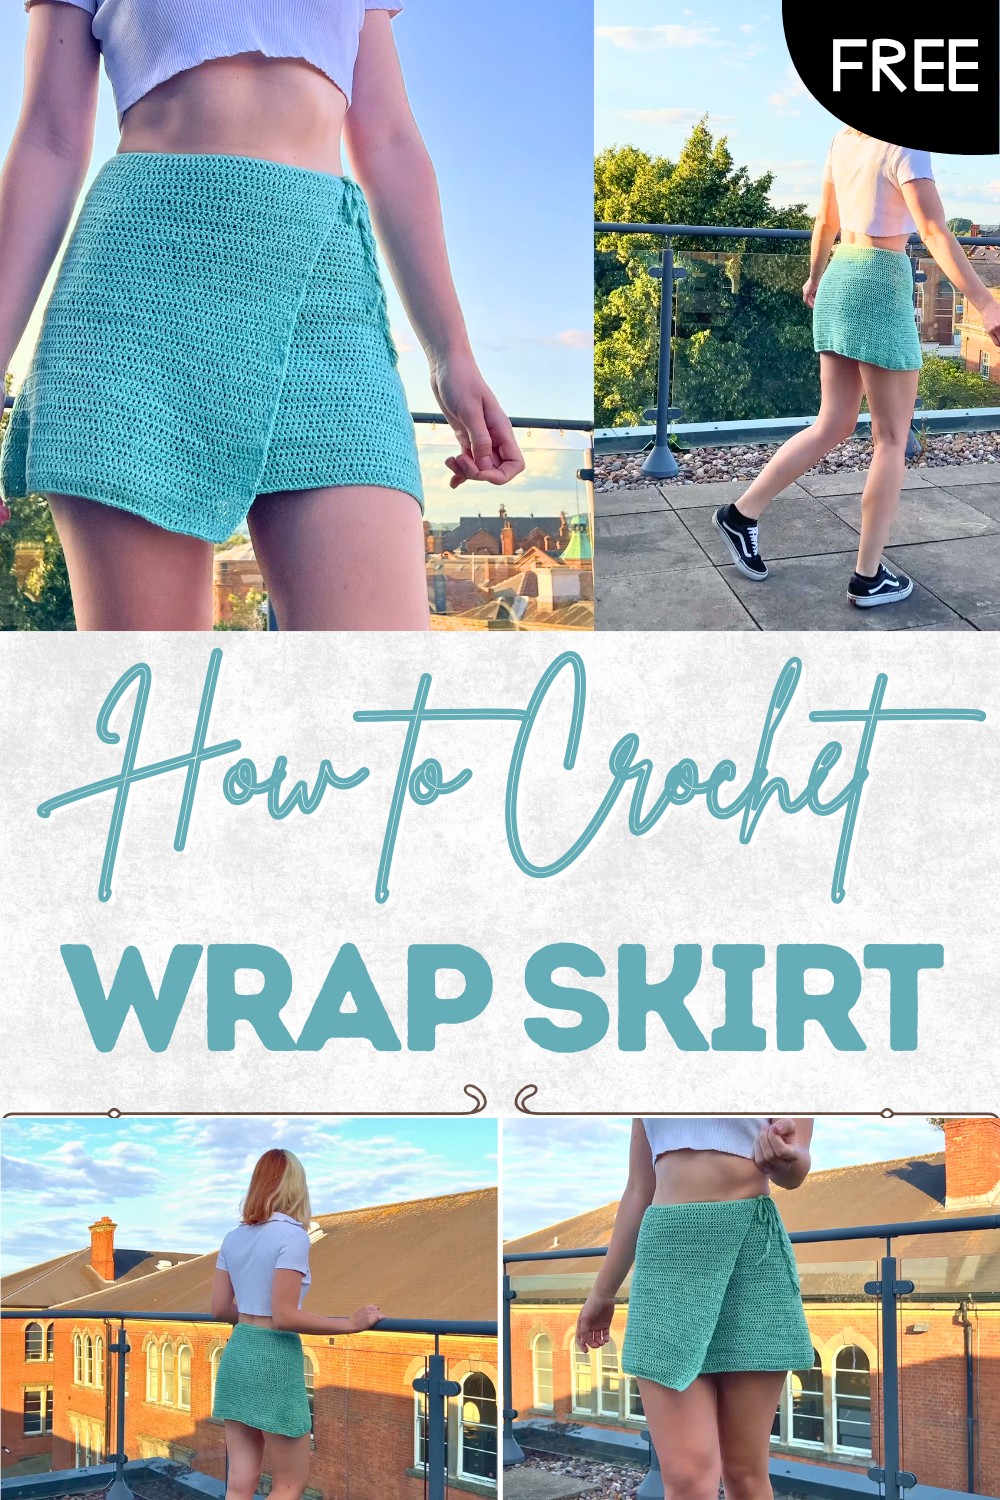
Free Crochet Wrap Skirt Pattern with Adjustable Tie Waist
Feel breezy comfort with this free crochet wrap skirt pattern that’s adds elegant flow and suits beach days casual wear and outings.
Soft movement and gentle style come together in a piece that feels both elegant and easy to wear.
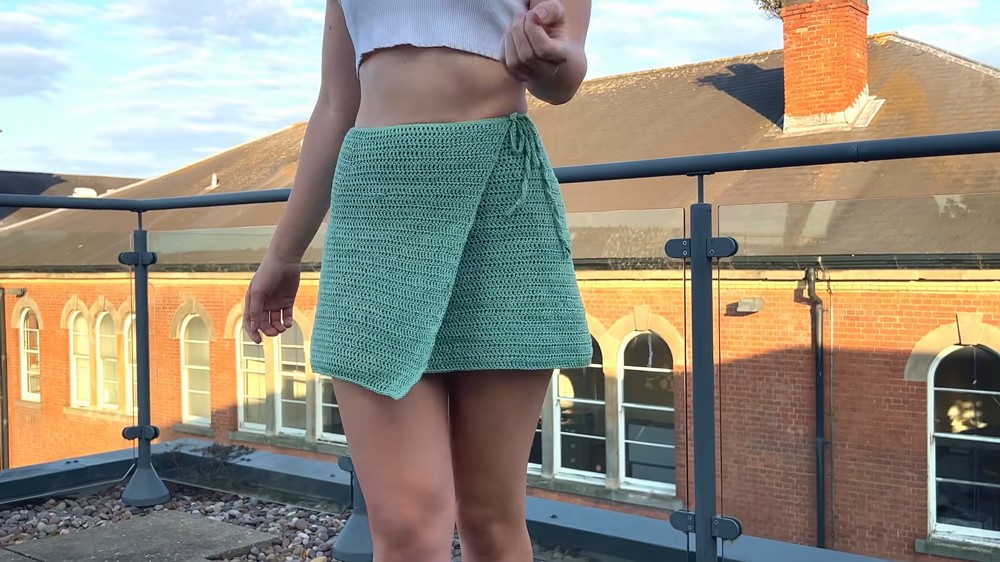
The Crochet Wrap Skirt pattern creates a flowing skirt that wraps smoothly around the body and ties comfortably for a perfect fit. It has a graceful look that moves beautifully with every step and adds a soft handmade charm to any outfit. This skirt is light and breathable which makes it great for warm days beach outings travel or casual gatherings. Its flexible wrap design allows it to fit different body shapes easily making it very practical and comfortable.
Trendy Wrap Skirt Using This Free Crochet Guide
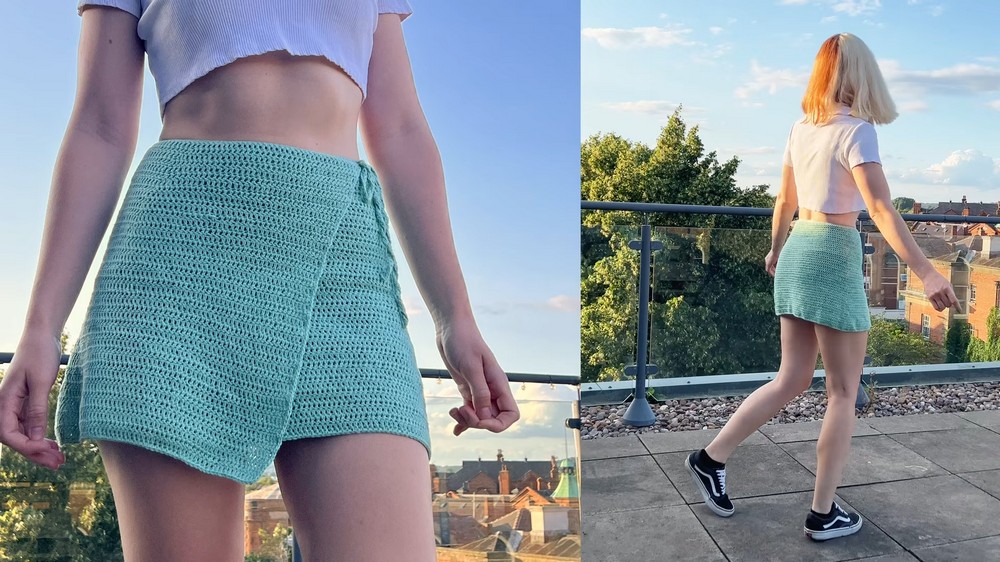
One special benefit is its simple construction which helps beginners enjoy making it with confidence and pride. You can choose calm shades for a soft look or bright tones for a bold and lively style. It also works as a thoughtful handmade gift filled with care and creativity. Crochet Wrap Skirt pattern turns simple stitches into a wearable piece that brings beauty comfort and freedom while adding a stylish handmade touch to everyday dressing in a very natural and enjoyable way.
Easy Beginner Crochet Wrap Skirt Pattern
Materials
- Yarn: Light DK or 4-ply cotton yarn (e.g., Paintbox Cotton 4-ply in ‘Mint Green’)
- Approximate requirement: 4 balls for a medium size (adjust as needed for your size/skirt length)
- Hook: 3.5 mm crochet hook
- Notions:
- 2 stitch markers
- Tapestry needle (for weaving in ends)
- Scissors
- Measuring tape (optional, for fitting)
Key Abbreviations (US Terms)
| Abbreviation | Description |
|---|---|
| ch | chain |
| sc | single crochet |
| dc | double crochet |
| st(s) | stitch(es) |
| sl st | slip stitch |
| rep | repeat |
Special Notes
- The wrap skirt is worked from the waist down in one piece.
- Size is easily adjustable: measure the waist chain around your waist for a custom fit.
- This pattern creates a wrap skirt, so the initial chain will be longer than your waist circumference to allow for overlap and a tie.
- Place stitch markers to indicate where the overlap stops and the main skirt body begins and ends.
Pattern Instructions
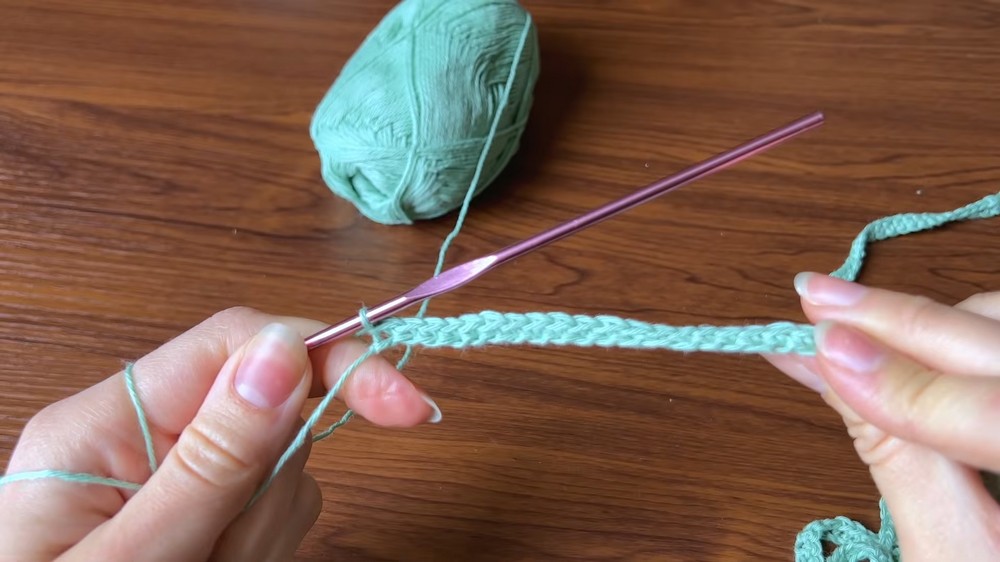
Waist Strap
- Foundation Chain:
- Begin with a slip knot.
- Ch a long chain (for reference, 346 ch is suggested for medium size, adjust for required length).
- The chain should be long enough to go around your waist and tie into a bow with ample overlap.
- The chain should be long enough to go around your waist and tie into a bow with ample overlap.
- First Strap Row:
- Row 1: Sc in 2nd ch from hook and in each ch across.
- (If using thicker yarn, one row may suffice for the strap.)
- Second Strap Row: (optional, for thinner yarn)
- Ch 1, turn. Sc in each st across.
- Ch 1, turn. Sc in each st across.
- Finish Strap:
- Fasten off, cut yarn.
- Tip: Try the strap around your waist to confirm length before proceeding.
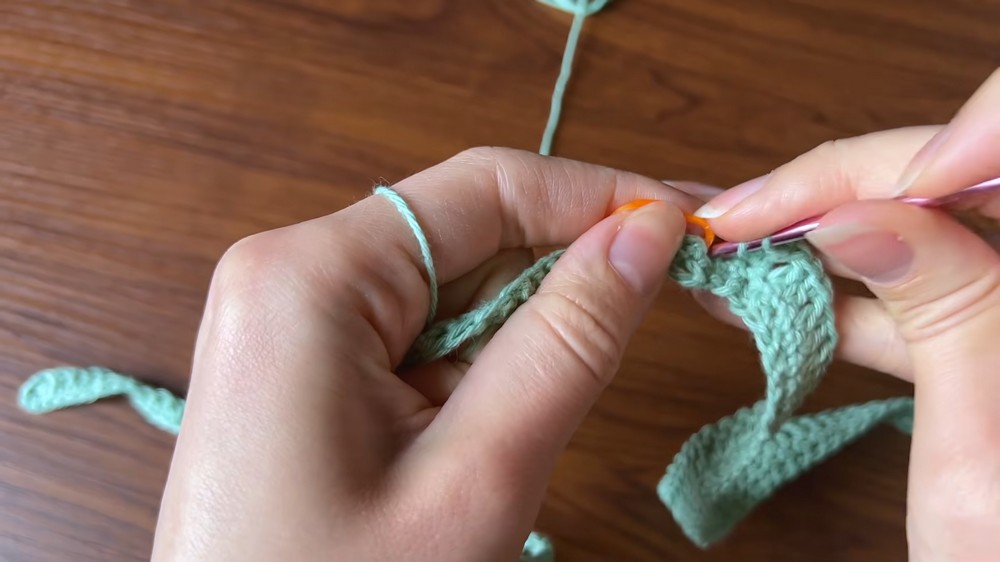
Marking Skirt Body Start and Stop
- Determine Skirt Location:
- Wrap the strap around your waist and use stitch markers to mark:
- The point you want the skirt to start.
- The point where the skirt should end (allowing for overlap in the front).
- The unmarked sections will be the tie straps.
- Wrap the strap around your waist and use stitch markers to mark:
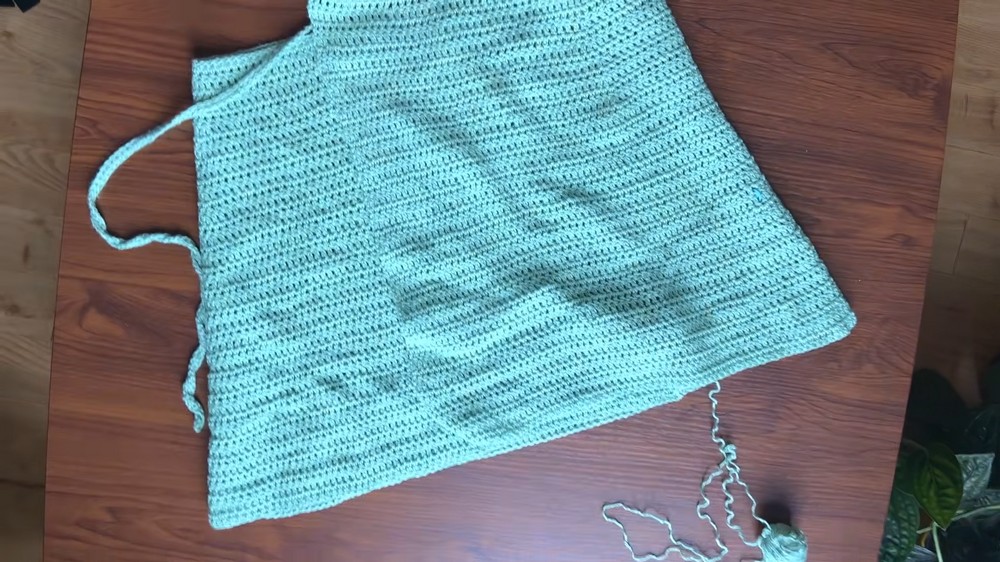
Main Skirt Panel
- Attach Skirt Panel Yarn:
- Attach yarn at the first marked point (where you want the skirt to begin).
- Foundation Row:
- Ch 2 (does not count as a stitch, used for turning).
- Row 1: Dc in each ch/st across between the stitch markers (from start marker to end marker).
- You should have a straight row of dc for the width of your skirt.
- Subsequent Rows & Hip Increases:
- Ch 2, turn (does not count as a stitch).
- Dc in each st across.
- Increase rows (to fit hips):
- As you crochet, try the skirt around your waist/hips.
- When you reach the location of your hips, mark both side stitches with stitch markers.
- At these stitches, work 2 dc into the marked stitch (increase).
- Continue to move the stitch markers up each row to keep increases aligned.
- Each increase row: At the marked stitches, make 2 dc in the marked st (one for each hip/sidestitch), and place the marker in one of the new dc for next round.
- Continue in dc across, placing increases at marked stitches until the skirt is your desired length.
- Suggested length: 42 rows total (adjust to fit, try skirt as you go).
Edge Finishing (Optional)
- Single Crochet Edging:
- With RS facing, attach yarn to bottom edge of skirt.
- Work 1 row of sc across bottom hem.
- Continue sc up each side of skirt, placing 1 sc in each gap/row end to ensure a neat edge.
- For corners, place 2 sc in the same stitch to round the edge neatly.
Final Finishing
- Weave in Ends:
- Thread remaining yarn ends on a tapestry needle and weave them into the fabric (preferably into the waist strap or side edge) to hide ends securely.
- Thread remaining yarn ends on a tapestry needle and weave them into the fabric (preferably into the waist strap or side edge) to hide ends securely.
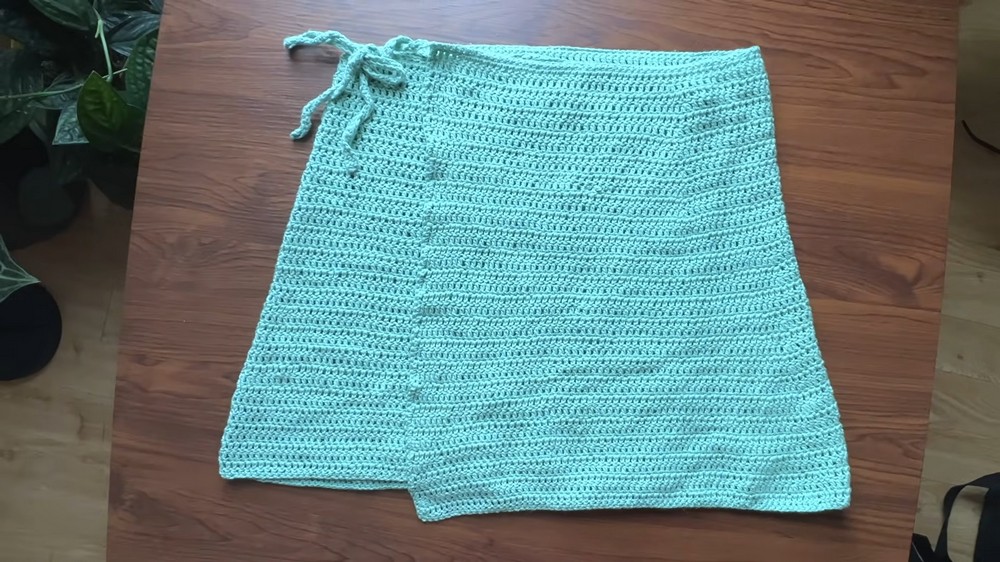
Conclusion
This easy beginner-friendly crochet wrap skirt with a long waist strap and simple double crochet main body is fully customizable for size and fit. The project is seamless, with hip shaping achieved by placing double increases at marked points. A neat single crochet border adds a professional finish.
Pattern Correction
- Turning chains do not count as stitches in this pattern.
- For reliable hip shaping, always move your stitch markers up into one of the increased stitches every row.
- Try skirt on at each stage for perfect custom fit.
Tips
- Check the waist strap length before proceeding to avoid a too-short or too-long waistband.
- For a fuller wrap/overlap, make the foundation chain considerably longer than your waist measurement.
- If you wish to add fringe or decorative trim, do so after the skirt is finished and blocked.
- Cotton yarn gives the best drape and comfort for summer wear.