Easy Crochet Strawberry Cable Tie Pattern With Free Tutorial

Keep your cables tidy and stylish with this Free Crochet Strawberry Cable Tie Pattern, offering a fun and creative solution to enhance your everyday space.
To organize your cables and cords in a fun and charming way, try making a cute little crochet accessory that really stands out. Not long ago, I came across the free crochet Strawberry Cable Tie Pattern, and it has quickly become one of my favorite quick and practical projects. This adorable cable tie not only keeps your cords neat but also adds a pop of color and personality with its bright strawberry design.
Free Crochet Strawberry Cable Tie Pattern
You can start crocheting this project by following the detailed tutorial on the YouTube channel Happy Yarney. The creator walks you through each step of making the strawberry’s heart-shaped body, working the petals with easy crochet stitches, and crocheting the leafy green stem with lovely textured details. She also shows how to crochet the long strap that wraps around your cables and finishes it off with snap buttons for a secure hold. The instructions are clear and beginner-friendly, making it a great project for anyone looking to try something new.
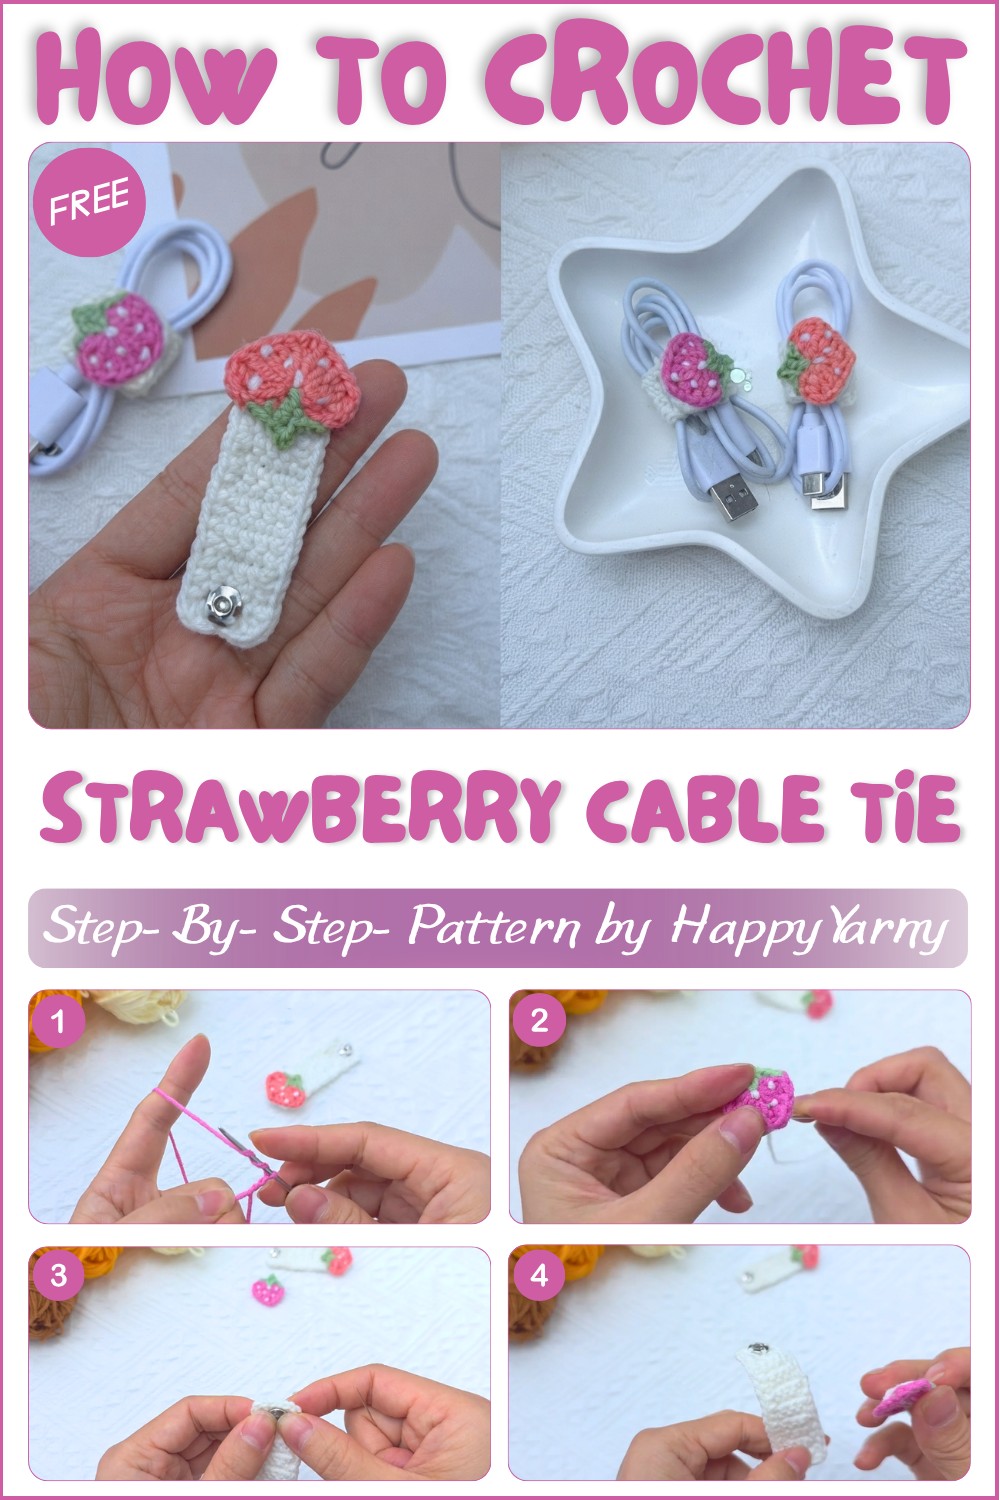
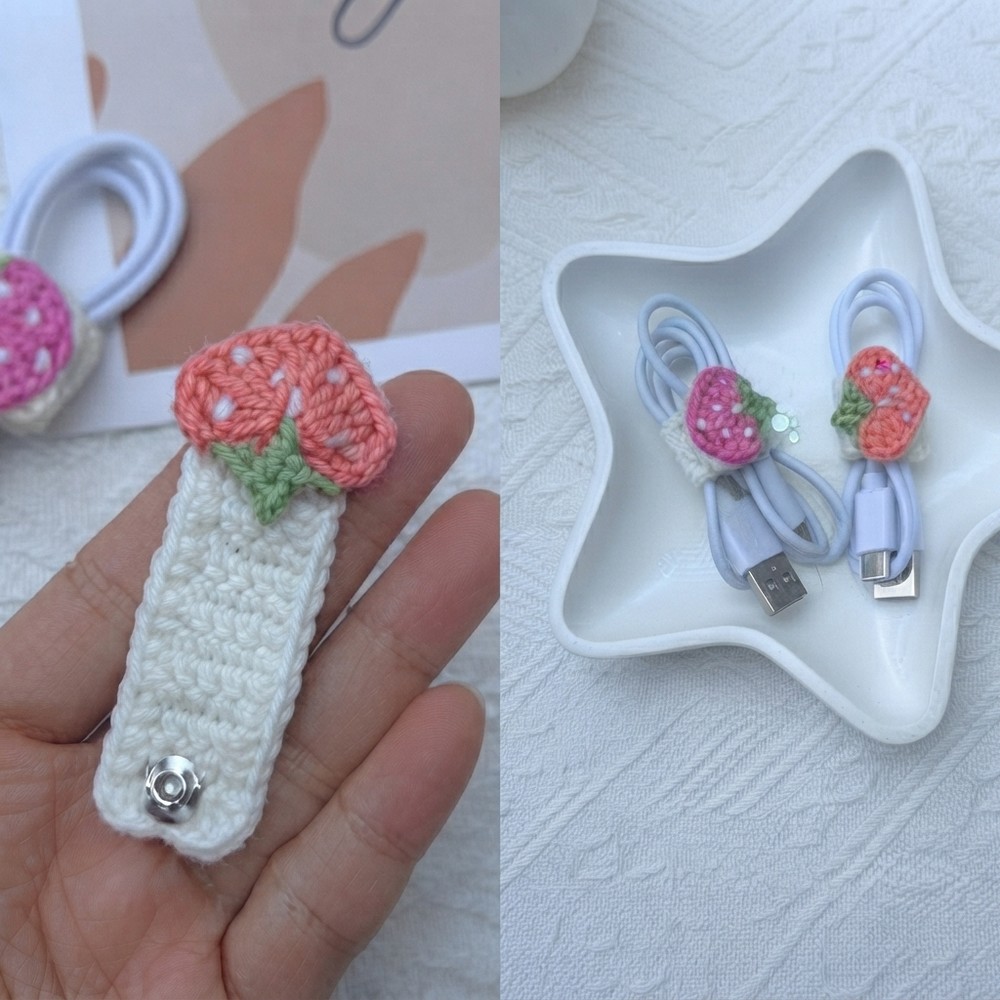
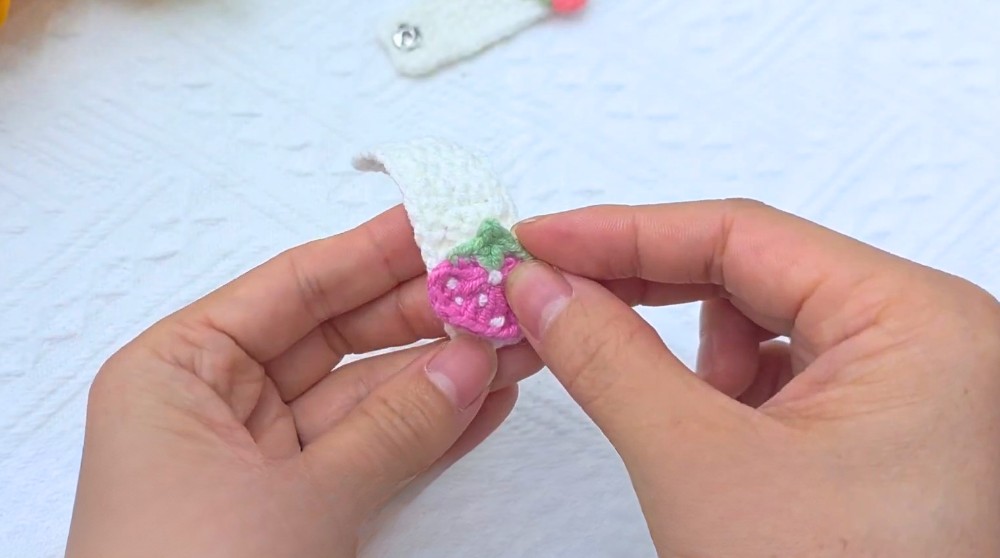
The finished strawberry cable tie is soft and pliable, with a rounded, slightly raised shape that mimics a real strawberry. Its bright red and green colors are eye-catching, and those tiny white seeds embroidered on the surface add a sweet touch of realism. This small but functional piece is perfect for keeping earbuds, chargers, or computer cables neatly bundled, and its cheerful design makes it a fun accessory to carry around or gift to friends.
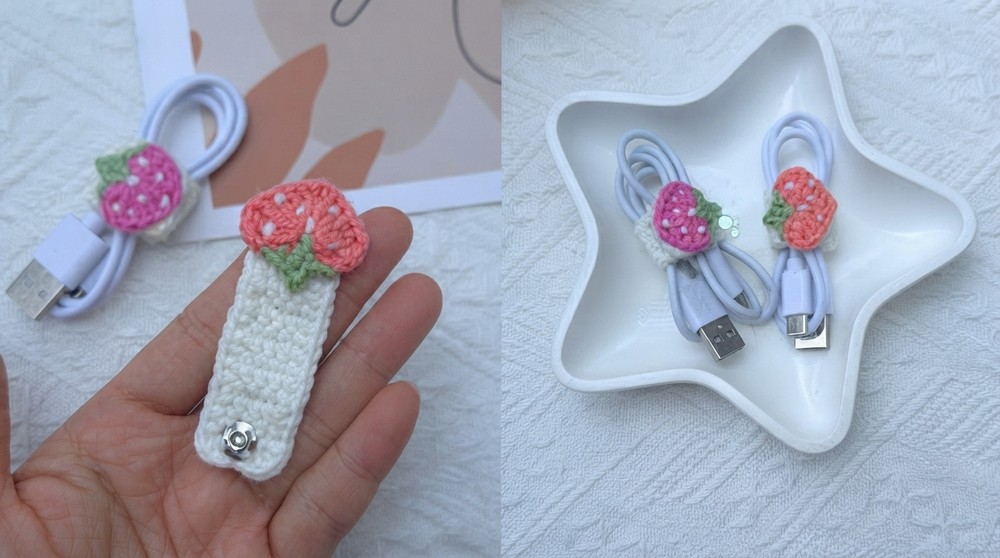
If you enjoy cute and useful crochet projects that are quick to make, this Strawberry Cable Tie is a perfect fit. Happy Yarney’s warm and easy-to-follow video will help you crochet this delightful piece, whether you’re a beginner or have some crochet experience.
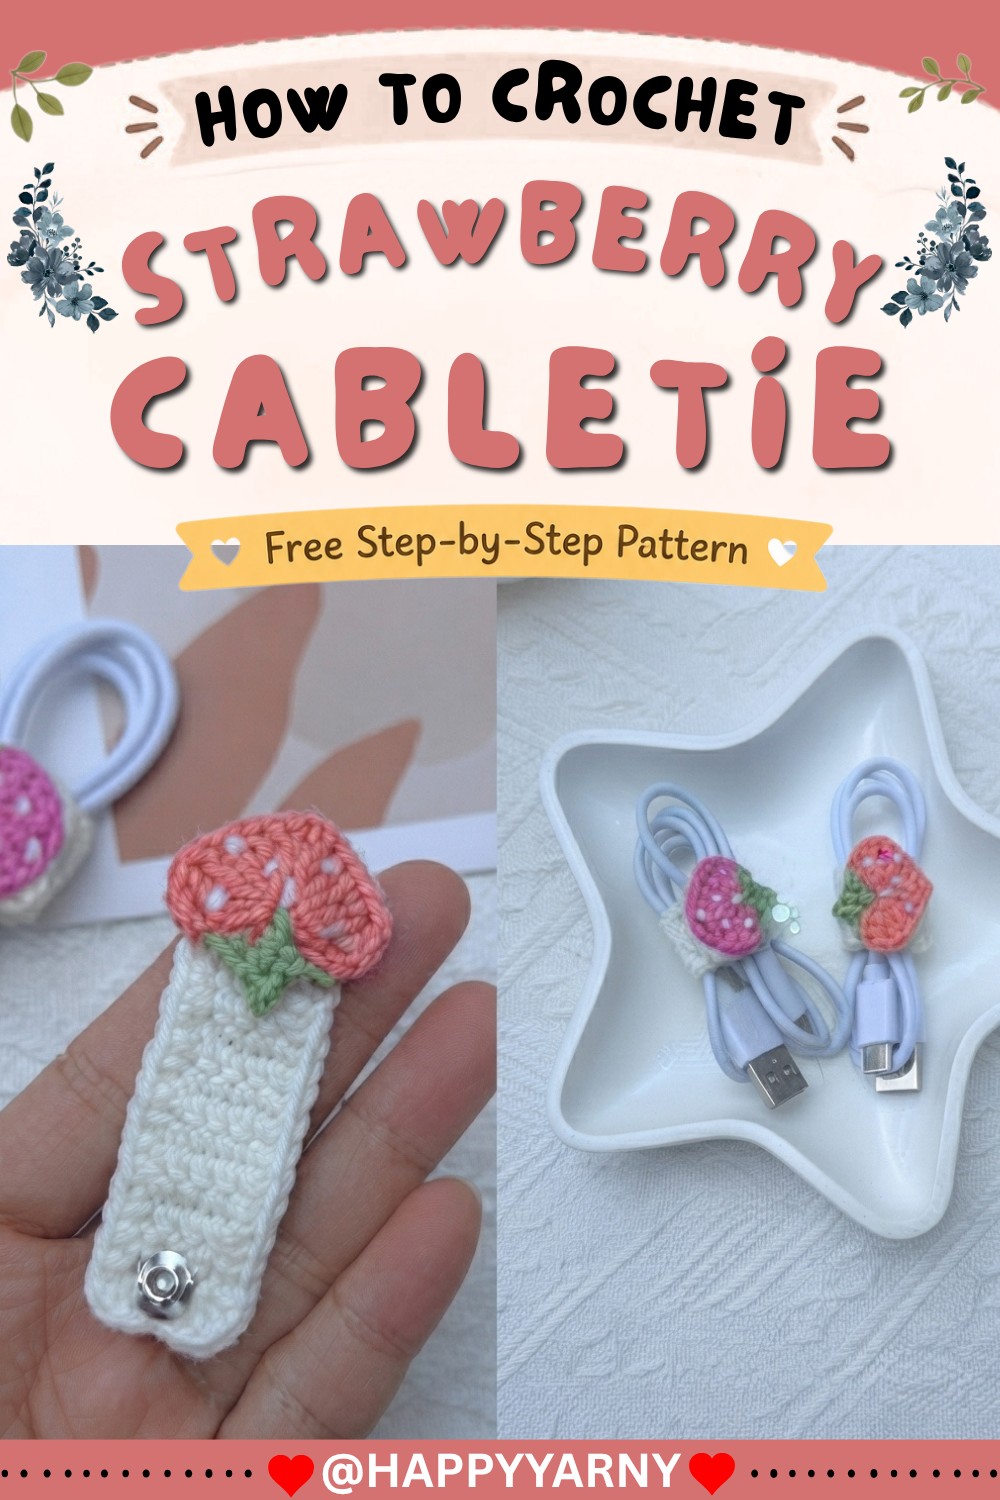
Happy Yarnney Strawberry Cable Organizer Pattern
Hi everyone. I’m so glad you found your way to Happy Yarnney. Today I’ll be showing you how to crochet this cable organizer. It’s super quick and simple to make, and you can use it to keep your cables neat and handy.
Quick Overview Of Pattern
- Crochet a heart-shaped strawberry motif with leaf and stem
- Embroider seeds for realistic detail
- Crochet a strap in rows for the cable wrap
- Edge the strap with a single crochet border
- Sew on a metal snap button for practical closure
- Attach the strawberry motif for a cute finish
Notes
- Pattern uses US terminology
- Finished piece is adjustable to your cable size
- All crochet is flat; only basic sewing required
- Ends should be woven in neatly for a tidy look
- The motif can be either glued or stitched onto the strap
Skill Level
Beginner
Materials
- Four-ply cotton yarn (red or pink for strawberry, green for leaf, white for seeds)
- 2.0 mm crochet hook
- Yarn needle for sewing and embroidery
- Small metal snap buttons (1 set)
- Scissors
- Glue (optional, for motif attachment)
Measurements / Sizing
- Strap: ~1.5 cm wide, 8–10 cm long (adjustable as needed)
- Strawberry motif: ~2–2.5 cm tall
Gauge
Gauge is not critical. Make sure your stitches are firm to maintain shape.
Stitch Abbreviations
- ch – chain
- sc – single crochet
- dc – double crochet
- tr – treble crochet
- sl st – slip stitch
- hdc – half double crochet
- inc – increase (two stitches in one place)
- st(s) – stitch(es)
- MR – magic ring
Special Stitches
- Treble Crochet (tr): Yarn over twice, insert hook, pull up loop, yarn over and pull through two loops three times.
- Cluster (for leaf): A combination of hdc, chain, slip stitch, and additional hdc in one stitch for a pointed effect.
The Crochet Pattern
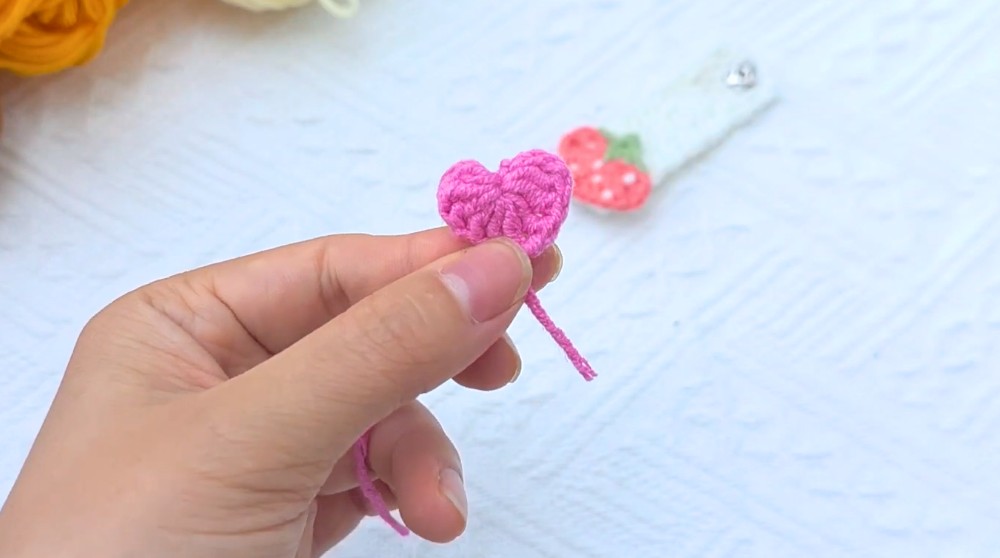
Strawberry Motif
- Start with red or pink yarn.
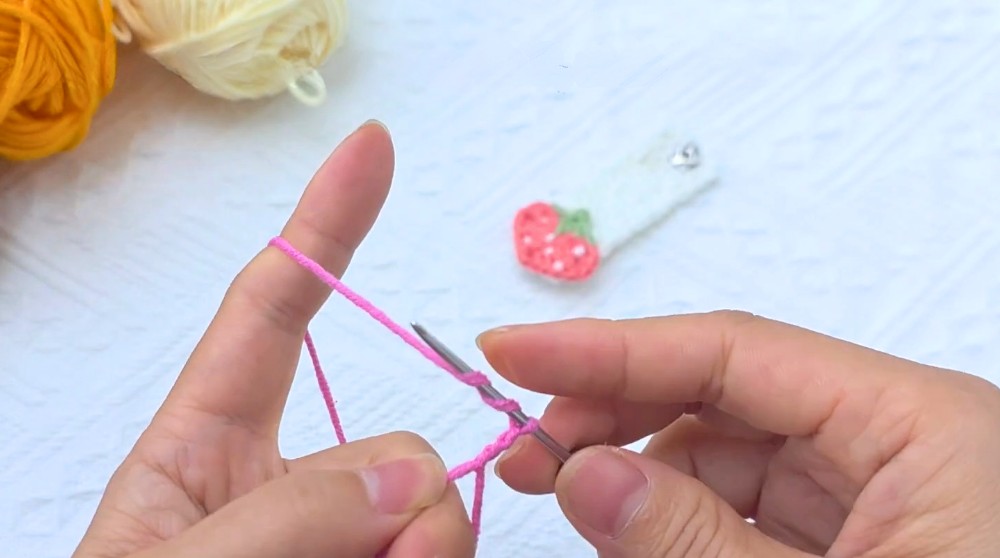
- Make a magic ring (MR).
- Work 3 tr into the MR.
- Work 3 dc into the MR.
- Make 2 ch.
- Work 3 more tr into the MR.
- Ch 3.
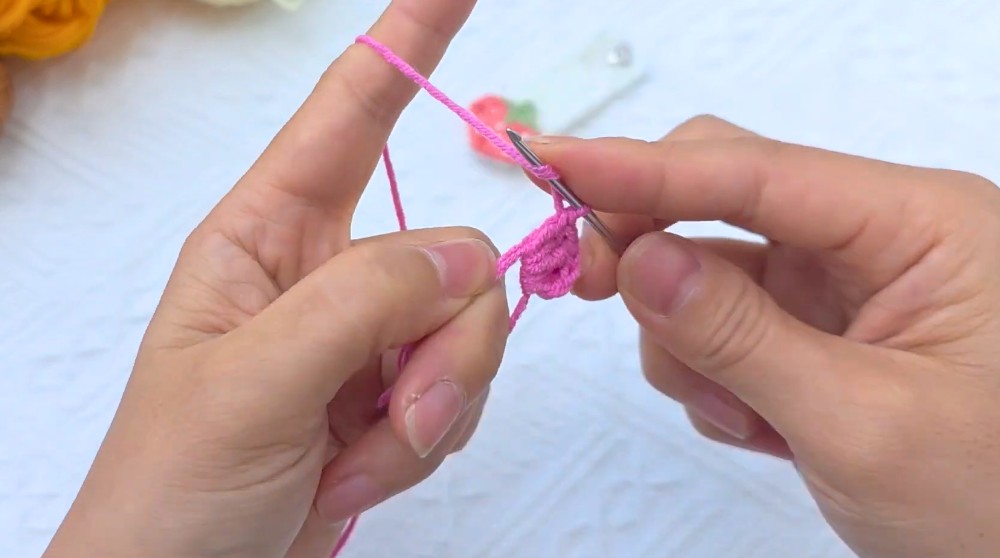
- Sl st into the MR to close the petal.
- Cut the yarn and pull tight to secure and finish off.
- You have made a heart-shaped strawberry.
Leaf & Stem
- Use green yarn; make a slip knot.
- Sl st into the top center stitch of the strawberry.
- Sc into the next stitch.
- In the following stitch:
- Work 1 hdc.
- Chain 2.
- Sl st into the 2nd ch from the hook to create the leaf point.
- Work another hdc into the same stitch.
- Sc into the next stitch.
- Sl st to finish the section.
- Cut yarn and weave in at back.
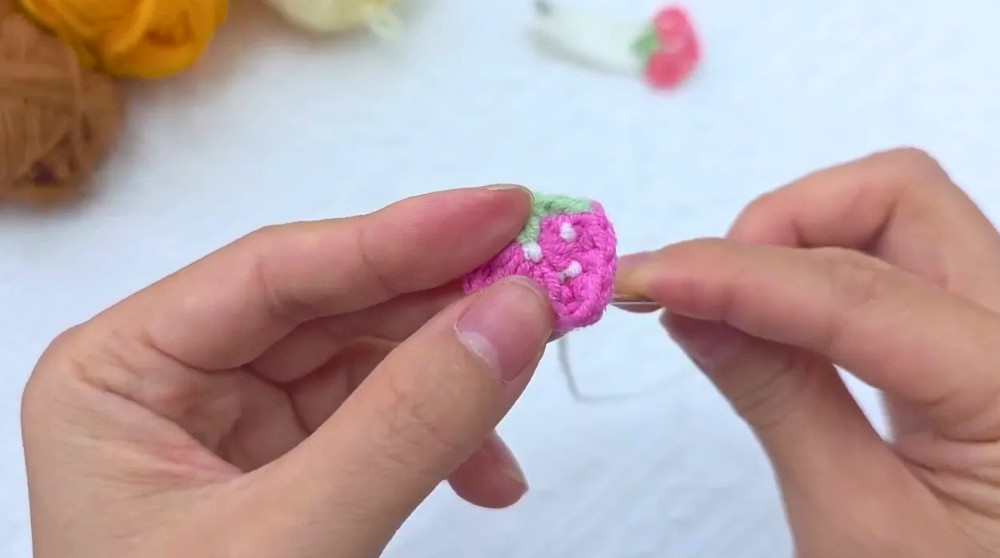
Embroidering Strawberry Seeds
- Thread a yarn needle with white yarn.
- Embroider small, straight stitches across the strawberry’s surface for seeds.
- Weave in the ends neatly.
Crocheting the Cable Strap
- With main color of your choice, make a slip knot.
- Ch 5.
- Skip the first ch; sc 4 across the row.
- Ch 1, turn, sc 4.
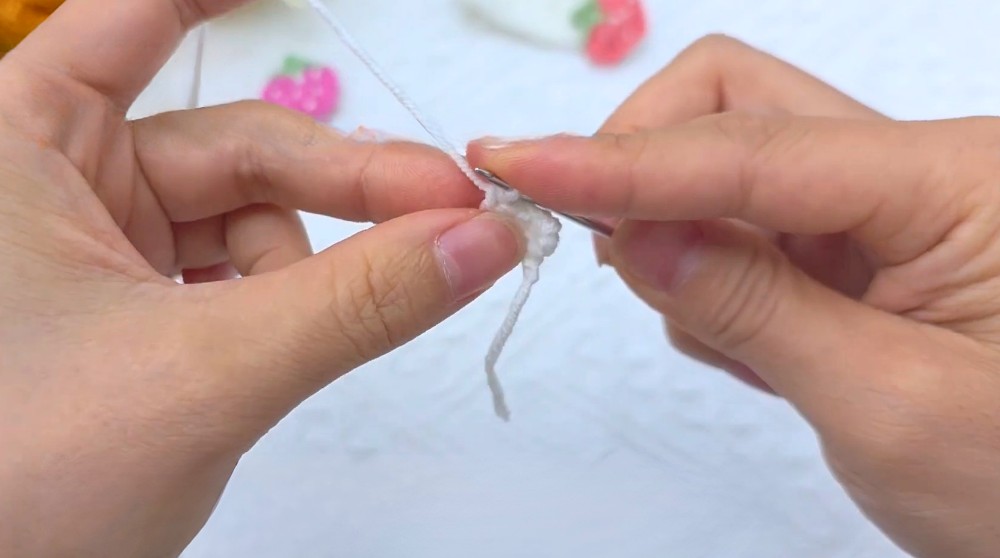
- Repeat the previous step for about 15 rows, or until reaching desired length for your cables.
Edging the Strap:
- In the last row, work 2 more sc into the last stitch (3 sc in the corner for a turn).
- Continue with sc down the long edge (work 1 sc into the end of each row).
- At the next corner, work 3 sc in the same stitch.
- Sc along the next (short) edge.
- 3 sc again into the next corner.
- Sc along the final side.
- 2 sc into the last stitch, then sl st into the next to finish.
- Cut yarn and weave in all loose ends.
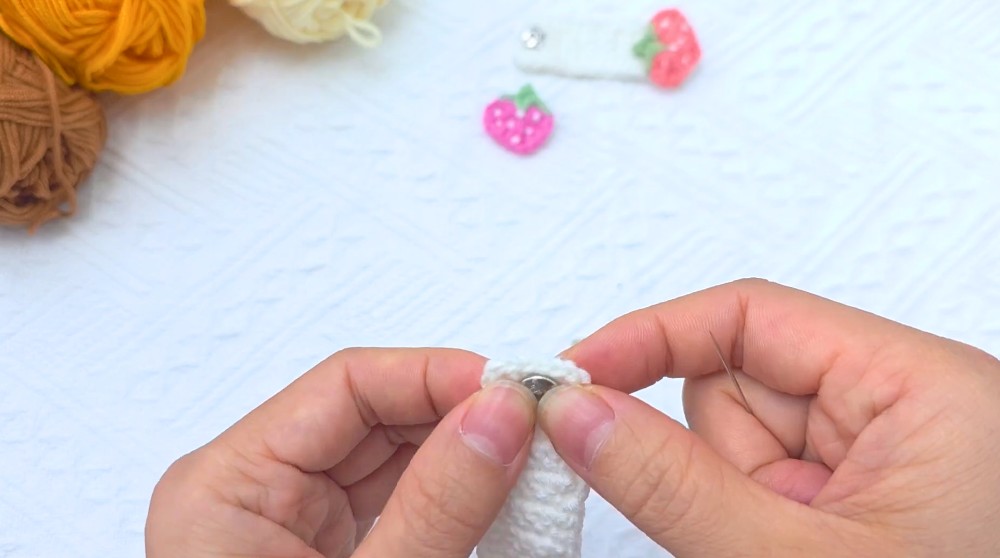
Sewing on the Snap Button
- Sew one part of the snap button securely on one end of the strap.
- Sew the other part of the snap on the opposite end, on the reverse side, so the strap will close into a loop.
- Make sure both sides match up when fastened.
Assembly & Finished Size
- Apply glue or use a yarn needle to attach the strawberry motif to one end of the strap.
- Let glue dry if used.
- Finished strap should fit neatly around your chosen cable and close securely with the snap.
Conclusion and Ending Words
Thank you so much for visiting my post! Your strawberry cable organizer is now ready to help keep your cables tidy in the cutest way.