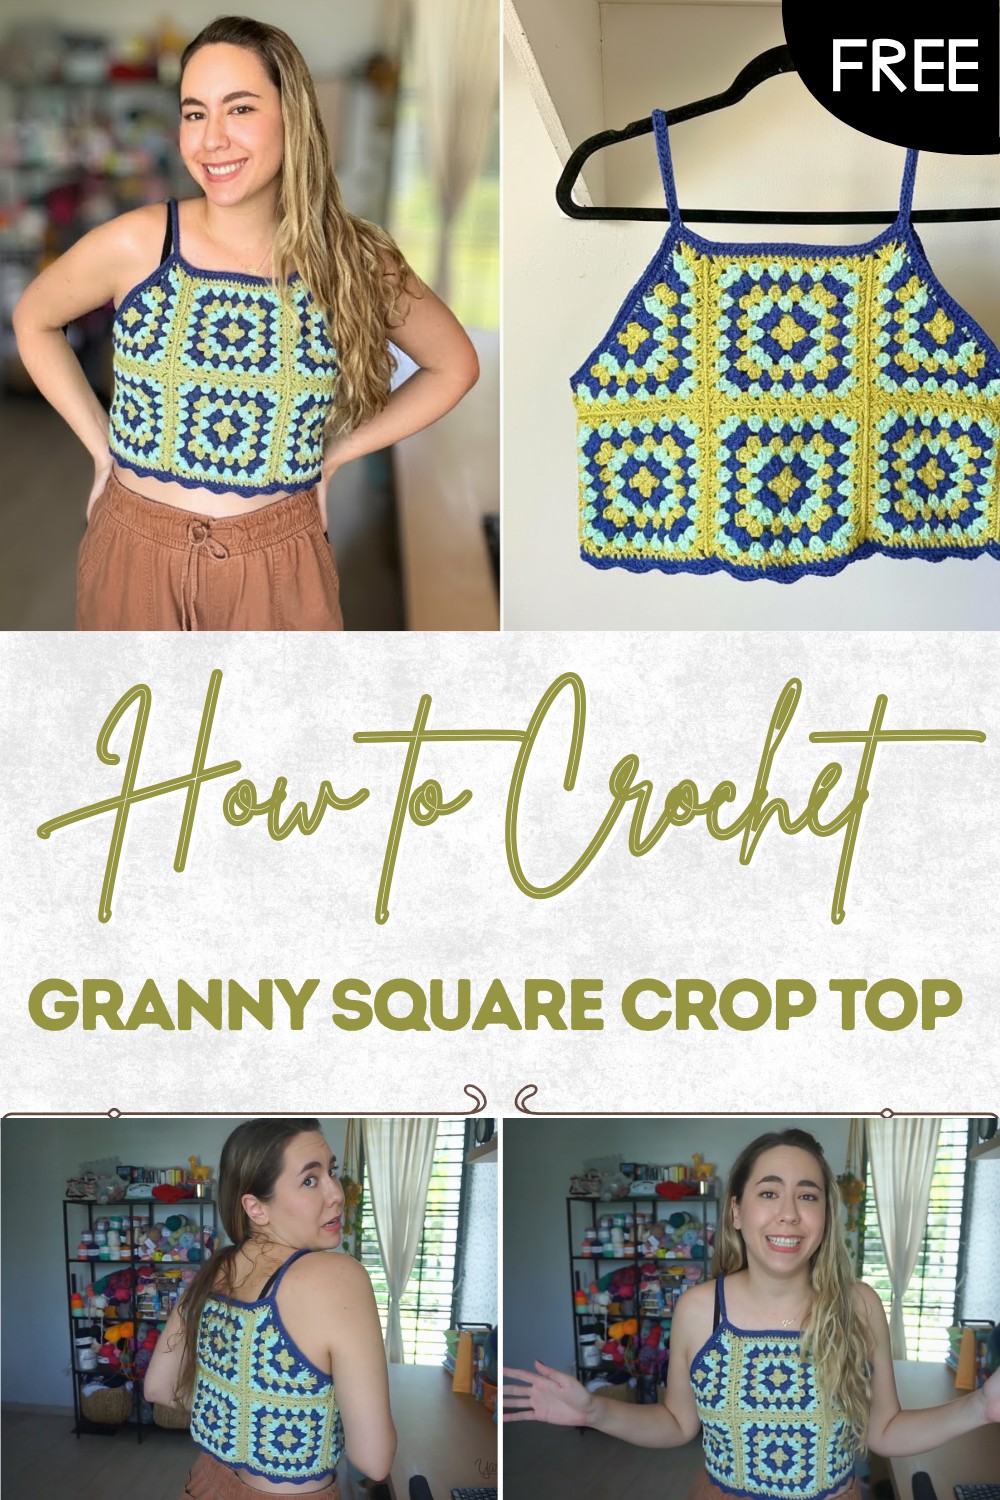
Free Crochet Granny Square Crop Top Pattern for Summer
Delight in a free crochet granny square crop top pattern, perfect for sunny days and easy enough for anyone to follow for a fresh new look.
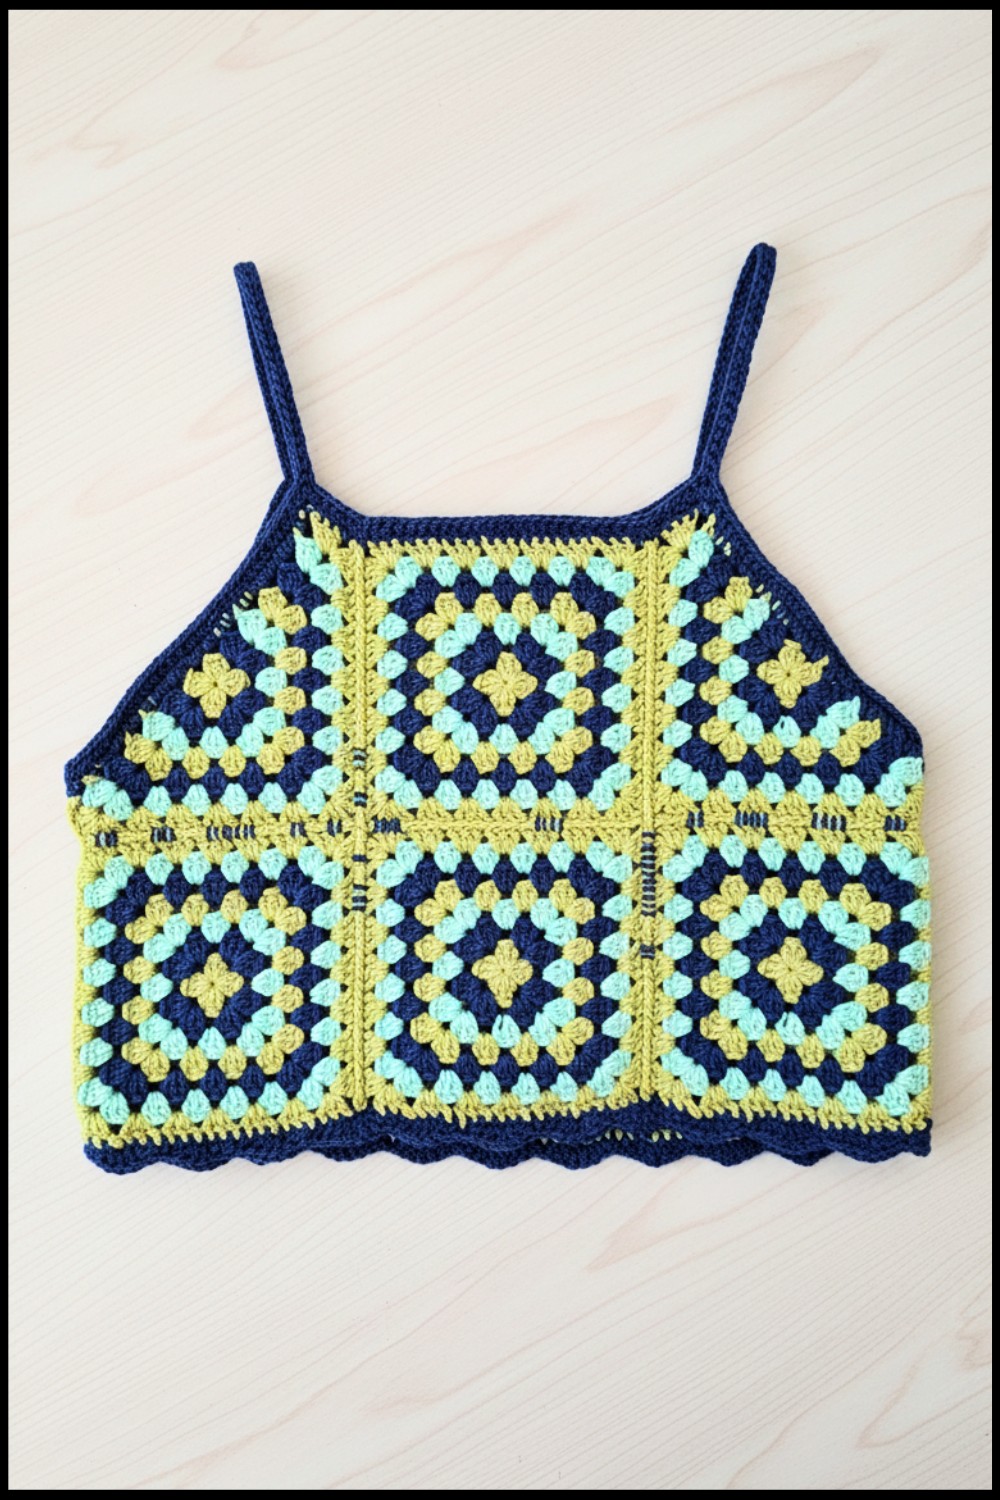
Have you seen how blocks of color come together to shape a bright and cheerful top that’s perfect for warm days? The crochet granny square crop top pattern fills each piece with playful flower squares that feel soft and gentle against the skin. Wearing this top brings a cozy feeling and makes every person look stylish at any age or occasion. People use it for relaxing at home or step out with it to enjoy a festive moment with friends..
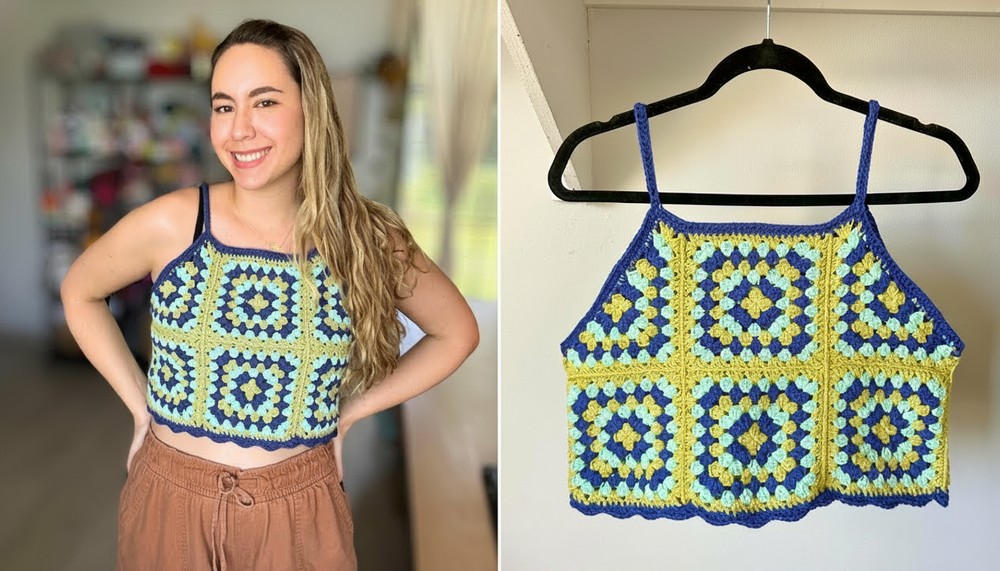
Free Crochet Granny Square Crop Top Pattern with Modern Flair
Its loose stitches keep you cool with fresh air flowing through while the lightweight style makes it easy to wear. Making this top is simple so anyone can feel proud and happy as they join each square to finish the project. The pattern offers clear steps which means everyone can take part and add their own touch of color and joy. This crop top shines with beauty and warmth becoming a special favorite in every wardrobe
Granny Square Crop Top
Materials
- Yarn: Worsted weight yarn (e.g., We Crochet “Wor Way,” or similar)
- Hook: 4.5 mm crochet hook
- Notions:
- Yarn needle
- Scissors
- Stitch markers (optional)
Key Abbreviations (US Terminology)
| Abbreviation | Meaning |
|---|---|
| MR | magic ring |
| ch | chain |
| sc | single crochet |
| hdc | half double crochet |
| dc | double crochet |
| sl st | slip stitch |
| rep | repeat |
| st(s) | stitch(es) |
Special Notes
- This pattern is customizable to any size—adjust the number of granny square/triangle rounds accordingly.
- Typical layout uses 8 squares and 4 triangles (sample has 7 rounds per motif for size Medium).
- Change colors every round if desired, or use a single color throughout.
- Hide yarn tails as you work, especially when working double crochets, to minimize finishing.
Pattern
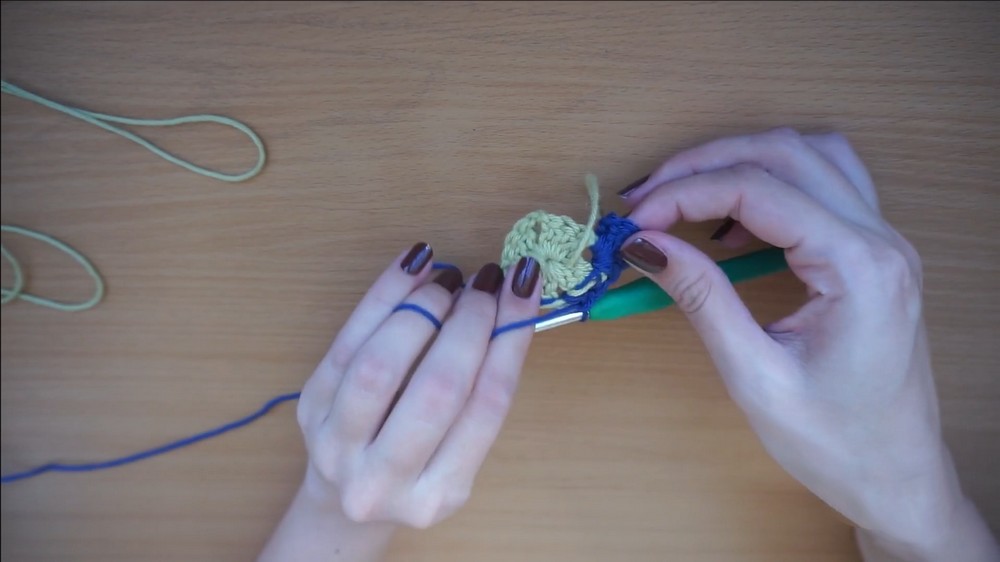
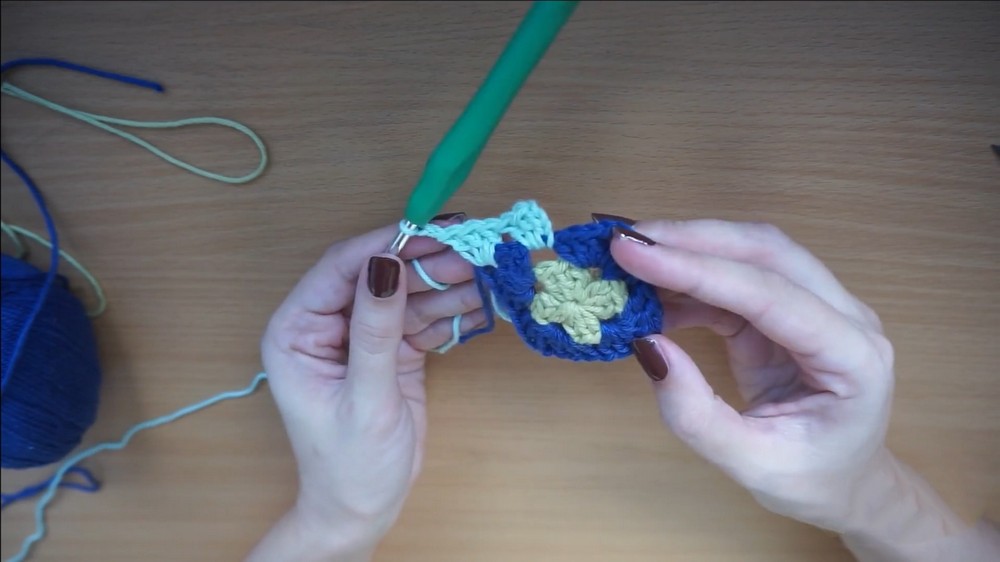
PART 1: Make Granny Squares (Make 8)
Round 1:
- Start with a magic ring (MR).
- Ch 3 (counts as dc), 2 dc in MR, ch 2, 3 dc in MR; rep * to make 4 clusters.
- Ch 2, join with a sl st to top of starting ch-3.
- Ch 1, fasten off if changing color.
Round 2:
- Join new color in any corner space (ch-2 space).
- Ch 3 (counts as dc), 2 dc in same space, ch 2, 3 dc in same space (corner made).
- (3 dc, ch 2, 3 dc) in next corner space; rep around for each corner.
- Join with sl st to top of starting ch-3. Ch 1, fasten off (if changing color).
Round 3 and Beyond (Pattern Repeat):
- Join new color in any corner space.
- Ch 3 (counts as dc), 2 dc in corner, ch 2, 3 dc in same space.
- [3 dc in ch-1 space (between corners) if present], (3 dc, ch 2, 3 dc) in next corner; rep around.
- Join with sl st to top of starting ch-3. Ch 1, fasten off if changing color.
- Repeat this round until you reach desired square size. (Sample: 7 rounds for Medium.)
PART 2: Make Granny Triangles (Make 4)
Round 1:
- Start with a MR.
- Ch 3 (counts as dc), 2 dc in MR, ch 2, 3 dc in MR; rep * two more times (total 3 clusters, 3 corners).
- Ch 2, join with a sl st to top of starting ch-3. Ch 1, fasten off if changing color.
Round 2:
- Join new color in any corner space.
- Ch 3 (counts as dc), 2 dc, ch 2, 3 dc in corner.
- Ch 3, 3 dc, ch 2, 3 dc in next corner; repeat for all corners.
- At end, dc in last corner (so that triangle grows evenly), fasten off if changing color.
Rounds 3 and Up:
- For each remaining round, treat each corner with (3 dc, ch 2, 3 dc), and work a 3-dc group in each side space between corners, as in the square pattern.
- At the end of each round, make 1 dc in the last corner as in prior round to keep triangle shape.
- Repeat until you have the same number of rounds as your squares. (Sample: 7 rounds.)
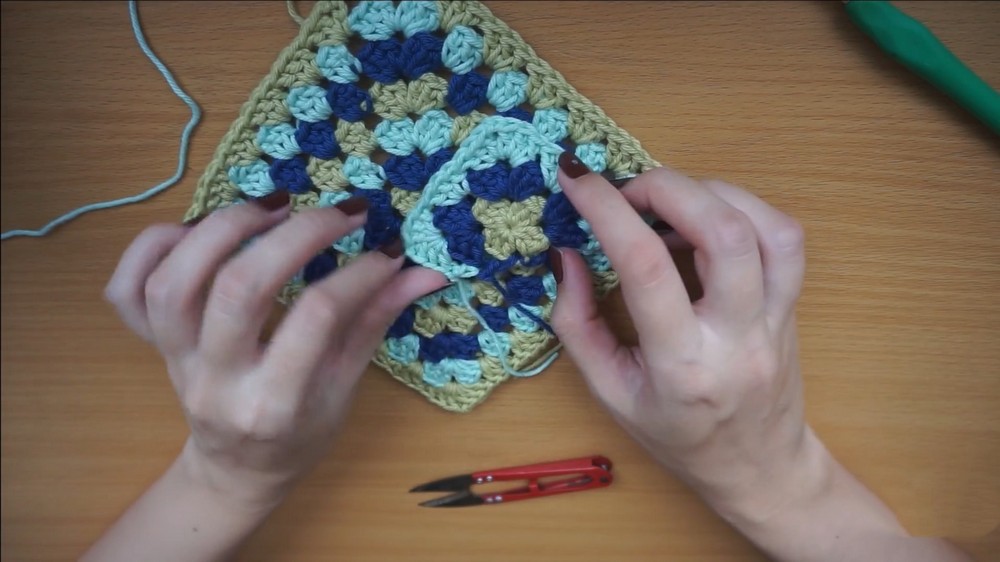
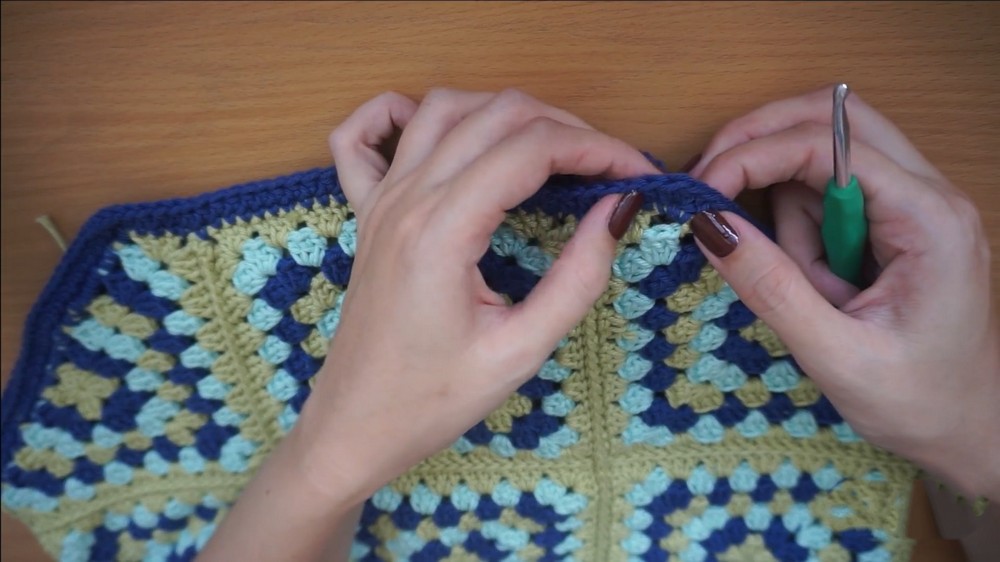
PART 3: Join Motifs
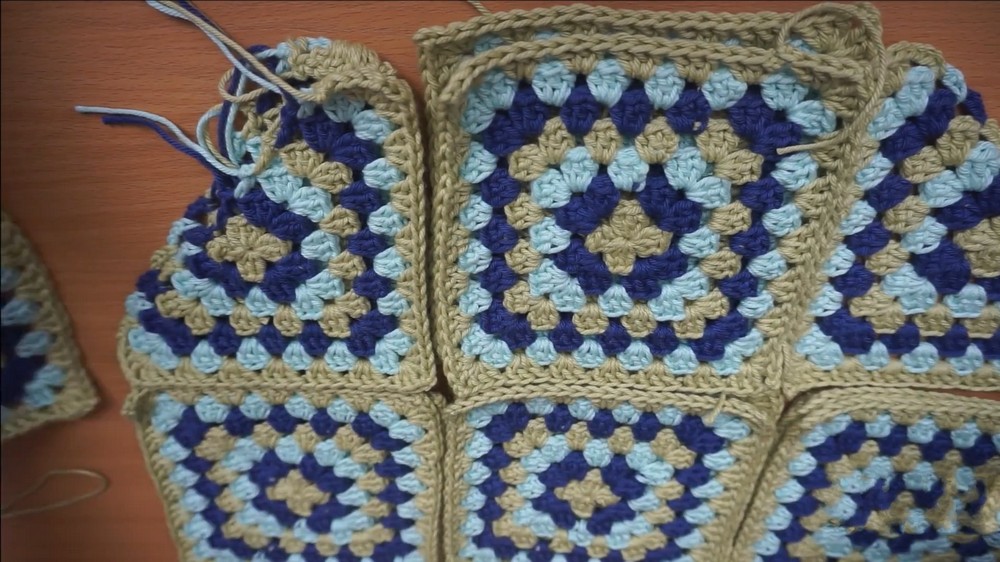
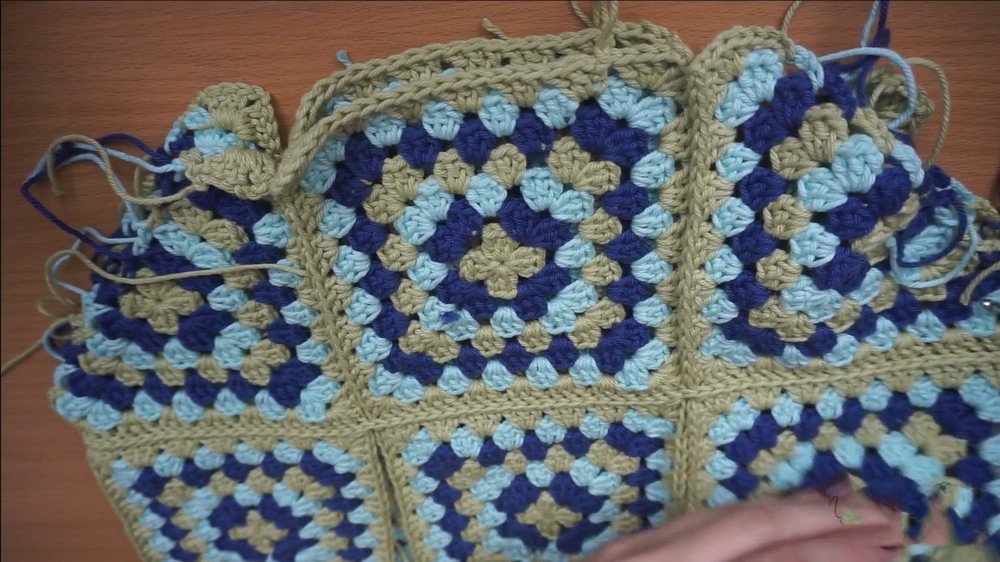
- Arrange squares and triangles in a rectangle:
- Four squares across top and bottom rows.
- One triangle at each side of the rectangle.
- With motifs right side up and flat, join using a slip stitch seam:
- Align motifs, insert hook through corner sp (ch-2 sp or end st) of both motifs.
- Yarn over, pull through both and through loop on hook (sl st).
- For following sts: insert through front loop only of motif nearest you and through both loops of motif behind, yarn over, pull through all loops for a neat seam.
- Continue along all needed edges until the rectangles and triangles are all seamed.
- Fold in half (RS together, as for a top).
- Seam side and underarm edges together using the slip stitch seam, as above.
- Close remaining open seams as needed for armholes and shape.
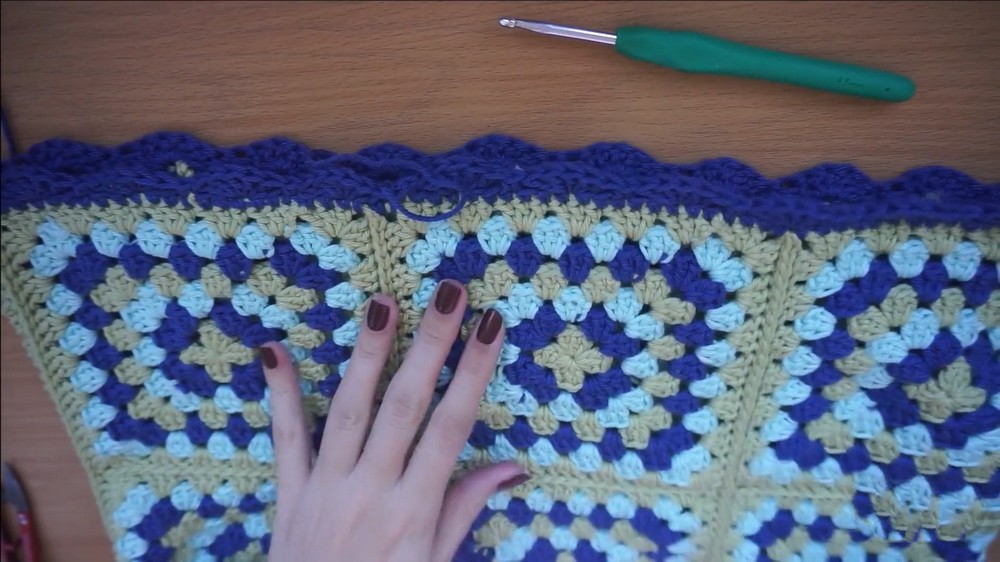
PART 4: Edging
Top Edging
- With RS facing, join yarn at underarm edge.
- Single crochet evenly around the top edge; place 2 sc in bigger spaces as needed for a flat edge.
- Sl st to 1st sc, ch 2 (does not count as a st).
- Hdc in each sc around.
- In each corner st, work 3 dc in the same st to keep the corner pointed.
- Sl st to top of first hdc, ch 1, fasten off.
Bottom Edging
- Join yarn at any corner, sc evenly around bottom edge.
- Sl st to 1st sc, ch 1.
- Begin scallop pattern:
- [Skip 2 sts, 5 dc in next st (shell made), skip 2 sts, sc in next st]; rep around. Adjust as needed at corners/ends for an even look.
- Sl st to 1st sc after the last scallop, fasten off.
PART 5: Straps (Make 2)
- Join yarn at the center dc of a 3-dc group in a corner of the top edge.
- Ch 30–35 (or desired length to fit your body; try on for best fit).
- Join to corresponding dc at the opposite side of the top (same way).
- To reinforce, turn and hdc in each chain back to the start, sl st to next st on the edge to secure.
- Fasten off, weave in tails.
Finishing
- Hide all tails carefully with a yarn needle.
- Gently block top to shape if desired.
Conclusion
This classic granny square crop top is a stylish and playful project that’s easy to customize for color, size, and fit. Simple construction and classic motifs make it accessible for beginners and appealing to experienced crocheters alike.
Pattern Corrections & Tips
- Correction: Always confirm you are working each round’s corners and side spaces correctly to maintain motif shape.
- Tips:
- Use stitch markers to easily identify center sts for strap placement.
- Hide yarn tails as you work by crocheting over them; minimizes finishing work.
- For even seams, count stitches as you join; avoid puckering or gaps.
- Try top on before adding final edges or straps to ensure correct fit and length.