Beginner-Friendly Free Crochet Rose Hair Clip Pattern

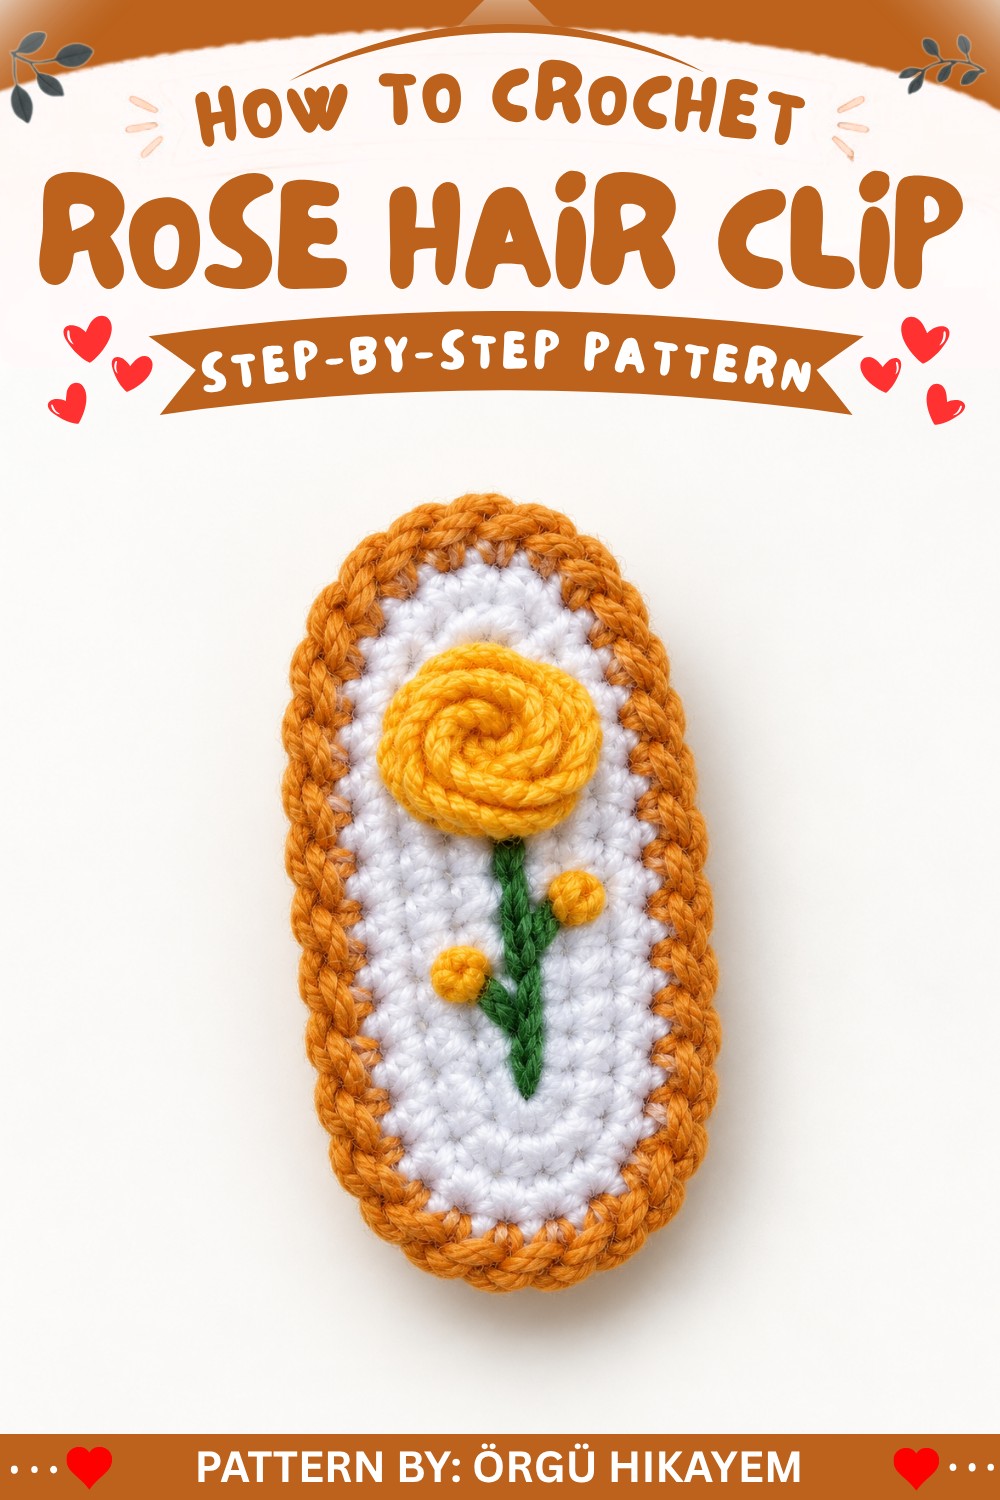
Highlight your personal style with this free crochet rose hair clip pattern that’s a quick and beautiful way to bring floral touches to your favorite accessories.
Crochet crafts let you create stunning accessories, and a rose hair clip is one of the most delightful options. The Free crochet Rose Hair Clip pattern provides an easy way to make a handmade clip that adds charm to any hairstyle. Designed by the creative mind behind the YouTube channel Örgü Hikayem, this project is perfect for crafters who love making personalized gifts or unique decorations.
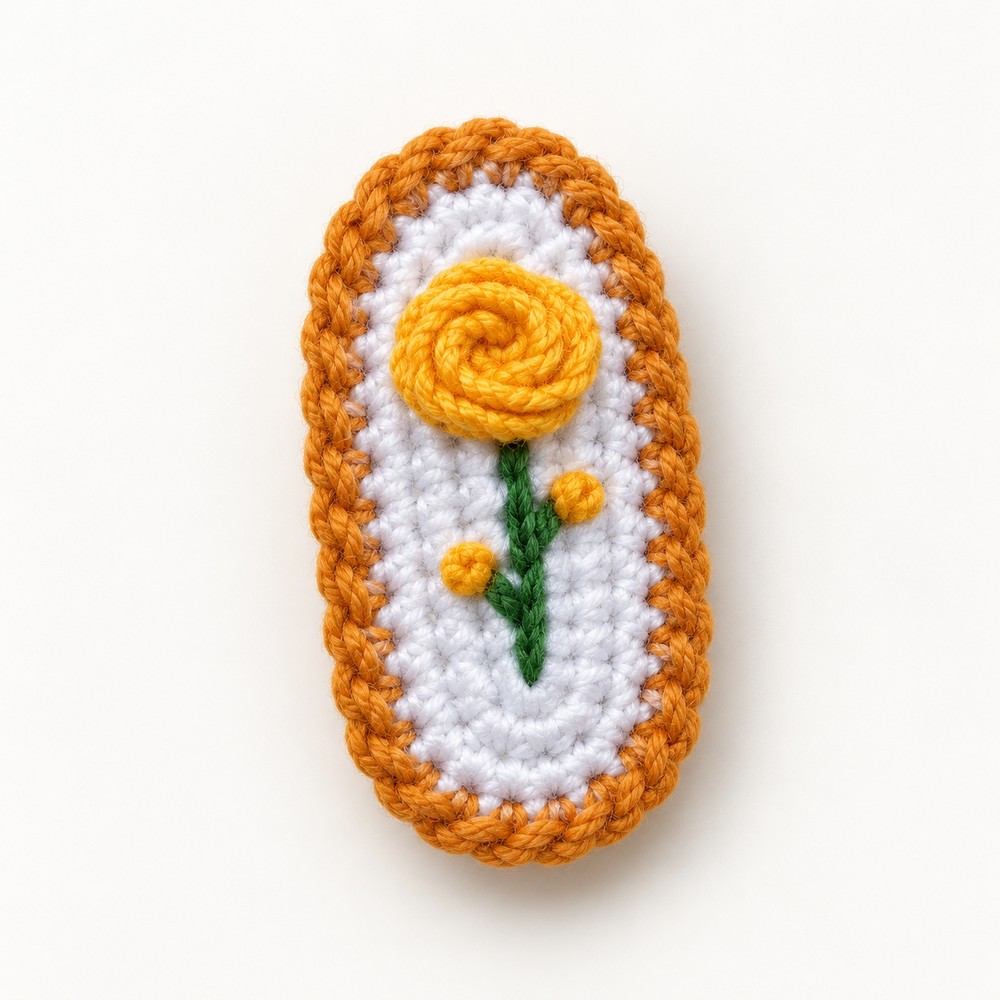
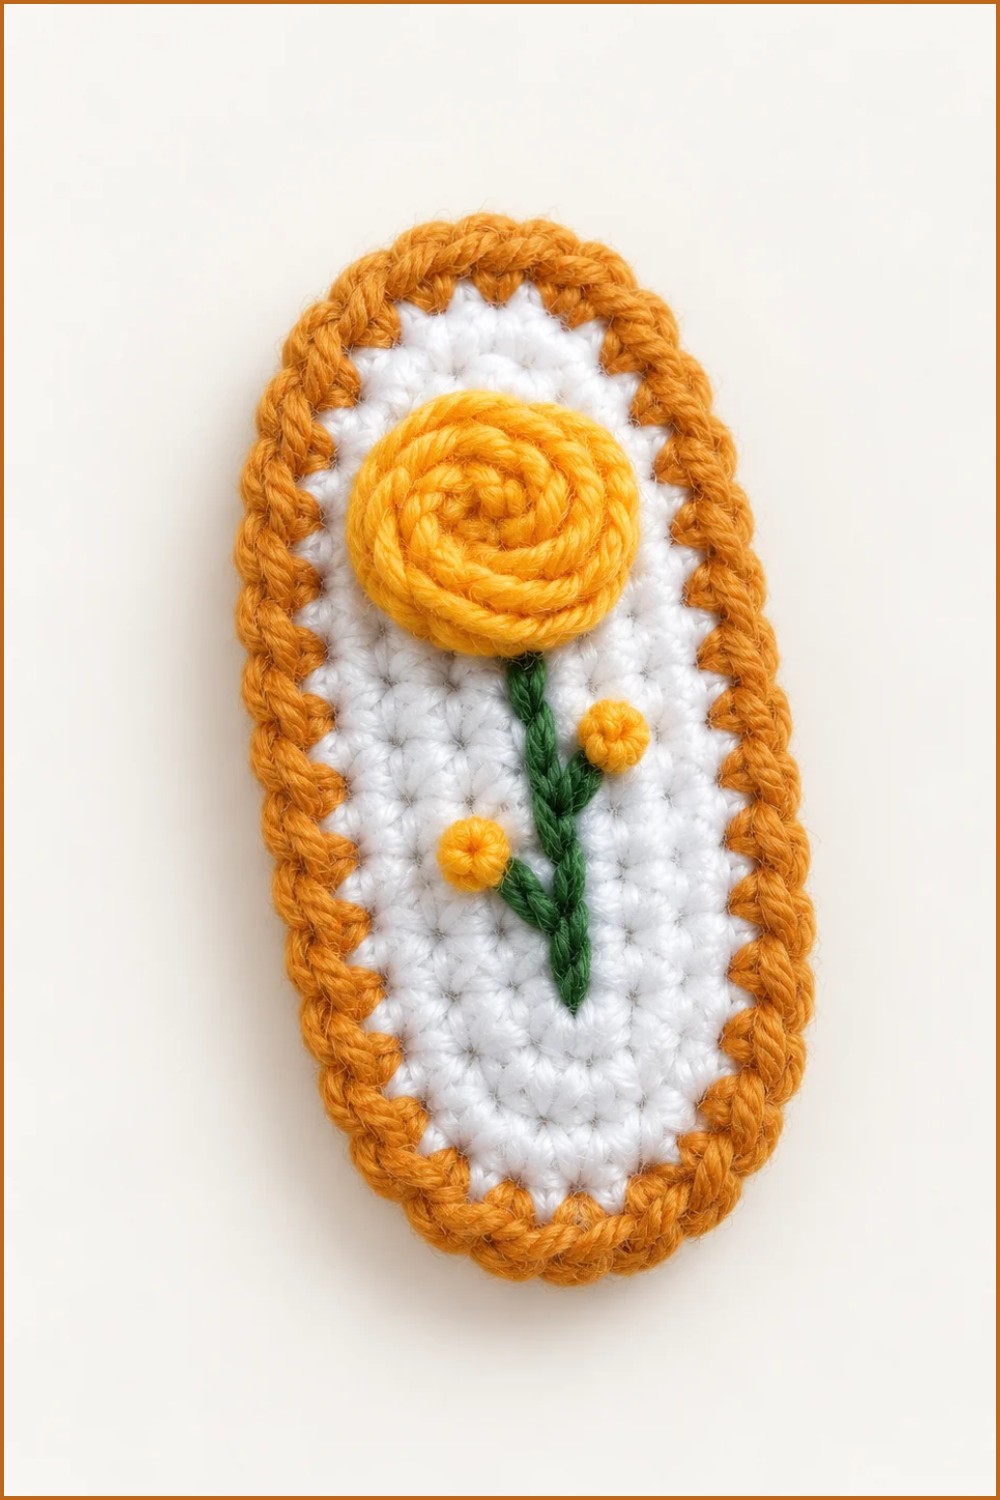
The finished hair clip is shaped like a beautiful, blooming rose, complete with intricate petals and a touch of elegance. You can customize it to match your favorite outfit or make it in colors that reflect the seasons. Imagine gifting this handmade hair clip to someone you love—it’s a thoughtful creation they’re sure to treasure. It’s also ideal for occasions like birthdays, holidays, or bridal showers.
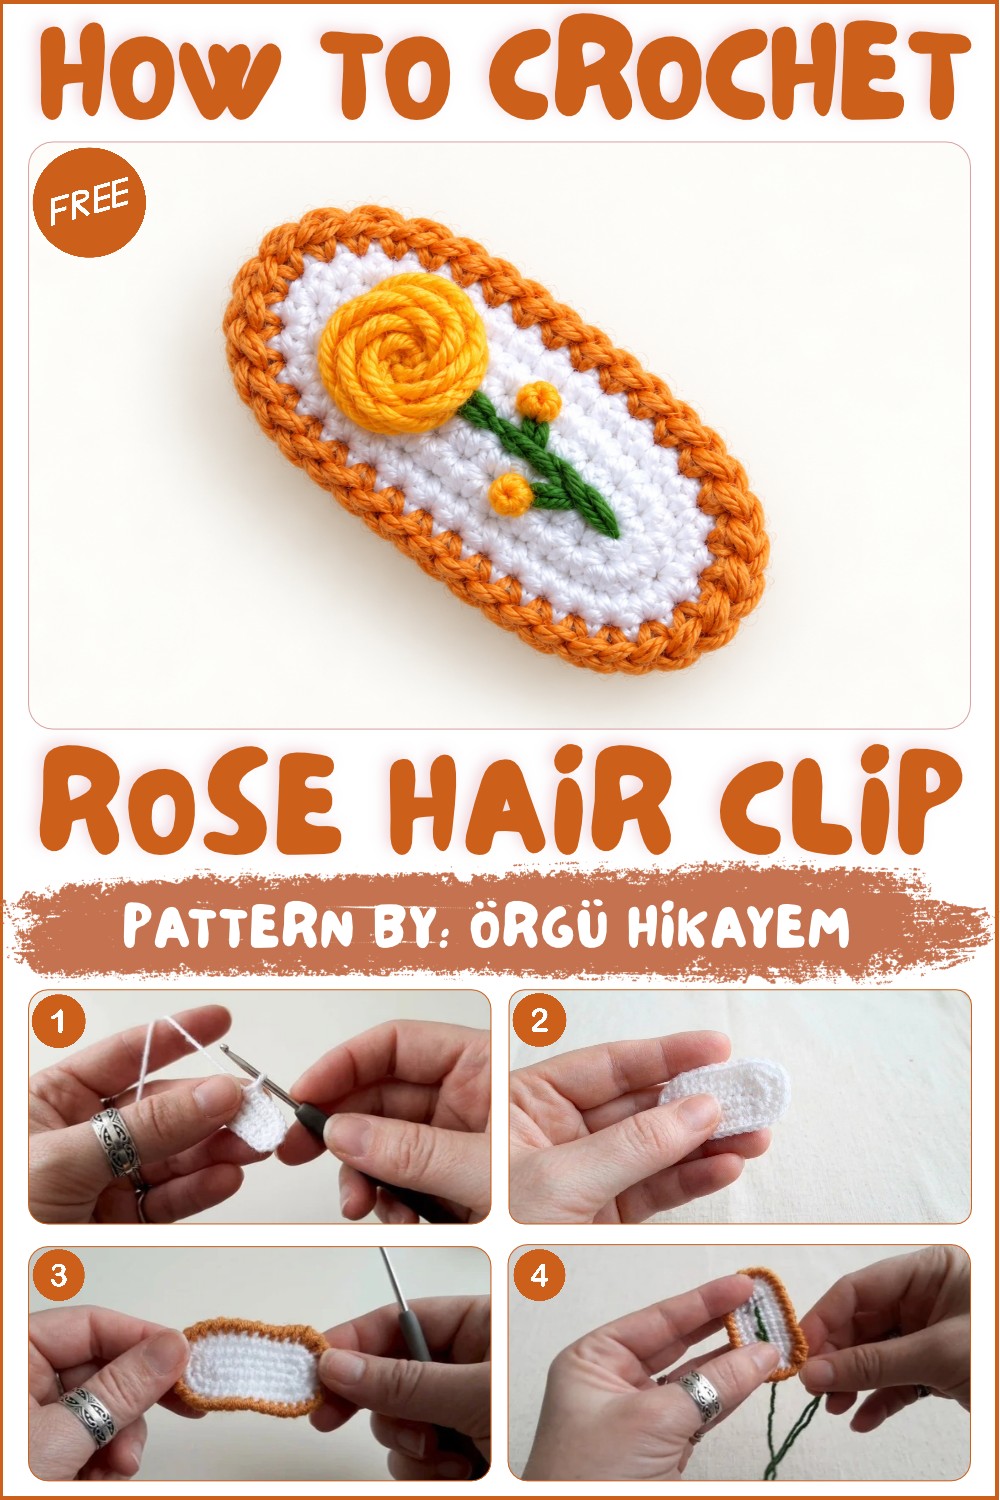
Free Crochet Rose Hair Clip Pattern for Floral Hairstyles
Beyond gifting, this rose hair clip is a wonderful accessory to elevate your own hairstyles. Whether you’re attending a wedding, a party, or just want to add a sweet touch to your everyday look, this rose clip will effortlessly brighten up your hair. Its delicate design adds a graceful and feminine flair to any outfit.
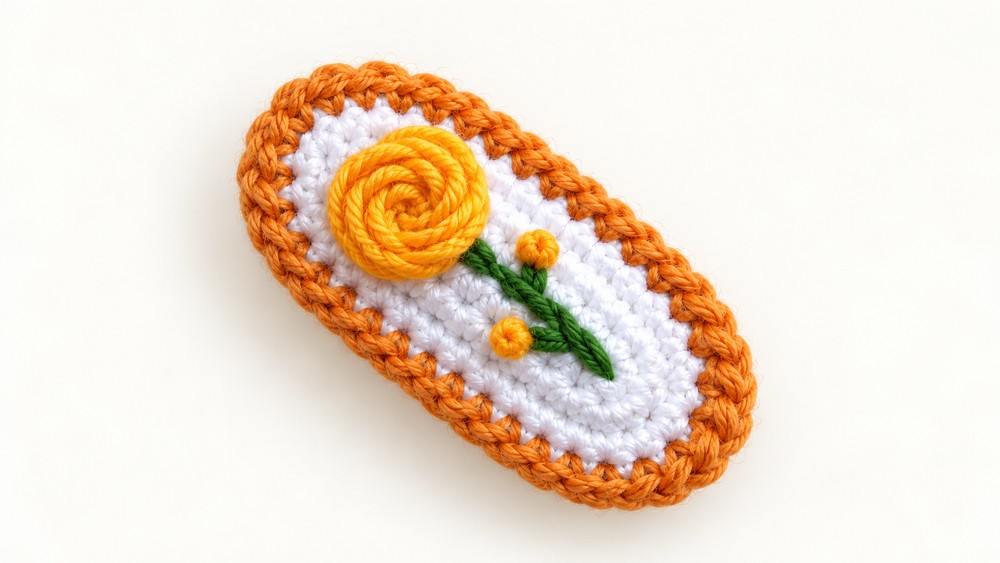
The Free crochet Rose Hair Clip pattern is beginner-friendly and fun to make. It’s also a fantastic way to use leftover yarn from other projects. You’ll love how quick it is to crochet something so charming. Explore the pattern today, and add a handmade touch to your style or those of your loved ones—it’s a piece of beauty everyone will adore!
Rose Detailed Hair Clip Crochet Pattern – Step by Step Crochet Instructions
This pattern demonstrates the creation of an elegant rose-detailed hair clip using Kartopu Baby One yarn, which features anti-pilling properties. The detailed step-by-step process shown in the video allows for easy following to create your charming accessory. Starting from the base crochet piece, edging lace, embroidery, rose making, and bud details are all explained thoroughly. The base is fixed onto felt and adhered to the clip apparatus using a silicone gun.
Pattern Highlights
Base Crochet
- The base starts with chain stitches and is shaped into an oval using single crochet stitches and increases.
- The first rows involve turning and increasing stitches to achieve a smooth form.
Edging Lace and Decoration
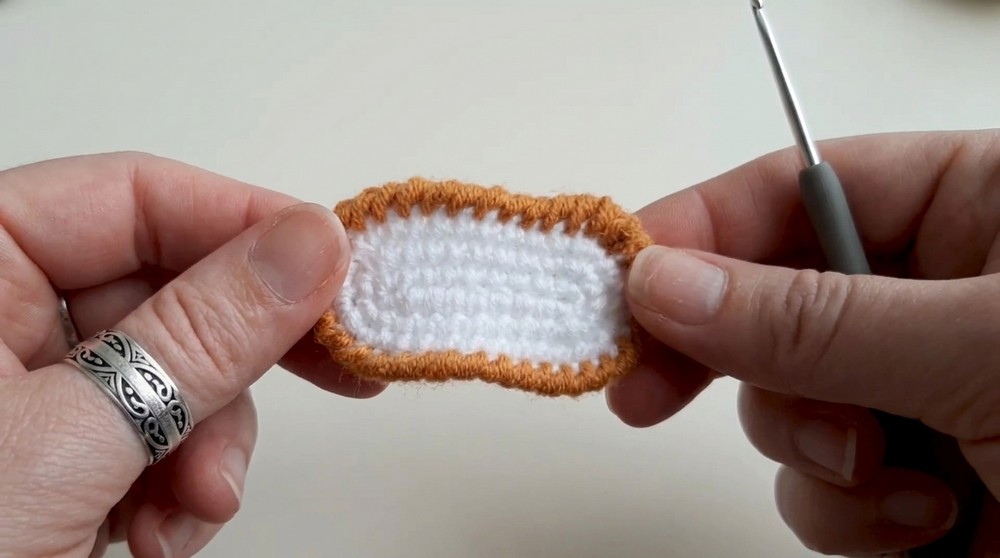
- The edges are adorned by working reverse single crochets in a contrasting color yarn.
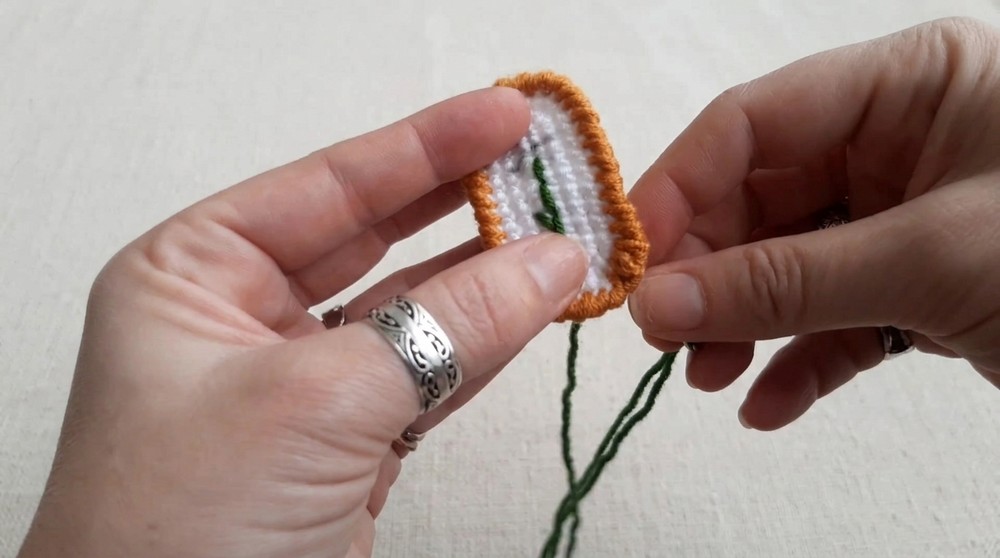
- Green yarn embroidery is worked onto the base in a star-branch pattern.
- A rose form is created by weaving the thread between branches (under and over technique).
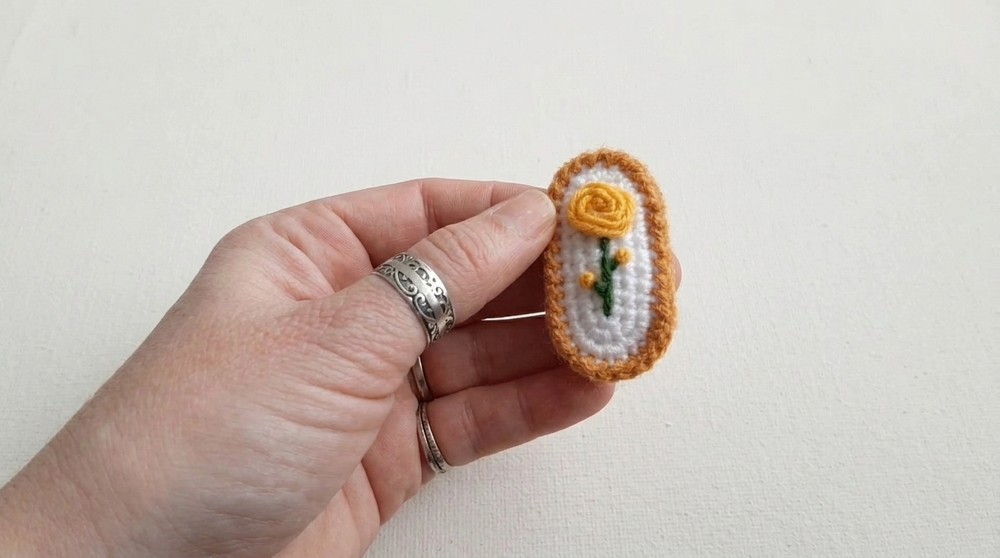
- Bud details are added by looping the thread twice and inserting into the ends of small branches.
Final Assembly
- The crochet base is secured onto felt for stability.
- Using a silicone gun, the felt piece is firmly attached to the hair clip.
Notes
- Choose a hook appropriate for your yarn thickness and the desired tightness of stitches.
- Consistent tension in single crochet stitches is important for the piece to hold shape well.
- When working the edging, carefully switch yarns and maintain even stitches.
- Be patient during embroidery and rose detailing for a refined result.
- The attachment between the base and the clip must be secure; silicone adhesive is crucial.
Skill Level
Intermediate
This pattern requires basic to moderate crochet skills such as:
- Chain stitch
- Single crochet
- Increases
- Lace edging
- Simple embroidery
- Attaching the crochet piece to a clip apparatus
Materials
- Yarn: Kartopu Baby One, anti-pilling yarn
- Hook: Suitable size for your yarn (commonly 2.5-3 mm)
- Clip Apparatus: Snap hair clip
- Felt: For stabilizing the base from the back
- Silicone Gun
- Embroidery Thread: Green color for branches
Measurements / Sizing
- The base length is approximately 10 chains long, shaped oval with single crochet.
- The clip apparatus measures around 5–6 cm and proportioned to hold the detailed flower.
Gauge and Stitch Pattern
- Use single crochet stitches with moderate and consistent tension.
- Increases and chain stitches help shape the oval form smoothly.
Stitch Abbreviations
| Abbreviation | Term | Description |
|---|---|---|
| ch | Chain | Basic starting stitch, foundation row |
| sc | Single Crochet | Basic stitch creating the fabric |
| sl st | Slip Stitch | Joins rounds or stitches smoothly |
| inc | Increase | Two single crochet stitches in one stitch |
Special Stitches
- Increase (inc): Making two single crochets in one stitch to expand stitch count.
- Reverse Single Crochet: Used in edging to create a neat border without curling.
The Crochet Pattern
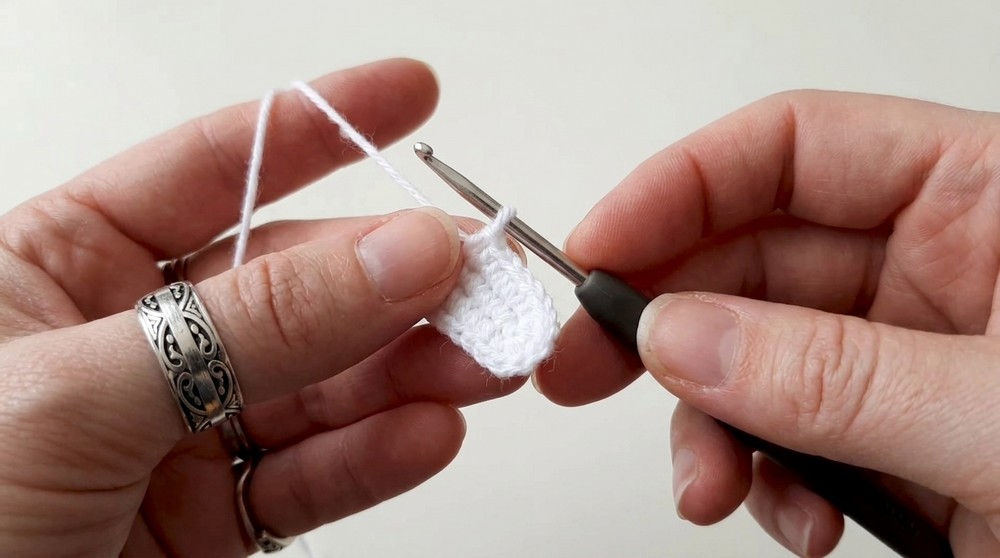
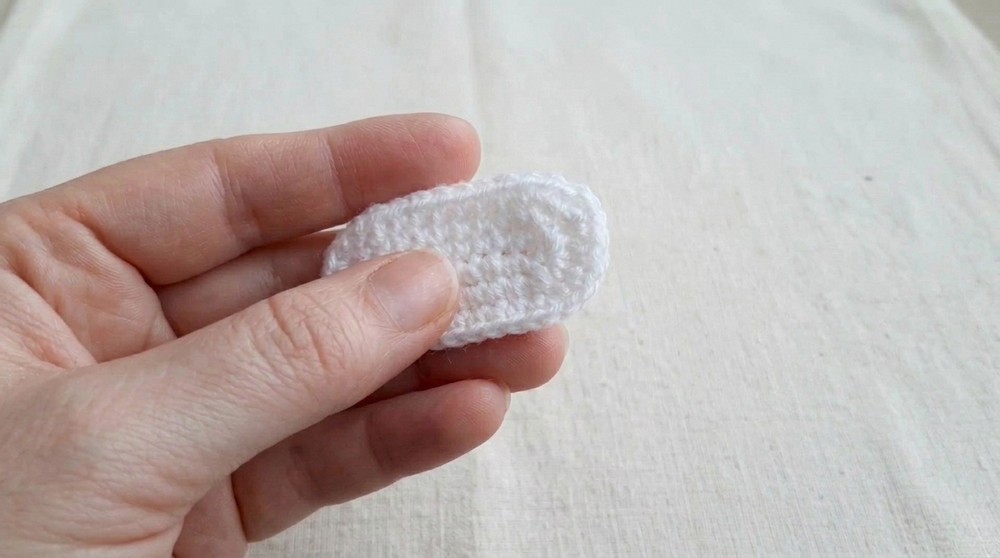
1. Base Preparation
Start:
- Chain 10.
Row 1:
- Beginning from the second chain from the hook, work 8 single crochets.
- In the last chain, work 3 single crochets to turn the row and shape a rounded corner.
Opposite side:
- Continue along the opposite edge, working 7 single crochets.
- Finish with an increase in the last stitch to complete the oval base.
2. Second Row
Start:
- Slip stitch one loop to start the row, then chain 1.
Work:
- Make 1 increase.
- Work 7 single crochets.
- At the peak, work 3 consecutive increases.
- Work 7 more single crochets.
- Increase twice more.
- End the row with a slip stitch.
3. Third Row
- Work 1 single crochet, then 1 increase.
- Follow with 8 single crochets.
- At the peak, repeat the sequence of (1 single crochet, 1 increase) three times.
- Work 8 single crochets.
- Make 1 increase, 1 single crochet, then finish with an increase at the joining point.
4. Edging and Decoration
- Using a contrasting color yarn, work reverse single crochet stitches around every stitch along the edge to create a neat border.
- Embroider star-like branches on the base using green yarn.
- Weave the yarn through the embroidered branches (under one, over one) to form the rose shape.
- Add buds by wrapping the yarn twice and inserting it into the ends of smaller branches.
Assembly & Finished Size
- Attach the crochet base securely onto felt for dimensional stability.
- Using a silicone gun, firmly glue the felt backing with the crochet piece onto the hair clip apparatus.
- The finished clip measures about 5–6 cm and features an elegant rose detail that enhances any hairstyle.
Conclusion
This rose-detailed hair clip pattern skillfully combines basic crochet techniques with decorative embroidery and finishing touches to create a beautiful accessory. The use of Kartopu Baby One anti-pilling yarn ensures durability and softness. By following the detailed instructions for the base, edging, embroidery, and rose embellishment, even intermediate crocheters can craft an exquisite product. Securing the crochet piece with felt and silicone to a snap clip guarantees both stability and wearability. This project offers a rewarding way to add handmade charm to your fashion collection or create thoughtful gifts.