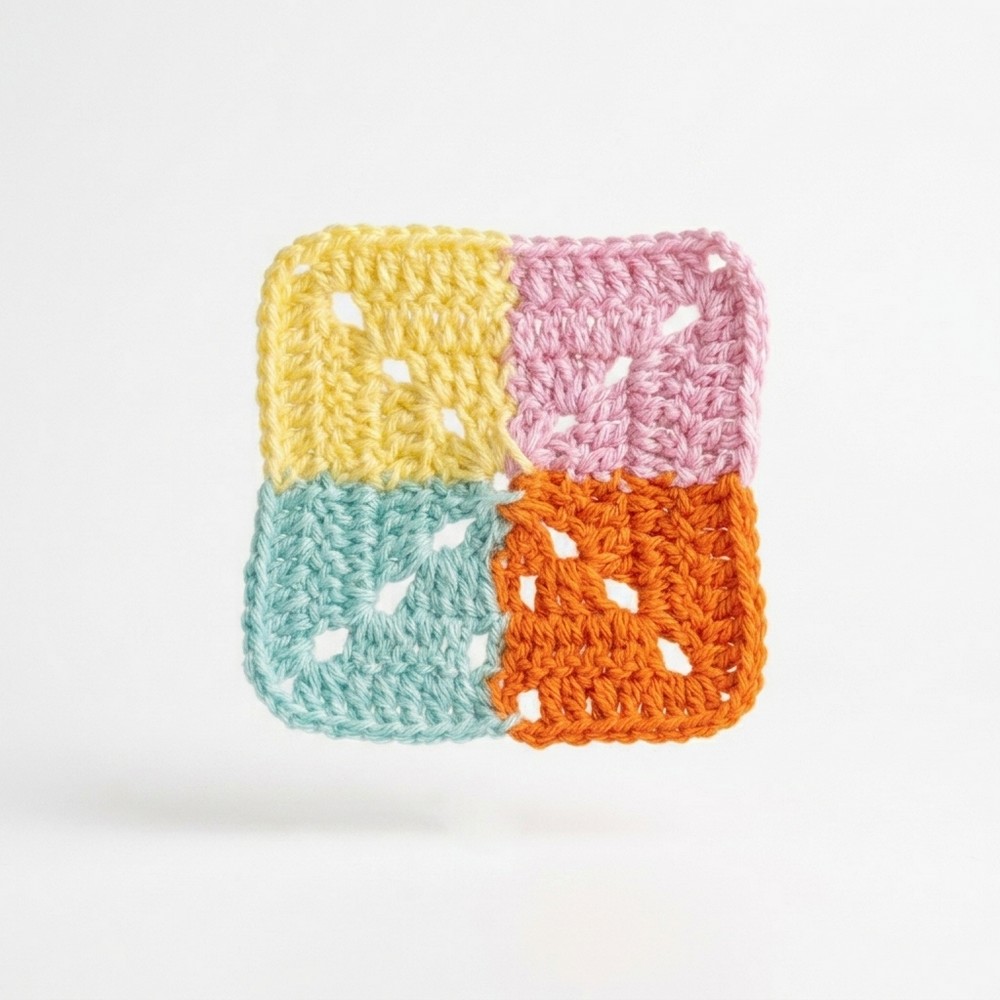
How to Crochet Colorful Granny Square Free Pattern With Easy Tips

Turn your crochet hobby lively and bright with a free colorful granny square pattern, designed to inspire creativity where colors meet tradition.
Not every crochet project needs complicated stitches or difficult shaping to look beautiful and creative. Sometimes, simple rounds of colorful yarn can create a piece that feels cheerful, warm, and full of character. Enchanted Yarn Works shows how changing colors around a classic granny square can turn a basic crochet idea into an eye-catching handmade design. The colorful arrangement also makes each finished square feel unique and fun to create.
Easy Colorful Granny Square Free Crochet Pattern
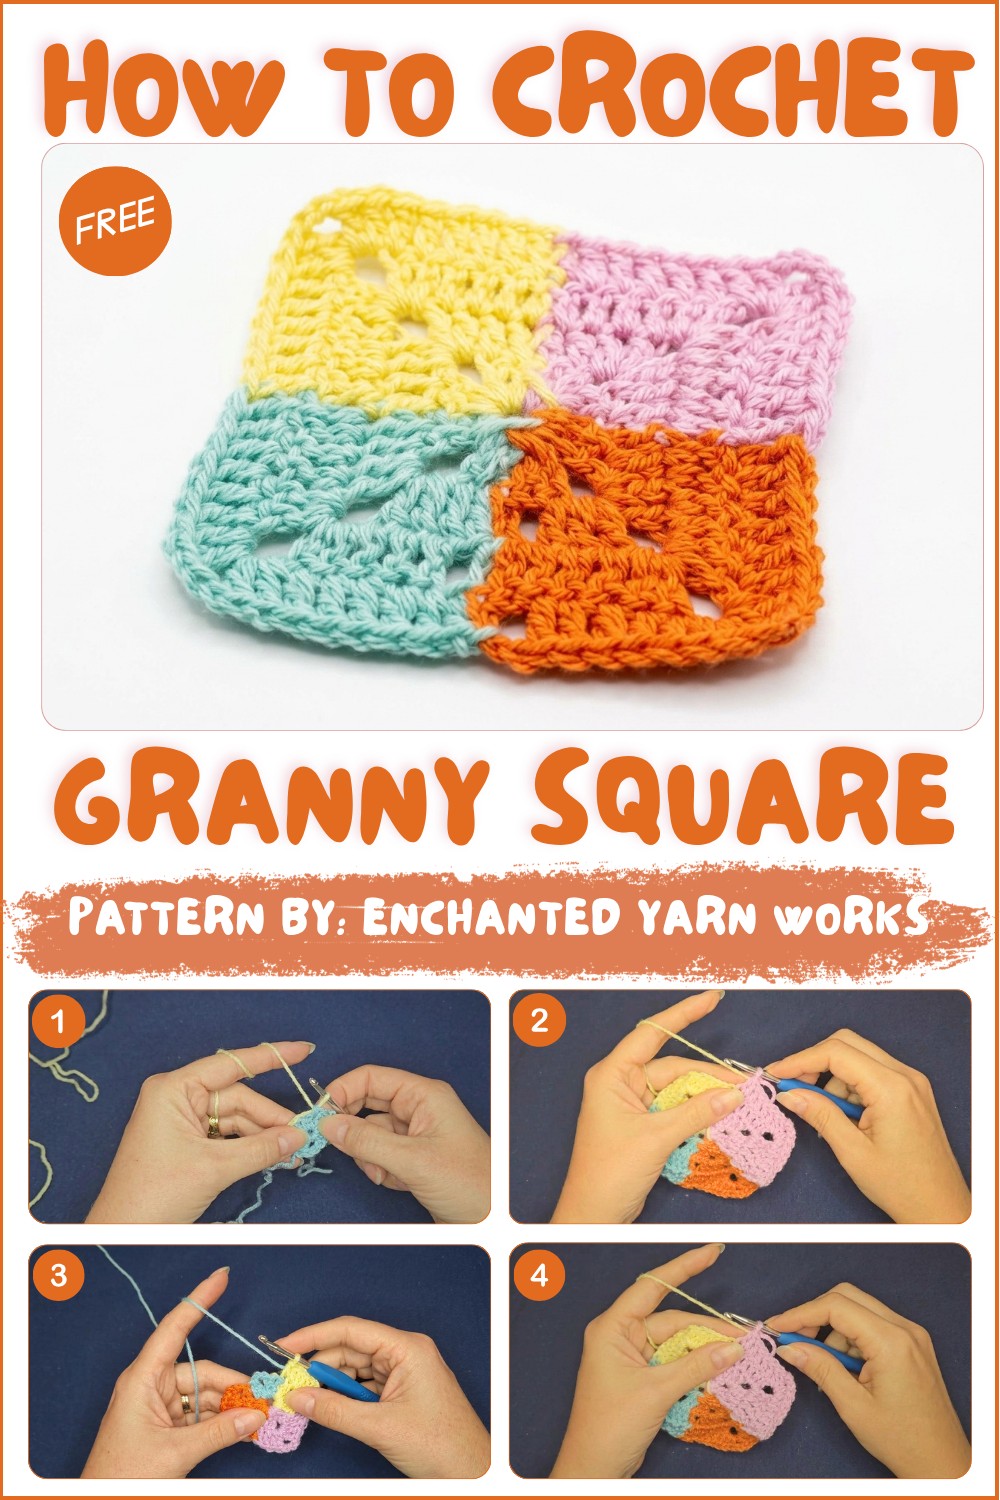
A Free Crochet Colorful Granny Square Pattern is especially attractive because of its bright color combinations and familiar square shape. The center can have a flower-like appearance, while each surrounding round adds another layer of color and detail. Groups of stitches create a soft, raised texture with small spaces between them, giving the square a light and airy look. You can choose bold shades for a playful style or soft tones for a more calm and elegant appearance.
These colorful squares are useful for many crochet projects. Join several together to make blankets, pillow covers, tote bags, scarves, cardigans, table runners, or decorative throws. A single square can also be used as a coaster, small wall decoration, or handmade gift detail. You can mix colors to match your home, clothing, or favorite theme.
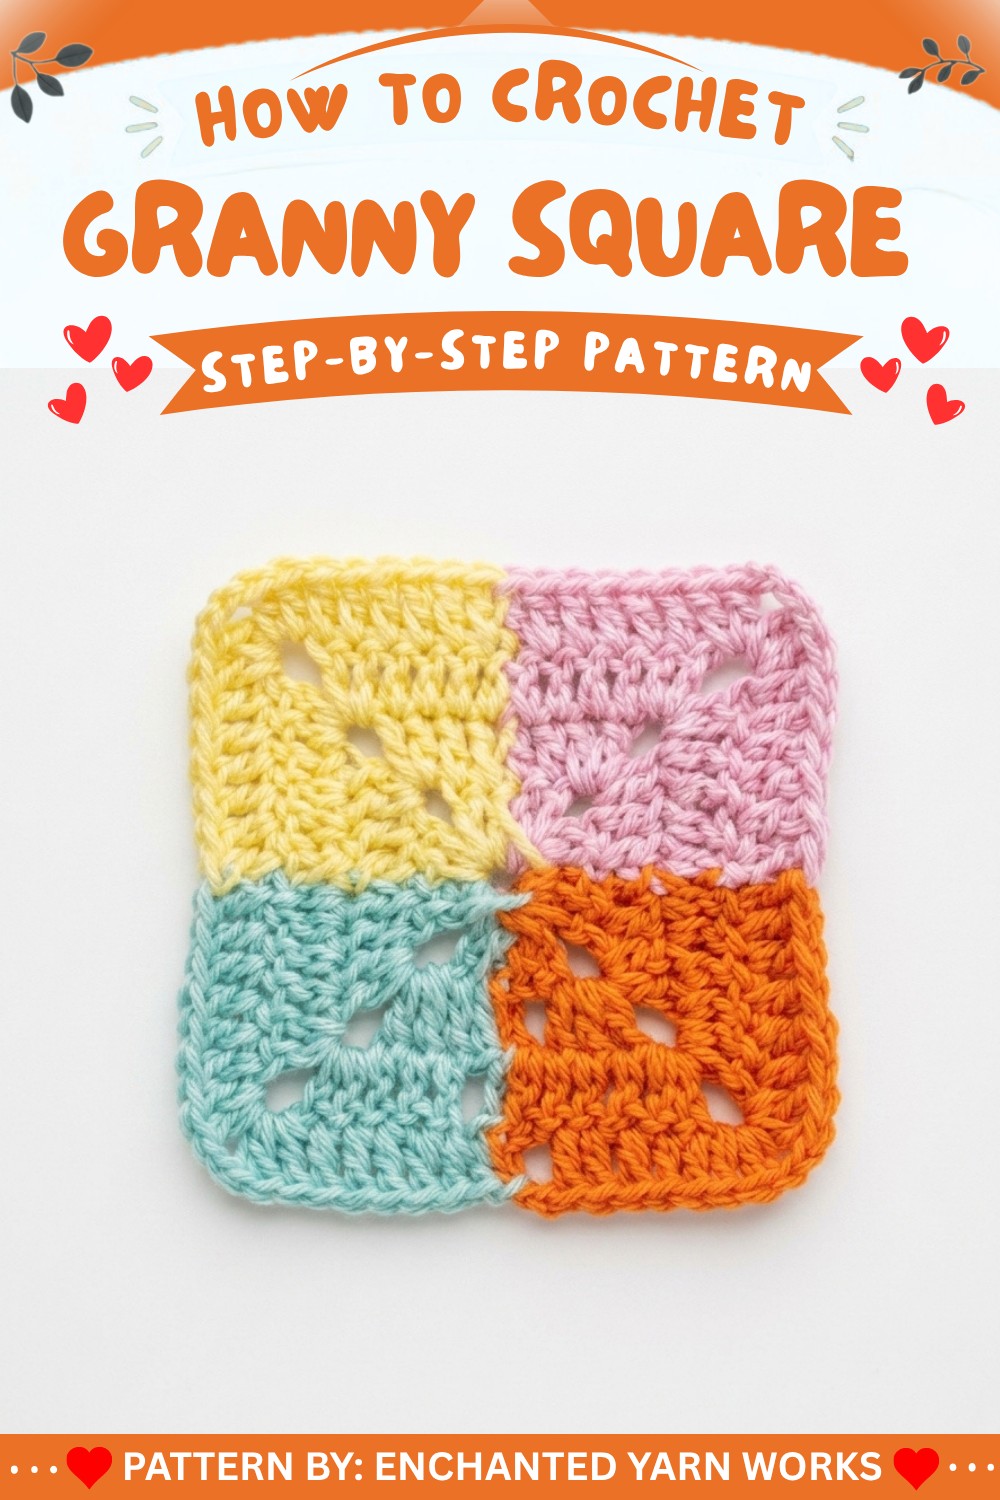
Overall, the bright colors, cozy texture, balanced shape, and handmade appearance make this pattern a lovely choice for anyone who wants a simple project with plenty of creative possibilities.
Free Granny Square Crochet Pattern
Granny Square #33 from the Claire Montgomerie deck is a fresh take on a traditional style, highlighted by distinctive color blocking and bold corners. The pattern features clean round transitions, clear color changes, and careful stitch placement to ensure a crisp, structured square ideal for blankets, cushions, and modular projects.
Pattern Basic Points
- Built in the round from the center outward
- Features distinctive color segments, each worked consecutively in the same round
- Corners are defined by chain-3 spaces for a sharp, geometric look
- Unused yarn colors are carried up the back for clean color changes
- Additional rounds can be added for a larger square by following the established increase pattern
Special Notes
- For neatly defined color segments, secure unused yarn tails on the back as you work
- Maintain consistent tension, especially at color joins, to avoid loose or puckered edges
- Turning your work at the start of each round creates a tidy and symmetrical appearance along the square’s edges
- Block your finished square for best results
Skill Level
Intermediate. The square requires familiarity with double crochet, color changes, working in rounds, and simple yarn management techniques.
Materials
- Yarn: Stylecraft Special DK (use at least three or four colors for best color segment definition)
- Hook: 4mm crochet hook
- Notions: Yarn needle, scissors, blocking mat, T-pins
Measurements / Sizing
- Finished size: approx. 4 inches x 4 inches (10 cm x 10 cm) after blocking
- Square can be expanded by adding additional rounds
Gauge and Stitch Pattern
- Suggested gauge: 4 rounds = 4 inches (10 cm)
- Stitch pattern: Double crochet (dc) clusters with chain-3 corners, worked in continuous rounds
Stitch Abbreviations
- ch – chain
- dc – double crochet
- sl st – slip stitch
- sp – space
- st(s) – stitch(es)
- rep – repeat
Special Stitches
- Color Change: When ending a segment, leave the working loop open, insert the hook into the next chain or stitch, and pull the new color through to secure the loop and begin the new segment.
Pattern Instructions
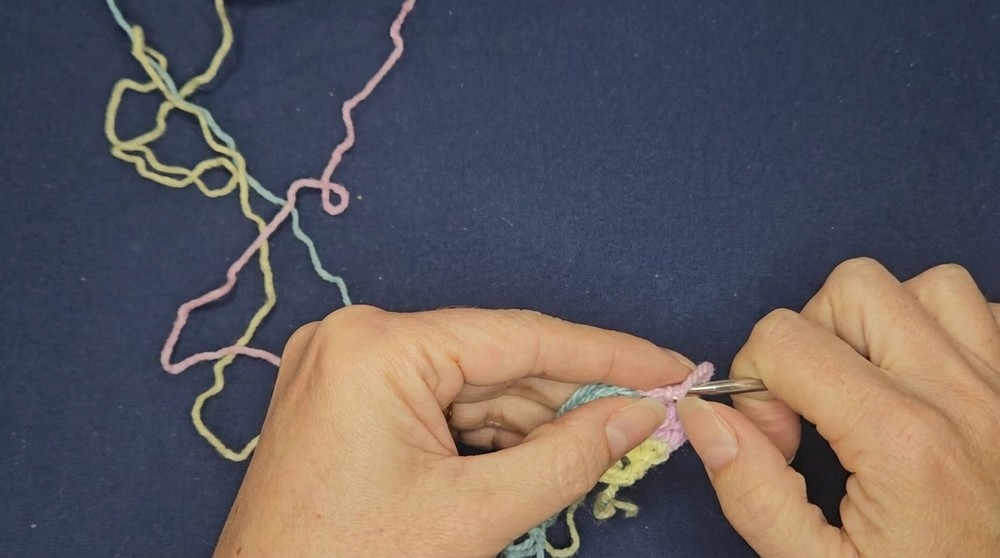
Round 1: Center Formation & Color Segments
- Create a slip knot.
- Ch 4, then sl st into the first chain to form a circle.
- For the first color segment:
- Ch 3 (counts as dc)
- 1 dc into the center
- Ch 3 (forms corner)
- 2 dc into the center
- Change color:
- Leave working loop open, insert hook into next position, pull new color through and secure.
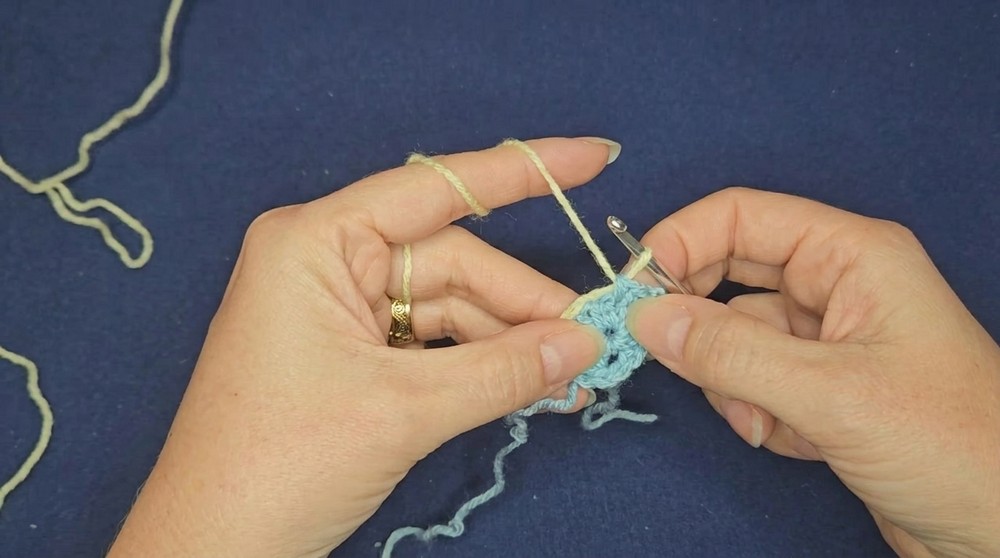
- Leave working loop open, insert hook into next position, pull new color through and secure.
- For each following color segment, repeat:
- 2 dc into the center
- Ch 3 (corner)
- 2 dc into the center
- Repeat color segment sequence evenly around the circle (for three or four colors, divide the round accordingly).
- Sl st into the top of the initial ch-3 to join the round.
Round 2: Building Sides and Corners
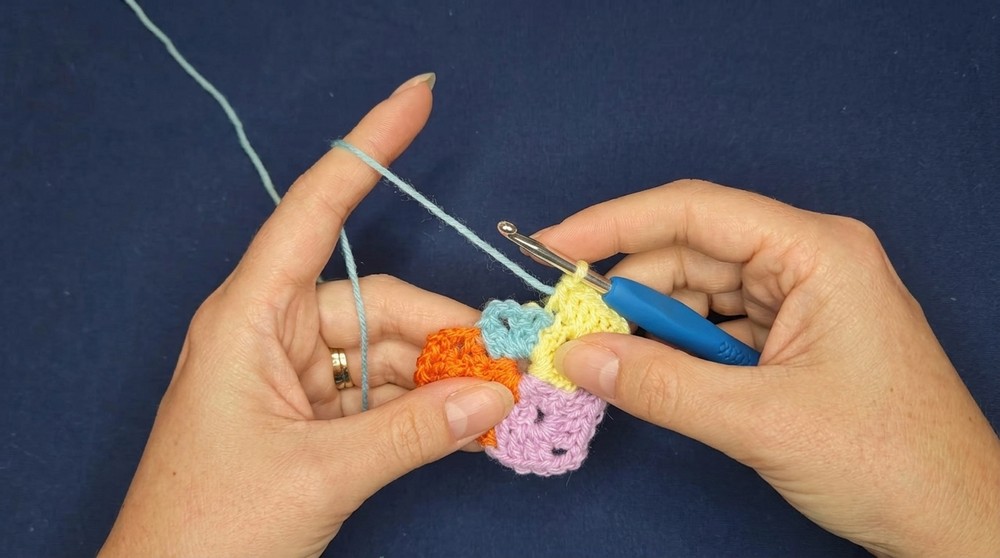
- Turn work to wrong side.
- For each color segment:
- Ch 3 (counts as dc)
- 1 dc in next dc below
- 2 dc in the corner ch-3 sp
- Corners:
- Ch 3 (corner space)
- 2 dc into same ch-3 sp (corner complete)
- Continue colorwork by carrying unused yarn up the back, gently encasing with new stitches.
- Repeat for each segment and side.
- At end, sl st to top of starting ch-3 to join round.
Round 3: Expanding the Square
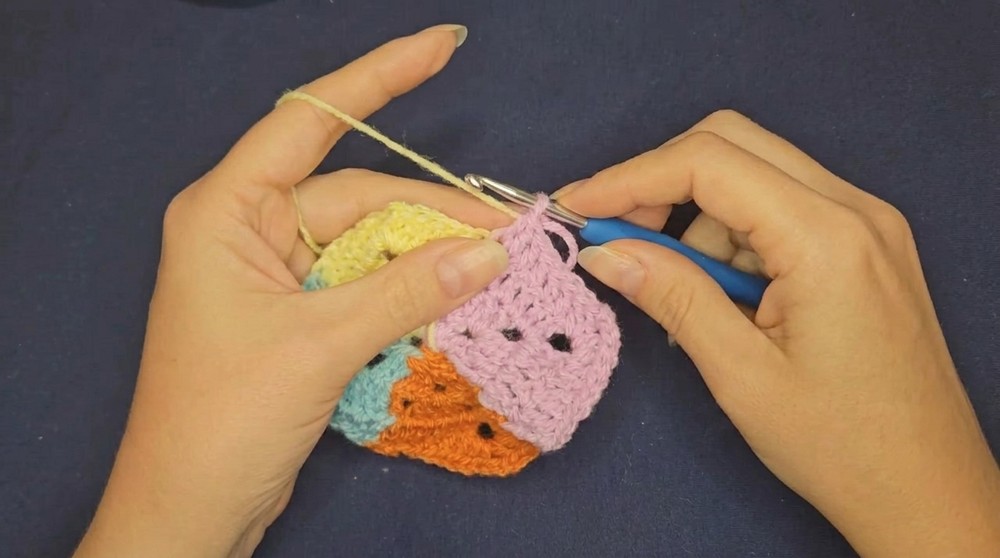
- For each side:
- Ch 3 (counts as dc)
- 1 dc in next dc
- 1 dc in next dc
- (There should now be 3 dc per side segment.)
- Corners:
- In corner ch-3 sp: 2 dc, ch 3, 2 dc
- Continue color sequence and carry yarn as before.
- Repeat all the way around; adjust for number of segments and sides as established.
- Sl st into top of starting ch-3 to close.
- Fasten off and weave in all yarns.
Finishing Touches
- Weave in all yarn ends with a yarn needle on the reverse side, tucking ends securely beneath your stitches.
- Block the square on a blocking mat to a 4-inch x 4-inch dimension. Secure at corners and sides using T-pins for even tension.
- Steam block (hovering your iron, do not touch the yarn) to set shape, especially important with acrylic yarns.
Conclusion
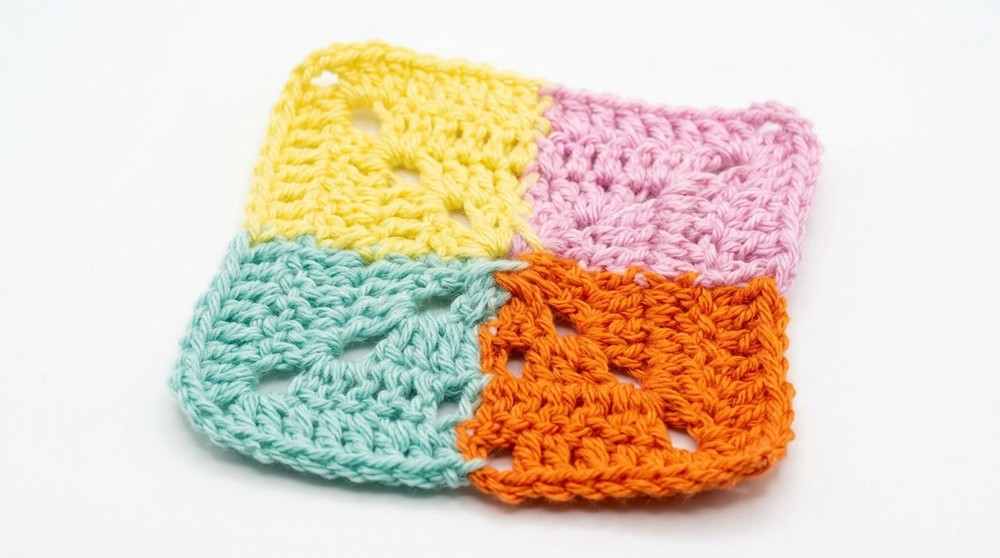
Granny Square stands out for its bold color segments, tidy structure, and crisp geometric corners. The pattern is an excellent choice for developing confidence with color changes and modular assembly, and the vibrant result is equally at home in contemporary and traditional crochet projects. Experiment with colors and expand the rounds to explore the versatility of this foundational granny square technique.