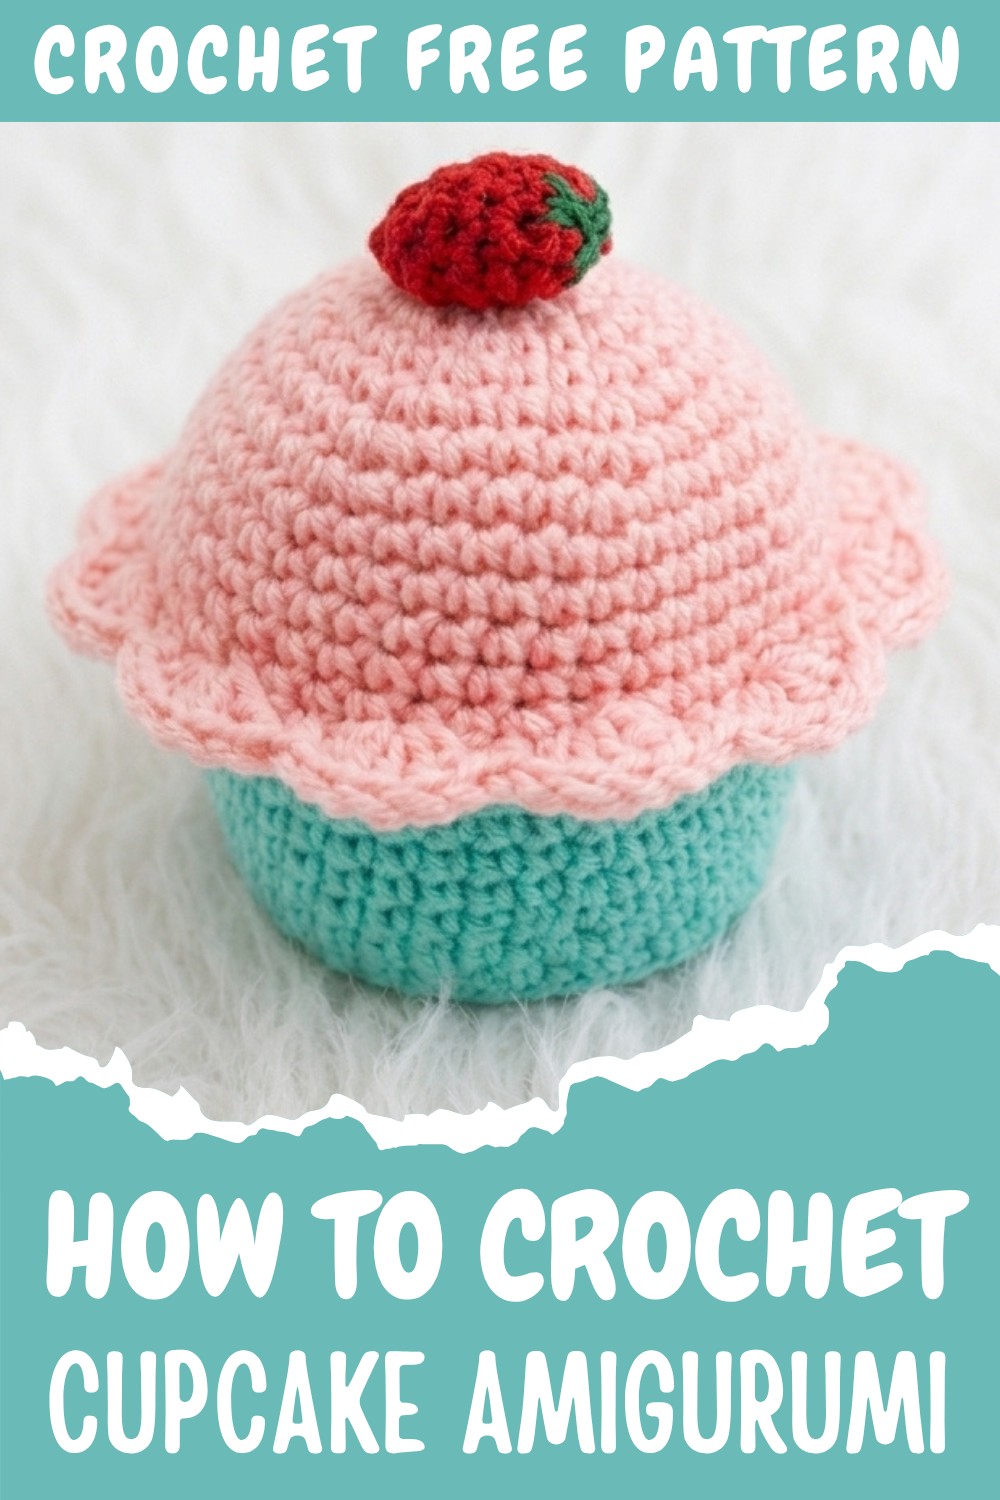
Free Crochet Cupcake Amigurumi Pattern for Food Lovers

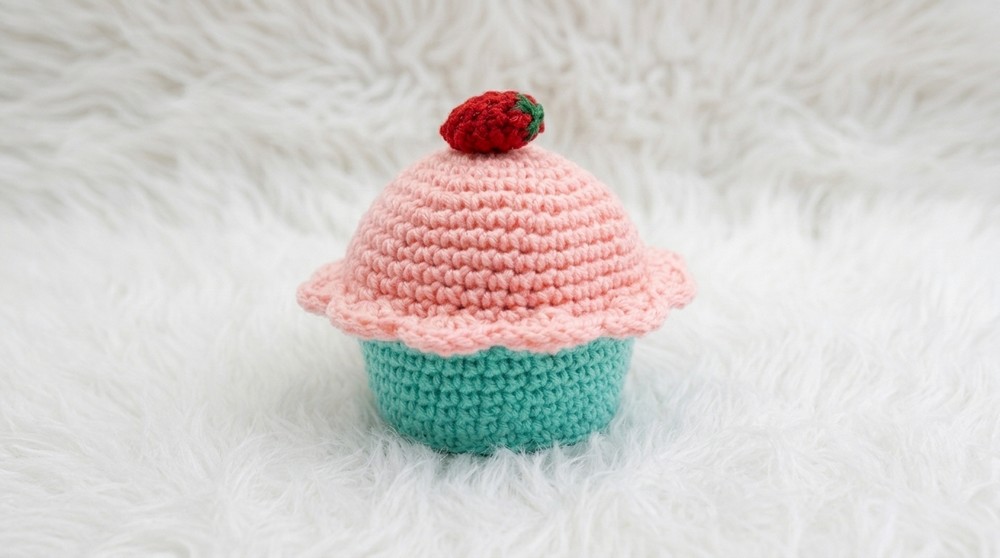
Sweeten your crochet time with the Free Crochet Cupcake Amigurumi Pattern, making it easy to stitch a cute treat for gifts or home decor.
Crocheting has a way of turning small pieces of yarn into adorable treasures, and this cupcake-inspired amigurumi pattern is no exception. Creating a tiny, charming cupcake that’s as sweet as the real thing, but without the calories.
Step-by-Step Guide to Crochet Cupcake Amigurumi Pattern
With the opportunity to mix and match color combinations, you can crochet icing in soft pastels or vibrant neon shades, topped with playful cherries or sprinkles, making each cupcake truly unique. Whether you use orange and brown for fun look or reds and blues for bold contrast, the result will brighten any shelf, desk, or gift box. These cupcakes are versatile – perfect for keychains, ornaments, or just a little decoration to spread joy.
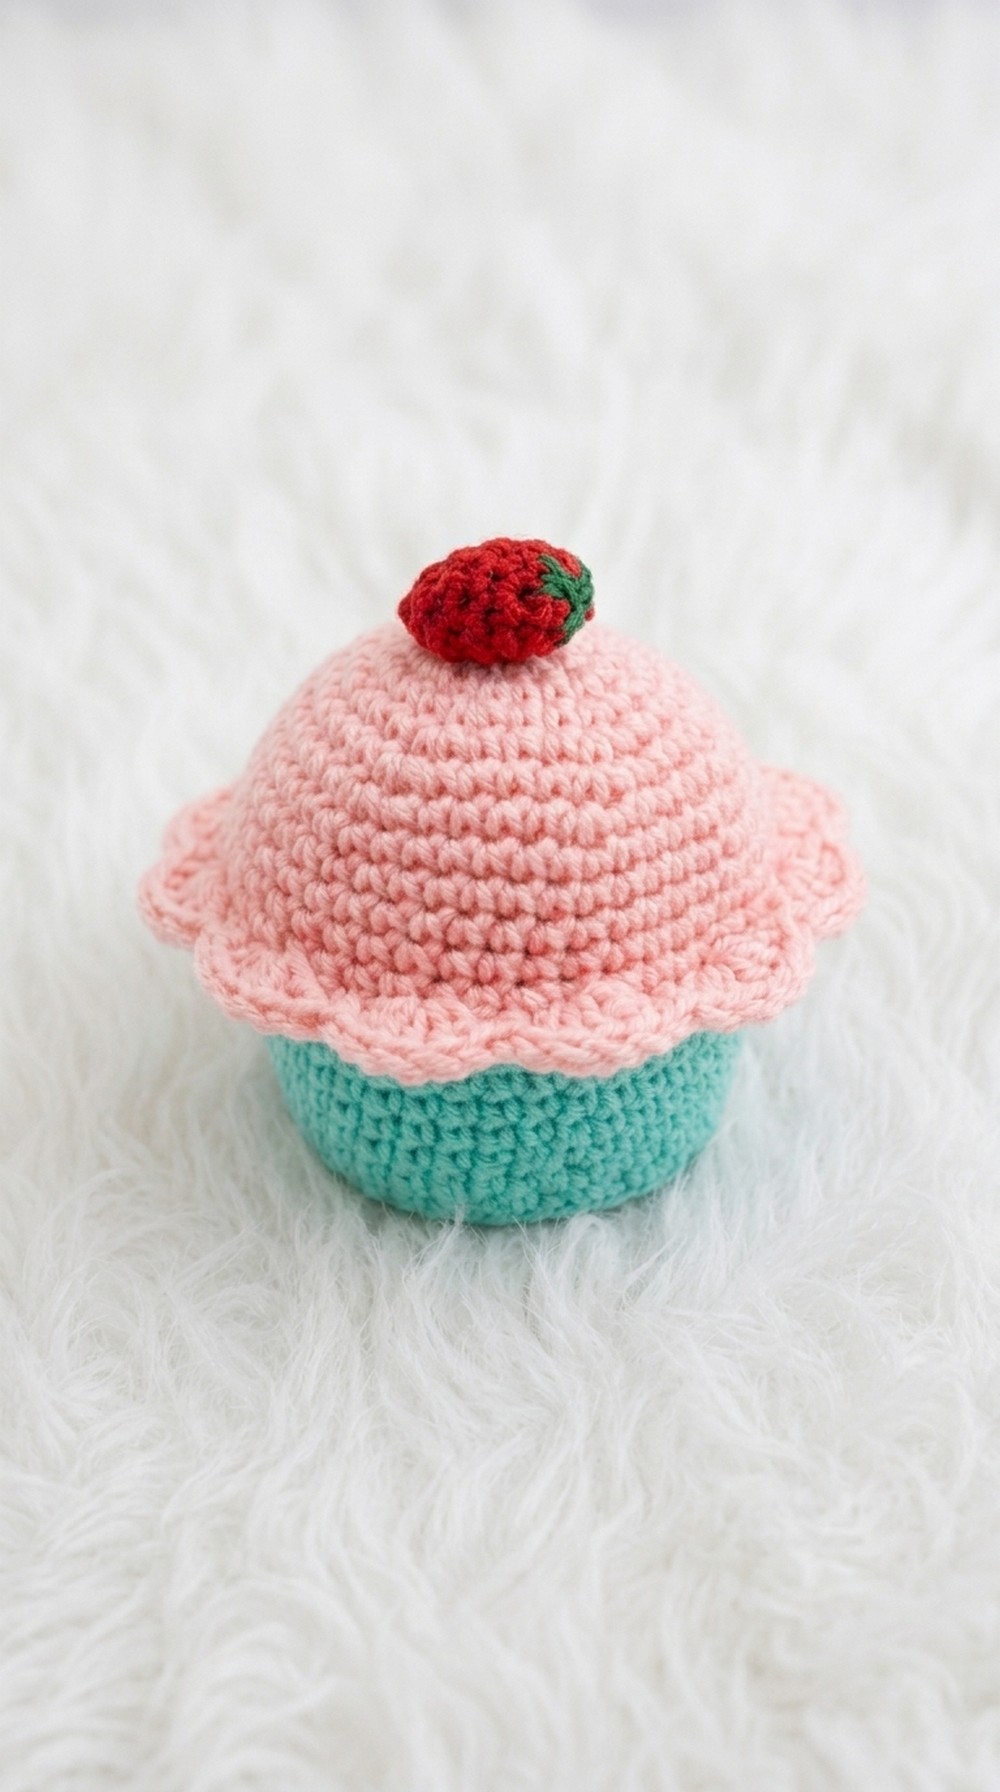
This pattern cleverly uses simple stitches like single crochet, paired with increases and decreases to create the perfect cupcake shape. The base resembles a cupcake liner with neat vertical ridges, while the top rounds off to a delicious “frosting” layer. You’ll also learn how to use a magic ring to start your rounds seamlessly, ensuring a polished finish. Decorating is where your creativity will shine, as you can play with details like scallops, swirls, or beads to mimic sprinkles.
What Else You Can Make From This Pattern
The techniques from this cupcake pattern can be used for:
- Muffins & Pastries: Change the colors for different baked treats.
- Seasonal Items: Add holiday themes like Christmas-colored frosting or spooky Halloween sprinkles.
- Decorative Keychains: Shrink the size for fun, portable accessories.
- Party Favors: Create custom cupcakes for birthdays or special events.
What You’ll Learn From This Pattern
This beginner-friendly pattern teaches:
- Using a magic ring as a starting technique for neat amigurumi.
- Shaping techniques like increases, decreases, and working in back loops only to create texture.
- How to assemble amigurumi securely, ensuring your pieces look polished.
- Adding playful decorations like scalloped edges and applique details.
Crochet Decorative Amigurumi Pattern
Crocheting turns simple yarn into beautiful, intricate designs, and this amigurumi pattern is perfect for capturing both charm and creativity. Inspired by playful shapes and delicate decorations, this project allows you to crochet a decorative piece suitable for gifts, room décor, or personalized handmade treasures.
Skill Level & Terminology
- Skill Level: Beginner to intermediate
- Terminology: US crochet terms
Materials & Tools
- Yarn:
- Brown(main color)
- Orange (accent color)
- Red and blue (small amounts for details)
- Optional: Cardboard reinforcement for shaping
- Hook: 3.5 mm crochet hook
- Stuffing: Polyester fiberfill for firmness
- Stitch marker (optional but recommended)
- Scissors
- Needle: Tapestry needle for assembling and sewing
- Glue or silicone gun: Optional for securing cardboard bases
Gauge
Exact gauge is not critical for this pattern, but stitches should be tight enough to prevent stuffing from showing through.
Suggested gauge:
- Approximately 6–8 sc per 2.5 cm (1 inch)
Abbreviations List
All abbreviations are in US terms.
- MR – Magic Ring
- sc – Single crochet
- inc – Increase (2 sc in the same stitch)
- dec – Decrease (single crochet two stitches together)
- sl st – Slip stitch
- ch – Chain
- st(s) – Stitch(es)
Special Stitch Instructions
- Magic Ring (MR):
Create a loop with your yarn, insert the hook into the loop, pull up a loop, and chain to secure it. Begin working stitches inside the ring. Pull the tail to close the circle. - Decrease (dec):
Insert the hook into the front loop of two adjacent stitches, yarn over, pull through both loops, yarn over again, and pull through the remaining loops on the hook.
Finished Size
Depending on your yarn and hook size, the finished piece should measure approximately:
- Height: 6–8 inches (15–20 cm)
- Diameter of the base: Approx. 3 inches (7–8 cm)
Pattern Overview
You will begin crocheting the base using single crochet stitches in the round, with gradual increases to shape the bottom. The body is constructed separately with similar techniques, and the edges are decorated using a special design resembling petals. A cardboard base can be inserted for stability if desired. Additional rounds worked for the top create its decorative structure, completing the look with stuffing for stability.
Stitches used throughout:
- Magic ring
- Single crochet (sc)
- Increases (inc)
- Decreases (dec)
- Slip stitch (sl st)
The Pattern: Step by Step
1. Bottom Section
- Round 1:
Start with MR, ch 1, and work 6 sc into the ring. Pull the tail to close the loop. [6] - Round 2:
Work 6 inc (2 sc in each st). [12] - Round 3:
Alternate: 1 sc, 1 inc around. [18]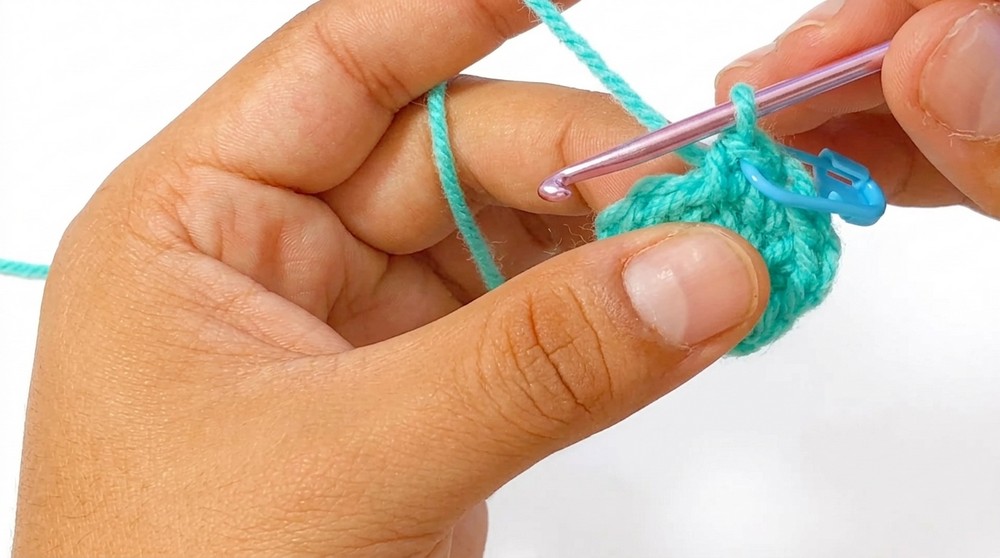
- Round 4:
Alternate: 2 sc, 1 inc around. [24] - Round 5:
Alternate: 3 sc, 1 inc around. [30] - Round 6:
Work 1 sc in each st for this round. [30]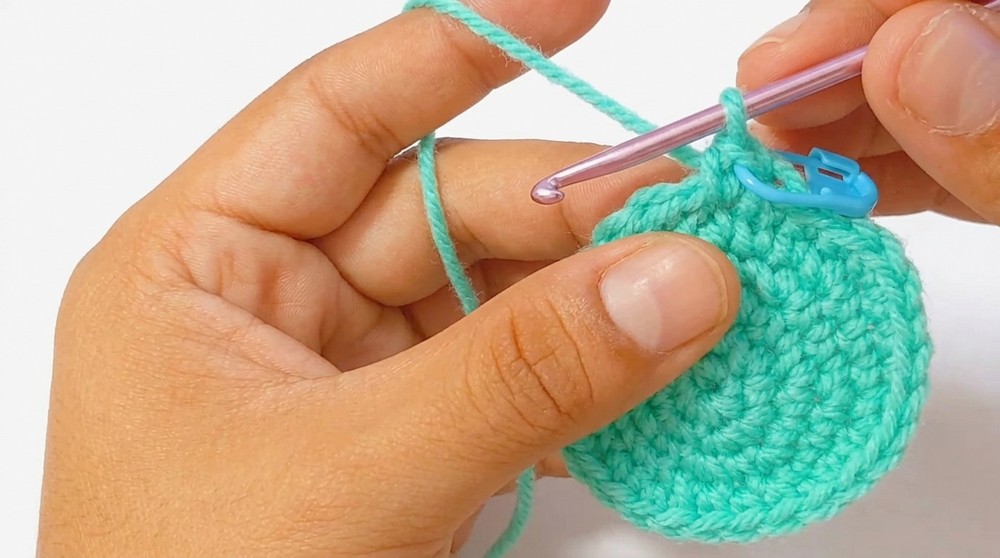
At this point, you should see a flat circle forming. Insert cardboard reinforcement at the bottom if desired.
If you don’t read patterns, start by making small rounds that increase steadily. Begin with 6 stitches, doubling them, then increasing after regular intervals until it forms a flat base.
2. Body Section
- Round 1:
Attach yarn to the edge of the base and work 1 sc in each st. [30] - Rounds 2–10:
Continue working 1 sc in each st around for 8–10 rounds, depending on desired height. [30 per round] - Round 11:
Begin decreases: 3 sc, 1 dec around. [24] - Round 12:
Work 2 sc, 1 dec around. [18] - Round 13:
Work 1 sc, 1 dec around. [12] - Round 14:
Work 6 dec to close the body. [6]
Stuff firmly before fully closing the opening.
If you don’t read patterns, crochet a tube-like shape after building the base, then reduce the stitches gradually to close the upper opening.
3. Decorative Edge (Flower Petals)
- Attach yarn to any stitch at the edge of the top opening.
- Petal Structure:
- Skip 1 st, work [1 sl st, 5 sc, 1 sl st] in the next st.
- Skip 1 st and repeat around the edge.
Fasten off and weave in ends neatly.
If you don’t read patterns, think of this as crocheting small groups (like petals) along the edge for a pretty finish.
4. Upper Section
Repeat the same pattern used for the bottom section to form the smaller “castle-top” shape.
- Crochet 6 sc in MR, gradually increasing as before, until you reach a width matching the top of the body (approx. 24–30 sts).
- Work 2–4 straight rounds without increases.
- Add decorative edges if desired.
Stuff lightly before attaching.
If you don’t read patterns, simply make another smaller circular structure using gradual increases and rounds without increases.
Assembly & Finishing
- Attach the Top to the Body:
- Place the decorative top on the body, ensuring the edges align evenly.
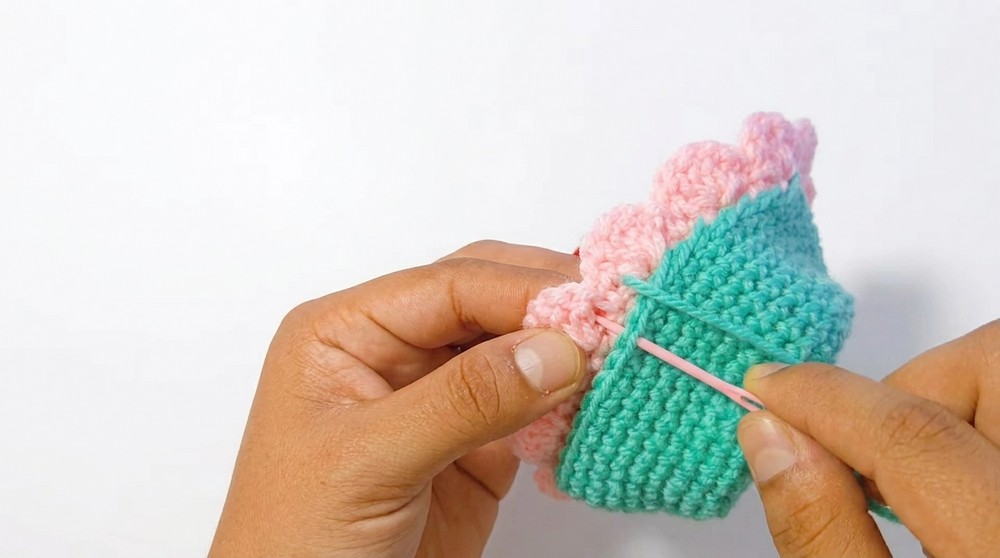
- Sew around the edges securely with a matching thread using whip stitches or seamless joins.
- Place the decorative top on the body, ensuring the edges align evenly.
- Reinforce the Base:
- Glue or sew the cardboard piece into the bottom to stabilize if required.
- Add Final Details:
- Embroider simple designs like leaves or crosses along the exposed areas for added texture and color.
- Weave in all thread ends securely to hide them inside the piece.
Tips for Success
- Use stitch markers to keep track of rounds, especially for increases and decreases.
- Stuff gradually and evenly for a smooth, stable finish.
- Experiment with colors to suit seasonal themes or personal preferences.
Why You’ll Love This Pattern
- Great for perfecting your stitching techniques like magic rings and decreases.
- Easy to customize for different uses such as gifts, decorations, or toys.
- Fun to create and even more fun to display with its playful design.
Difficulties and Solutions
At first glance, shaping the cupcake’s base and frosting might seem a little tricky, especially when working with increases, decreases, and textured effects like scalloped edges. Beginners may also find assembling parts or starting with a magic ring slightly challenging. The solution lies in taking it one round at a time and using stitch markers to track progress. If assembly feels overwhelming, remember to lay out your pieces and sew with a tapestry needle in small, secure stitches. Practice and patience are key, and each round you complete brings you closer to mastering the process