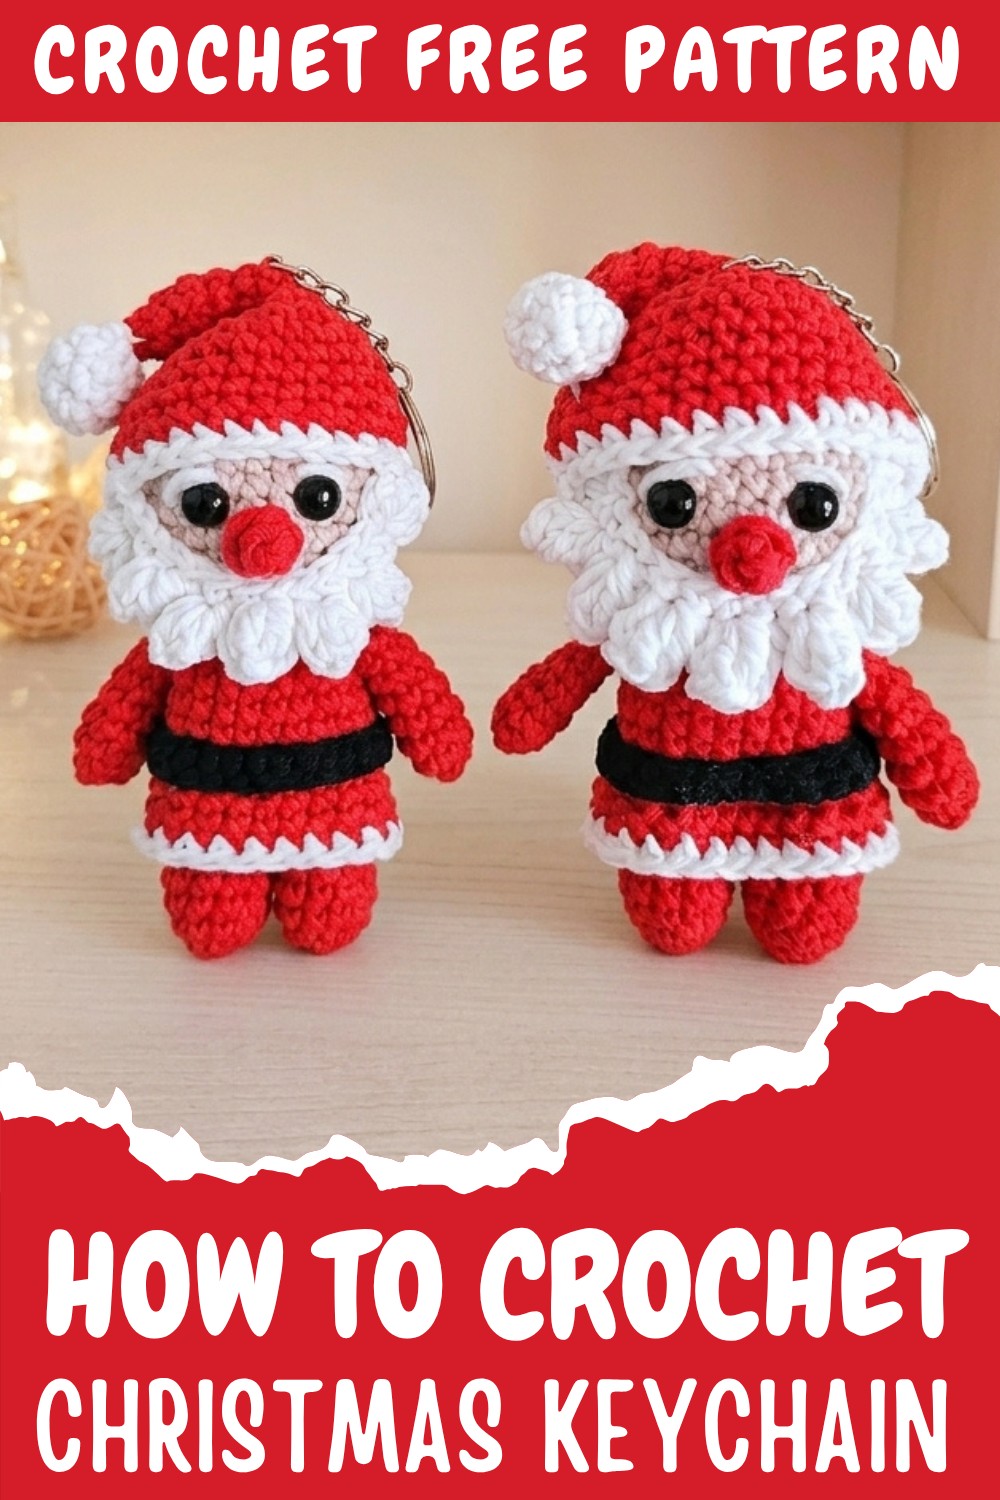
Easy Free Crochet Mini Santa Claus Keychain Pattern with Tutorial

Learn how to crochet a tiny Santa Claus keychain with this free pattern perfect for festive charm on your keys or as delightful stocking stuffers.
Many people want a small, cute Christmas item that is easy to make and fun to carry. The Free Crochet Mini Santa Claus Keychain Pattern is perfect for this! You can get this pattern from the YouTube channel Quiereme Mucho crochet y amigurumis, where it is shared step by step in a clear and simple way, making it easy for anyone to follow without any trouble. This mini Santa keychain is small in size but big in charm! It can hang on your keys, bags, school backpacks, or even on your Christmas tree, bringing a warm holiday feeling everywhere you go.
Adorable Free Crochet Mini Santa Claus Keychain Pattern with Full Tutorial
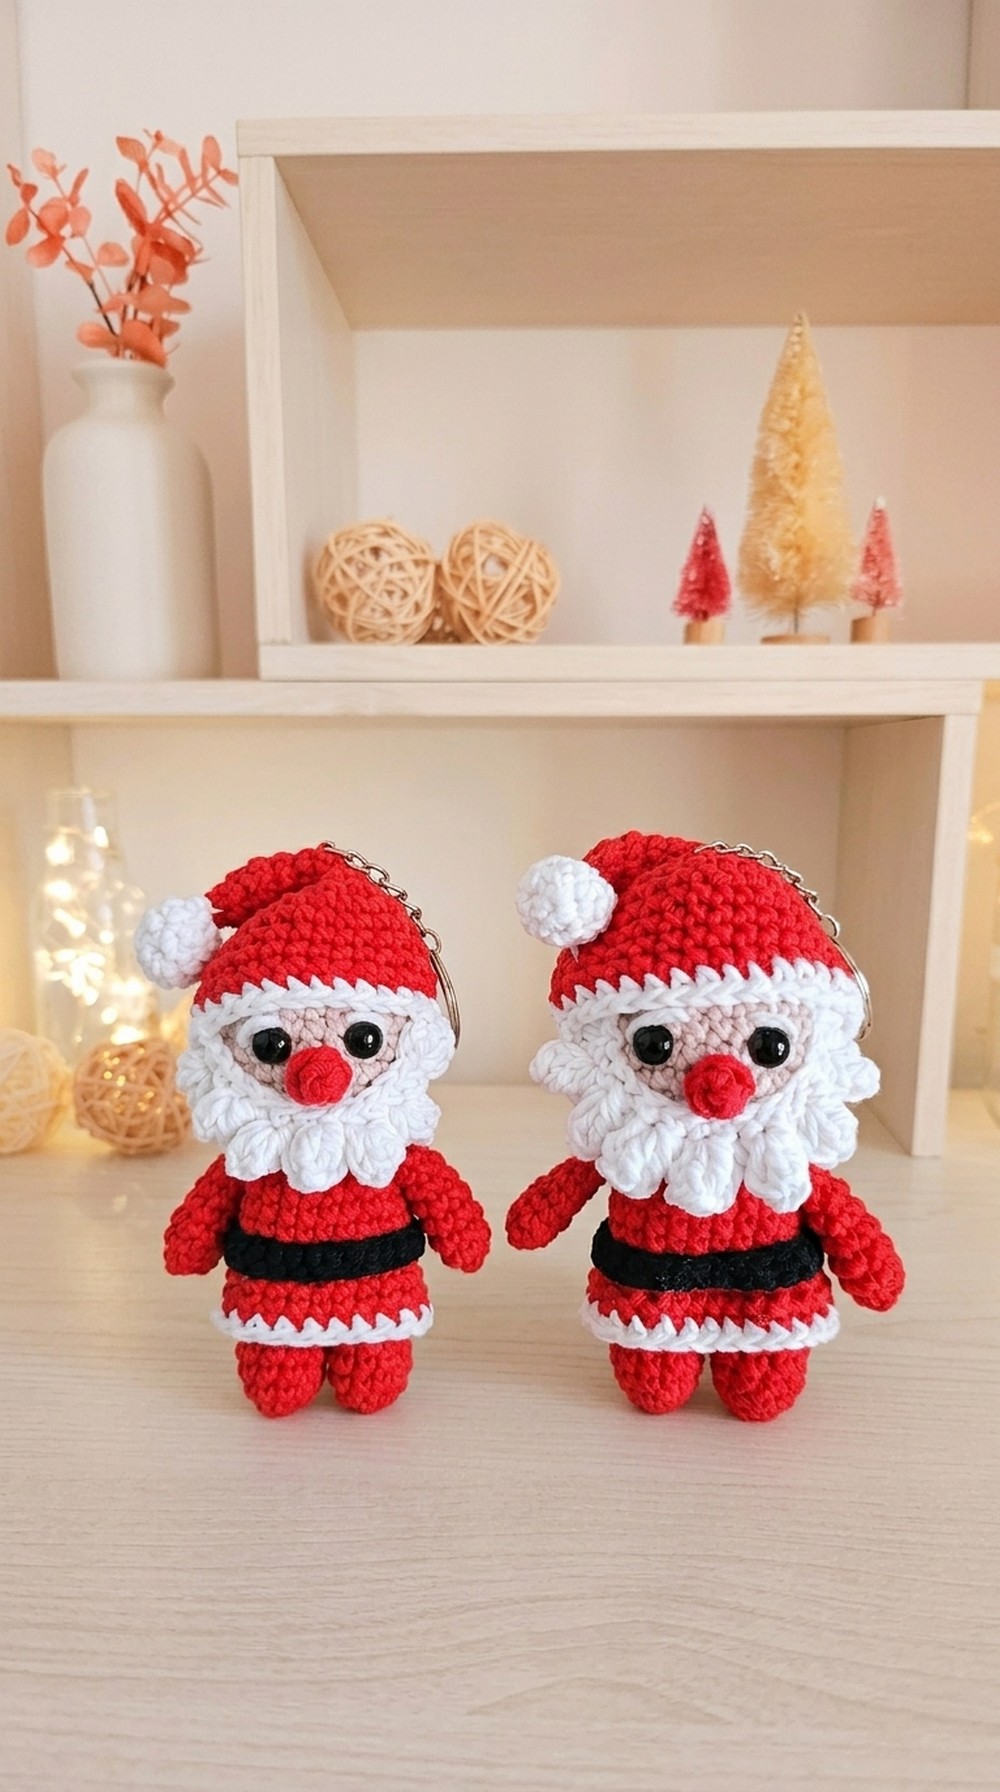
This pattern is perfect for people who like simple and quick projects that don’t take many days to complete but still look professional and beautiful when finished. The working style of this design is easy to understand, as the Santa is made in small parts—like the head, body, hat, and beard—and then joined together. This lets you see it slowly come to life in your hands as you work through each step.
The most attractive part of this mini Santa is its adorable, round shape, with charming details like the red hat, fluffy white beard, and tiny features like the nose and eyes, making it look cheerful and festive. This design is the best because it is lightweight, strong enough for daily use, and unique enough to gift to friends, children, or family. If you’re looking for a simple and beautiful Christmas keychain, follow the Free Crochet Mini Santa Claus Keychain Pattern to create your own little Santa today.
Mini Santa Claus Keychain Crochet Pattern
This crochet pattern provides detailed instructions for crafting a charming mini Santa Claus keychain, perfect as a festive keepsake or gift. The design includes a complete figure with arms, legs, a sack, a classic belt, and facial details like a beard and nose. This project is sized for portability, making it a delightful addition to your holiday season.
Skill Level
This pattern is designed for intermediate crocheters. It involves techniques such as working in rounds, joining parts, creating textured stitches like the popcorn stitch, and assembling details.
Materials
To create the mini Santa Claus keychain, you will need:
- Yarn: Cotton yarn in red, white, and skin tone/nude.
- Crochet Hook: Size that matches your yarn, typically 2.5–3.0 mm.
- Stuffing: Fiberfill for shaping the body, head, and legs.
- Safety Eyes: 8 mm size (or embroidered eyes, if preferred).
- Silicone Glue: For attaching small details like the beard, belt, and nose.
- Scissors and Needles: For sewing and finishing off.
- Optional: A keychain ring to attach to the top of Santa’s hat.
Special Stitches
- Magic Ring: Start crocheting in the round with an adjustable loop that doesn’t leave a gap at the center.
- Popcorn Stitch: Create a cluster using 4 double crochet stitches (dc), joining them into one textured “bump.” This is used in Santa’s beard.
- Back Loop Only (BLO): Insert the hook into the back loop of the stitch only, leaving the front loop unworked, for a defined ridge.
Stitch Abbreviations
- MR: Magic Ring
- ch: Chain
- sc: Single Crochet
- dc: Double Crochet
- st: Stitch
- inc: Increase (2 single crochet in the same stitch)
- dec: Decrease (crochet 2 stitches together)
- sl st: Slip Stitch
- BLO: Back Loop Only
Useful Tips
- Stitch Marker: Use a stitch marker at the start of each round to keep track of your progress, particularly in spiral rounds.
- Stuff Gradually: Fill the sections as you crochet for a firmer, more symmetrical look. Avoid overstuffing to maintain the intended proportions.
- Seamless Joins: Securely sew the arms, legs, and head to the body for a polished appearance. Use matching yarn when attaching pieces for an invisible seam.
- Be Patient with Assembly: Take your time when placing and attaching the facial features to give Santa a festive and cheerful look.
Pattern Instructions
Arms (Make 2)
- R1: Start with a MR and work 4 sc into the ring (4 sc).
- R2: Work 1 inc in every stitch around (8 sc).
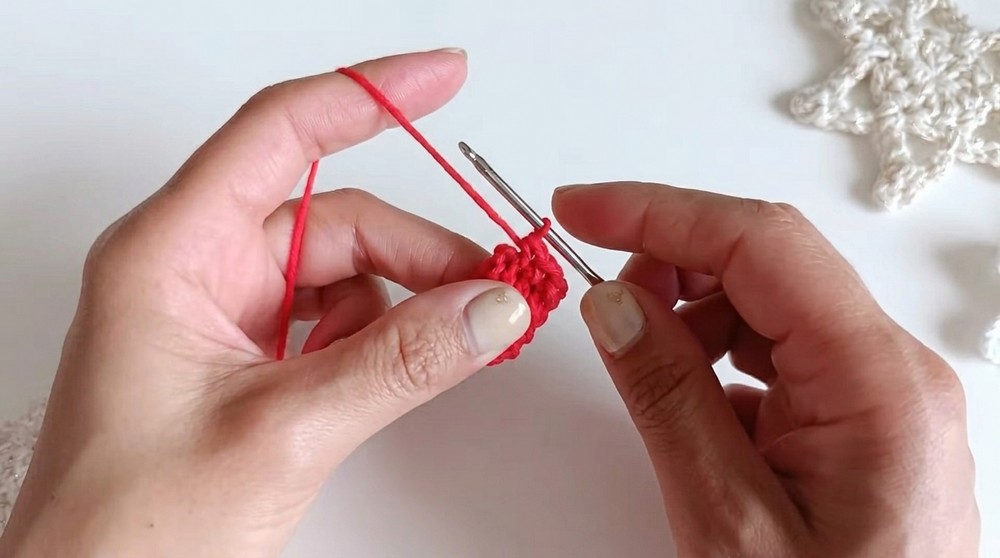
- R3-6: Work 1 sc in each stitch (8 sc per round).
- R7: Fold the open edge flat and work 3 sc through both layers to close the arm.
Legs (Make 2)
- R1: Create a MR and work 5 sc into the ring (5 sc).
- R2: Work 1 inc in every stitch around (10 sc).
- R3-7: Work 1 sc in each stitch (10 sc per round).
Do not cut the yarn after completing the second leg, as the legs will be joined to form the body in the next step.
Body
- R1: After completing the second leg, chain 2 ch and join it to the first leg to connect them.
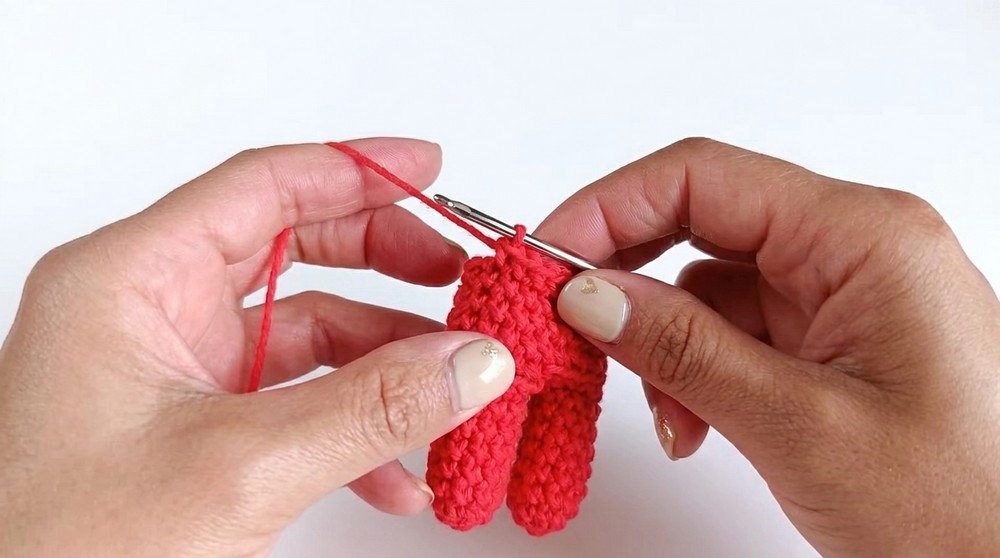
- R2: Work 24 sc all around the legs and chain connection (10 sc per leg + 2 sc in each chain loop).
- R3-8: Work 1 sc in each stitch (24 sc per round).
- R9 (BLO): Work 1 sc in each stitch in BLO to create a defined section for Santa’s sack (24 sc).
- R10-12: Work 1 sc in each stitch (24 sc per round).
- R13: Attach the arms: While crocheting the round, align and incorporate the arms by crocheting through each arm and the body simultaneously for 2-3 stitches on each arm. Ensure they are top-aligned.
Decrease to form shoulders:
- R14: Work [1 sc, 1 dec] around to reduce the stitch count (12 sc).
Head
Switch to skin tone yarn.
- R15: Work 1 inc in each stitch (24 sc).
- R16: [3 sc, 1 inc]; repeat around (30 sc).
- R17-22: Work 1 sc in each stitch (30 sc per round).
Insert safety eyes between R19 and R20, leaving 4 stitches apart between the eyes. Add stuffing while shaping the head.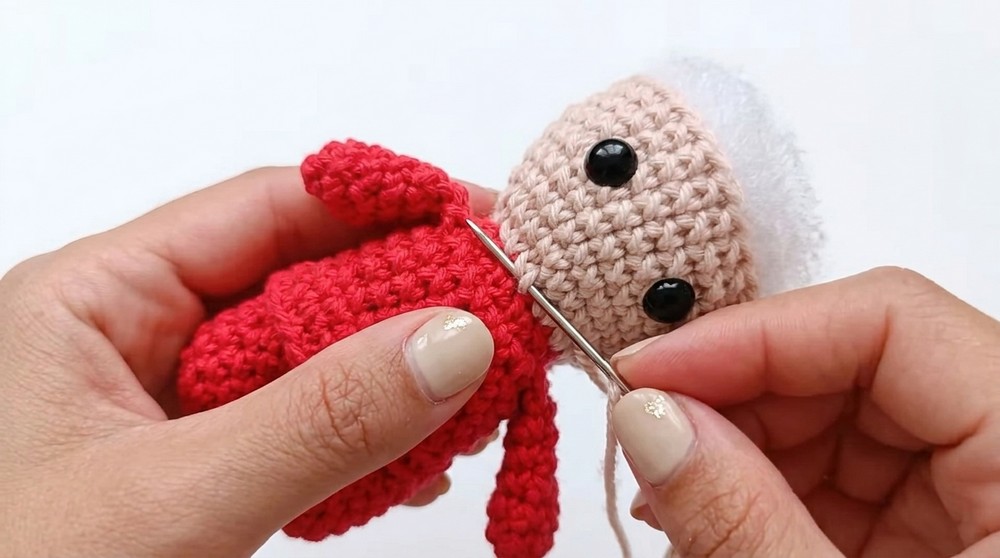
Santa’s Sack (Lower Body Details)
- Rejoin red yarn to the unworked front loops from R9.
- R1: [5 sc, 1 inc]; repeat (28 sc).
- R2: Work 1 sc in each stitch (28 sc).
- R3: Switch to white yarn and work 1 sc in each stitch (28 sc).
Belt
- R1: With black yarn, chain 39 ch.
- R2: Work 1 sc in each chain.
Nose
- R1: Create a MR and work 4 sc into the ring (4 sc).
- R2: Work 1 sc in each stitch (4 sc).
Beard
- R1: Chain 18 ch. Work 17 sc starting in the second chain from the hook.
- R2: Skip 3 chains, then alternate between:
- 1 Popcorn Stitch (4 dc clustered together), followed by 3 ch, and 1 sc in the next st. Repeat this pattern across the entire row.
Hat
The hat should be crocheted separately in red yarn using continuous rounds that decrease gradually to form a conical shape. Make sure the base diameter matches the head. Add a white pom-pom at the tip.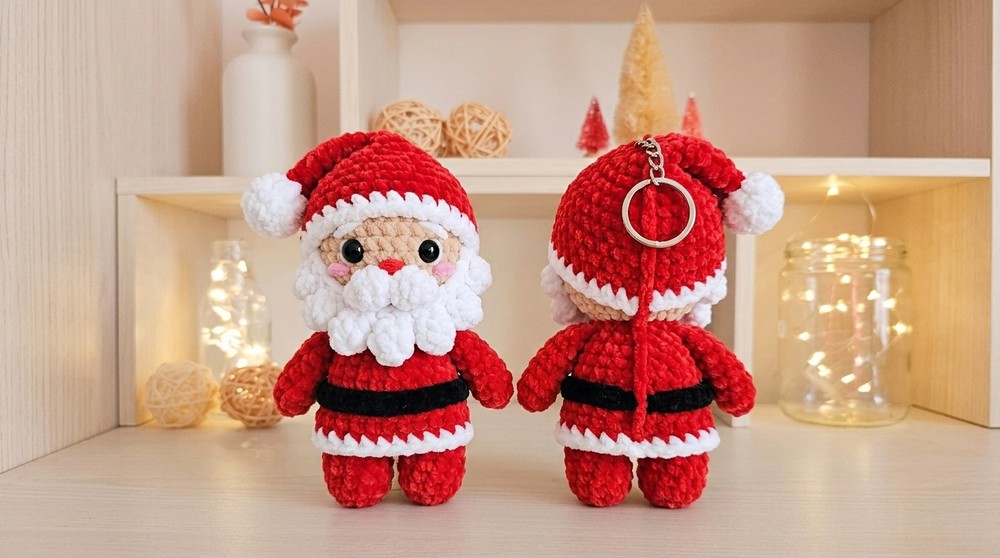
Assembly and Sizing
- Glue Facial Details: Use silicone glue to firmly attach the nose and beard to the face.
- Position Safety Eyes: Attach eyes securely or embroider facial expressions.
- Attach Belt: Wrap the belt around the midpoint of the body and secure it in place using glue or thread.
- Glue Hat: Secure the crocheted Santa hat to the head using glue or by lightly sewing it down.
- Pom-Pom: Add a small pom-pom to the tip of the hat, trimming the threads to achieve a rounded shape.
- Add Keychain Ring: Attach a keychain ring to the top of Santa’s hat.
The finished Santa keychain measures approximately 7-8 cm tall, making it perfect for attaching to bags, keys, or holiday decorations.
Conclusion
This mini Santa Claus keychain crochet pattern is a festive and portable project perfect for the holiday season. Its detailed design—including Santa’s sack, belt, iconic beard, and hat—makes it a delightful keepsake. With simple assembly and creative possibilities for customization, this pattern is ideal for creating personal or gift-worthy handmade items.