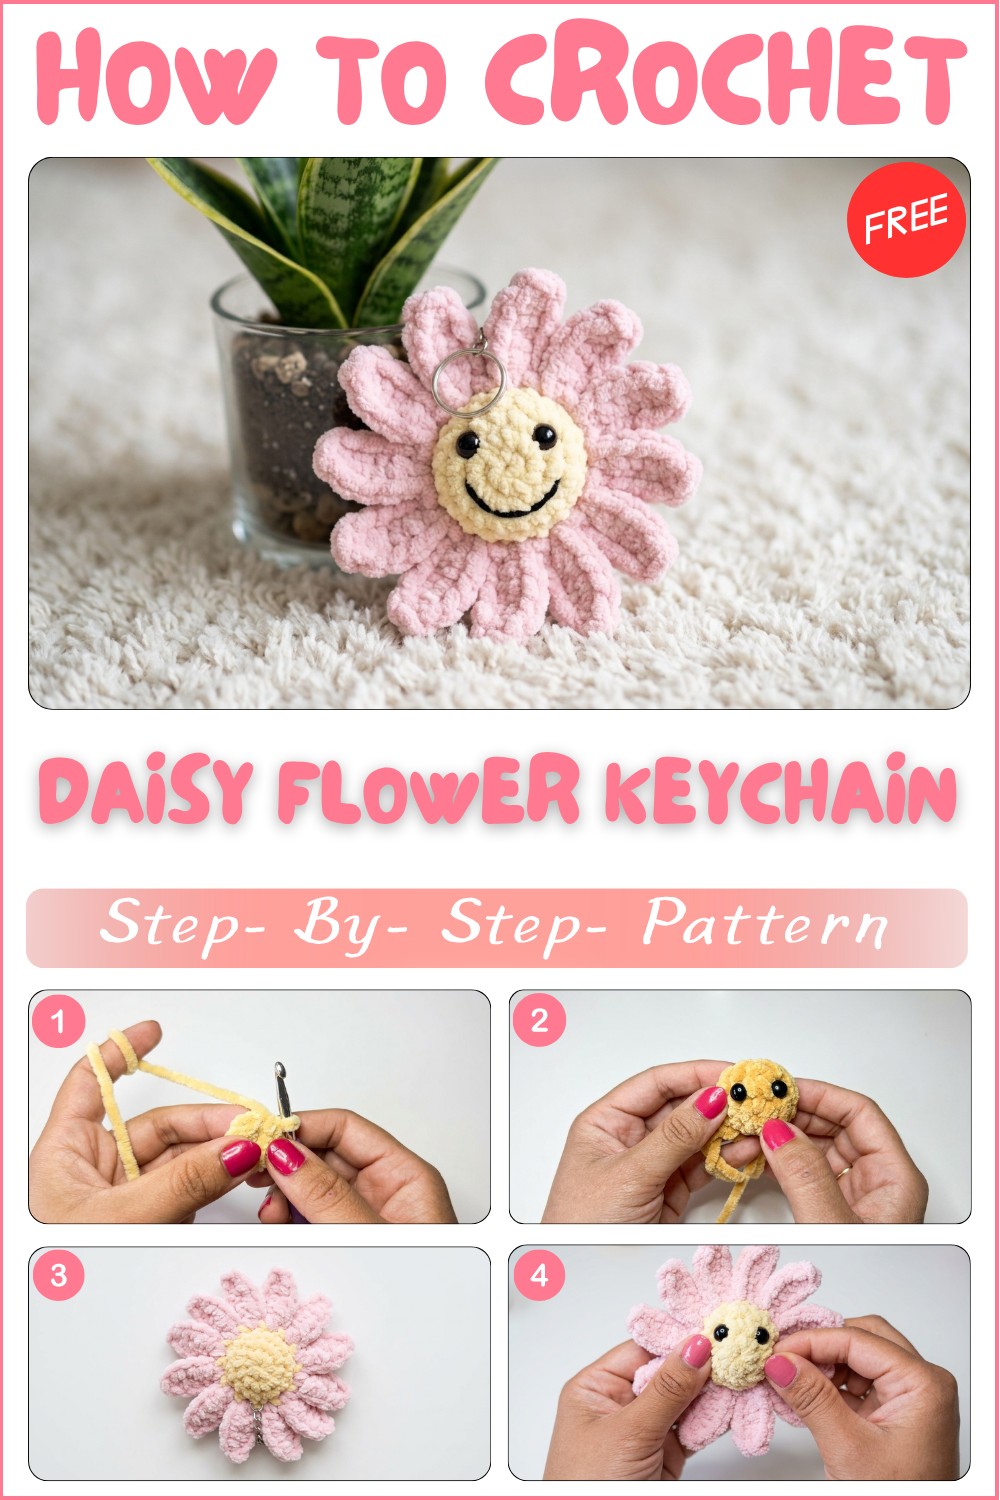
Free Crochet Daisy Flower Keychain Pattern For a Special Charm
Bloom with joy using the Crochet Daisy Flower Keychain, perfect for cheerful bag accents, handmade gifts, and charming everyday decorations.
Bright spring afternoons often bring little moments of joy, like seeing a daisy in the grass. Small flowers have a special charm, and you can capture that with a crochet version. The Free Crochet Daisy Flower Keychain Pattern lets you create cheerful handmade daisies to use however you like. You can attach them to bags, pin them to clothes, or combine them into colorful garlands to brighten up any space.
Cute Crochet Daisy Flower Keychain Pattern
Beyond aesthetics, making these daisies fosters mindfulness and patience, turning a small project into a rewarding creative experience. Handmade flowers also make thoughtful gifts, allowing the giver to share a personal touch that lasts far longer than fresh blooms. Whether used to brighten a tote bag, embellish a cozy throw, or create a miniature bouquet, these daisies combine charm, functionality, and cheerful energy.
With each stitch, the flower gains personality, proving that even the simplest handmade items can transform daily surroundings into moments of delight and creativity, while offering a fun and fulfilling project for crafters of all levels.

Daisy Flower Keychain Crochet Pattern
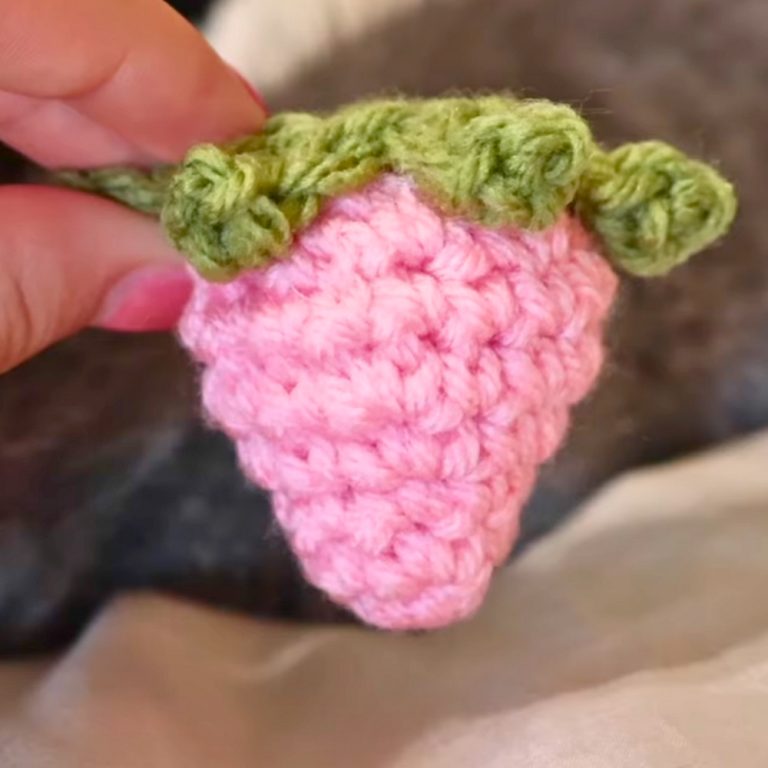
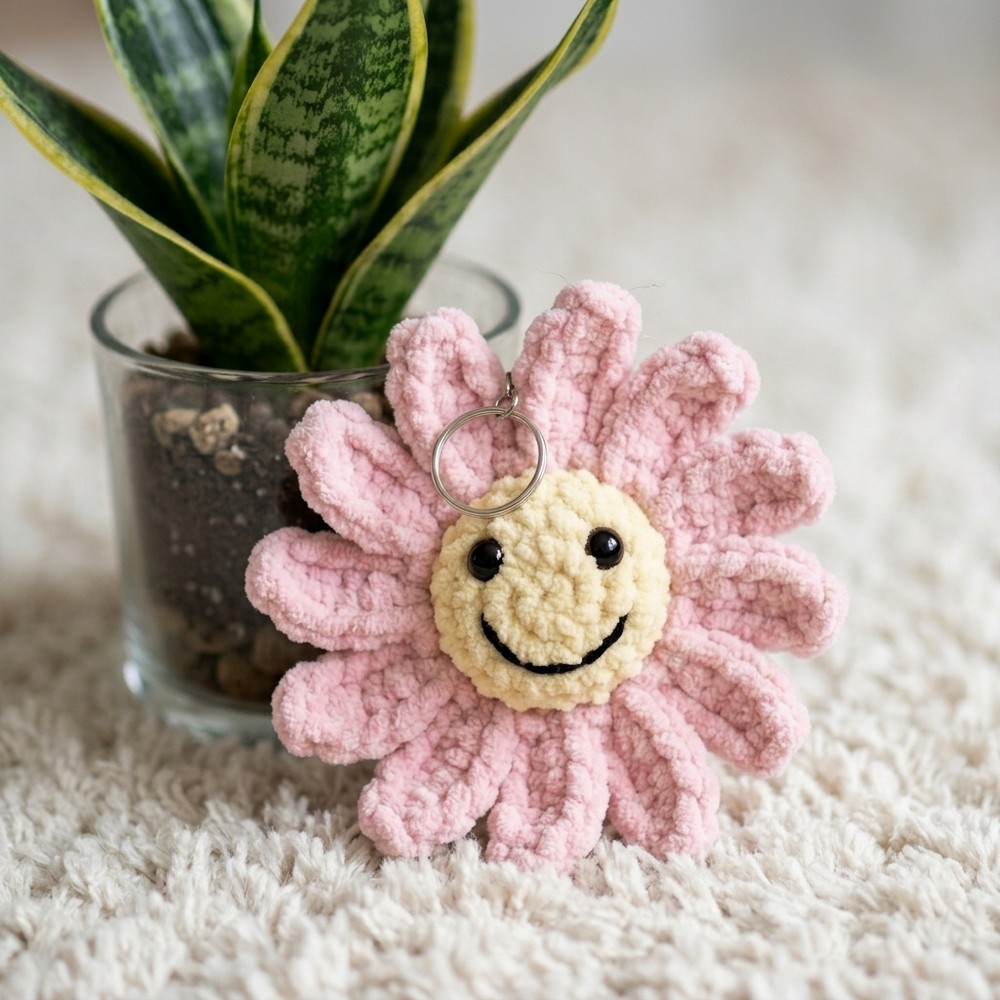
This simple daisy flower keychain makes a cheery addition to keys, bags, or as an embellishment for larger crochet projects. The pattern is designed for beginners and guides you step by step from forming the stuffed flower center to crocheting the petals and finishing with a fun smiling face and keychain loop, all without any sewing of parts.
Skill Level
This is a beginner-friendly amigurumi project. It is perfect for those who are looking to learn how to crochet in the round, join pieces with crochet, and make simple embellishments. Basic knowledge of crochet stitches (single crochet, half double crochet, slip stitch, and chaining) is needed.
Measurements / Sizing
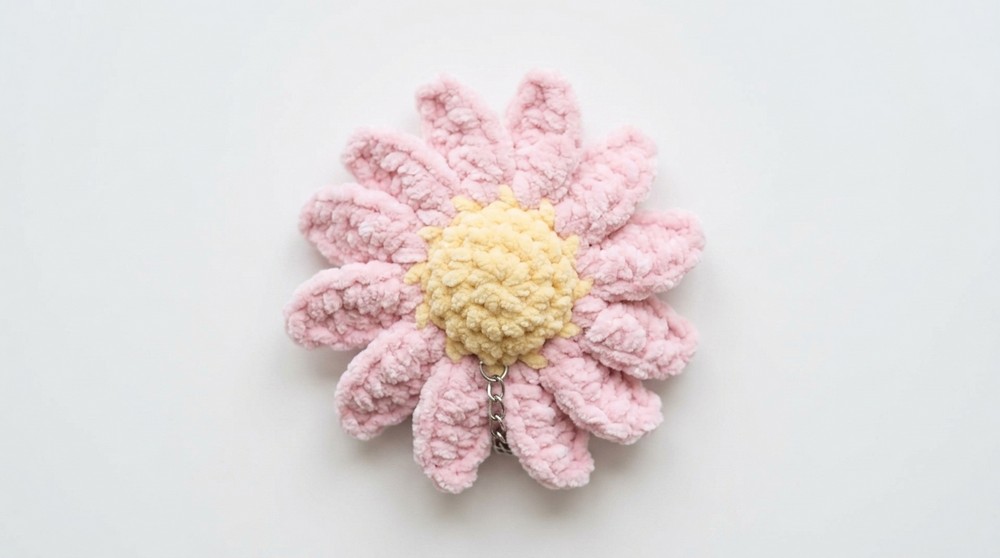
Finished daisy keychain is approximately 2.5 inches (6.5 cm) across, including petals.
Materials
- Plush yarn in yellow cream(center) and pink (petals)
- 5.5 mm crochet hook
- Pair of 8 mm safety eyes
- Small amount of black double knit yarn (for mouth embroidery and keyring loop)
- Fiberfill stuffing
- Scissors
- Stitch marker
- Darning needle
- Keyring or bag loop (optional)
-
Gauge
Gauge is not vital for this project, but for reference, after you finish the first two rounds of the flower center, it should measure close to 1 inch (2.5 cm) across. Work your stitches firmly so that the stuffing does not show and the petals hold their shape. Adjust your hook size if you feel your flower is coming out much larger or smaller.
Stitch Abbreviations
ch = chain
sc = single crochet
sl st = slip stitch
hdc = half double crochet
inc = two single crochets in the same stitch
st(s) = stitch(es)
rnd = round
Special Stitches
- Increase (inc): Work two single crochets in one stitch.
- Petal Sequence: Each petal is formed by chaining 5, slip stitching into the second chain, then half double crocheting into the next 3 chains, then securing back at the flower’s edge.
Pattern Notes
- All rounds are worked in a spiral unless otherwise noted.
- For the petals, you’ll attach new yarn and crochet them directly onto the flower center—no sewing needed.
- Facial features (eyes and mouth) are added before final assembly and stuffing.
- If using a different brand of plush yarn, adjust your hook size to maintain a tight fabric.
The Crochet Pattern! (Step-by-Step)
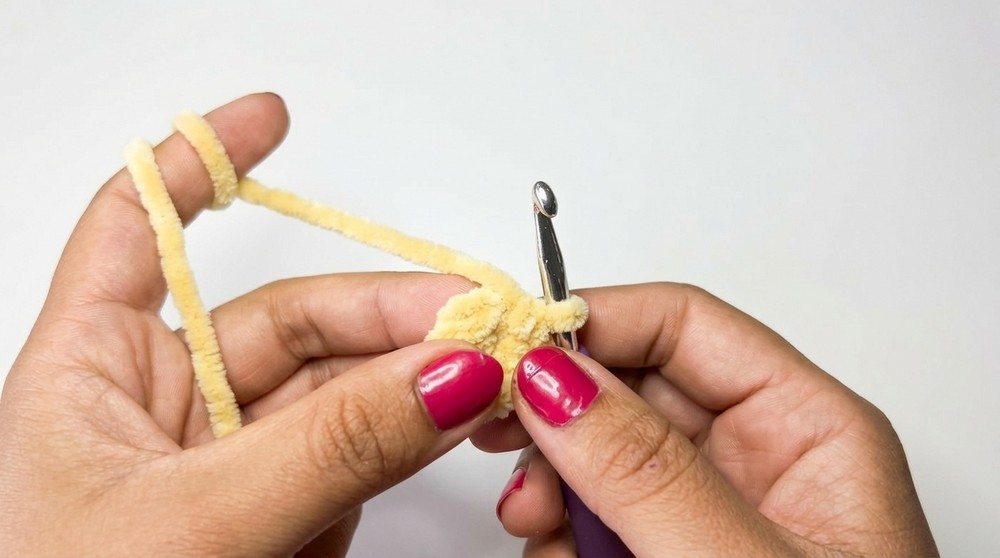
Flower Center (Make 2)
- Start with yellow cream (yellow) plush yarn.
- Make a slip knot and ch 2.
- Work 6 sc in the second chain from your hook (the first chain does not count); pull the starting tail to tighten the ring and close the center.
- For Round 2, work an inc in each stitch around (2 sc in each sc)—12 stitches in total.
- For the first center piece only, finish off by making a sl st in the next st and cutting the yarn.
- For the second center piece, do not cut the yarn (leave it attached). Place a stitch marker so you know where the round starts.
- Work 1 sc in each st around (12 sts).
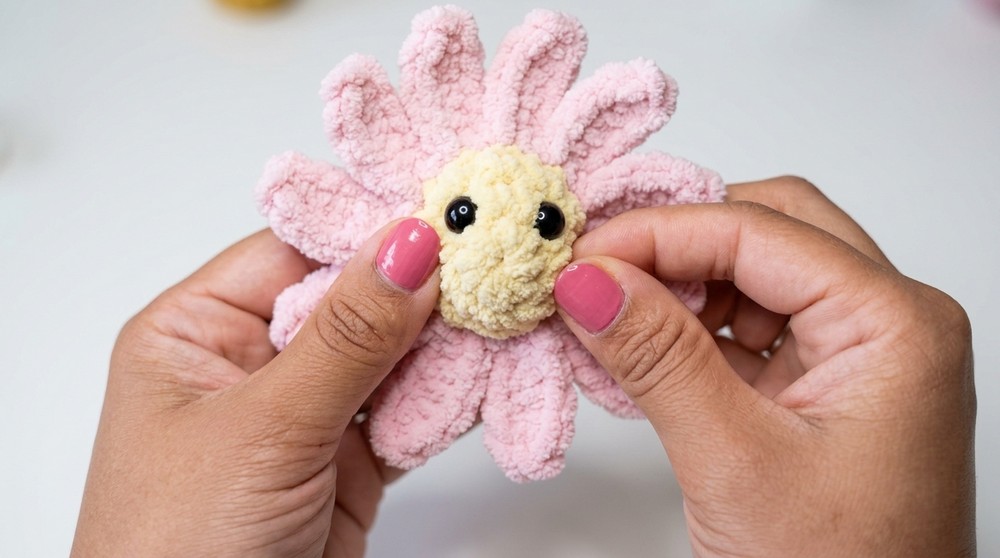
Pause here to insert the facial features:
- Pull up your working loop to prevent unraveling.
- Insert an 8 mm safety eye between rounds 2 and 3, position eyes side by side towards the center. There should be 1 stitch between eyes. Secure the backs.
- Set the piece aside briefly.
Join the Two Centers
- Place the two flower centers together, wrong sides facing each other, so that the right side is showing out on both sides.
- Insert your hook through the next stitch of the piece with attached yarn, and then through the matching stitch on the second piece.
- Yarn over and pull up a loop through both layers, work a sc and continue to do this all the way around (12 sc total), joining both centers.
- After 8 stitches, gently stuff with fiberfill (also tuck in any yarn ends left inside for extra firmness).
- Finish remaining 4 sc, slip stitch in the next stitch to fasten off.
- Cut the yarn, pull the tail through the last slip stitch, and weave it in by pulling the yarn tail into the center with your hook or needle. Trim excess.
Petals
- Attach pink plush yarn with a small knot and a slip stitch in any stitch on the last round.
- For each petal:
- Chain 5.
- Skip the first ch, slip stitch in the second ch from hook.
- Half double crochet in each of the next 3 chains.
- Slip stitch back into the stitch at the edge where you started.
- Slip stitch in the next base stitch to position for next petal.
- Repeat these steps all around to make a total of 12 petals (one for each stitch of the last round). Your petals should look evenly spaced and fluffy.
- For the final (12th) petal, slip stitch at the base of the first petal you made, chain 1, and cut the yarn. Pull yarn through and weave it into the back. Snip off excess.
Embroidering the Smile
- Thread a length of black double knit yarn onto your darning needle.
- Insert the needle from the back (underneath the eyes), coming out at the left corner where you want the mouth to start, leaving a short tail at the back for tying later.
- Insert the needle back in at the right corner of where you want the mouth, creating a gentle smiling curve under the eyes.
- For a neat finish, bring the needle out in the middle under the smile, then back in at the same entry point to couch the yarn and create a “smile dip.”
- Tie the ends together at the back and use the needle to pull both tails into the stuffing, trimming any extra.
Keyring Attachment
- With a new strand of black yarn, decide on a position just behind the eyes at the top of the daisy (the back side, under a petal).
- Thread the yarn through the darning needle and create a couple of sturdy stitches around the center or petal base, forming a small loop.
- Run the keyring or split ring through this loop.
- Tie a secure knot and weave the ends into the inside, pulling through the stuffing.
- Trim any visible yarn.
Assembly & Finished Size
- The finished flower is approximately 2.5 inches (6.5 centimeters) across.
- Attach the keyring securely at the back, centered above the eyes.
- Hide all yarn ends by pulling them into the stuffing.
- Squeeze the stuffed center gently to restore shape and smooth the flower’s face.
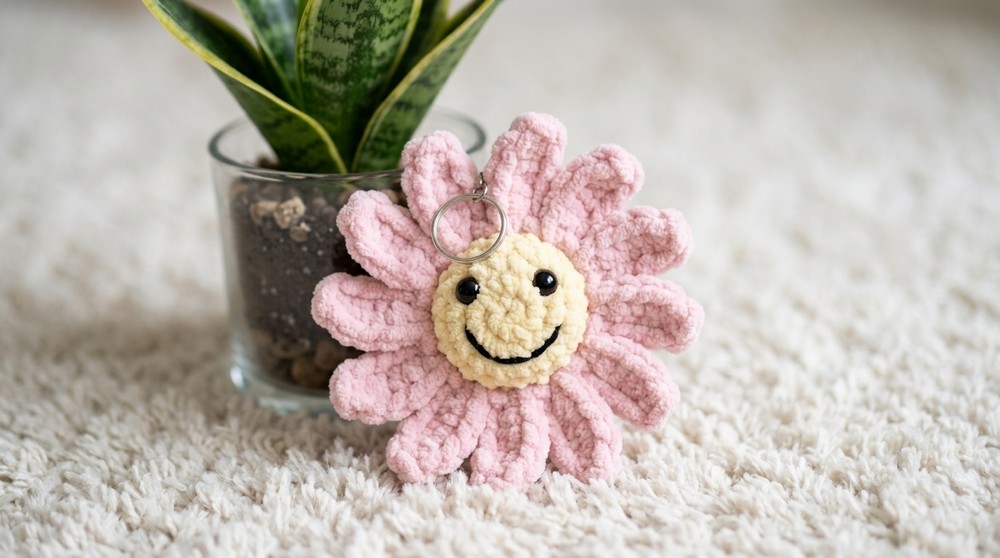
Enjoy Your Daisy Keychain!
Your cheerful, smily little daisy is now ready to attach to your keys, bag, or any accessory! This project is quick, simple, and perfect for gifts or personal use.