Free Crochet Cat Ear Beanie Pattern for Cat Lovers
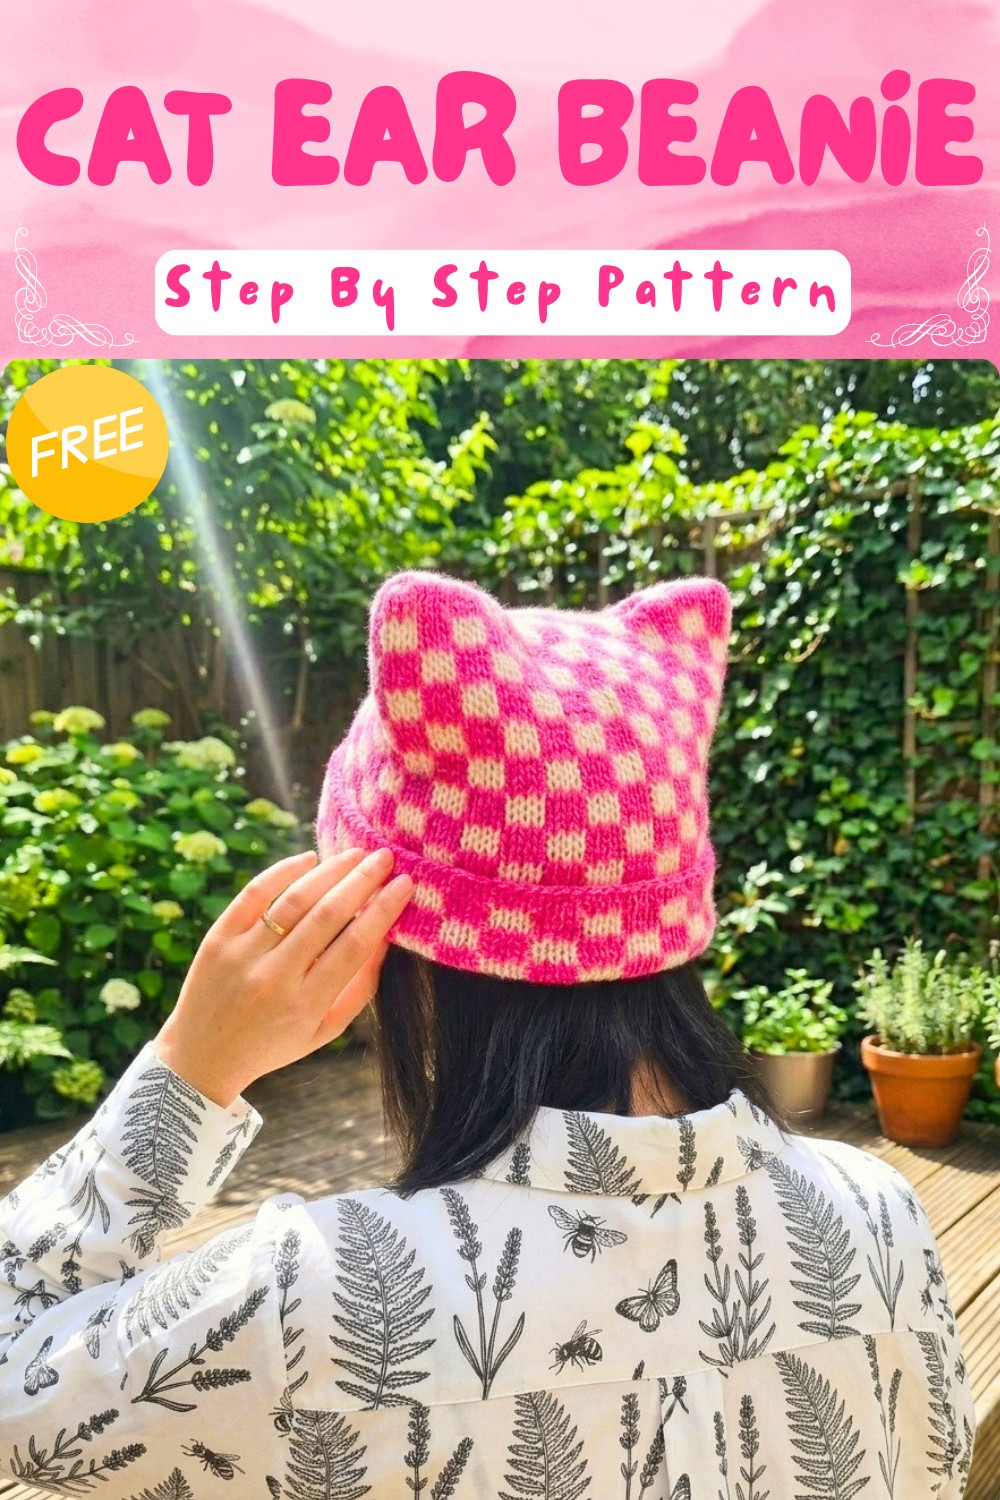
Bring home a touch of whimsy with this Crochet Cat Ear Beanie Pattern that’s perfect for all ages and add fun charm to your cozy collection.
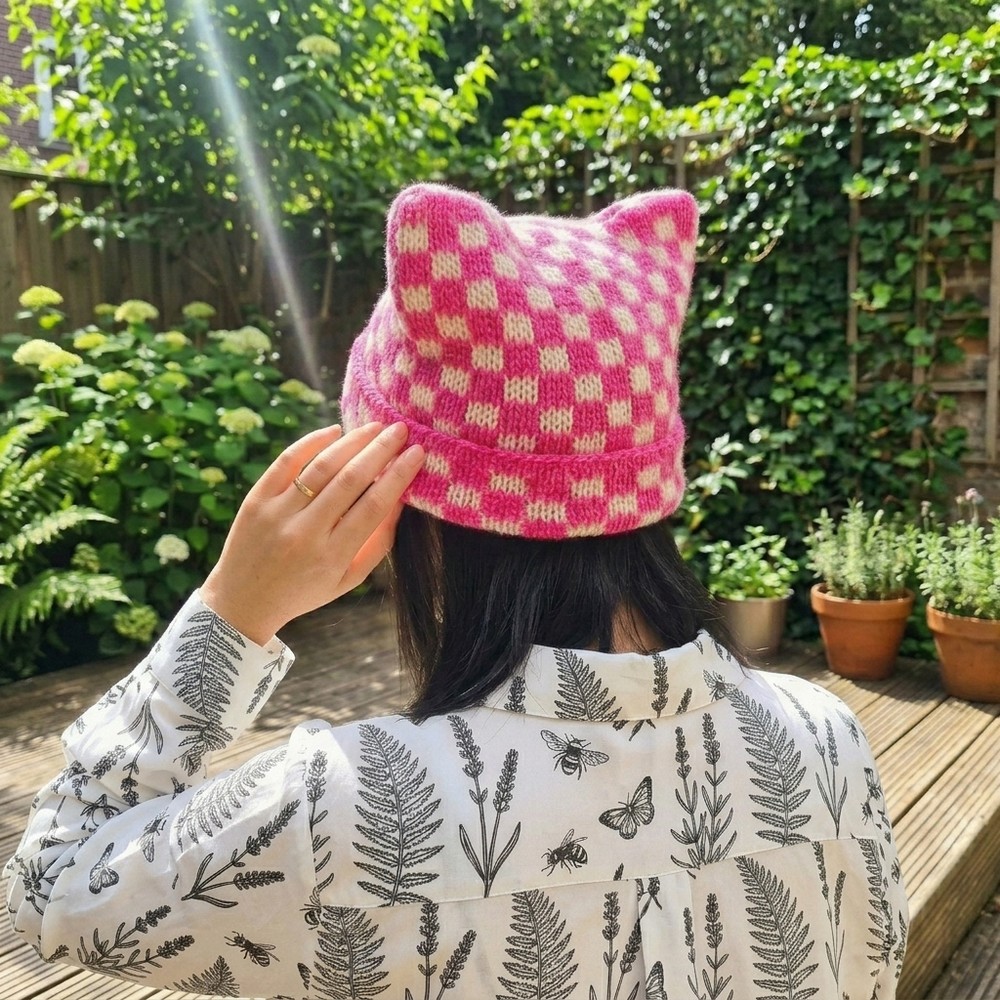
Have you ever dreamed of making a stylish fashion statement that shows off your playful side with just a hook? Creating something by hand brings a special kind of joy that you cannot find in any store. This lovely project uses a neat grid stitch to make a fabric that looks clean and modern for anyone to wear. Following a Crochet Cat Ear Beanie pattern is a wonderful way to transform basic stitches into a stylish hat featuring two cute points at the top.
Favorite Crochet Cat Ear Beanie Pattern with Extra Fluff
Quick Overview of Pattern with its main stitch
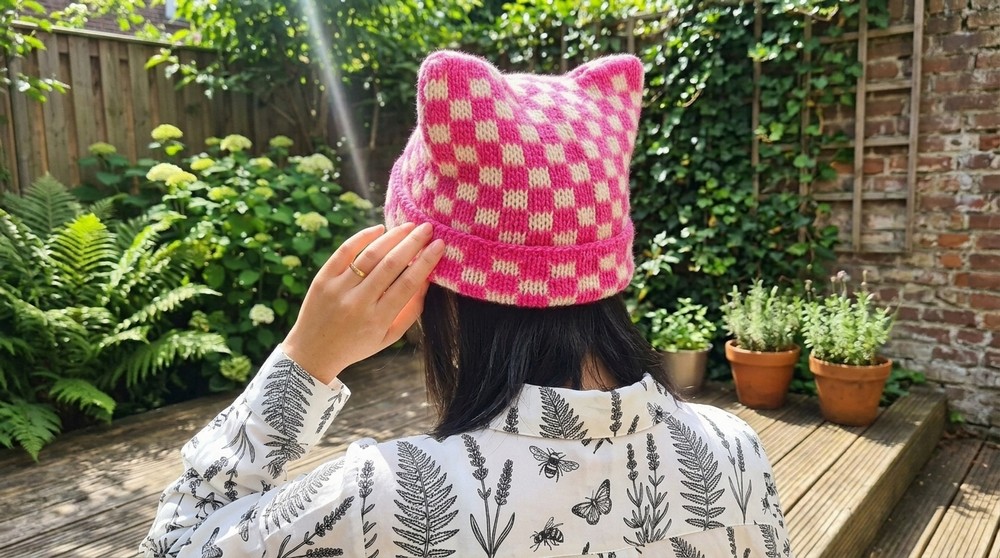
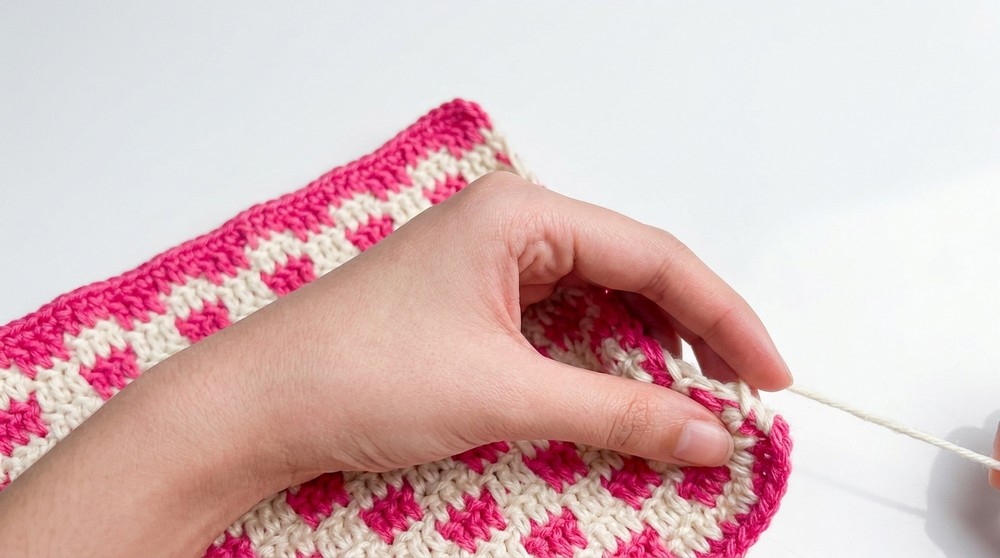
The Crochet Cat Ears Beanie is a trendy, beginner-friendly accessory that utilizes the unique “Grid Stitch” (also known as a checkerboard or block stitch pattern) to create a playful, textured look. This beanie is constructed as a flat rectangular piece that is folded and seamed to create the signature “cat ear” shape at the top. With its customizable size and vibrant color potential, it’s a perfect project for stash-busting acrylic yarns and practicing color changes.
The grid stitch, also known as the block stitch, is a striking crochet technique that creates a structured, geometric appearance. By alternating clusters of double crochet with chain spaces, you build a clean, modern checkerboard pattern. It is perfect for those who love color-blocking, as it excels at highlighting contrasting yarns.
Is the grid stitch Difficult to Crochet?
Regarding difficulty, the grid stitch is quite approachable, even for beginners. It relies on basic stitches and follows a simple, repeating rhythm. While managing frequent color changes and weaving in ends requires patience, the actual stitch work is straightforward, forgiving, and incredibly meditative to complete.
Crochet Cat Ears Beanie: A Detailed Pattern Guide
Skill Level
-
Beginner to Intermediate: This pattern is straightforward for those who understand basic crochet stitches (chain, single crochet, double crochet). The main challenge lies in maintaining consistent tension while managing color changes.
Materials
-
Yarn: Indophil acrylic yarn (or a similar weight acrylic/blend). You will need at least 2 contrasting colors to achieve the grid effect.
-
Crochet Hook: O Imia crochet hook (or appropriate size for your yarn, typically a 3.0mm–4.0mm hook for this type of yarn).
-
Tapestry Needle: For weaving in the numerous ends created by the color changes.
-
Scissors: For cutting yarn between color switches.
Pattern Notes
-
Construction: The project is worked in a flat rectangular panel.
-
Color Changes: Color changes happen frequently. You can either carry the yarn up the side or cut and rejoin to keep the edges neat.
-
Grid Stitch: The “grid” is formed by alternating blocks of double crochet stitches in different colors.
-
Stitch Counts: The foundation chain must be in multiples of 6 + 4. The video tutorial uses a foundation chain of 58.
-
Joining: The final piece is folded in half and seamed along the top and one side to form the beanie shape.
Measurements / Sizing
-
Flat Panel Size: The tutorial results in a rectangle approximately 7.25 inches by 10.25 inches before seaming.
-
Adjustability: You can easily adjust the size by adding more rows for height or increasing your foundation chain in multiples of 6 for a wider circumference.
Gauge
-
Standard: While specific gauge is not required, ensure your stitches are tight enough to prevent large gaps, especially when working the grid stitch. A denser fabric is preferred for beanies.
Stitch Abbreviations
-
ch: Chain
-
dc: Double Crochet
-
sc: Single Crochet
-
st(s): Stitch(es)
-
R: Row
Special Stitches
-
Grid Stitch (Checkerboard): Created by working 3 double crochets into a chain space, skipping stitches, and alternating colors to create blocks.
-
Foundation Chain Setup: Using the formula (6 * n) + 4 to ensure the pattern repeats correctly across the row.
The Crochet Pattern
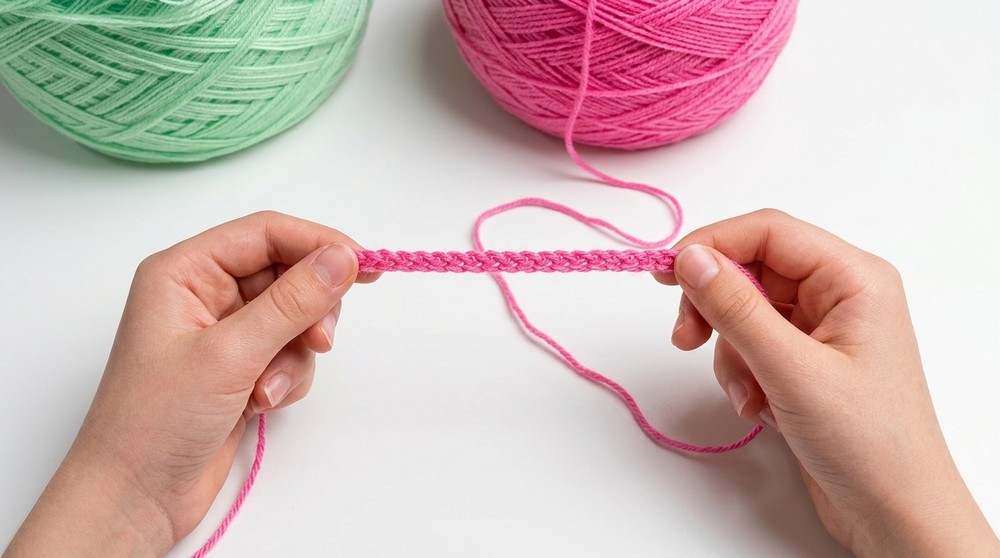
Foundation
-
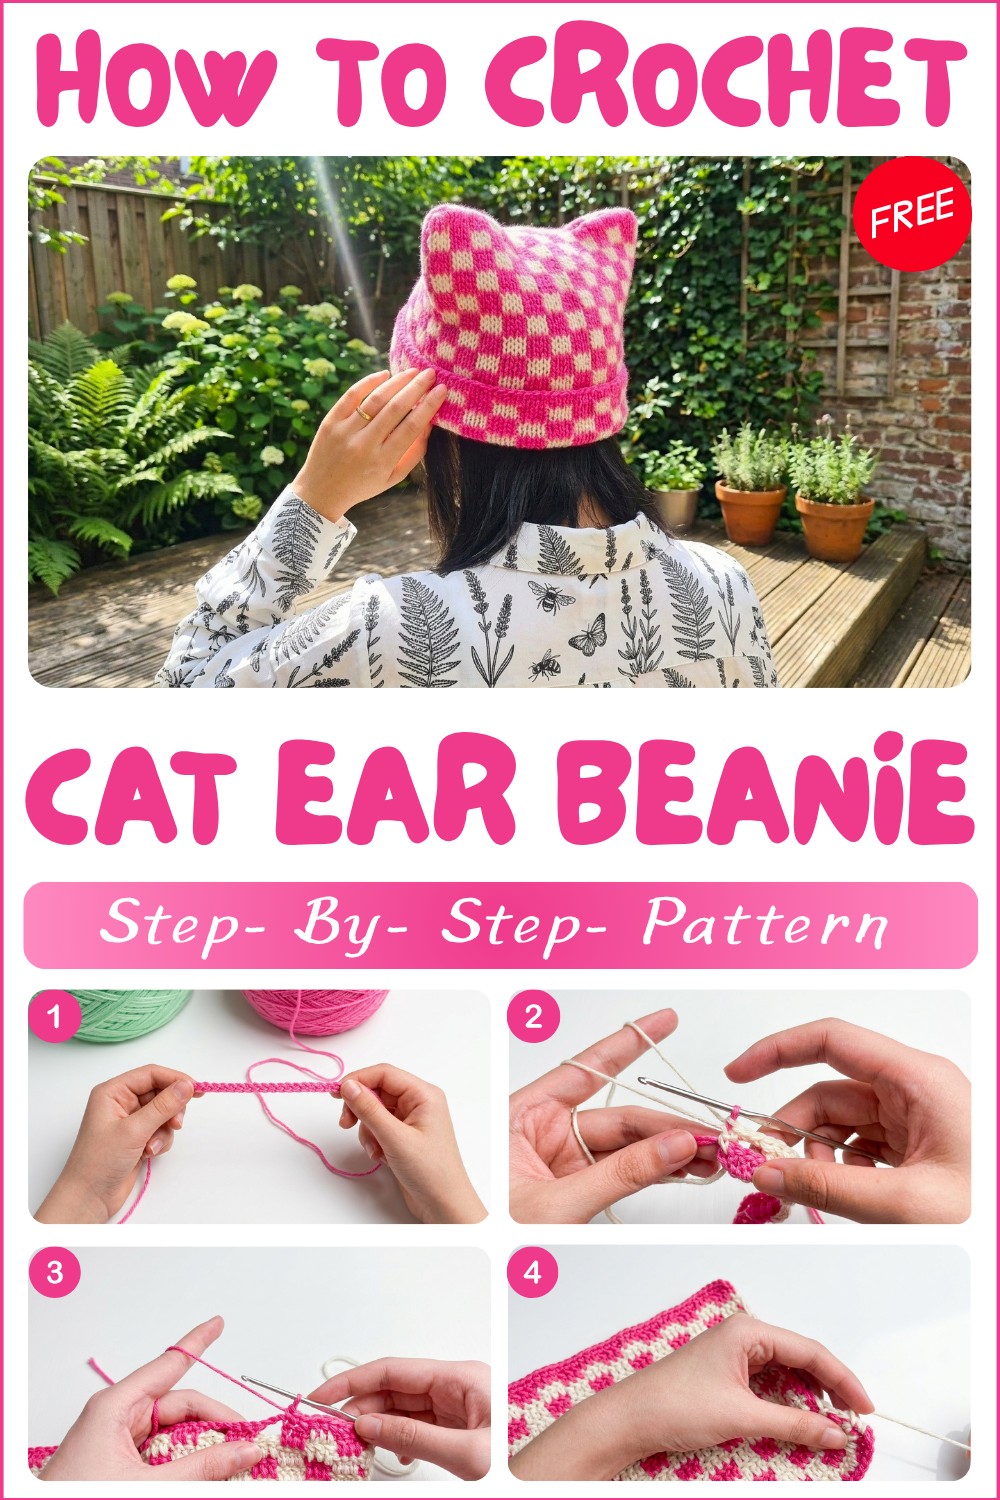
Using your first color, create a slip knot on your hook.
-
Ch 58. (Ensure your chain is not too tight; you can use a slightly larger hook for the chain if needed).
Row 1 (Foundation Row)
-
Starting at the 4th ch from the hook, work 1 dc into the next 3 chs.
-
Ch 3, skip 3 chs, dc into the next 3 chs.
-
Repeat from * to * until you have 7 chains left.
-
Finish the row with 1 dc in each of the remaining stitches.
-
Note: On the very last dc of this row, change to your second color.

Row 2
-
Ch 1.
-
Sc in the first stitch, ch 3, skip 3 sts, dc into the 3 chains from the row below. * Continue working into the spaces created by the ch-3 from the previous row.
-
Repeat from * until 3 stitches are left at the end of the row.
-
Before completing the final sc of the row, change to your third color.
Row 3
-
Ch 1.
-
Sc into the first stitch.
-
Dc into the next 3 stitches (working into the stitches from Row 1), ch 3, skip 3 stitches.
-
Repeat from * until 4 stitches are left.
-
Complete the row with 1 dc in the remaining stitches.
-
Change to your first color before finishing the last stitch.
Rows 4–31 (The Main Body)
-
Repeat Rows 2–3 consistently.
-
Continue alternating your three colors according to the checkerboard pattern.
-
Ensure that you carry your yarn or manage your ends carefully as you progress.
-
Work until the rectangle reaches your desired height (the tutorial works up to Row 31 for approximately 10 inches).
Row 32 (Final Border)
-
Ch 1.
-
Work 1 sc in each stitch across the entire row to create a clean, sturdy top edge for the beanie.
-
Fasten off, leaving a long tail for sewing.
Assembly & Finished Size
-
Folding: Fold your completed rectangle in half so that the short ends meet, with the right side (the “pretty” side) facing inward.
- Finished Size: Based on the tutorial, your beanie will be approximately 7.25″ x 10.25″ when folded flat, fitting an average adult head comfortably. Adjust row count for a slouchier fit.
-
Seaming: * Use the tapestry needle and the long yarn tail left from Row 32.
-
Stitch the top edge closed.
-
Stitch the side edge closed.
-
-
Finishing:
-
Turn the beanie right-side out. The top corners will naturally form “cat ears” because of the square shape of the seam.
-
Weave in all remaining loose ends securely on the inside of the beanie.
-