Crochet Crying Hamster Meme Amigurumi Pattern

Bring the internet-famous crying hamster to life with this cute free amigurumi pattern features plush stitches and teary-eyed expression.
Crochet Crying Hamster Meme Amigurumi
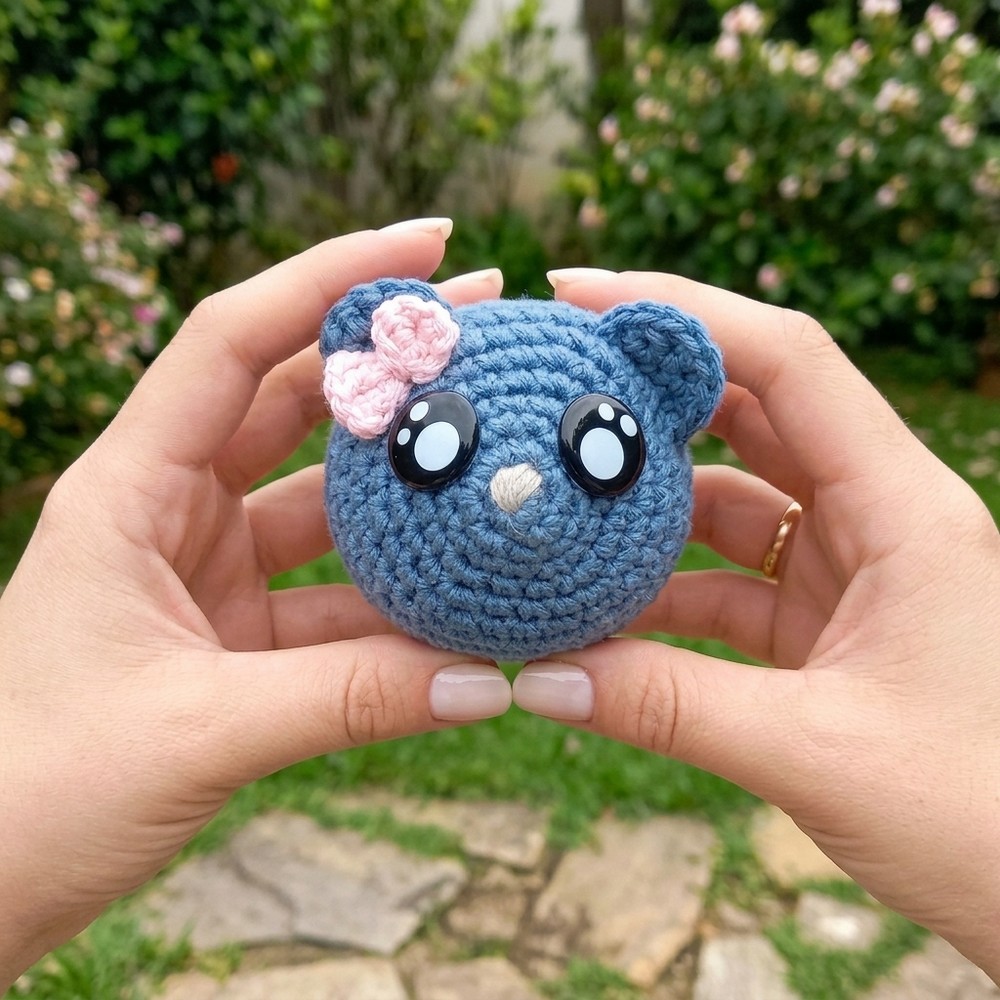
That little crying hamster has taken the internet by storm, and now you can bring it to life with this Crochet Crying Hamster Pattern! This is the perfect amigurumi to reflect the meme in the best way possible, capturing its tiny, round shape and teary-eyed expression. With soft, plush stitches and adorable details, this hamster looks both sad and irresistibly cute. Whether as a funny desk buddy, a conversation starter, or a unique handmade gift, this pattern is sure to bring laughs and nostalgia.
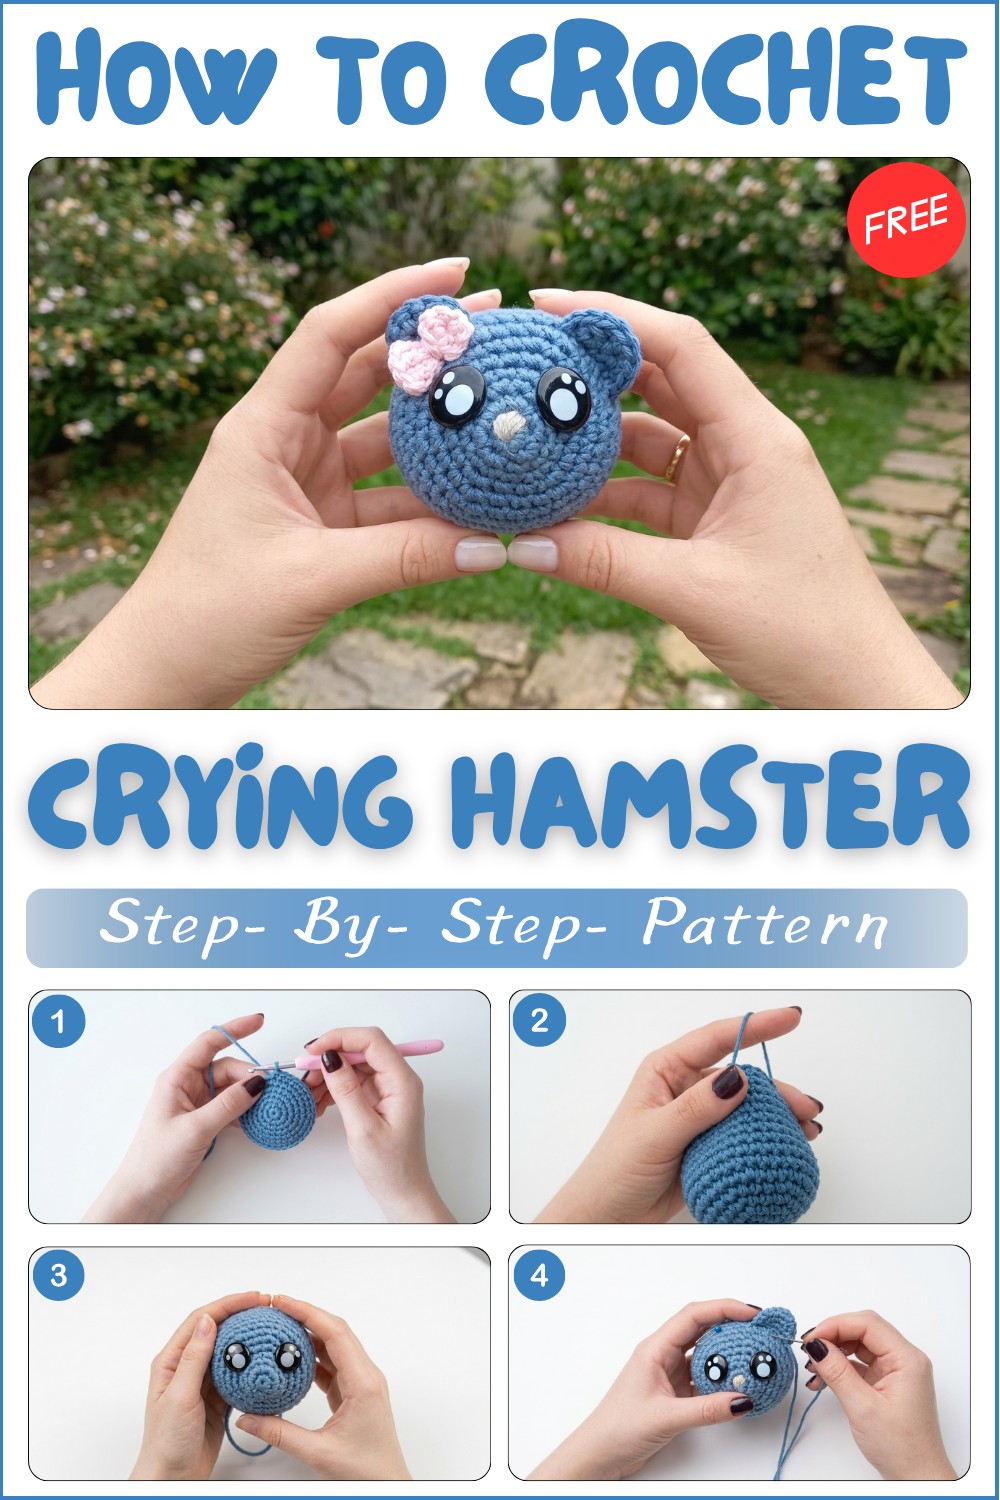
Uses Of Crochet Crying Hamster:
- Desk Buddy: Place it on your desk for a touch of whimsy and fun at work or home.
- Conversation Starter: Use it as a quirky ice-breaker in social settings.
- Gift: Perfect for friends and family who love memes or cute handmade items.
- Decoration: Add it to your room, shelf, or office for a playful decoration.
- Stress Relief: Squeeze it to feel better during tough moments!
- Toy: Provide children with a safe and soft toy to play with.
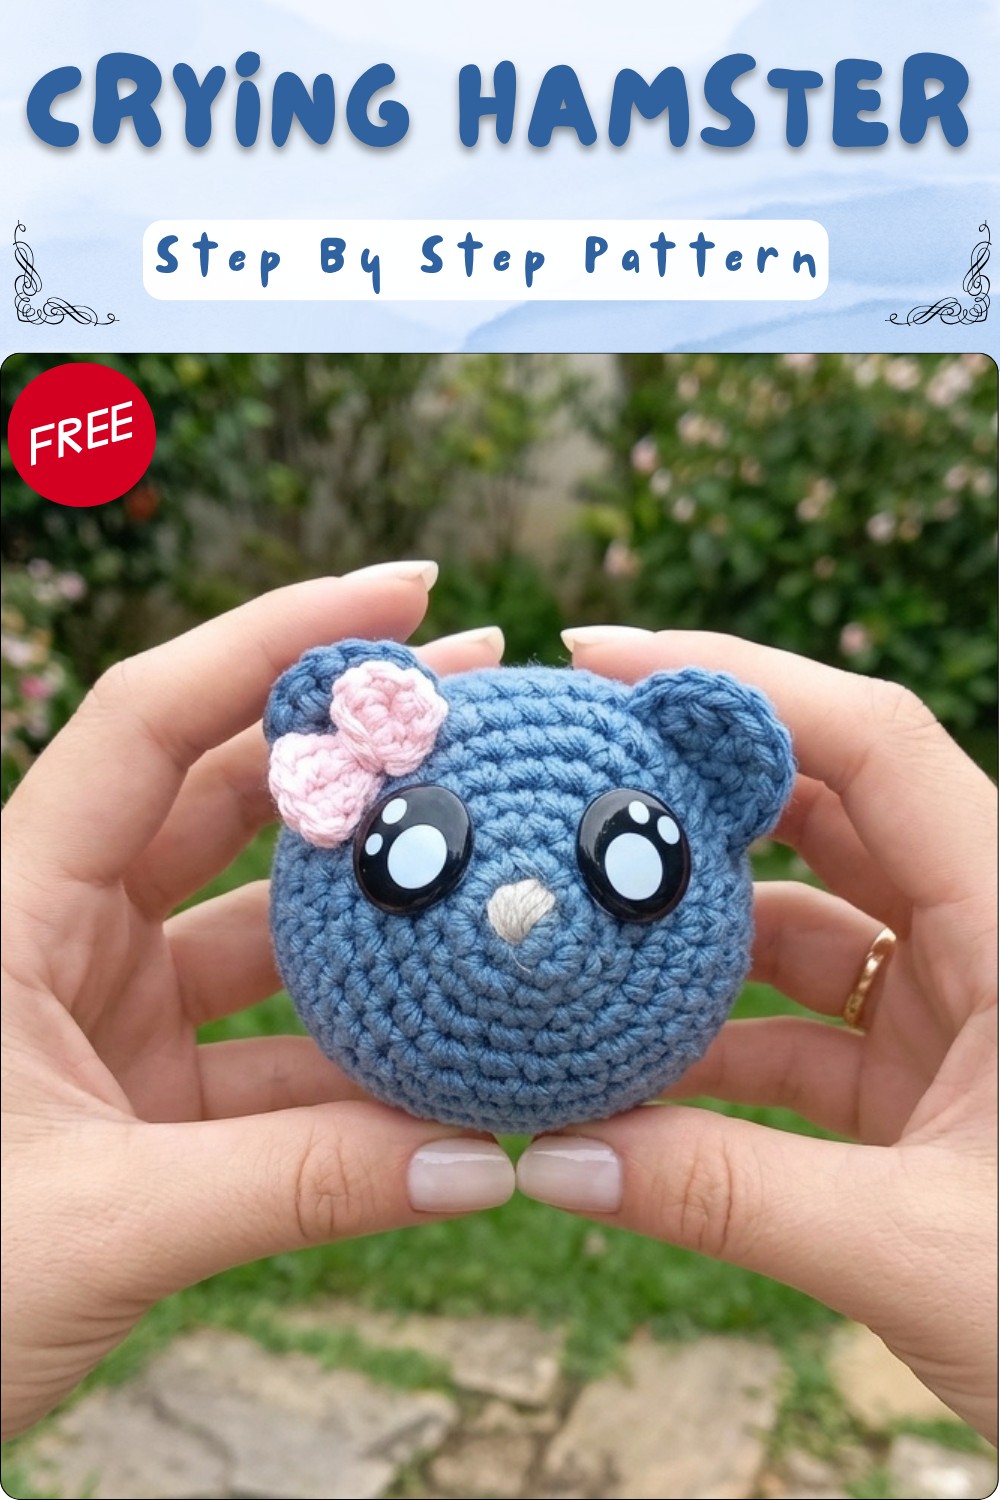
Meme Hamster Amigurumi Crochet Pattern
Stitch Abbreviations
- ch – chain
- sc – single crochet
- inc – increase (2 sc in same st)
- dec – decrease (sc 2 together)
- sl st – slip stitch
- st(s) – stitch(es)
- MR – magic ring/adjustable ring
- rep – repeat
Gauge (and Stitch Pattern)
- Gauge: Gauge is not critical for this plush. Use a hook small enough that stuffing does not show through the stitches.
- Stitch Pattern: Amigurumi pieces are worked mainly in spiraling rounds using single crochet.
Pattern Notes
- All instructions are in US terms.
- The body and ears are worked in the round. Use a stitch marker to keep track of round beginnings.
- Stuff as you go and sew on parts where indicated for easier assembly.
- Facial features are finished after the main body is completed.
- Pattern may be enlarged by using thicker yarn and a larger hook.
- Placement of eyes, ears, and bow is central to capturing the meme look—refer to the suggested positions for accuracy.
Materials
- Worsted weight non-mercerized cotton yarn in Blue (body), pink (bow), and a very small amount in another color for desired accents
- 3 mm crochet hook (or suitable for your yarn)
- Amigurumi eyes (15 mm kawaii flat-backed or safety eyes are suggested)
- Tapestry/yarn needle
- Polyester stuffing
- Scissors
- Stitch marker
- Optional: Keychain hardware or loop for hanging
Quick Summary
Crochet your own adorable meme hamster (or mouse/rat), inspired by internet sticker memes! This plushie is constructed in amigurumi style with a chubby, rounded body, soft ears, a tiny tail, expressive safety eyes, and a sweet bow for personality. It’s perfect as a keychain, ornament, or squishy desk buddy. The project is beginner-friendly, works up quickly, and can be adapted to a range of colors and sizes. Make one for yourself or as a delightful gift!
Skill Level
Confident beginner – All stitches are basic, and increases/decreases are explained. Some simple sewing is needed for assembly.
Measurements / Sizing
- Finished Size: Approx. 7–9 cm (3–3.5 inches) tall, depending on yarn and tension
- Eyes: 15 mm safety eyes
- Proportions: Chubby and rounded with small ears and delicate nose. Bow size adjustable by yarn/hook/use.
Special Stitches
- Magic Ring (MR): Make an adjustable ring, so you can close up the first round tightly.
- Invisible Decrease (inv dec): For a neater look, work decreases under the front loops only.
The Crochet Pattern!
Body/Head
- MR, 6 sc into ring. (6)
- Rnd 2: inc in each st around (12)
- Rnd 3: sc in each st around (12)
(This forms the snout area.) - Rnd 4: (sc 1, inc) around (18)
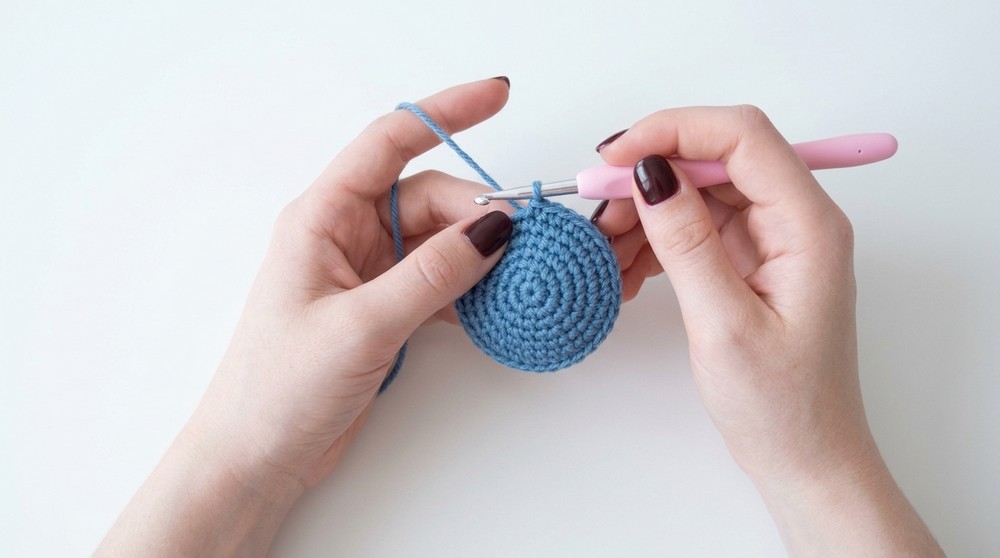
- Rnd 5: (sc 2, inc) around (24)
- Rnd 6: (sc 3, inc) around (30)
- Rnd 7: (sc 4, inc) around (36)
- Rnd 8–17: sc in EACH st around (36 for each round)
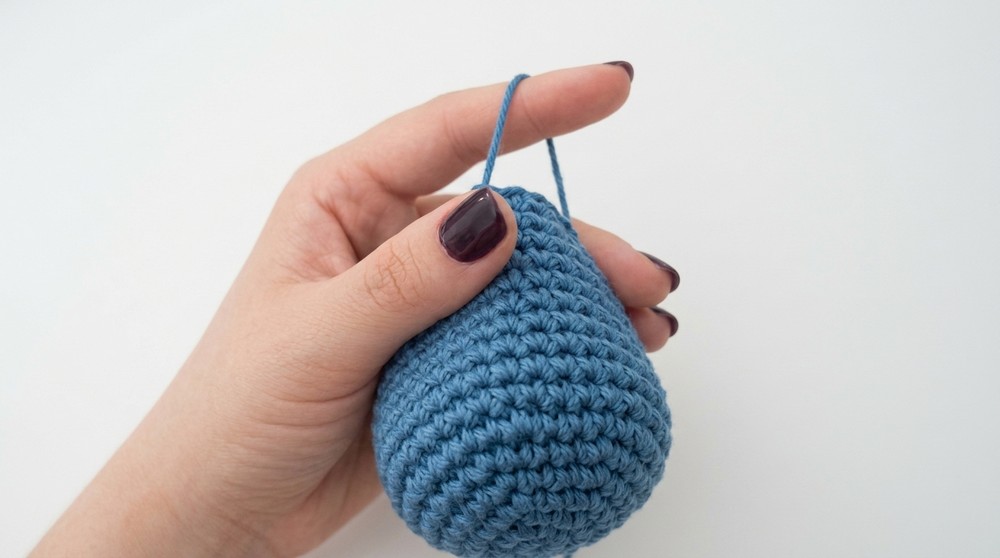
(Work even for 10 rounds; use a stitch marker as needed.)
Facial Features
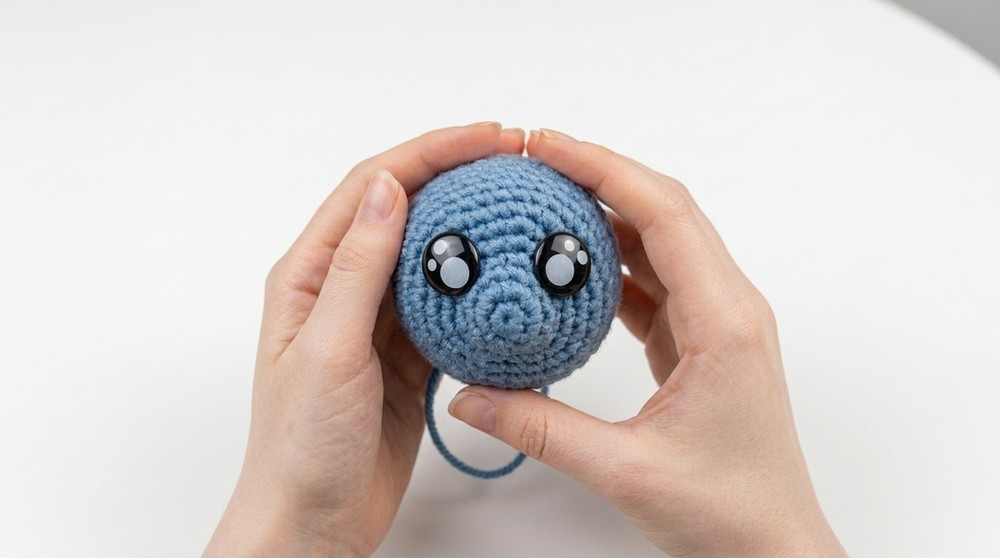
- Eyes:
Using 15mm safety eyes or kawaii flat-back eyes, attach after round 17.- Position eyes between rounds 5 and 6, evenly spaced; reference meme photo for exact placement.
- Insert one eye, then the other so they’re aligned horizontally (or according to meme’s expression).
- Nose:
- With Blue yarn and a pink-tipped needle, embroider a oval or triangle nose just above round 5 or 6, between the eyes.
- Optional: Pull through, knot inside, weave in securely.
Shaping and Closing
- Rnd 18: (sc 4, dec) around (30)
- Rnd 19: (sc 3, dec) around (24)
- Rnd 20: (sc 2, dec) around (18)
- Stuff the body firmly but not overstretched at this point.
- Rnd 21: (sc 1, dec) around (12)
- Add extra stuffing as needed for shape.
- Cut yarn, leaving a long tail for closing. Use a tapestry needle to weave yarn through the front loops of the remaining 12 sts and cinch to close. Knot and hide end inside.
Ears (Make 2)
- MR, 4 sc into ring. (4)
- Ch 1, turn.
- Next Rnd: inc in each st across (8)
- Ch 1, cut, leaving a long end for sewing.
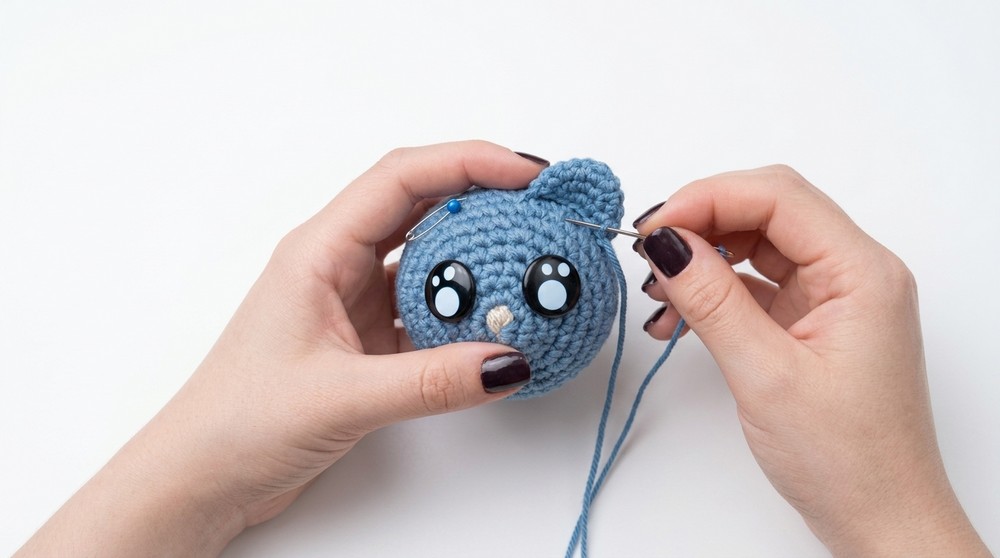
- Pinch and shape slightly, then sew each ear to the head between rounds 8 and 9, aligned with the eyes.
Tail
- Ch 4.
- Starting in 2nd ch from hook, sc in next 3 ch. (3)
- Ch 1, turn.
- Sc in next 2 sts.
- Fasten off, leaving a tail for sewing.
- Attach at lower back, centered.
Bow
- With pink (or desired) color:
- MR, ch 3, 2 dc in ring, ch 2, sl st in ring, ch 3, 2 dc in ring, ch 2, sl st in ring.
- Cinch ring tight; pull ends and tie to shape bow center. Fasten off, leaving ends to attach.
- Attach bow to top of one ear (or at an angle, per meme effect).
Assembly & Finished Size
- Attach ears between rounds 8 and 9, aligned horizontally with the eyes.
- Attach the tail at base back center.
- Sew or tie bow to one ear’s tip, securing well.
- Double-check eye and nose positions for meme-like expression. Adjust as needed before final assembly.
- Optional: Insert keychain ring at top or attach hanging loop for display.
- Finished plush should measure about 7–9 cm tall, with distinctly placed features for maximum cuteness/meme vibes.
- Weave in all ends securely inside the body.
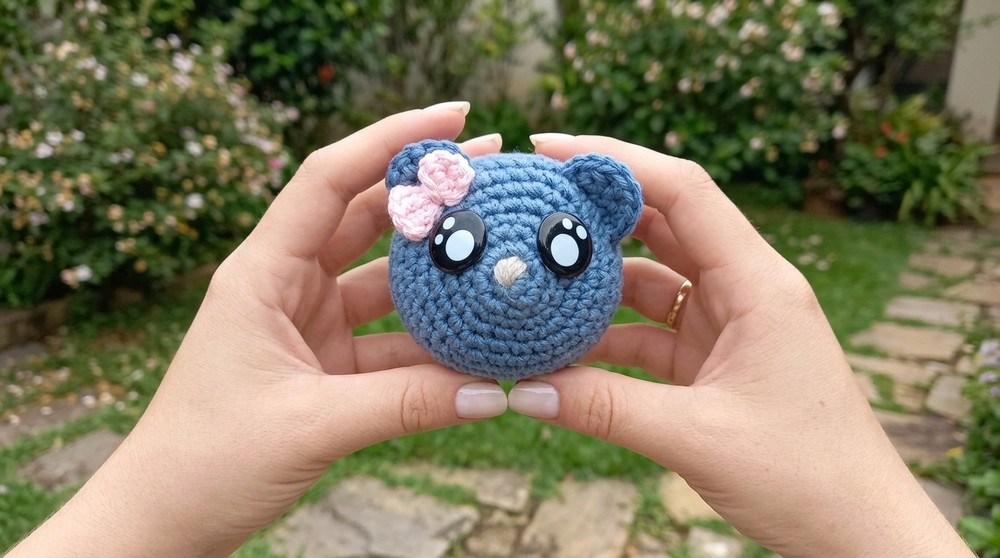
Congratulations, your meme hamster is complete! Make more for friends, gifts, or meme fans. Attach to keychains, bags, or display on your desk for daily smiles.