Granny Square Unique Free Crochet Pattern You’ll Treasure

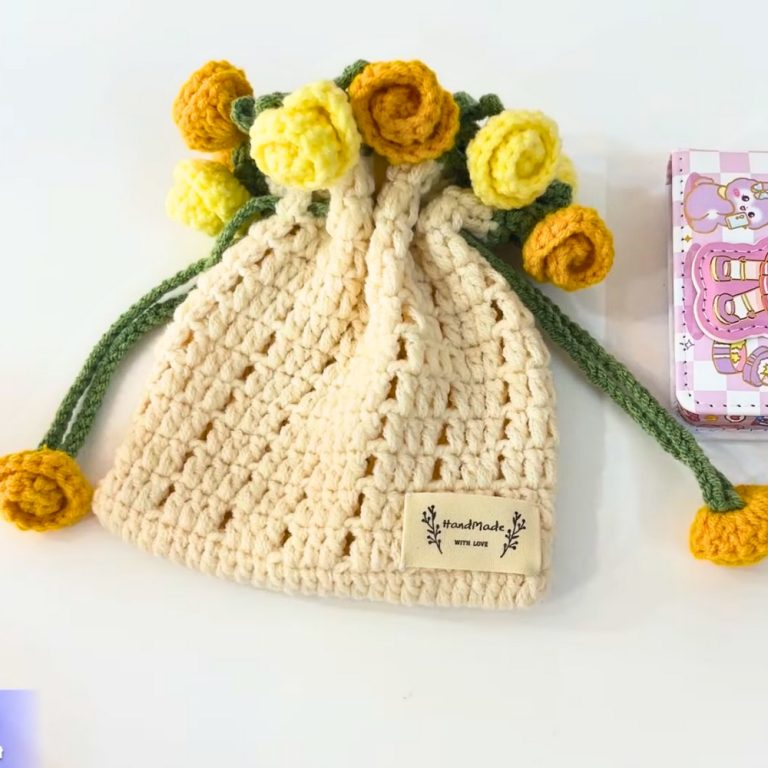
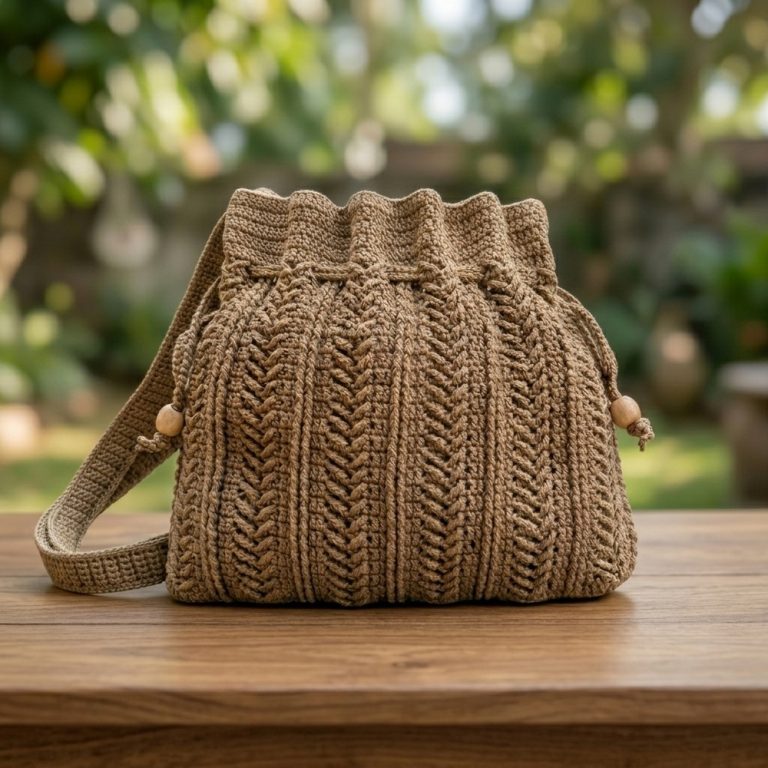
Infuse your makes with charm using this Free Crochet Granny Square Pattern, offering endless styling possibilities for blankets, tops, and accessories.
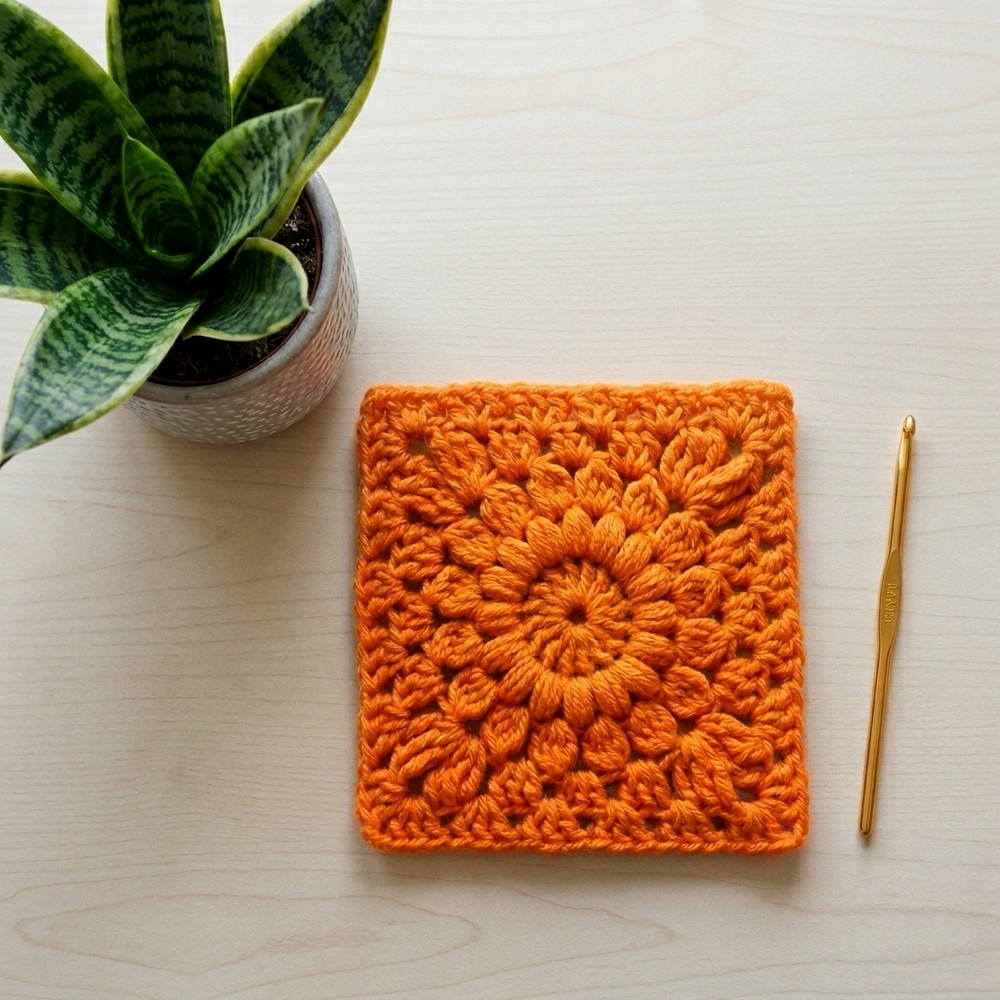
A symbol of tradition and timeless elegance, the crochet granny square has forever stood as a statement of versatility and charm. Among its most stunning renditions, the sunflower granny square captivates with its intricate texture and radiant beauty, resembling the sun-dappled blossoms swaying gently in summer fields. Ideal for beginners and experienced crocheters alike, this pattern brings together simplicity and sophistication, making it a delightful addition to your repertoire.
Gorgeous Crochet Granny Square Pattern
Why This Granny Square is unique?
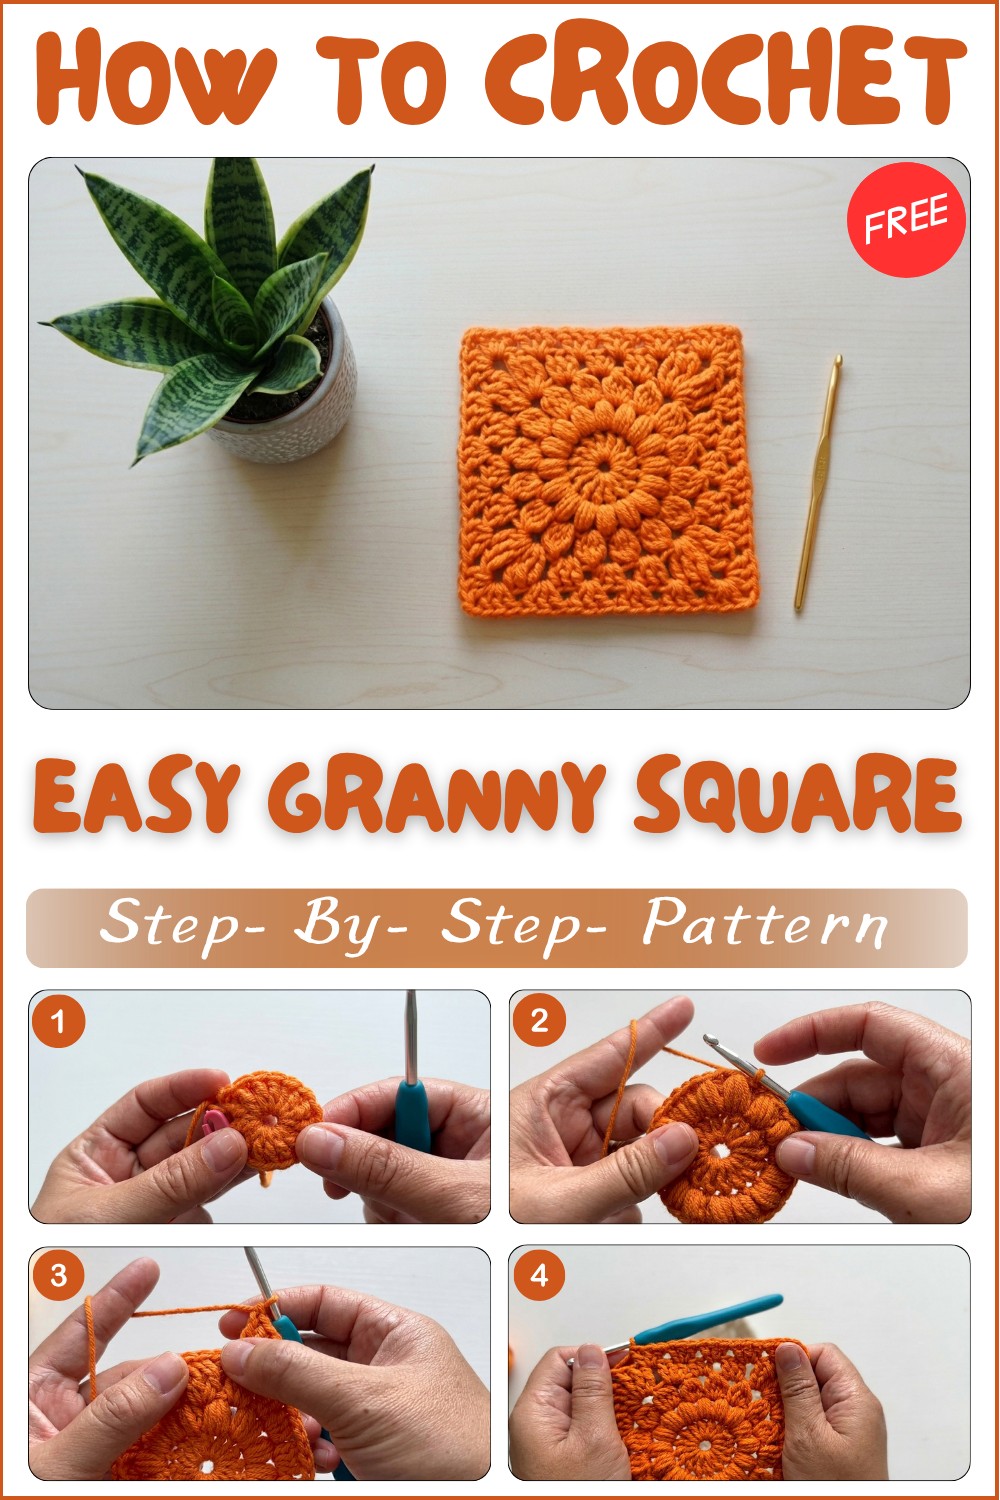
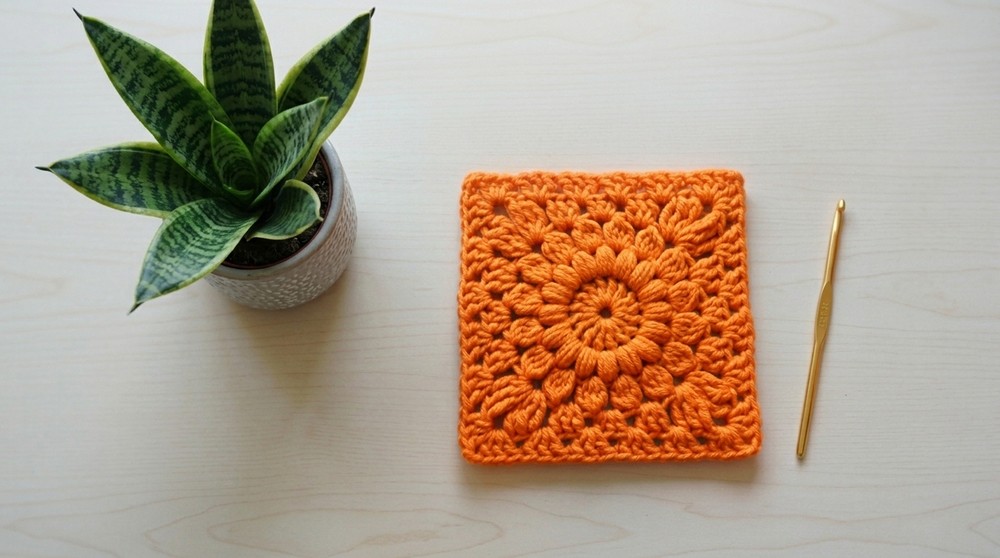
This granny square is unique because it artfully transforms a round, highly textured sunflower with puff and pineapple stitches into a perfect square. It combines visual depth with a classic shape, using a variety of stitches for dimension, and offers easy ways to customize with color—all while remaining accessible to adventurous beginners.
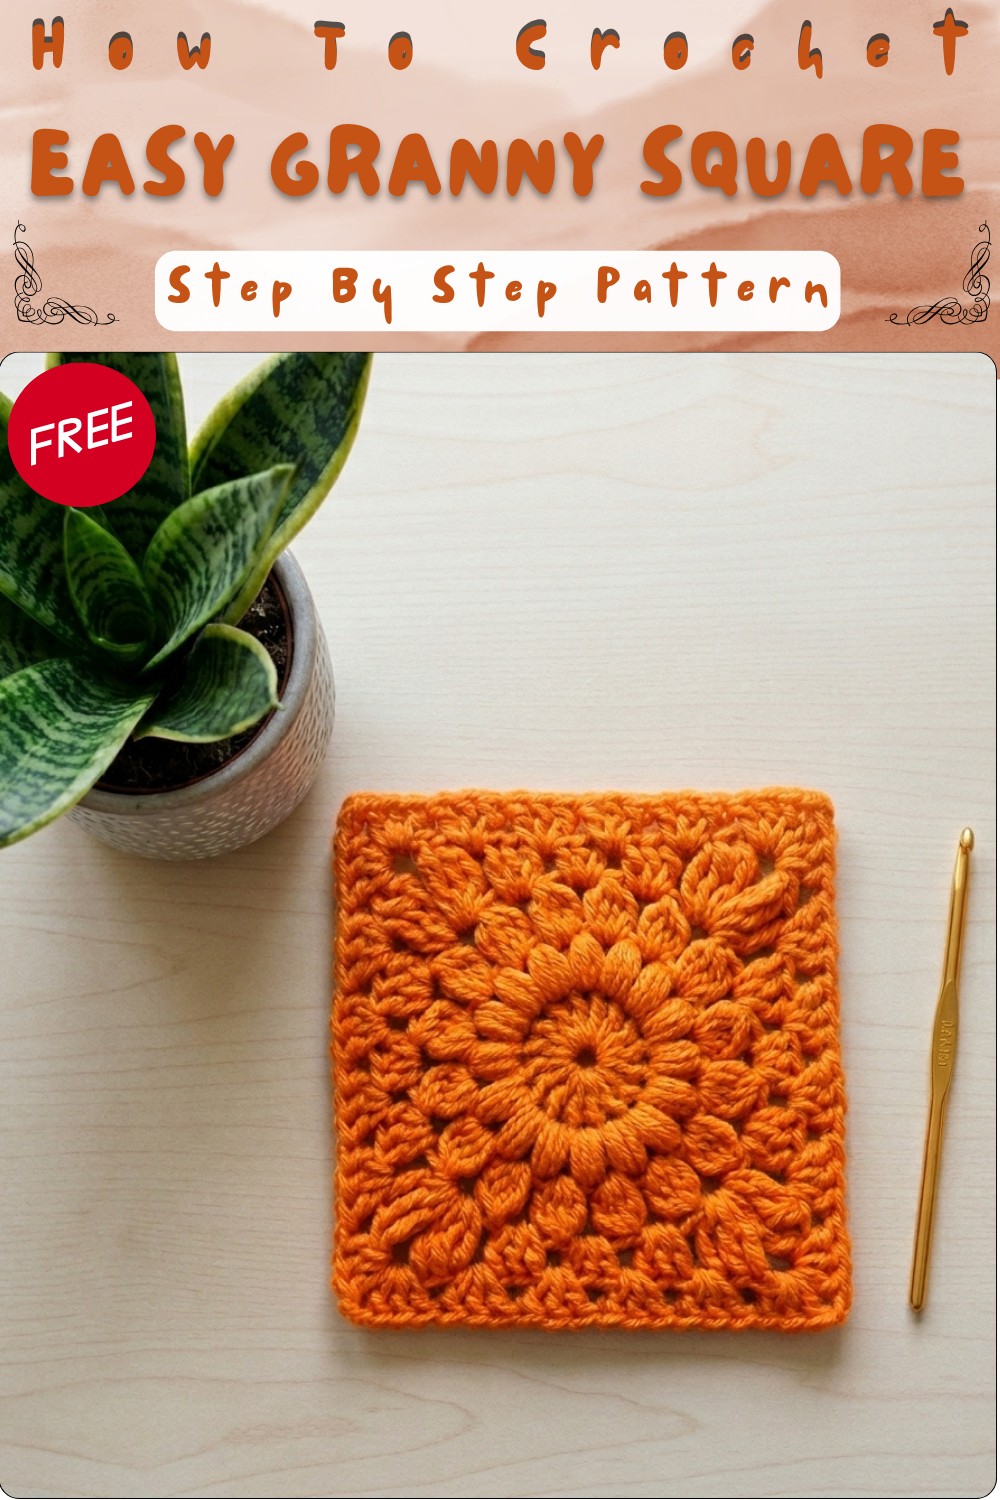
Sunflower Granny Square Crochet Pattern
This pattern creates a bold, textured square that mimics the floral radiance of a sunflower. Though it may look intricate, each step is straightforward with puff stitches, clusters, and a combination of classic granny square stitches. Great for stash busting, this square becomes the perfect building block for blankets and creative projects.
Materials
- DK or worsted weight cotton yarn
- 4mm crochet hook
- Stitch marker (optional but recommended)
- Scissors
- Yarn needle
Gauge & Stitch Pattern
- No strict gauge required; finished granny square should lay flat with chosen yarn/hook.
- Stitches used: magic ring, double crochet, puff stitch, pineapple (4-dc-cluster), treble crochet, half double crochet, single crochet, and slip stitch.
Skill Level
Advanced Beginner / Intermediate
- You should be confident in basic stitches (ch, sc, dc, hdc, tr), working in the round, and cluster/puff stitches.
- Reading instructions and using stitch markers will be helpful.
Measurements / Sizing
- Approximate finished size: 5–6 inches (13–15 cm) per square using DK yarn and 4mm hook.
- For larger or smaller motifs, adjust yarn weight and hook size accordingly.
Stitch Abbreviations
- ch = chain
- dc = double crochet
- hdc = half double crochet
- tr = treble crochet
- sc = single crochet
- sl st = slip stitch
- st(s) = stitch(es)
- MR = magic ring
- sp = space
Special Stitches
- Puff Stitch: Yarn over, insert hook in stitch, yarn over and pull up a loop; repeat this 4 times (total 5 loops on hook). Yarn over, pull through all loops, ch 1 to close.
- Pineapple (4-double crochet cluster):
First pineapples in round begin with ch 2. Yarn over, insert hook in sp, yarn over, pull up a loop, yarn over, pull through 2 loops (leave last loop on hook); repeat 4 times (total 4 or 5 sts on hook), yarn over, pull through all, ch 2 to close.
Pattern Notes
- Pattern is written in US crochet terminology.
- The square is made in rounds, starting from a magic ring.
- Use a stitch marker for the start of each round and to keep track of key stitches.
- Square is ideal for joining into blankets, bags, home décor, or as a motif for garments.
- Optionally, change colors for more of a sunflower effect or keep it one color for sophistication.
- Counting your stitches at the end of each round helps prevent mistakes.
The Crochet Pattern
Round 1
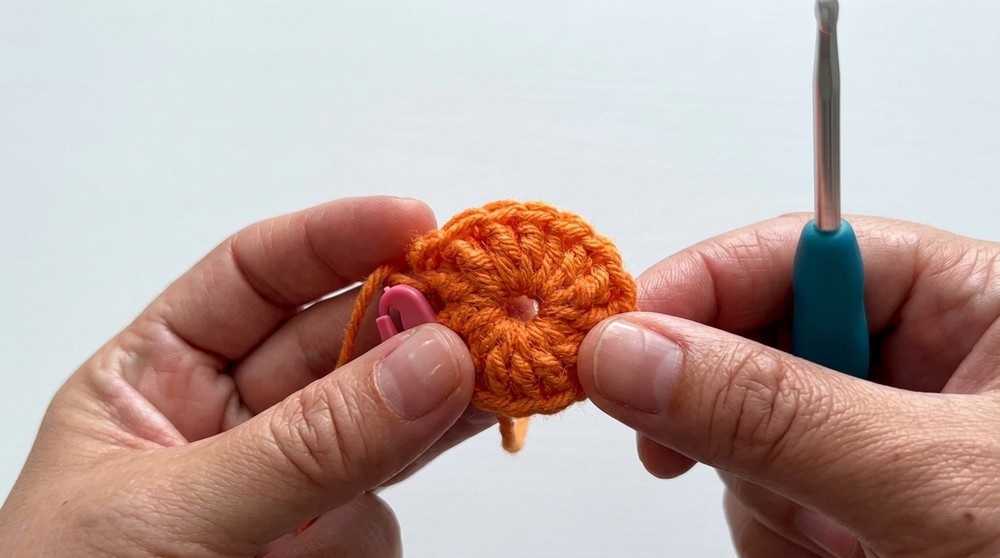
- Begin with a MR (magic ring).
- Ch 3 (counts as first dc), and work 15 additional dc into the ring (total 16 including ch-3).
- Mark the second st (the first dc) with a stitch marker for easy identification.
- Join round with a sl st to the top of the starting ch-3. [16 dc]
Round 2
- Ch 1, pull up loop a little higher.
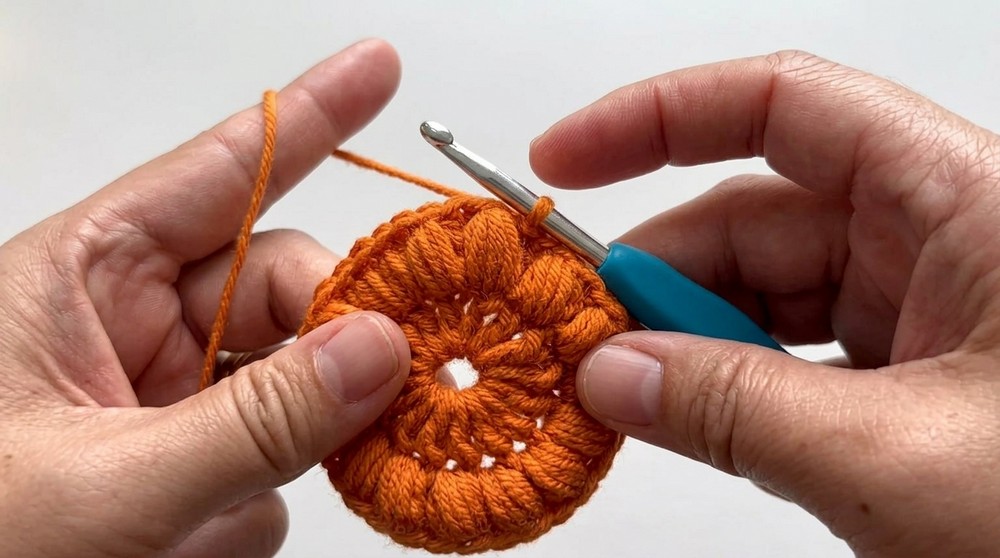
- First Puff Stitch: YO, insert hook into same st, pull up loop, repeat 4 times (5 loops on hook), yo, pull through all, ch 1 to close first puff stitch.
- Following Puff Stitches: In each next dc, [YO, insert hook, pull up loop] 4x, yo, pull through all, ch 1 to close. (Mark second st for visibility if needed.)
- Continue puff st in each dc (16 in total).
- At end of round, count to verify 16 puff stitches.
- Join with sl st to the top/tall loop of the first puff stitch to close.
Round 3
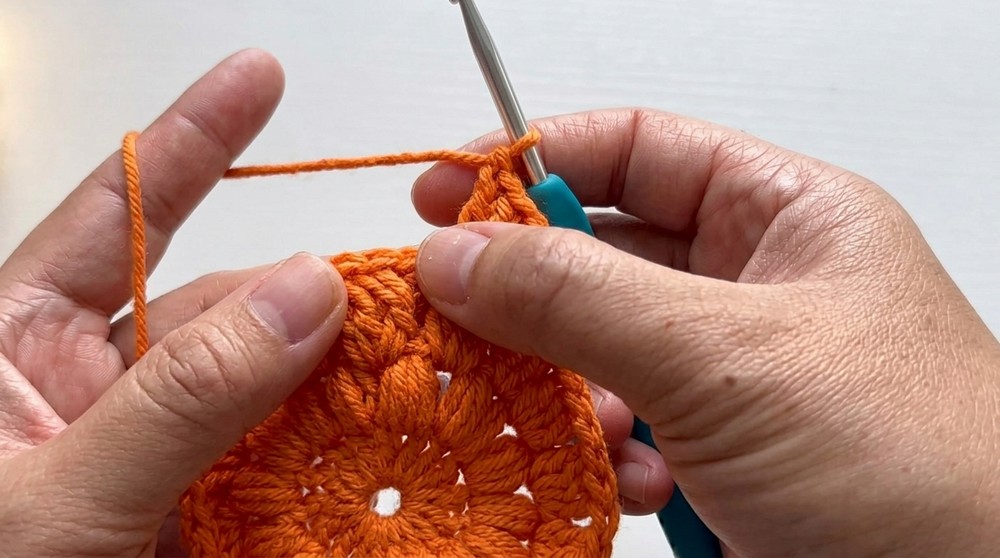
- Sl st into next space between puff stitches.
- Ch 2 (acts as the start of your first pineapple).
- First Pineapple (4-dc cluster): YO, insert in sp, pull up loop, [yo, pull through 2 loops]; repeat 3 times (leave last loop on hook each time), until you have 4 loops on hook.
- YO, pull through all; ch 2 to close.
- For next and each space between puffs: [YO, insert, pull up loop, yo, pull through 2 loops] 4 times, then YO and pull through all 5 loops on hook, ch 2 to close.
- Repeat pineapples (4-dc clusters) with ch 2 between each until you have 16 clusters total.
- Join with sl st to top of first pineapple cluster.
Round 4
- Sl st into first ch-2 sp between clusters to begin corner.
- Ch 4 (counts as first tr), work 2 tr in same sp.
- Ch 2 (for corner), work 3 tr in same sp [corner made].
- Next sp: 3 dc.
- Next sp: 3 hdc.
- Next sp: 3 dc.
- In next sp: 3 tr, ch 2, 3 tr (next corner).
- Continue sides: 3 dc in next sp, 3 hdc in next sp, 3 dc in next sp, corner as above.
- After four corners and four sides, sl st to top of first tr to join.
Round 5
- Sl st into next st, move to corner sp.
- Corner: sc, mark with stitch marker (optional). In same sp, 2 dc, ch 2, 3 dc.
- For each sp along side (between st groups): 3 dc in sp. Repeat for a total of four times per side (each side).
- In each corner sp: 3 dc, ch 2, 3 dc.
- Repeat around for all four sides/corners.
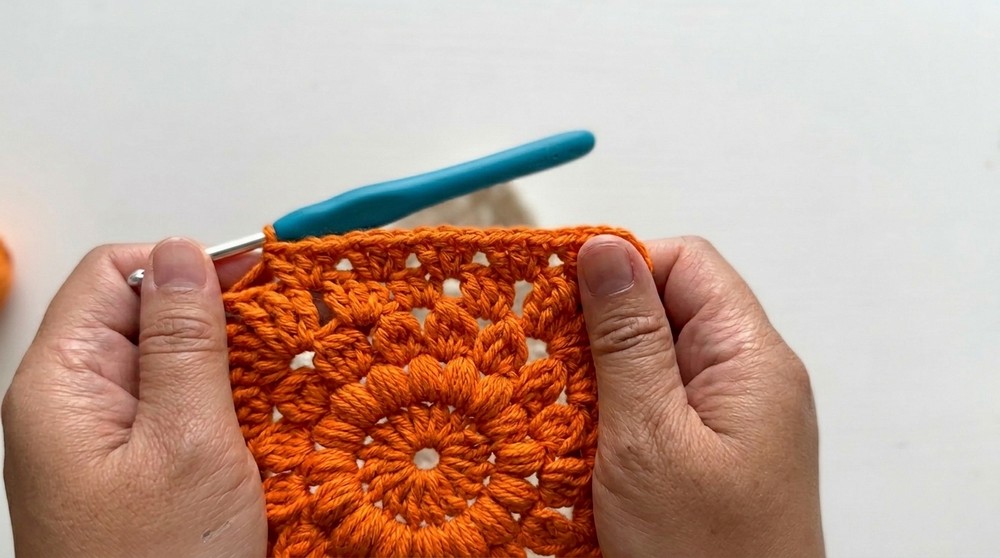
- At end, join with sl st to st after the starting sc (not into the marked sc).
- Fasten off and weave in all ends.
Assembly & Finished Size
- Use as a motif for joining into larger projects such as blankets and bags.
- Finished square is approx. 5–6 inches (13–15 cm) using DK weight yarn and 4mm hook.
- Add additional rounds of granny stitches or borders as desired for custom sizing.
- Easily block the square for optimal flatness and shape before joining with others.
Project Finishing
Your sunflower granny square is now complete! Let it brighten your day as a standalone embellishment or sew multiples together for a fresh, radiant creation. Experiment with different colors for the center, petals, and corners to create sunflowers or other floral effects.