Crochet Triangle Shawl Pattern With Free & Easy Instructions

Find the perfect solution with this free crochet triangle shawl pattern, offering simple steps to create a cozy and stylish accessory for any outfit.
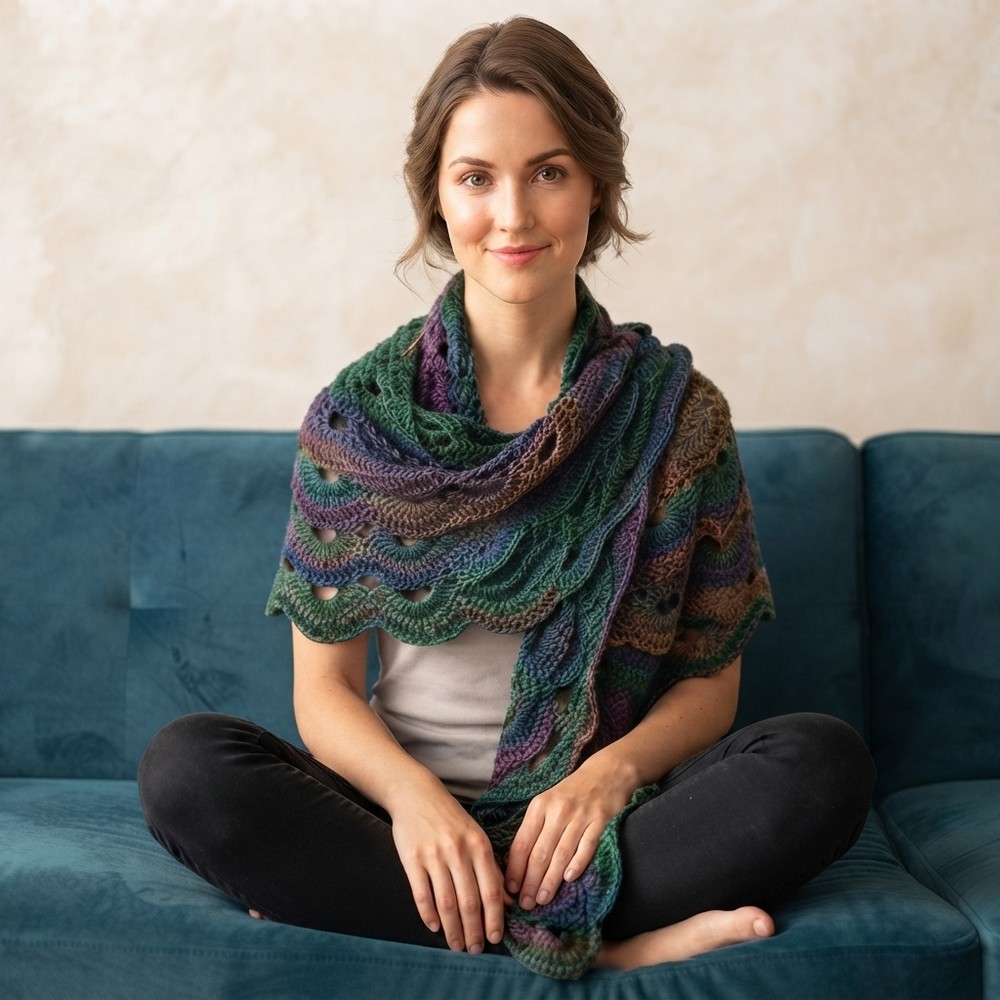
A handmade shawl that combines elegance with coziness makes a wonderful addition to any wardrobe. For those who love creating versatile accessories, this free crochet triangle shawl pattern is a great project to try. Its classic triangular shape drapes nicely over the shoulders, offering warmth and a flattering silhouette. The texture is light and airy, featuring simple stitches that create delicate open spaces, giving the piece a gentle flow and charm.
Fast & Free Triangle Shawl Crochet Pattern Like a Scarf
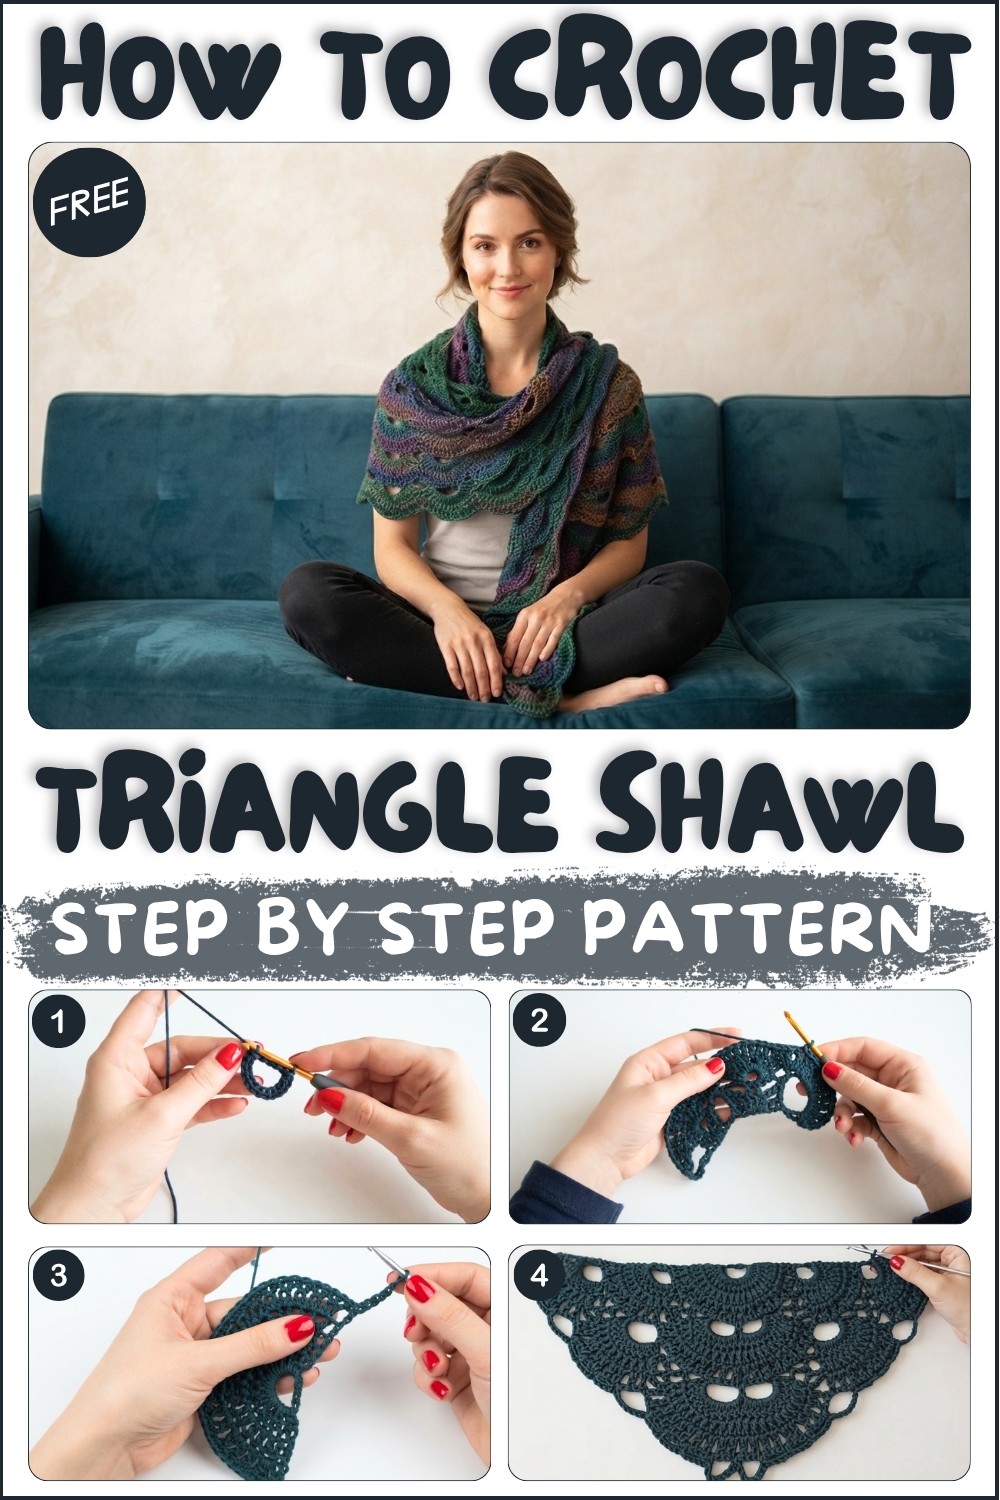
Suitable for crocheters of all skill levels, this shawl lets you practice different stitch techniques while working on a relaxing and rewarding project. The design allows easy customization, you can make a smaller shawlette for subtle coverage or a larger wrap for more warmth. Adjusting the length and width by adding or removing rows helps you create the perfect size.
The shawl is made from the center top down, with increases along the edges to keep its triangular shape balanced. Keeping an eye on stitch counts is helpful to maintain neat, symmetrical edges. The inspiration comes from traditional folk shawls, updated with a fresh, modern feel that still carries timeless appeal.
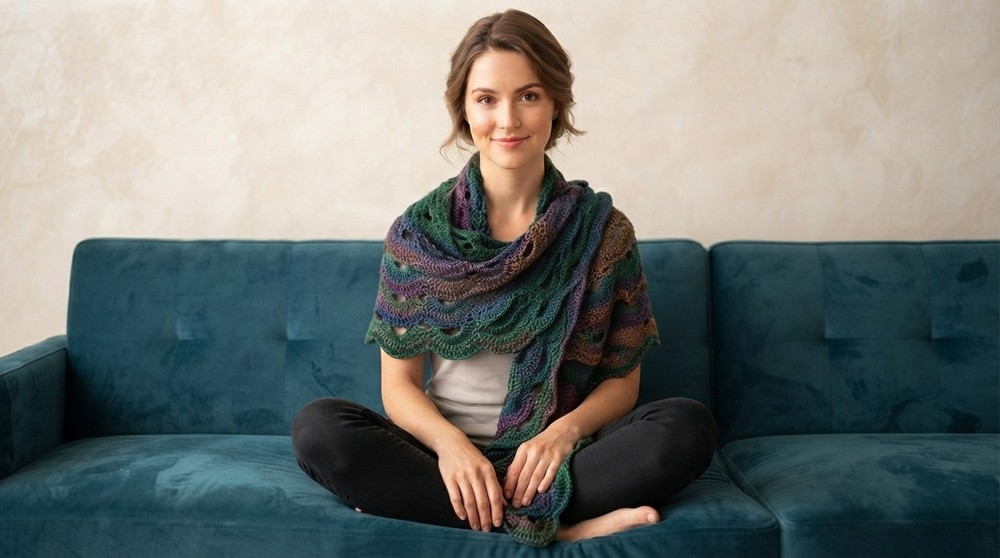
Using a lightweight yarn with good drape, such as a soft cotton blend or fine wool, brings out the openness of the stitches and adds comfortable warmth. This pattern is ideal for everyday wear, special occasions, or as a thoughtful handmade gift. You can play with different colors, textures, or add fringe to give your shawl a unique look, making it a cozy and stylish piece that shows personal touch and care.
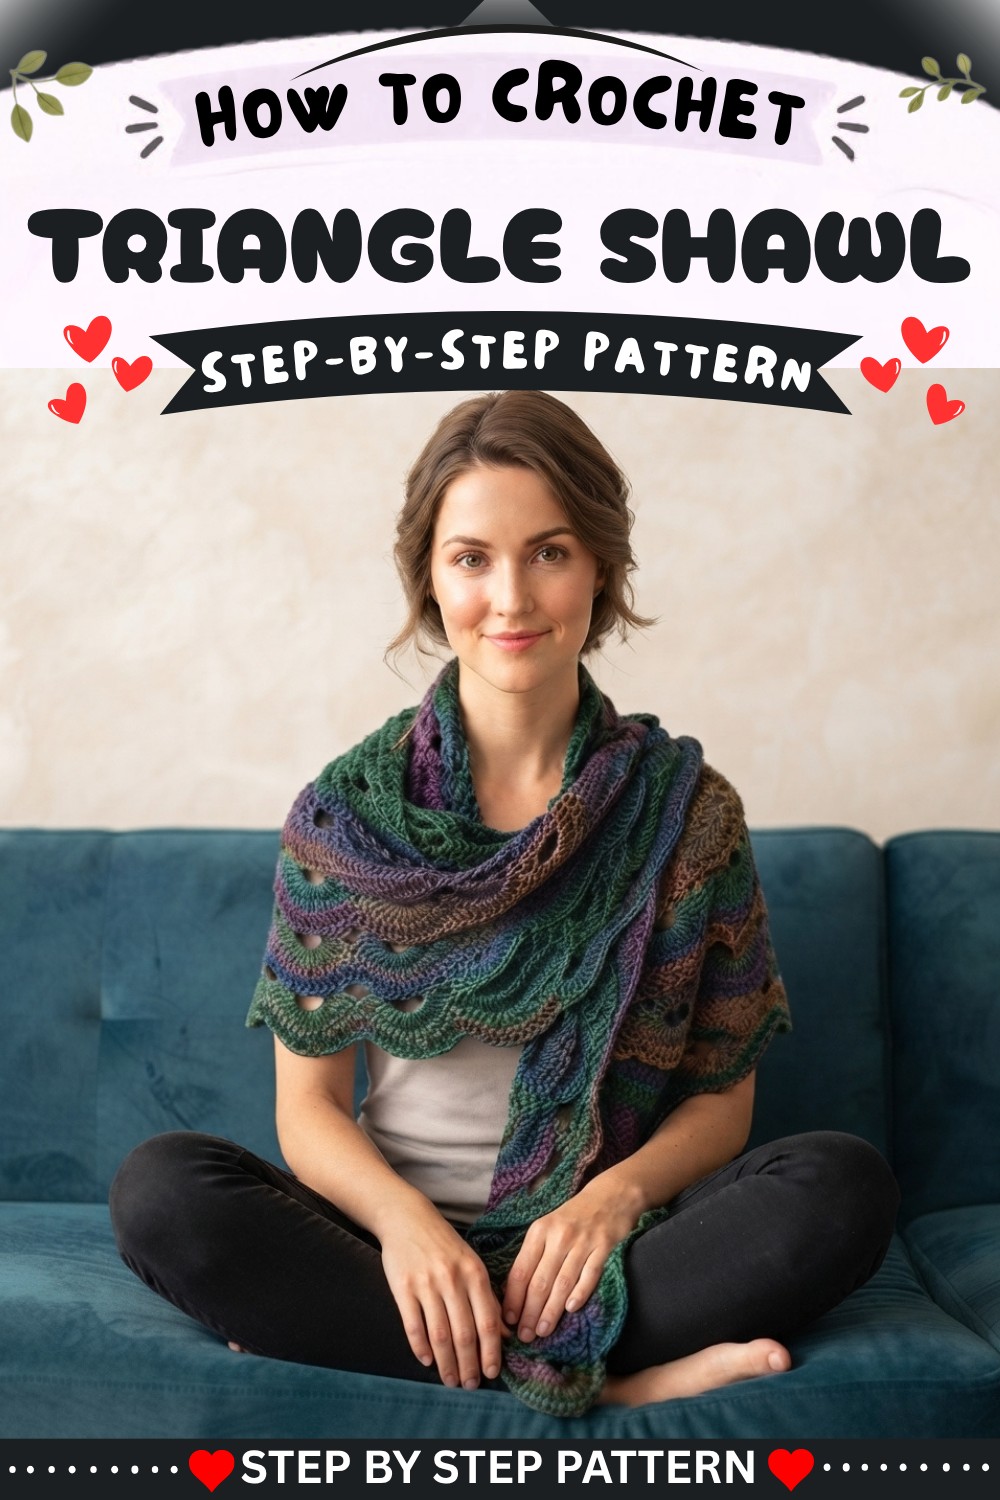
Crocheted Shawl Pattern
I will show you how to crochet a shawl. The design is simple, easy to follow, and results in a distinctive and elegant piece. We’ll work step by step to ensure clarity throughout the process, using a medium-thick wool yarn and a 3.5mm hook. Let’s begin.
Quick Overview Of Pattern
- Begin with a foundation chain.
- Work in the round to form a center ring.
- Build up increasing rounds of double crochet.
- Introduce mesh and shell (mussels) patterning with chains and double crochet.
- Shape and grow the shawl with spaced mesh, fans, and filling stitches.
- Continue in geometric pattern, expanding on both sides.
Notes
- This pattern uses US crochet terms.
- Adjust yarn weight and hook size for different effects/sizes.
- The design can be made with solid or variegated yarn.
- For optimal drape, do not work too tightly.
- Shawl grows by repeating geometric rows; stay mindful of increases at edges.
- Each “mussel” comprises grouped double crochets and mesh chains.
- Recommended finished shawl length: ~80–90 cm, width: ~160–220 cm.
Skill Level
Advanced Beginner to Intermediate
You will need to:
- Work in the round and in rows.
- Form chain spaces, shell/grouped stitches, and mesh patterns.
- Alternate between rows of double crochet, chains, and single crochet (“filling”) stitches.
- Observe and maintain symmetry.
Materials
- Medium-thick wool or acrylic yarn; amount will vary (approx. 250–350g for a medium shawl).
- 3.5 mm crochet hook.
- Scissors.
- Tapestry or yarn needle (for weaving in ends).
- Stitch markers (as needed).
Measurements / Sizing (Optional Schematic)
- Shawl Height: Recommended 80–90 cm (can be lengthened).
- Width: Starts at ~160cm, can be increased up to 2.2 meters or more as desired.
- Adjust width and height to taste by continuing pattern repeats.
Gauge
Gauge is not crucial for this project.
- Sample: 10 foundation chains (unstretched) ≈ 6-7 cm.
- 1 mesh repeat (shell + mesh) ≈ 6-8 cm wide.
- Adjust hook size for a lacier or denser shawl as you prefer.
Stitch Abbreviations
| Abbreviation | Definition |
|---|---|
| ch | Chain |
| sc | Single crochet |
| dc | Double crochet |
| sl st | Slip stitch |
| st(s) | Stitch(es) |
Special Stitches
- Shell (Mussel): Group of double crochets worked together in mesh space.
- Mesh Section: Chains/single crochets to create openness between shells.
- Filling Stitch: Single crochet, worked to anchor pattern motifs.
The Crochet Pattern
Step 1: Center Ring & Foundation
- Make a slipknot: Leave a small tail, wrap into a loop, pull tight.
- Ch 10.
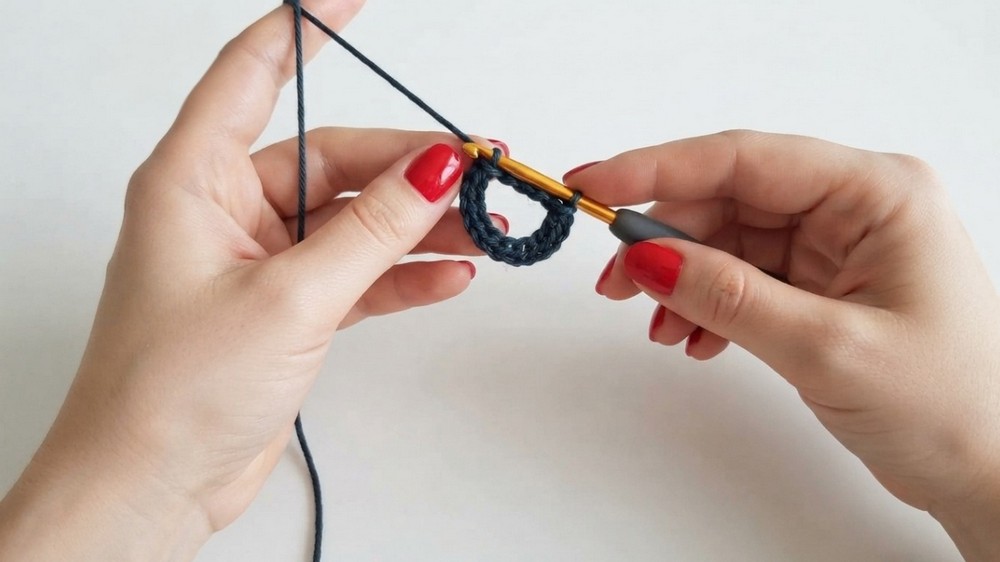
- Form a ring by inserting your hook into the first chain and joining with a sl st.
Step 2: Round 1 — First Circle
- Work inside the ring:
- Ch 2 (as height, not counted in stitch total).
- Work 20 dc into the ring.
- Join with sl st to the top of the first real dc (not starting chains).
Step 3: Round 2 — Expanding the Circle
- Ch 2 (height only).
- Work 1 dc in each of the 20 sts from previous round.
- Join with sl st. (You have 20 dc.)
Step 4: Round 3 — Adding Mesh
- Ch 2 (height), turn.
- [Dc in next st, ch 1], repeat around (20 dc, 20 ch-1 spaces).
- Join with sl st. (Do not add a chain after last dc before join.)
Step 5: Round 4 — Creating the Fans/Shells
- Ch 2. Work dc in first dc of round.
- Ch 7 (mesh arch), skip 1 ch, dc in next dc.
- Next: For all remaining dc, dc in each dc, ch 7 between shells—until end of round.
- Complete with dc in last dc and join with sl st.
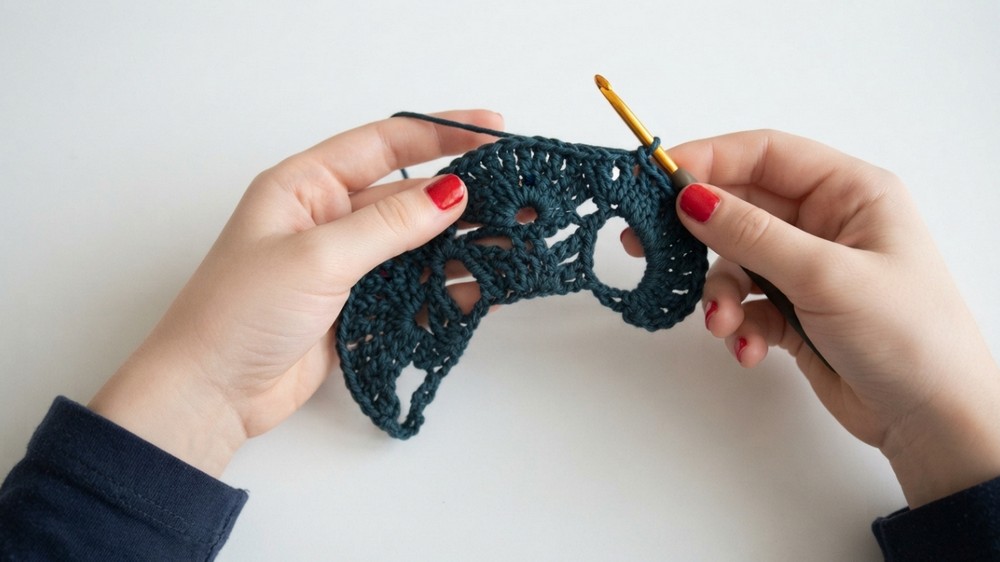
Step 6: Establishing Side Sections and Main Pattern
- Ch 2, dc in first dc, work 9 dc into ch-7 space (across the mesh you just made: forms a shell).
- Skip the filling stitch, no ch, move directly to the next ch-7 space, work 9 dc.
- Repeat for each ch-7 space.
- Ends with dc in last dc.
- After each shell, move to filler sc over next mesh (if present).
- At the end, ch 2, turn—preparing for next row.
Step 7: Repeating Mesh and Fans
For the following rows, alternate between:
- Rows of [shells (9 or 10 dc)] grouped in ch spaces, with chain spaces in between.
- Rows of single crochet or chain mesh (anchor the shells).
Example:
- Mesh Row: Ch 2, dc in next st, [ch 1, dc in next st] across.
- Shell Row: Ch 2, dc in first st, work shells (grouped dc) in large chain spaces, sk filler sc, move to next large space, repeat. End with dc in last st.
Step 8: Symmetric Side Increases
On both the right and left, whenever you start a row with a ch-7 or shell group, you establish the triangular increase for width. Always:
- Work shells at the outer edge to maintain the growing triangle/arrow shape.
- Mirror at both sides for symmetry.
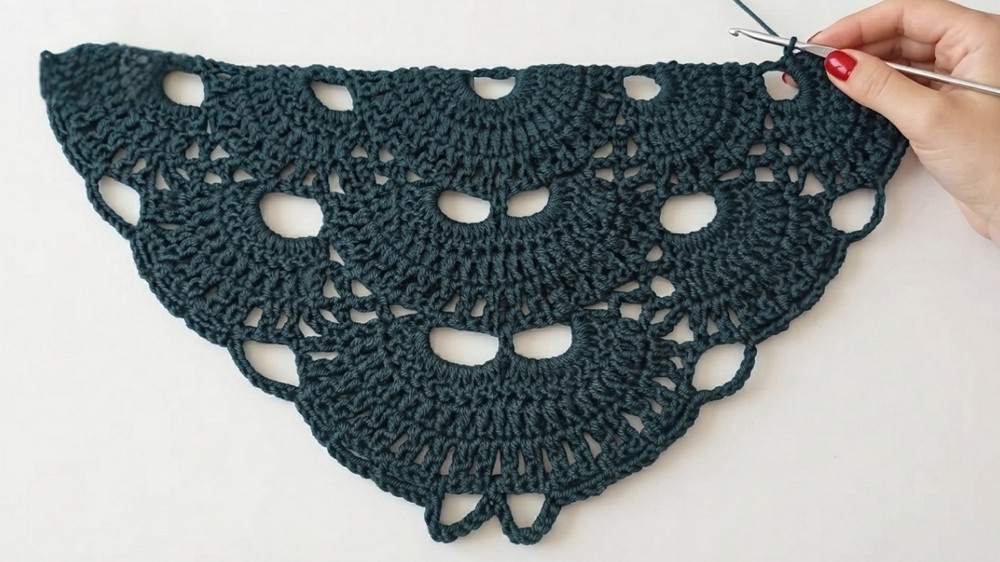
Step 9: Pattern Repeats and Shawl Growth
Continue repeating Steps 6–8, alternating mesh, shell rows, and filler rows. Each complete set will advance your shawl into a larger triangle, expanding width and height.
Keep in mind:
- Shells go into large chain spaces.
- Filler stitches (sc or mesh) go above shell groups.
- Always increase at each end to keep the shape expanding.
Assembly & Finished Size
- Weave in all ends with a yarn needle.
- Optional: block the finished shawl for optimal drape.
- Finished shawl recommended at 80–90 cm height, 160–220 cm width, but you may continue increasing for a larger size.
Conclusion and Ending Words
Congratulations! You’ve completed your Mussels Tea Shawl, a simple yet striking geometric piece combining shells and mesh. This versatile shawl can be made in any color or size, with plain or variegated yarn.