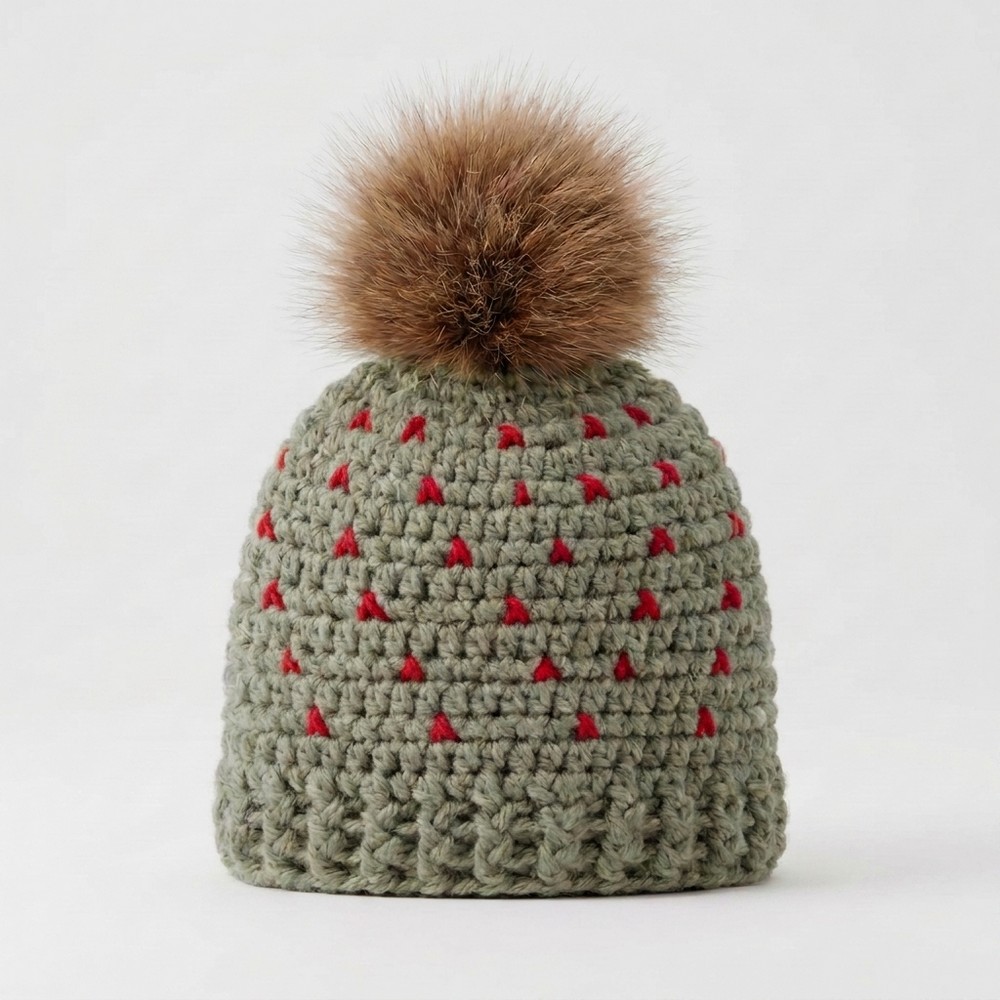
Free Crochet Cap Pattern – Easy and Trendy Ribbed Hat

Make this free crochet cap pattern your next project as you follow simple steps to stitch a cozy stylish cap that adds warmth and charm to your everyday look.
Winter is a great time to make cozy accessories that keep you warm and look nice. One fun project is a crochet cap with a simple, classic shape that fits snugly on your head. It has a soft, ribbed texture made with easy stitches, which makes it stretchy and comfortable to wear.
Free Crochet Cap Pattern – Modern Hat Design
This cap is easy to make for beginners and more experienced crocheters alike. You can change the size to fit kids, adults, or friends. Its simple shape works well for everyday use and also makes a thoughtful handmade gift for holidays or birthdays.
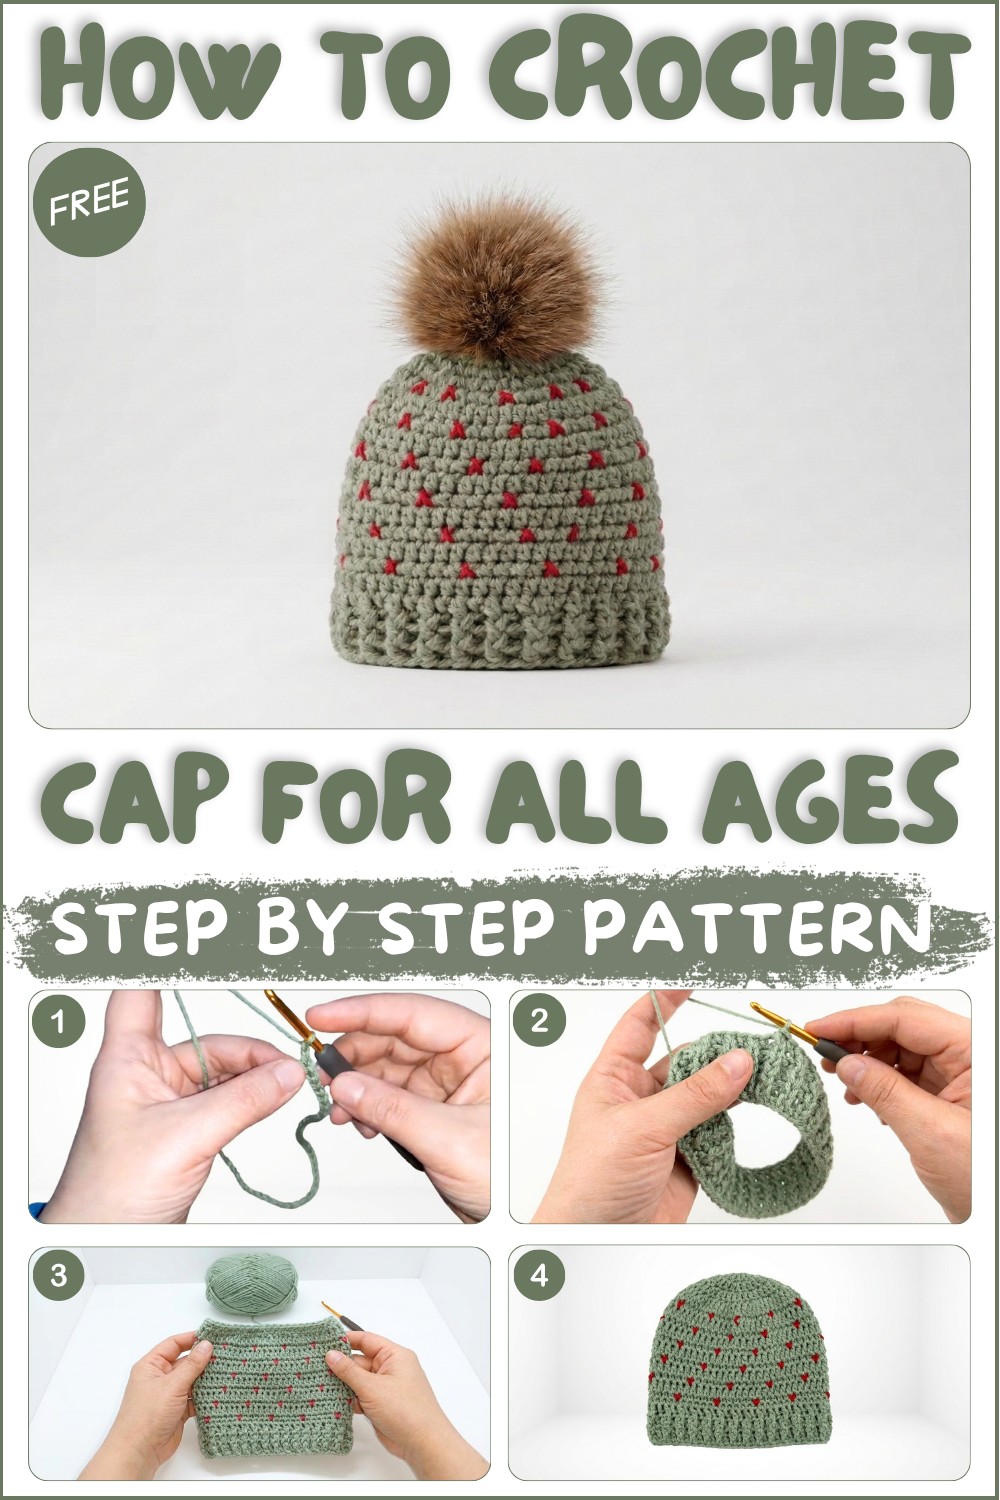
The cap is mostly worked in the round from the top down, which helps it keep a smooth, even shape. A good tip is to keep your stitches even so the cap fits just right, not too tight or too loose. I was inspired by old-fashioned winter hats that are warm and stylish at the same time.
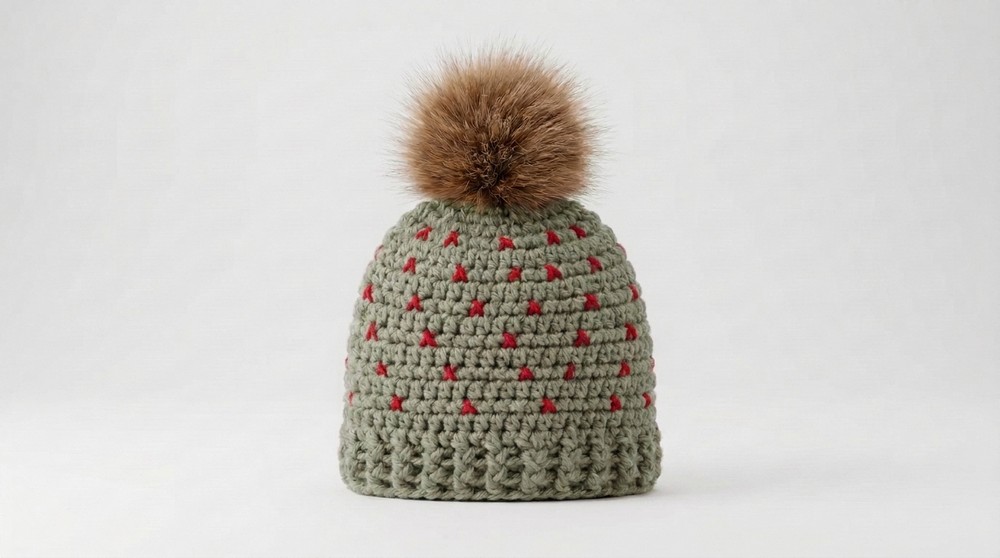
Using a medium-weight yarn that’s a little fuzzy or soft adds extra warmth and makes the ribbed texture stand out nicely. You can also have fun with colors, add a pom-pom, or use yarn with changing colors for a unique look. If you want a free crochet cap pattern that’s easy and enjoyable, this design is a great way to get creative and make something special for yourself or someone you care about.
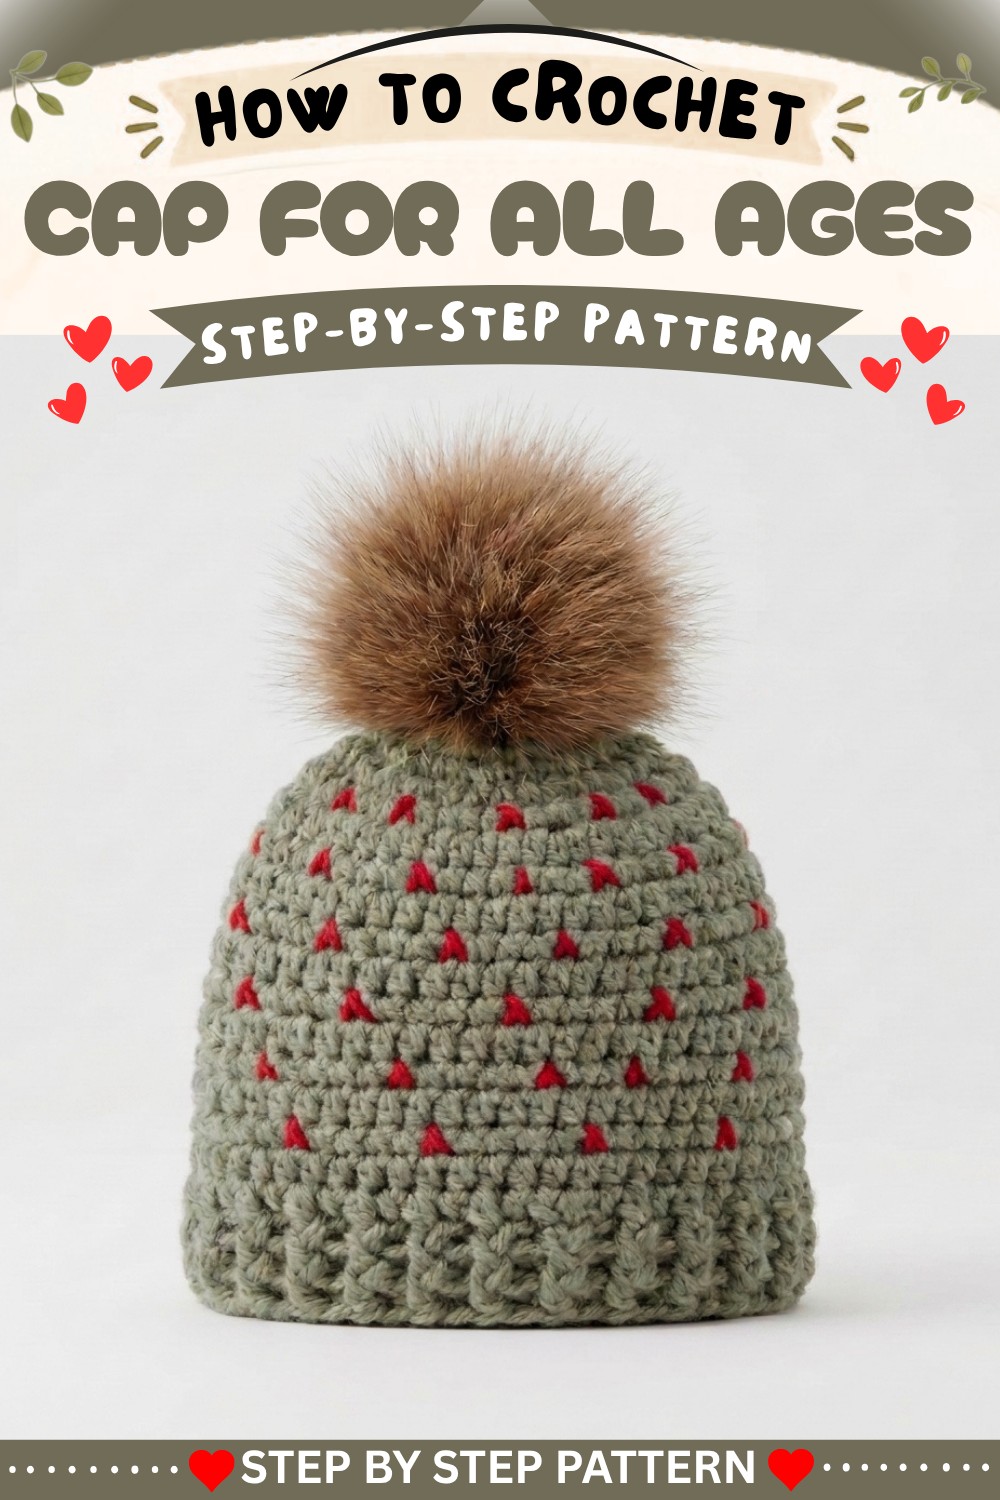
Snowfall Stitch “Cap” (Beanie) Crochet Pattern
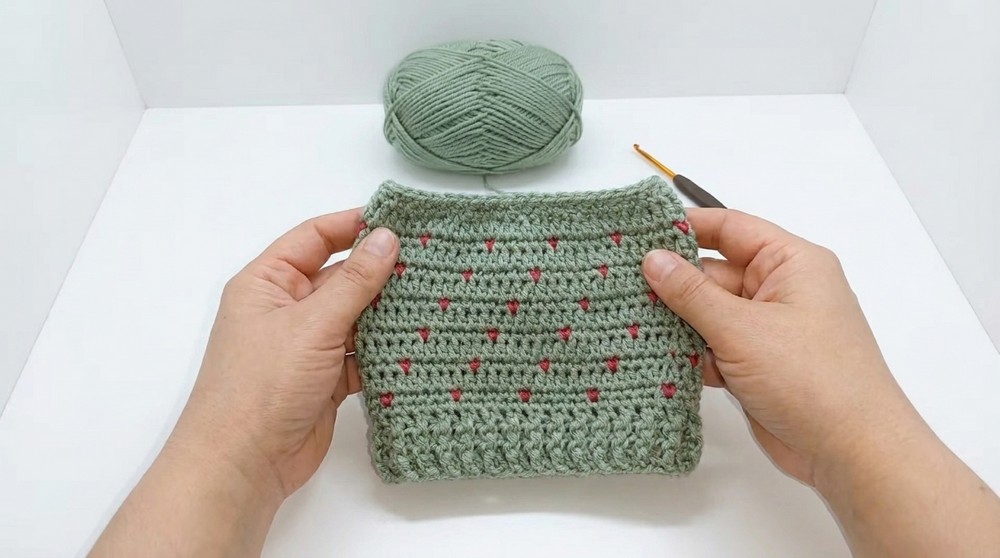
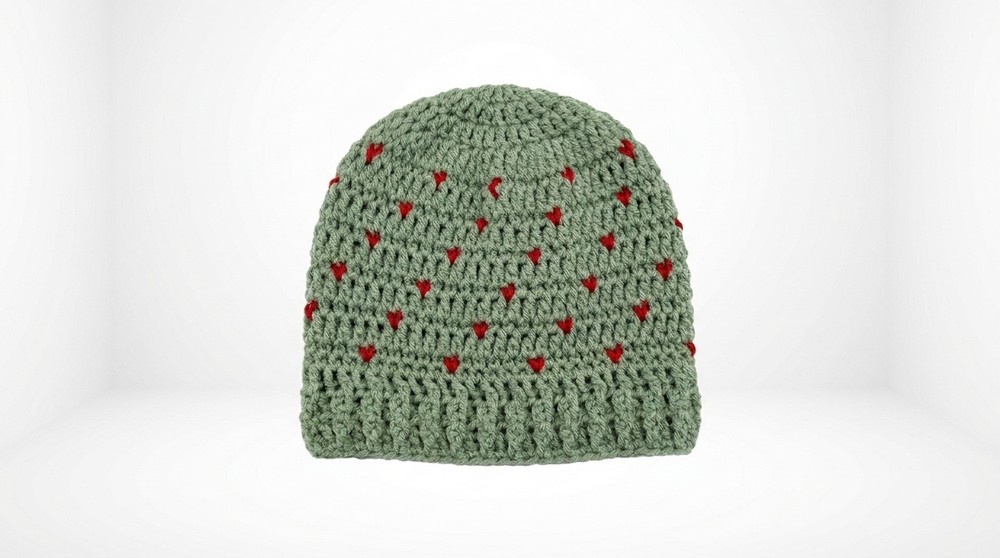
In this pattern, you’ll learn how to crochet a beautiful and adaptable “cap” (beanie) using the unique Snowfall Stitch. This hat can be worked for children or adults, boys or girls. The pattern uses two colors to create a striking design, one as the base, and the other as snow or heart-like drops. Sizing is easily customized based on head circumference. Follow along step by step for a cap that’s as cozy as it is eye-catching.
Quick Overview Of Pattern
- Start with a foundation chain based on head circumference minus 3–5 cm for stretch.
- Work in the round to form the band, using double crochet post (rib) stitches (front/back post) for a professional brim.
- Establish the Snowfall Stitch: alternate rounds of half double crochet, and single crochet rounds with offset “snowfall” color drops.
- Continue Snowfall pattern to desired height.
- Decrease and close the hat at the top, sewing the final round for a neat finish.
- Optional: Attach a pompom for extra flair.
Notes
- US crochet terminology is used throughout.
- Pattern is highly size-adjustable: use any yarn/hook combo and measure as you go.
- Always subtract 3–5 cm from the head circumference for the foundation chain due to crochet’s natural stretch.
- “Main color” is for the base; “contrast color” creates the snow/heart spots.
- Change the number of stitches/colors for your own custom look.
- Make sure your beginning chain is even (divisible by 2) to evenly alternate the rib stitches.
Skill Level
Advanced Beginner
You should be familiar with:
- Working in the round
- Changing colors
- Double crochet front & back post stitches
- Single crochet and half double crochet
- Invisible decreases/sewing tops of hats
Materials
- Medium-thick (worsted/aran weight) wool or acrylic yarn in two contrasting colors (e.g., pistachio and off-white)
- Main Color (base): approx. 80–120g
- Contrast Color (dots): small amount
- 3.5 mm crochet hook (or size to match gauge/yarn)
- Yarn/tapestry needle for sewing and finishing
- Scissors
Measurements / Sizing
- Custom circumference: Take head measurement (e.g., 33 cm for 3-month baby), deduct 3 cm for stretch (work cap to 30 cm).
- Cap height: For babies, around 13–14 cm; for adults 20–23 cm.
- Cap is worked bottom up, so measure height as you proceed.
Gauge
- Double crochet post rib: About 5 rows = 3 cm high, 10–12 DC = 5 cm wide
- Foundation chain: Work until it reaches your required length in centimeters (see above)
- Gauge is flexible: always measure your chain and test before closing to join.
Stitch Abbreviations
- ch – chain
- sc – single crochet
- hdc – half double crochet
- dc – double crochet
- sl st – slip stitch
- FPdc – front post double crochet
- BPdc – back post double crochet
- st(s) – stitch(es)
- MC – main color
- CC – contrast color
Special Stitches
- Front/Back Post Double Crochet (FPdc/BPdc):
- FPdc: Yarn over, insert hook around the post of the next stitch from front to back, yarn over and pull up a loop, finish as DC.
- BPdc: Yarn over, insert hook around the post of the next stitch from back to front, yarn over and pull up a loop, finish as DC.
- Snowfall (Drop) Stitch: Insert hook, draw up a loop in CC, finish single crochet using MC.
- Invisible Decrease (sc2tog in FLO): For a seamless crown, insert hook in front loop only of the next two stitches, yarn over, draw up a loop in each, yarn over, draw through all three loops.
The Crochet Pattern
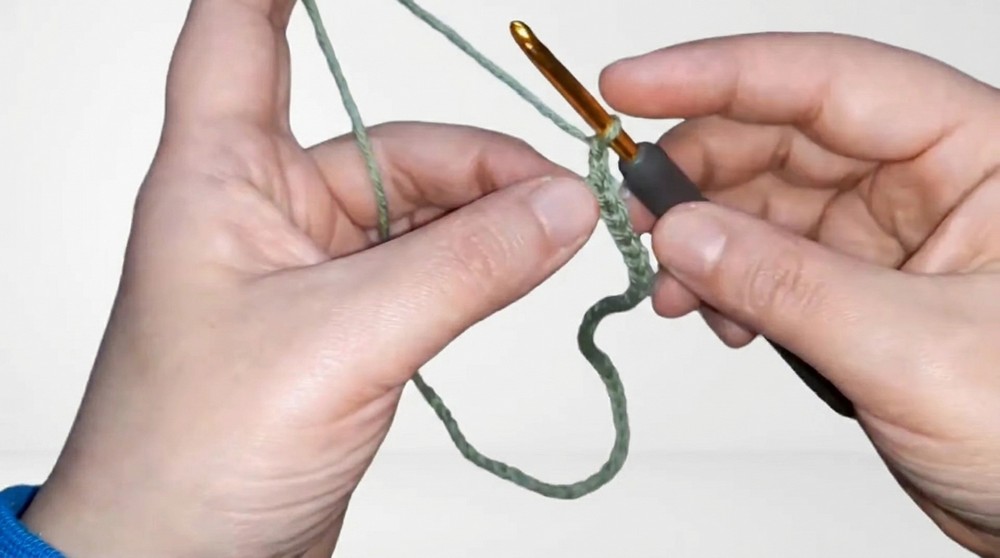
1. Foundation Chain & Joining
- Using MC, ch enough so that the chain equals desired head circumference minus 3–5 cm (for 3 month old: 30 cm ≈ 60–62 ch).
- Check that chain is not twisted, then sl st into first ch to form a ring.
2. Ribbed Band (Brim, Optional but recommended)
- Round 1: Ch 2 (does not count as a st). DC into each ch around. Join with sl st (make sure total stitches is even).
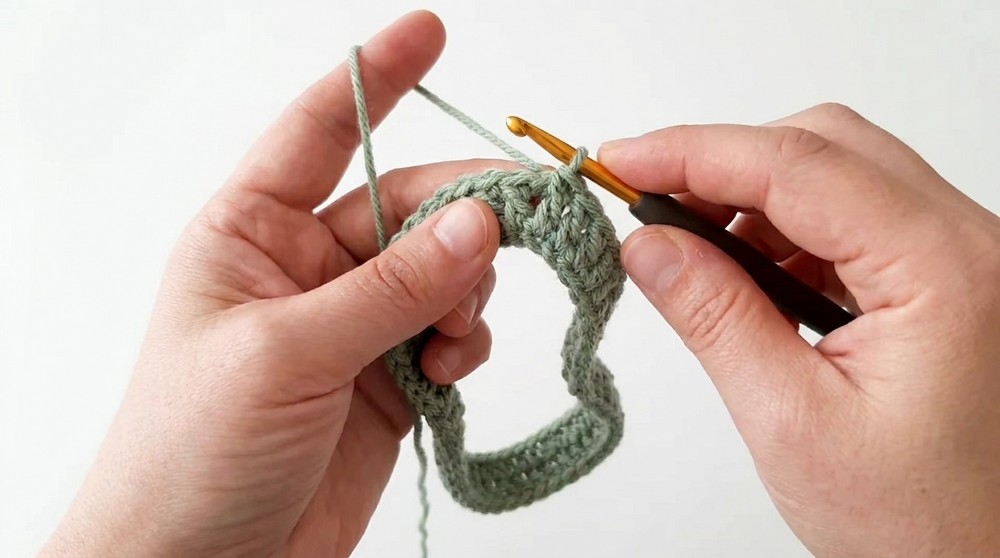
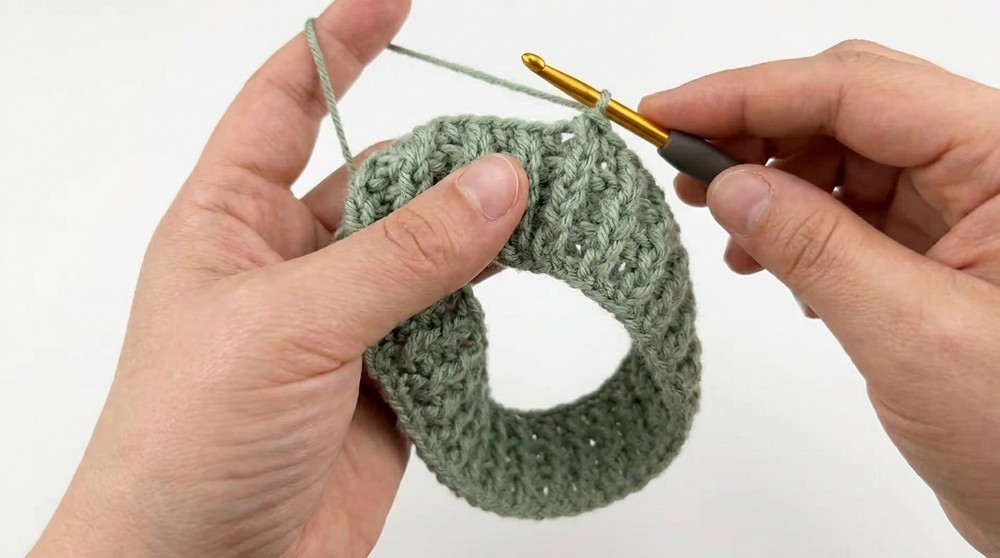
- Rounds 2–4: Ch 2. Alternate FPdc in next st, BPdc in next st around. Sl st to first st to join.
- Repeat for 3–6 rounds (no more, or brim will be too wide). Most hats = 3–5 rounds for a thin stretchy brim.
3. Body Set-Up Round
- Next round: Ch 1, sc in each st around to form a firm “base” for Snowfall Stitch. Sl st to first sc.
4. Begin Snowfall Pattern
a. First Snowfall Row (MC with CC drops every 6th st)
- Drop MC to back. Attach CC.
- Ch 1. Sc in MC in next 5 sts. In 6th st, draw up a loop using CC, leaving last 2 loops on hook (MC/CC). Draw MC through both loops to finish, leaving CC color drop on right side. Continue with MC.
- Repeat 5 MC sc, 1 CC drop all round.
- At end, sl st to first st, gently snug CC tail, drop it to the back (do not cut).
b. Next Round (MC Only, hdc all round):
- Ch 1 (or 2 if you prefer), and hdc in each st around using MC.
- Sl st to join.
c. Next Snowfall Row (offset, shift placement):
- Pick up CC.
- Ch 1. This time, sc in MC for 4 sts, place CC drop in 5th st, continue with MC. Repeat (5 MC, 1 CC) to end.
- At end, sl st to first st and drop CC again.
d. Alternate Rounds:
- Continue to alternate:
- One round with snowfall CC drops (shift position each time by working 1 stitch earlier in the repeat—i.e., next would be 3 MC sc, 1 CC, etc.).
- One round of hdc in MC only.
- Maintain the color floats to the inside and give gentle tugs to avoid puckering.
5. Repeating
- Continue alternating pattern rounds until hat reaches desired height minus approx. 4 cm (for closing/decreasing).
- For children: Usually 10–13 cm of body.
- For adults: Work until 17–19 cm from brim.
6. Crown Decrease and Closure (Work in MC)
- On a sc (filling stitch) round, count total stitches (e.g., 60). Decide how many decrease points you want (commonly 8–10 for a smooth top).
- (If 60 sts, decrease every 6th st to reduce 10 at a time):
- Ch 1, (sc in next 4 sts, sc2tog over next 2 sts)—repeat around. Sl st to join.
- Next round, work (sc in next 3, sc2tog) around.
- Each subsequent round, sc fewer before each decrease (3, then 2, then 1).
- When only 8–10 sts remain, cut yarn leaving long tail.
- Thread through remaining sts with a tapestry needle, pull tight to close.
7. Finishing
- Weave in all ends securely.
- If you wish, attach a yarn or faux fur pompom to the top.
- Block gently if desired to shape.
Assembly & Finished Size
- Cap will measure approx. 30 cm circumference x 13–15 cm tall for a 3 month size, but is highly stretchy.
- Ribbed edge will fit snugly, while the snowy drops provide decoration and texture.
Conclusion and Ending Words
Congratulations! You’ve completed a beautiful Snowfall Stitch Ice Cap. The unique look and cozy stretch make this hat suitable for all ages and easily adaptable for bigger or smaller sizes. The textural drops add both style and warmth. Remember, you can adjust color placement, brim width, and overall sizing as you wish.