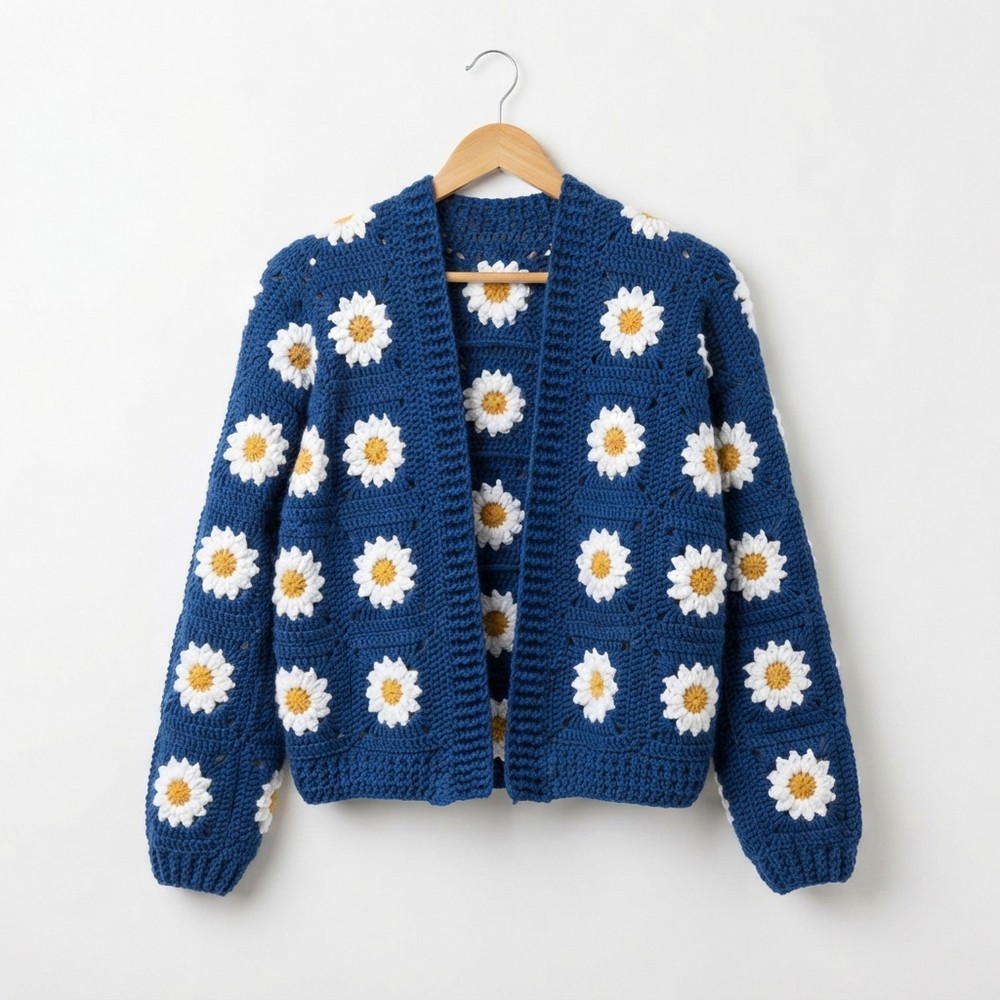
Free Crochet Granny Square Cardigan Easy Pattern & Tutorial

Fall in love with crochet all over again using this free Granny Square Cardigan Pattern that’s an easy to follow, your next favorite garment awaits.
Wearing something handmade has a charm that’s hard to beat, especially when it feels like it was designed just for you. One popular design that has captured hearts is the timeless granny square cardigan. Made from small, colorful squares, it beautifully blends warmth and style. Perfect for cozy days or adding a personal touch to your outfits, this cardigan is more than just clothing, it’s a reflection of creativity and care.
Free Crochet Granny Square Cardigan Pattern You’ll Love
CBH Academy’s tutorial has made this cardigan accessible to everyone, even those who are new to crochet. One of its standout designs incorporates daisy granny squares, bringing life and vibrancy to the cardigan. The daisies add a cheerful, playful touch while the stitching techniques hold the cardigan together in a durable and seamless way.
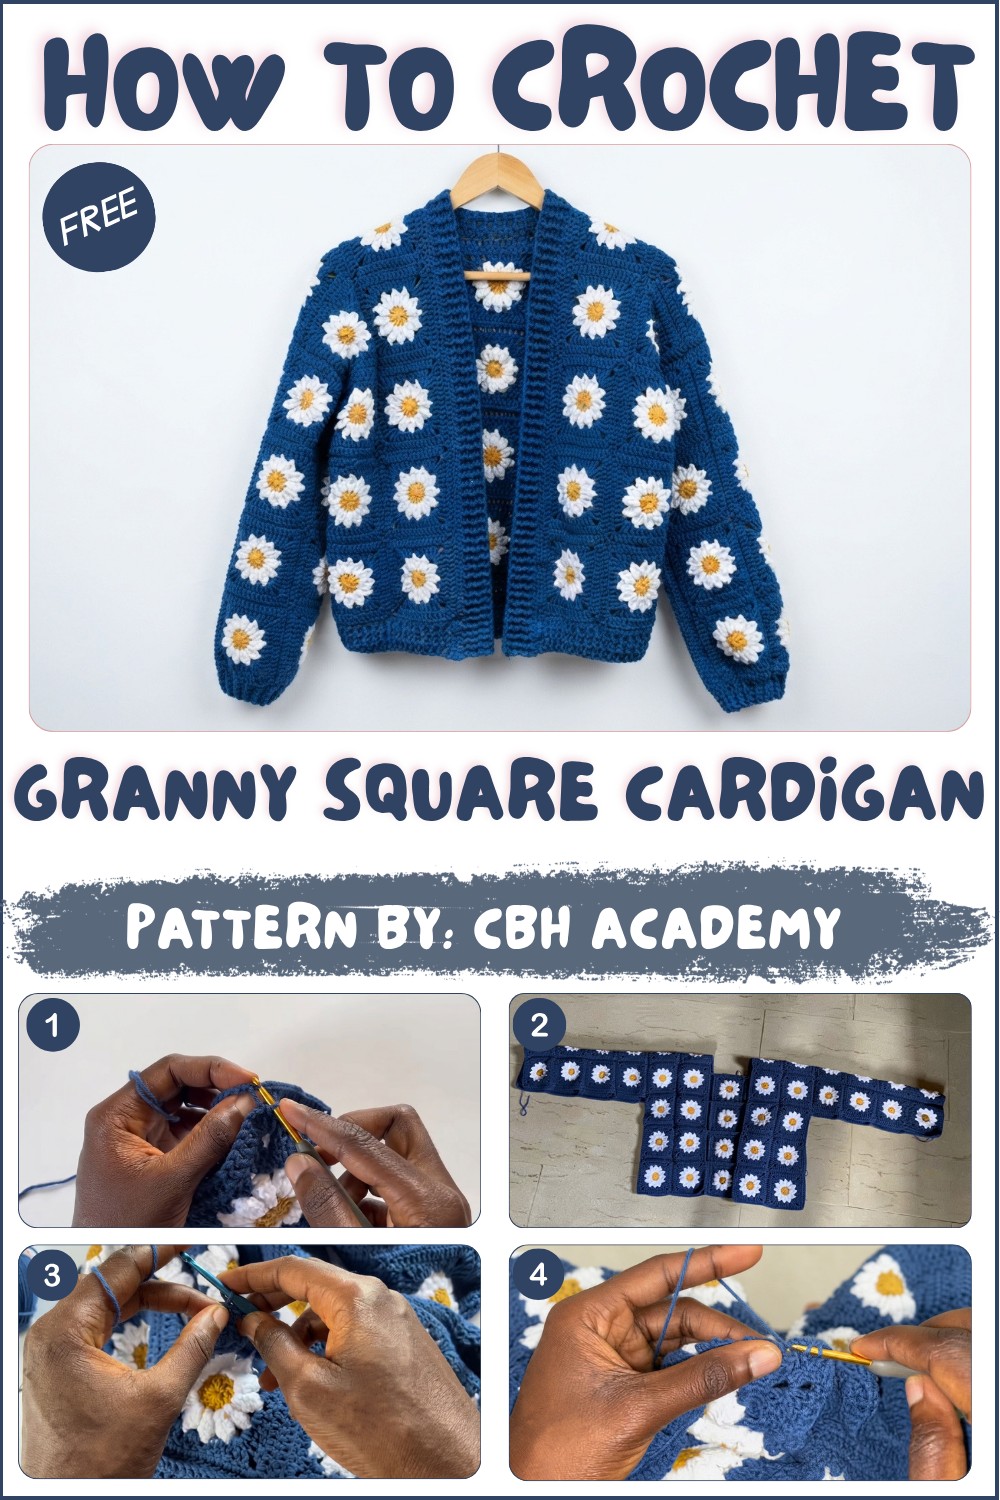
The pattern breaks everything down step by step, ensuring the process is easy to understand. Instructions cover everything from creating individual squares, connecting them, shaping the sleeves, and even completing finishing touches like ribbing for a polished look.
What makes this cardigan special is how versatile it is. You can make it long or short, use bold or muted colors, and even experiment with custom square designs like sunbursts or floral patterns. It’s stylish yet practical. Whether you wear it over a simple top or layer it for colder days, it transforms your look effortlessly.
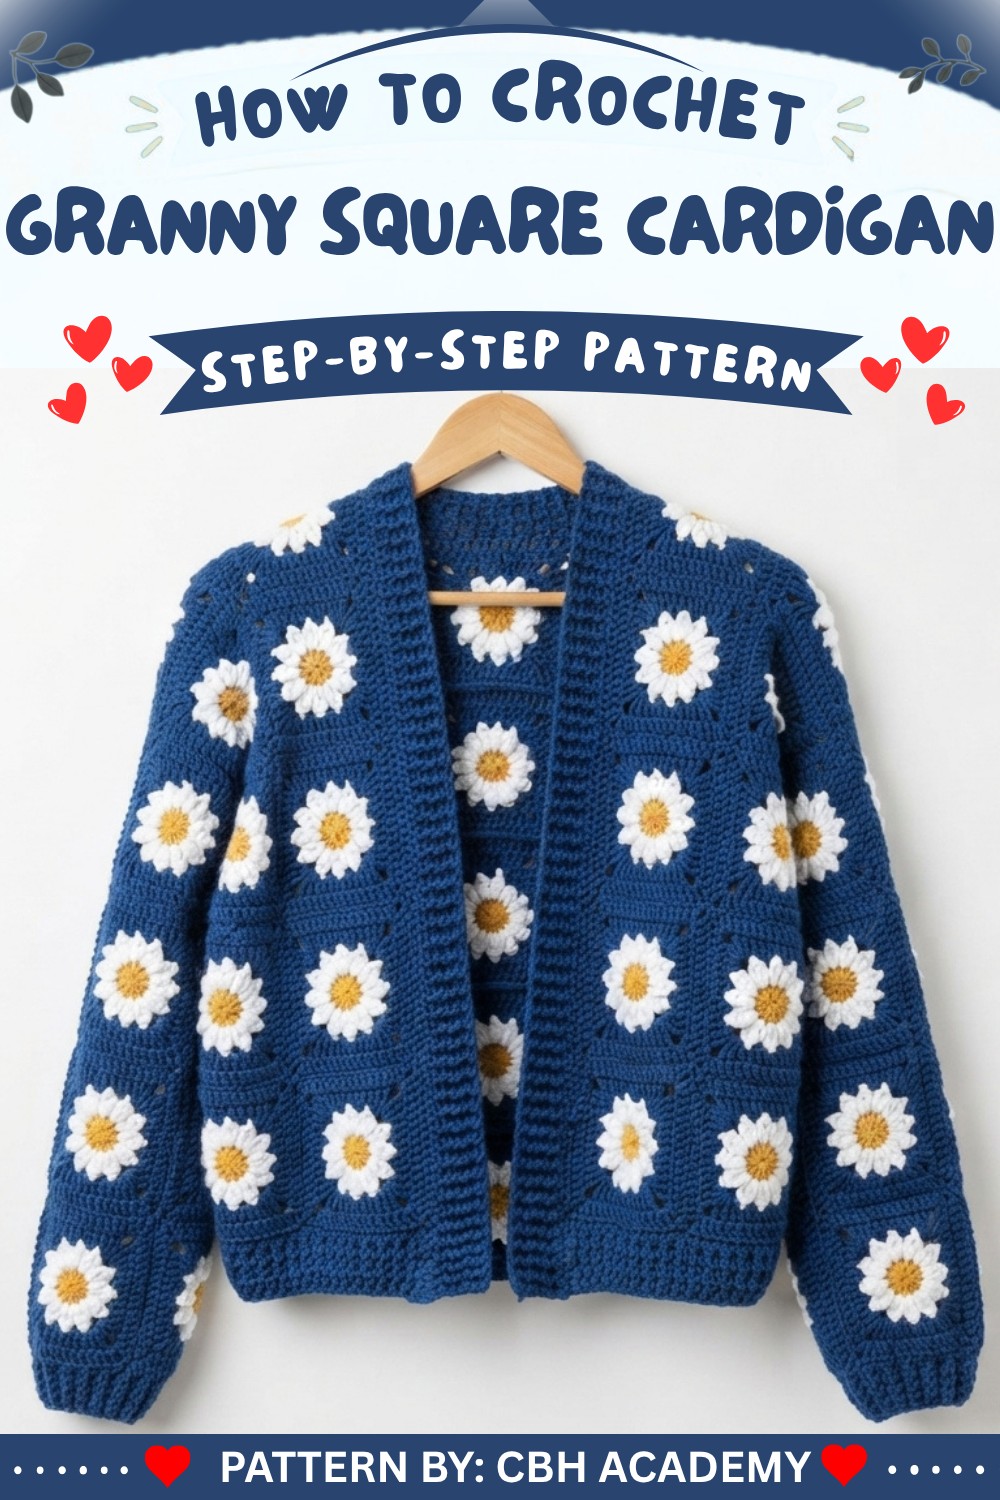
Granny Square Crochet Cardigan Pattern
This crochet cardigan design serves as a versatile and stylish layering piece. With a focus on granny square assembly, this pattern allows you to create a custom cardigan by piecing together pre-made squares and adding ribbing details to finish the edges. The project combines simple techniques with a creative layout, giving you flexibility in size and color customization.
Skill Level
Intermediate
This pattern is ideal for crocheters with experience creating granny squares and knowledgeable about joining techniques, ribbing, and basic stitch sequences. If you are a confident beginner, this pattern will offer an excellent opportunity to level up your skills.
Materials
- Yarn: Recommended yarn is Alize Cotton Gold. You will need:
- Primary color: 4 balls.
- White color: 2 balls.
- Accent color (mustard): 1 ball.
- Hook Sizes:
- 3.50mm hook: Used to make the granny squares.
- 3.00mm hook: Used for joining and ribbing the panels for a neater finish.
- Tools:
- Stitch markers to keep track of sections and stitches.
- Darning needle for sewing ends and securing seams.
- Scissors for trimming loose ends.
- Measuring tape to ensure size accuracy.
Special Stitches
- Front Post Double Crochet (FPDC): Yarn over, insert hook from front to back around the post of the stitch below, yarn over and pull through, then complete the double crochet.
- Back Post Double Crochet (BPDC): Yarn over, insert hook from back to front around the post of the stitch below, yarn over and pull through, then complete the double crochet.
- 2 Double Crochet Together (2dc tog): Yarn over, pull up a loop in the next stitch (leave remaining loops on the hook), yarn over, pull up another loop in the following stitch, yarn over and pull through all loops on the hook.
Stitch Abbreviations
- ch: Chain
- dc: Double Crochet
- 2dc tog: Two Double Crochet Together
- FPDC: Front Post Double Crochet
- BPDC: Back Post Double Crochet
- sc: Single Crochet
- sl st: Slip Stitch
- sp: Space
- st(s): Stitch(es)
Useful Tips
- Size Adjustments: Measure your bust or chest and divide the total by 2 to plan the dimensions for the granny square panels. Each square should have a finished size of approximately 4 inches.
- Color Coordination: Experiment with color layouts for a unique and personalized cardigan. Ensure adjacent panels complement each other.
- Joining Alignment: To prevent uneven stitches, consistently join squares with their wrong sides touching. Use stitch markers to align panels.
- Blocking: Block granny squares to flatten them for better alignment during assembly.
Pattern Instructions
Assembly of Granny Squares
- Planning & Calculations:
Measure your bust or chest and divide by 2 to determine the width of one panel. Based on a granny square size of 4 inches, calculate the number of squares needed for the back panel, front panels, and sleeves. - Square Joining:
- Set up your layout for the squares using the primary color for joining.
- With a 3.00mm hook, join squares using the single crochet (sc) method by working sc into the edges of adjacent squares.
- Place squares wrong-side-to-wrong-side while joining.
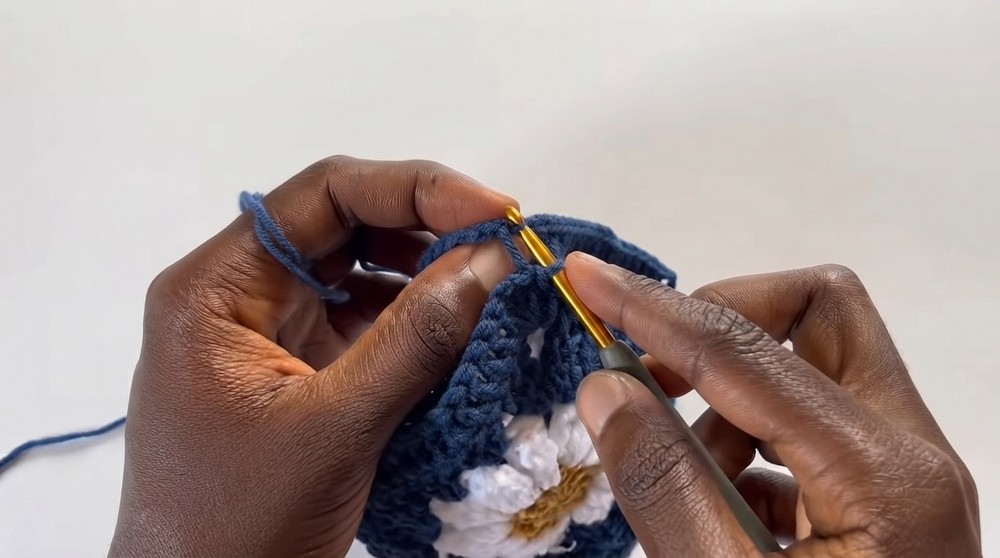
Panel Layout and Alignment
- Arrange the joined granny squares into the following layout:
- Back Panel: Square grid large enough to cover the back width and length.
- Two Front Panels: Each should be half the width of the back panel, leaving space for the neckline at the top.
- Sleeves: Join enough squares into two narrow panels.
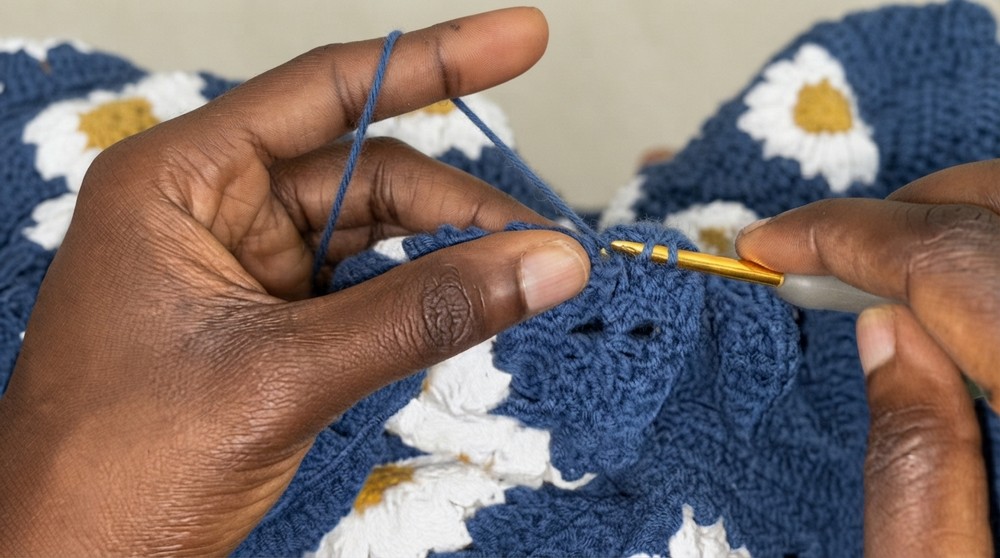
Side Seaming
- Fold the panels and align them at the shoulder seam.
- Join the sides from the bottom edge of the sleeves down to the body using the single crochet (sc) method.
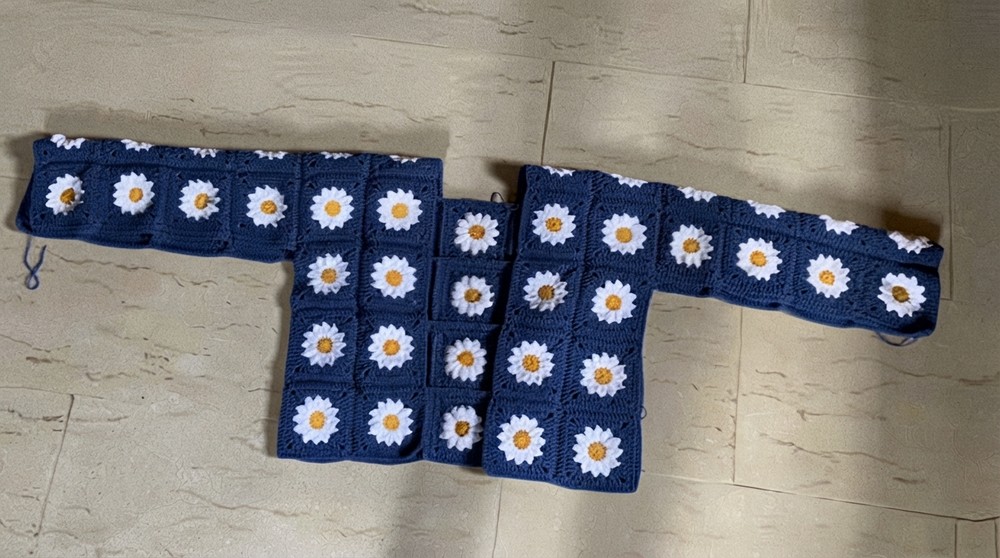
Sleeve Cuff Ribbing
- Round 1: Decrease Round: Use 2dc tog (two double crochet together) to reduce the circumference.
- Round 2: Work dc in every stitch around.
- Rounds 3–5: Alternate FPDC and BPDC for a textured ribbing effect that provides elasticity.
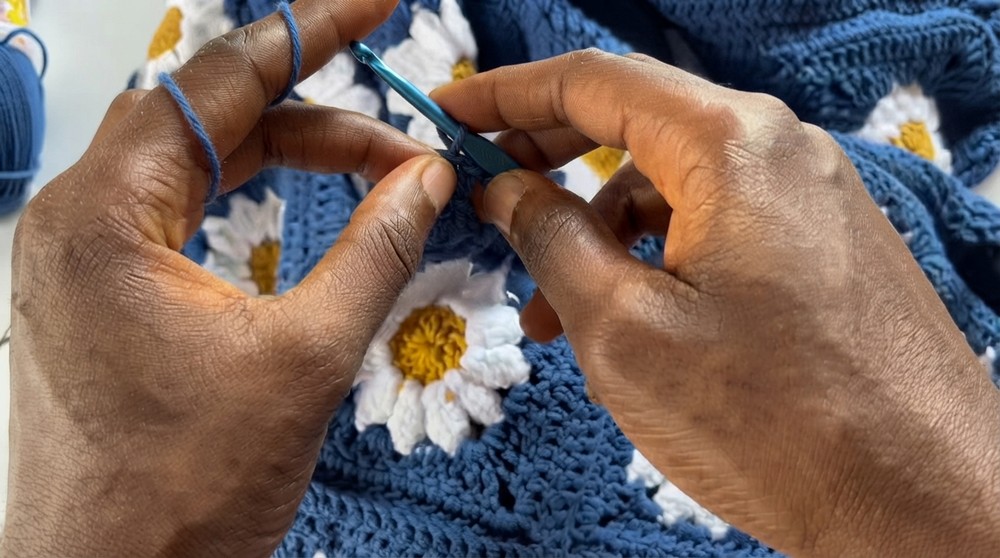
Bottom Edge Ribbing
- Row 1: Work dc in every stitch along the bottom edge.
- Row 2: Repeat dc in every stitch.
- Rows 3–6: Alternate FPDC and BPDC for ribbing detail.
Neckline Ribbing
- Pick up stitches around the neckline opening.
- On the shoulder corners, incorporate one 4dc tog (four double crochets together) decrease for a smoother curve.
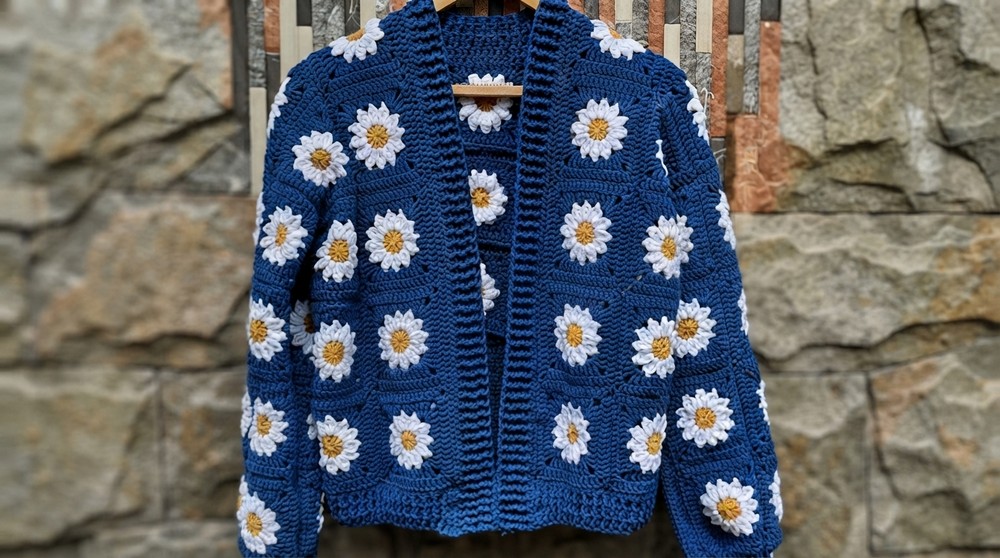 Follow with a plain dc row, then add alternating FPDC/BPDC ribbing for 2–3 rounds.
Assembly and Sizing
- Panel Placement: Carefully align your assembled panels before seaming. Refer to your layout to avoid mismatches.
- Final Assembly: Join all seams securely using an sc method or use a darning needle for a hidden seam.
- Customization: Adjust ribbing rows to suit your cardigan length or desired fit. Add rows as necessary for larger sizes.
Conclusion
By assembling pre-made granny squares into custom panels, you can create a unique and cozy crochet cardigan that fits your body and personal style. The use of ribbing for the cuffs, bottom edge, and neckline adds professional-looking details while providing structure and comfort. Have fun experimenting with layouts, colors, and squares to make your cardigan truly one-of-a-kind. Keep practicing and enjoy the creative process!