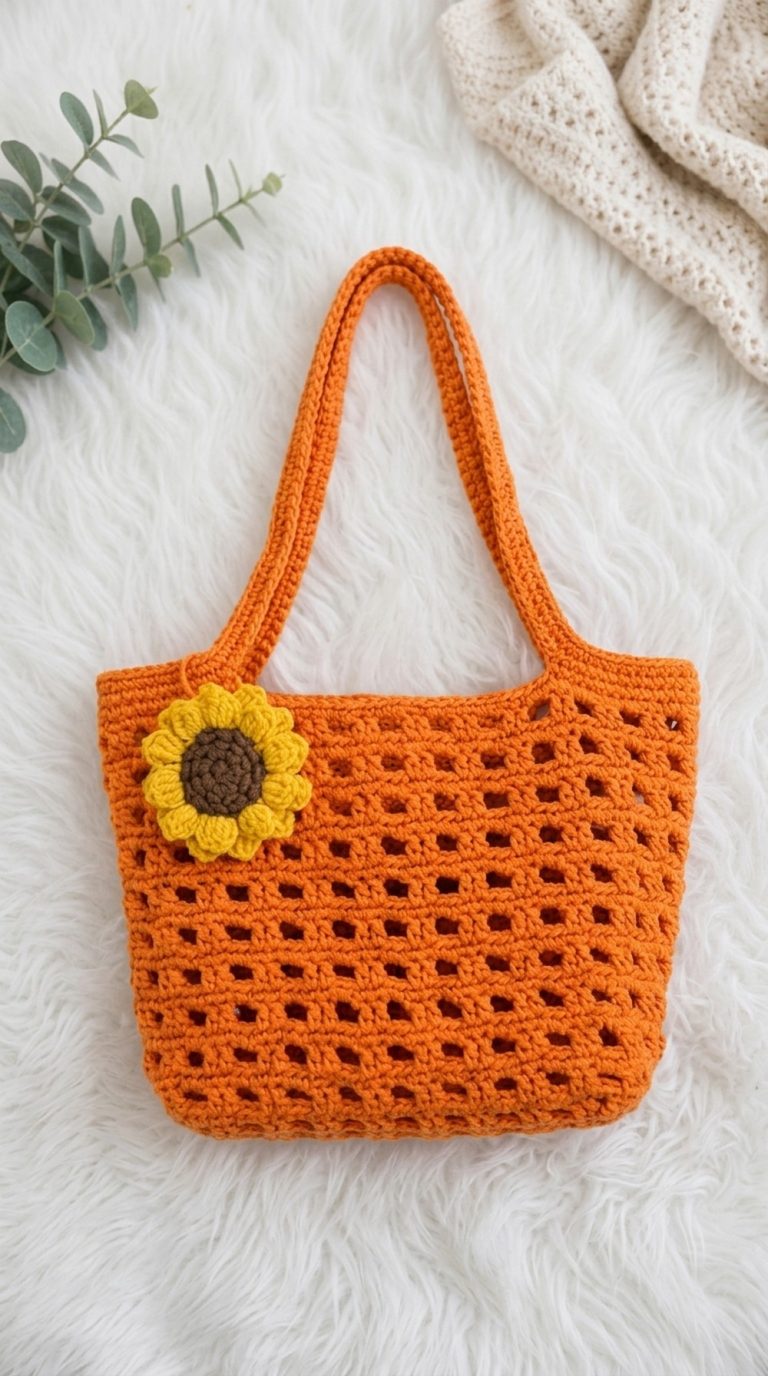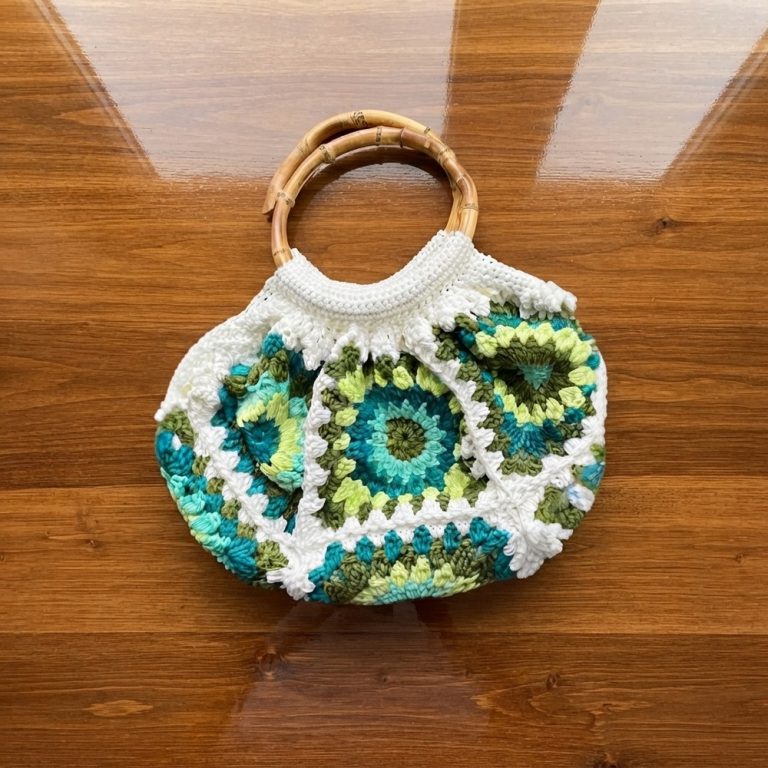
Free Crochet Drawstring Pouch Pattern with Complete Instructions

Stitch a Cute and stylish accessory with free crochet drawstring pouch pattern, offering easy-to-follow steps for organizing your essentials in style.
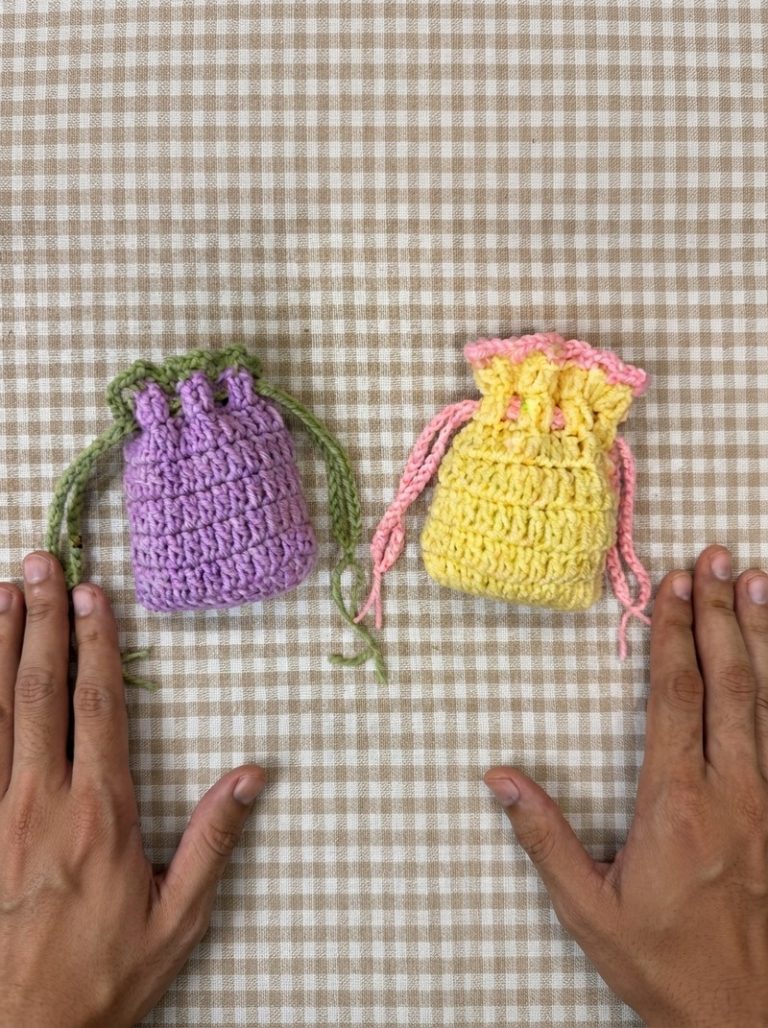
One day, I needed a small bag to keep my keys and little things safe. I wanted something cute and easy to carry. That’s when I found the free crochet drawstring pouch pattern. It’s a simple and fun project where you crochet a soft little pouch with a string to close it. I made one, and it quickly became my favorite small bag.
Free Crochet Drawstring Bag Pattern
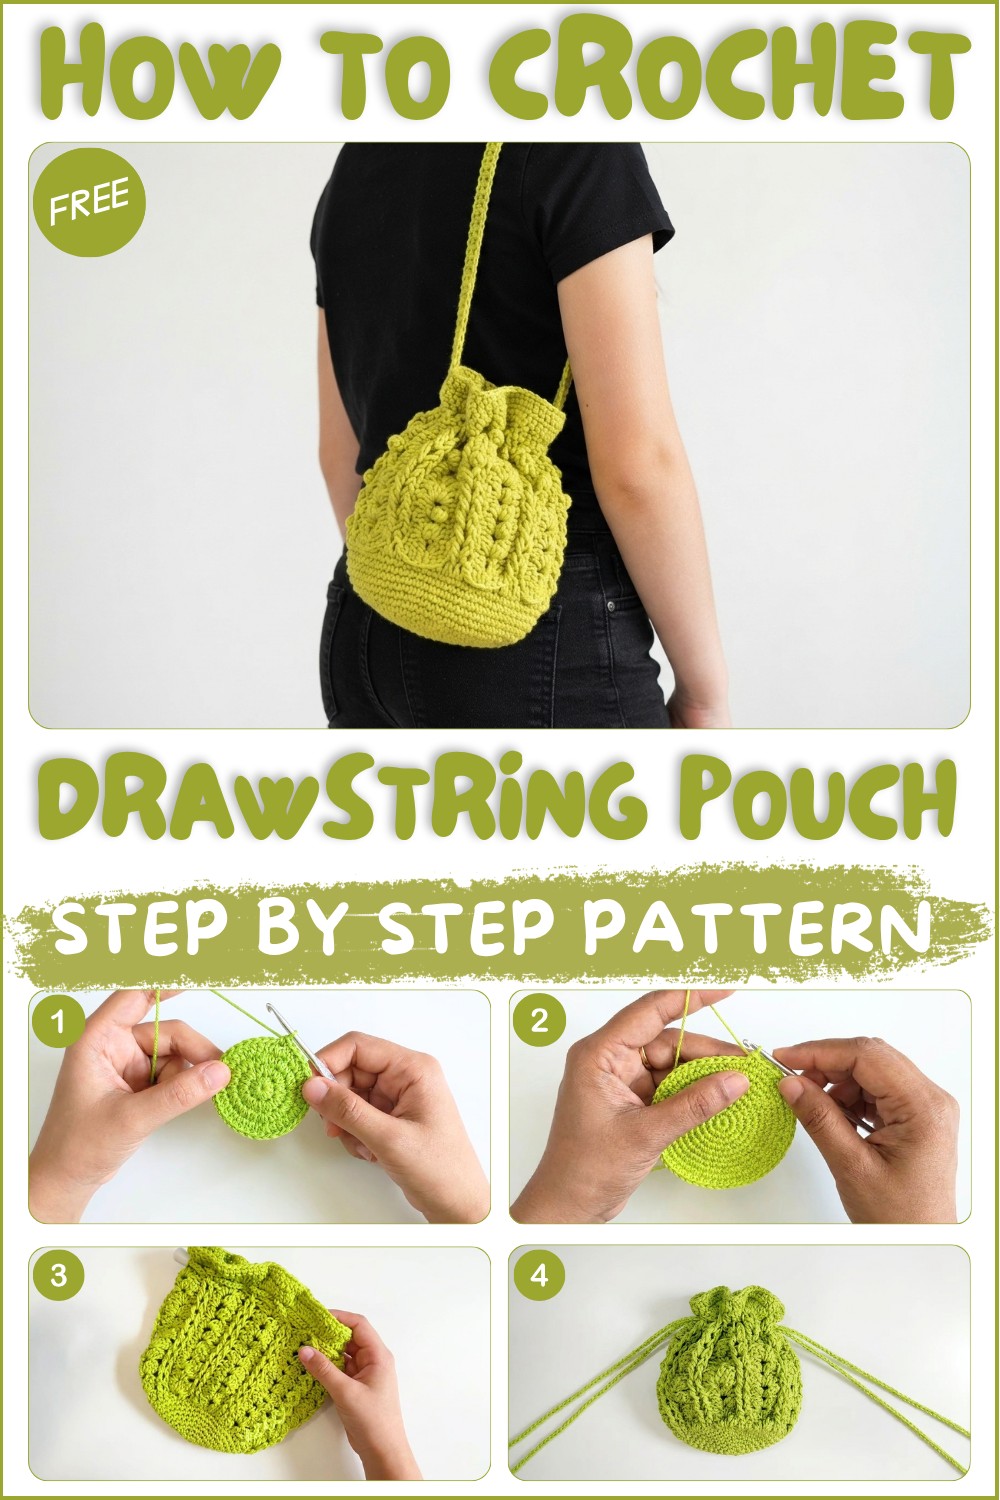
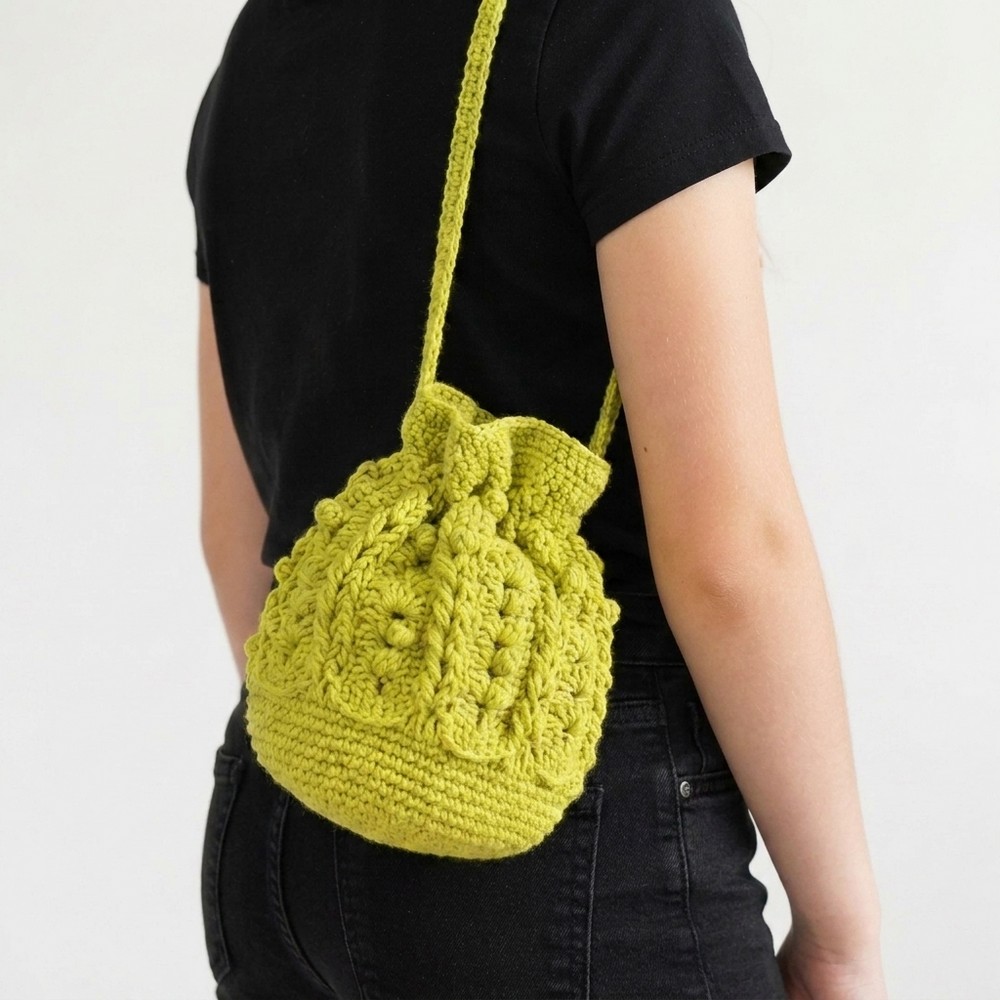
This crochet drawstring pouch looks nice and feels soft. It is round or a little oval in shape and has a string at the top that you pull to close it tightly. You can make it in any color you like and even add small decorations like beads or tassels on the string. The pouch is light and just the right size to keep small things like keys, coins, makeup, or jewelry safe. It’s a cute and useful item for everyday use.
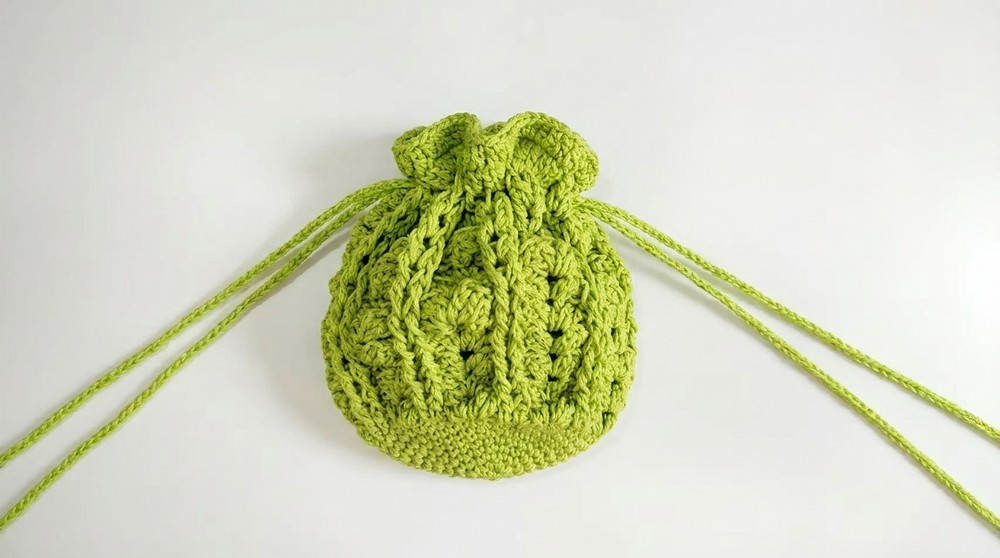
This project is great for all skill level because it uses easy stitches like single crochet or half double crochet. You work in rounds to make the pouch shape, which helps you practice your crochet skills. The drawstring part is simple to add and makes the pouch close nicely. Since the pouch is small, you can finish it quickly and feel proud of your new handmade item.
The free crochet drawstring pouch makes a nice gift or a handy little bag for yourself. It’s pretty, useful, and fun to make. If you want a quick project that helps you learn crochet and gives you a lovely pouch to use, this is a great choice.
Drawstring Crochet Coin Pouch Pattern
In this project, we will crochet a charming drawstring coin pouch using polycherry yarn and a Tulip 4/0 hook. Follow the step-by-step instructions below to create an elegant, functional pouch with decorative motifs and a secure rope closure.
Quick Overview Of Pattern
- Crocheted in the round, starting with a magic ring.
- Gradual increases for a flat circle base.
- Decorative motif rows for the pouch body.
- Drawstring closure with two ropes.
- Optional crisscross and flower decorations.
Notes
- Pattern uses US crochet terminology.
- Use a lighter to seal ends if working with synthetic yarn.
- Follow the crisscross decoration steps carefully for a neat effect.
- Motif rows utilize front post double crochet and shells.
- Colorwork and embellishments are optional for personalization.
Skill Level
Advanced Beginner / Intermediate
Comfortable with working in the round, increasing, basic motif stitches, and making decorative ropes.
Materials
- Yarn: Polycherry or similar yarn (small skein, any color)
- Hook: 4/0 Tulip crochet hook (approx. 2.5mm–3mm)
- Tapestry needle
- Scissors
- Lighter (for sealing ends)
- Optional: Flower embellishments
Measurements / Sizing
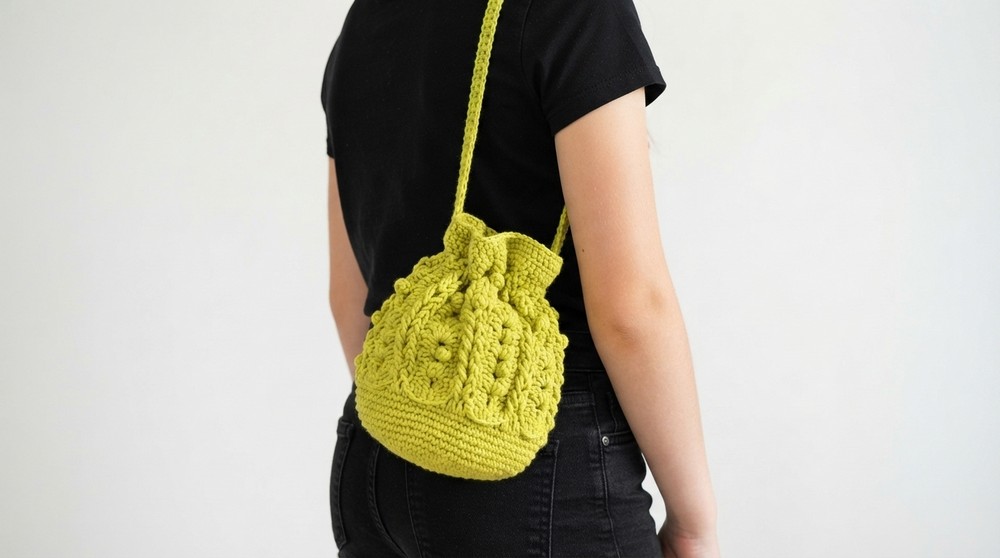
- Finished diameter: ~10cm–12cm
- Height: ~13cm–15cm (adjustable)
- Rope: approx. circumference of pouch (make two)
Gauge
- Not critical; ensure base lays flat and pouch body is dense enough for coins.
- Example: 6 rounds of increases ≈ 6cm diameter.
Stitch Abbreviations
- ch — chain
- sc — single crochet
- dc — double crochet
- sl st — slip stitch
- inc — increase (2 sc/dc in one stitch)
- FPdc — front post double crochet
Special Stitches
Front Post Double Crochet (FPdc):
Yarn over, insert hook from front to back around post of indicated stitch, yarn over and pull up, complete dc.
Shell:
3 dc, ch 3, 3 dc in same space.
The Crochet Pattern
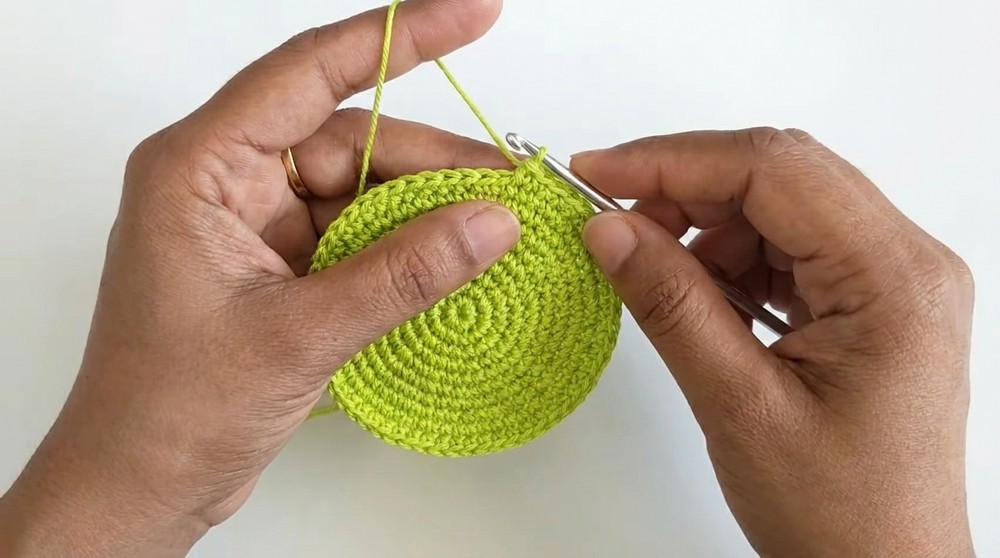
Base & Body (Rounds 1–10)
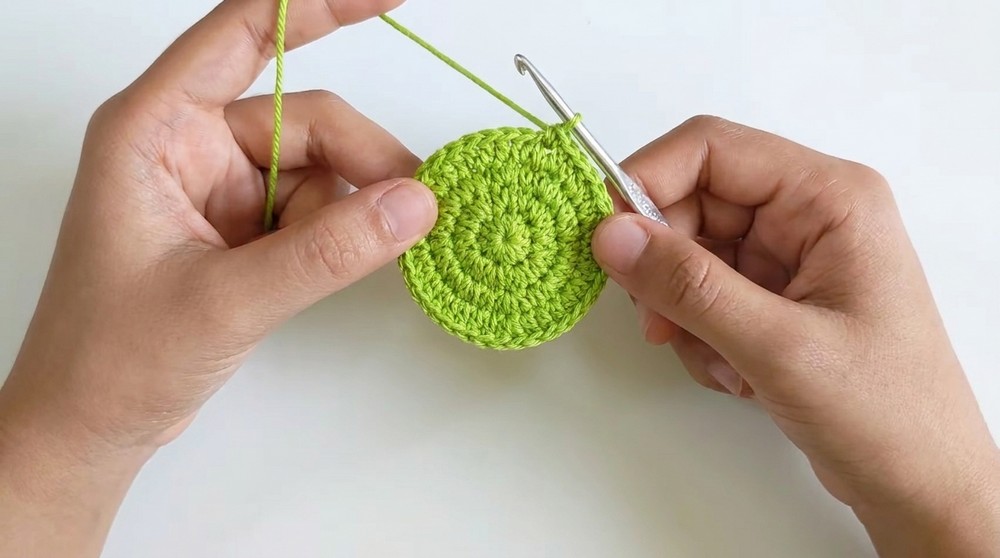
Round 1:
- Make a magic ring. Ch 1.
- Work 6 sc into ring.
- Tighten ring, join to first sc with sl st. (6 sc)
Round 2:
- Ch 1. 2 sc in each st (increase in every stitch).
- (6 inc = 12 sc)
- Join with sl st.
Round 3:
- Ch 1. (1 sc, inc) 6 times.
- (6 sc, 6 inc = 18 sc)
- Join with sl st.
Round 4:
- Ch 1. (1 sc, inc, 2 sc) 5 times.
- 2 stitches remain; work inc, 1 sc.
- At start, join with sl st. (24 sc)
Round 5:
- Ch 1. (3 sc, inc) 6 times.
- (18 sc, 6 inc = 30 sc)
- Join with sl st.
Round 6:
- Ch 1. 2 sc.
- (inc, 4 sc) 5 times.
- 3 stitches left; inc, 2 sc.
- Join with sl st. (36 sc)
Round 7:
- Ch 1. (5 sc, inc) 6 times.
- (30 sc, 6 inc = 42 sc)
- Join with sl st.
Round 8:
- Ch 1. 3 sc.
- (inc, 6 sc) 5 times.
- 4 sts left: inc, 3 sc.
- Join with sl st. (48 sc)
Round 9:
- Ch 1. (7 sc, inc) 6 times.
- (42 sc, 6 inc = 54 sc)
- Join with sl st.
Round 10:
- Ch 1. Work 1 sc in each st around.
- (54 sc)
- Join with sl st.
Motif Rows for Pouch Body (Rows 11–14)
Row 11 (Shell Setup):
- Ch 2.
- Dc in same space.
- Dc in next st (total 2 dc).
- Skip 1 st.
- (2 dc in next st [inc], ch 2, inc in next st, skip 1 st, 2 dc in next st, skip 1 st, inc in next st)
- Repeat, working in established pattern to end.
- Join to first dc with sl st.
Row 12 (Shell Motif):
- Ch 2.
- 2 FPdc (around previous front posts).
- Skip 2 sts, in center shell: 3 dc, ch 3, 3 dc in same space.
- Skip 2 sts, 2 FPdc.
- Continue pattern around.
- Join with sl st.
Row 13 (Repeats Motif):
- Ch 2.
- 2 FPdc.
- Skip 3 sts, in shell center: 3 dc, ch 3, 3 dc.
- Repeat around pouch.
- Join with sl st.
Rows 14–21 (Continue Shell Pattern):
- Repeat Row 13 for a total of 11 motif rows (adjust as desired for pouch height).
Drawstring Row (Row 12 from Transcript):
Row 22 (Eyelets):
- Ch 2.
- Dc between two FPdc, ch 4, sc in shell center, ch 4, dc between FPdc
- Continue around for drawstring holes.
- Join with sl st.
Final Shell Row (Row 13 from Transcript):
Row 23:
- Ch 2.
- In each cavity/space: 6 dc. Repeat for 18 cavities.
- Join with sl st.
Finishing Row:
Row 24:
- Ch 2. Work 1 dc in each stitch around.
- Join with sl st. Fasten off and seal ends with lighter.
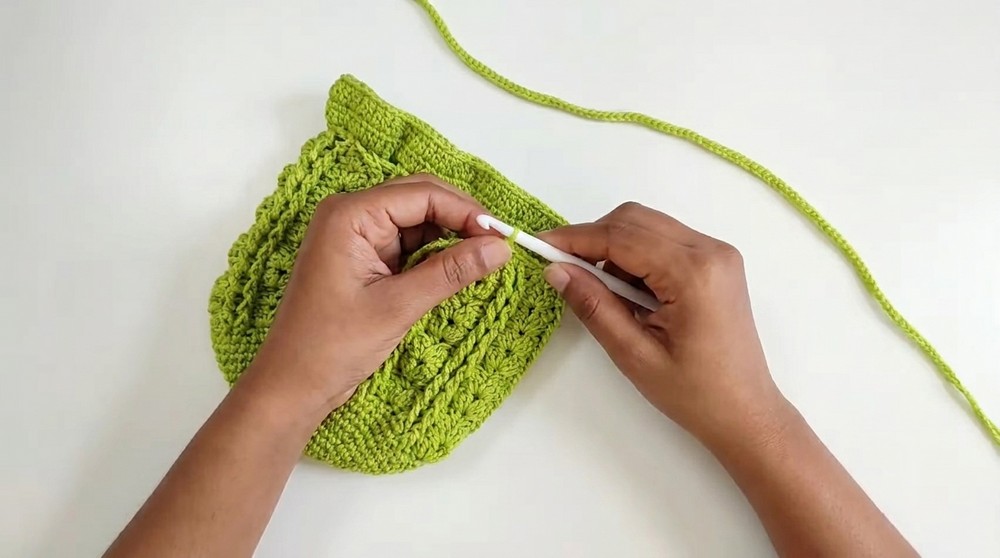
Drawstring Rope
- With yarn, make a sl knot and ch to approximately the pouch circumference.
- Use a lighter to seal ends.
- Repeat to create two ropes.
- Thread ropes through drawstring holes in opposite directions for a crisscross closure.
- Add stoppers or knots to ends.
Crisscross Decoration
- For every three motifs, make one crisscross as follows:
- Sl knot at motif base, ch 4, sl st to FPdc of first row.
- Ch 4, sl st to second row FPdc.
- Continue to third row FPdc, ch 4, repeat up to 11th row.
- After last row, ch 2, sl st to next space, ch 4, then go downward row by row, forming the crisscross chain.
- Finish and fasten off.
- Complete for two more sections, skipping two motifs between decorations.
Optional Flower Embellishments
- Sew flower decoration to pouch front as desired (see previous video if needed).
Assembly & Finished Size
- Securely weave in all yarn ends.
- Attach ropes and decorations as per instructions.
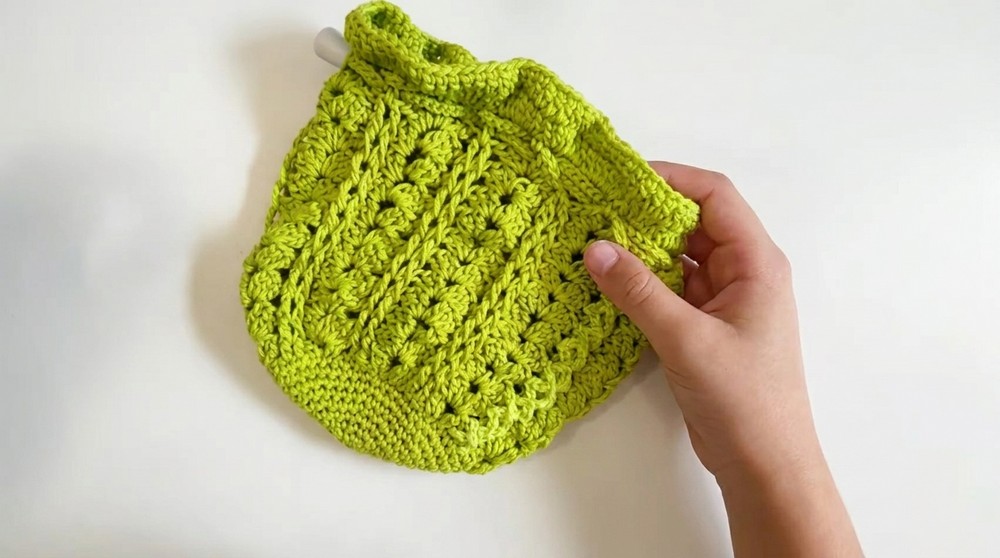
- Finished pouch diameter: 10–12 cm, height: ~13–15 cm.
- Finished with crisscross motif and flower embellishment.
Conclusion and Ending Words
Your elegant drawstring crochet coin pouch is now complete! This project is practical for daily use and perfect for gifting. Enjoy adding your unique touch with decorative motifs and embellishments.