How To Crochet Bag Free Pattern For Beginners

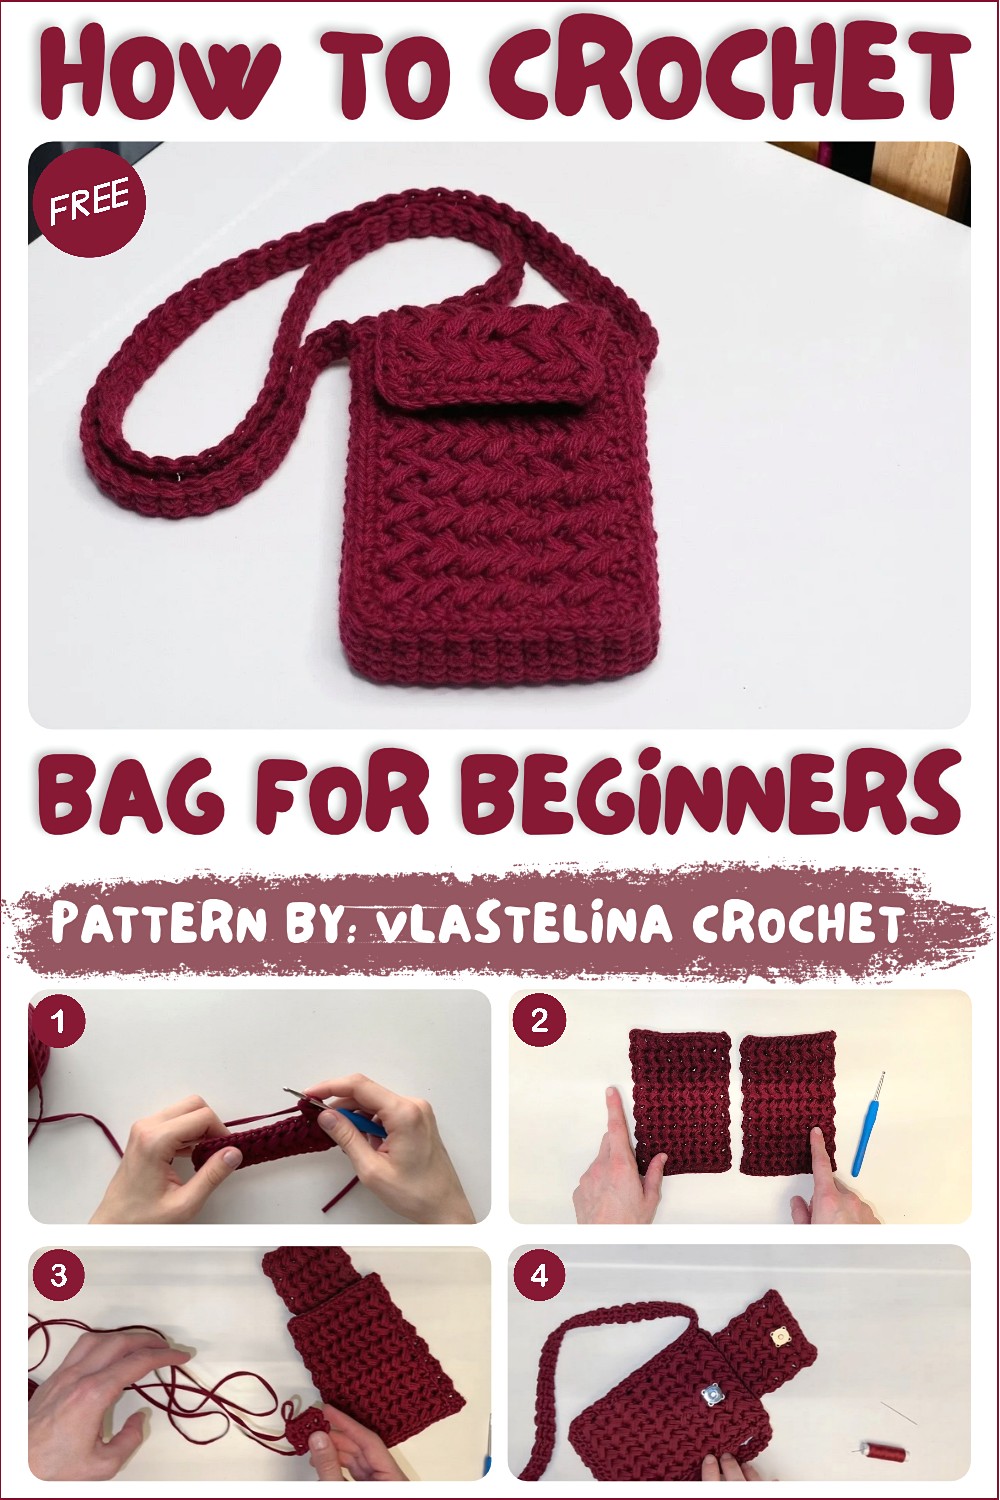
Stay organized in style with this free crochet bag pattern that’s offering a perfect balance of beauty and practicality for any occasion.
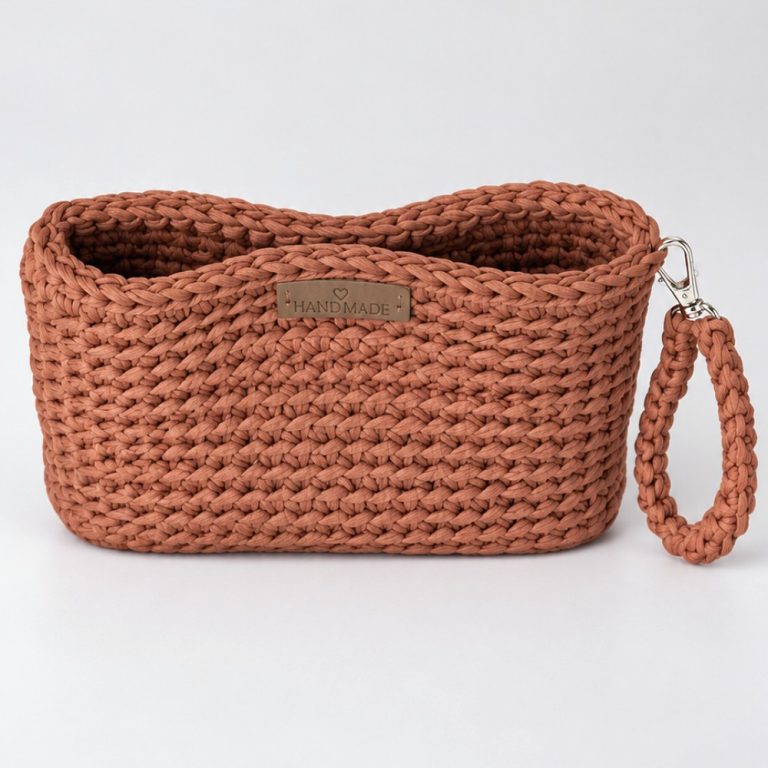
A handmade bag is more than just an accessory—it’s a creative, one-of-a-kind piece you can proudly carry anywhere. The free crochet bag pattern offers you the chance to make a stylish and functional bag from scratch. Perfect for shopping trips, casual outings, or as a thoughtful gift, this crochet bag is both practical and beautiful.
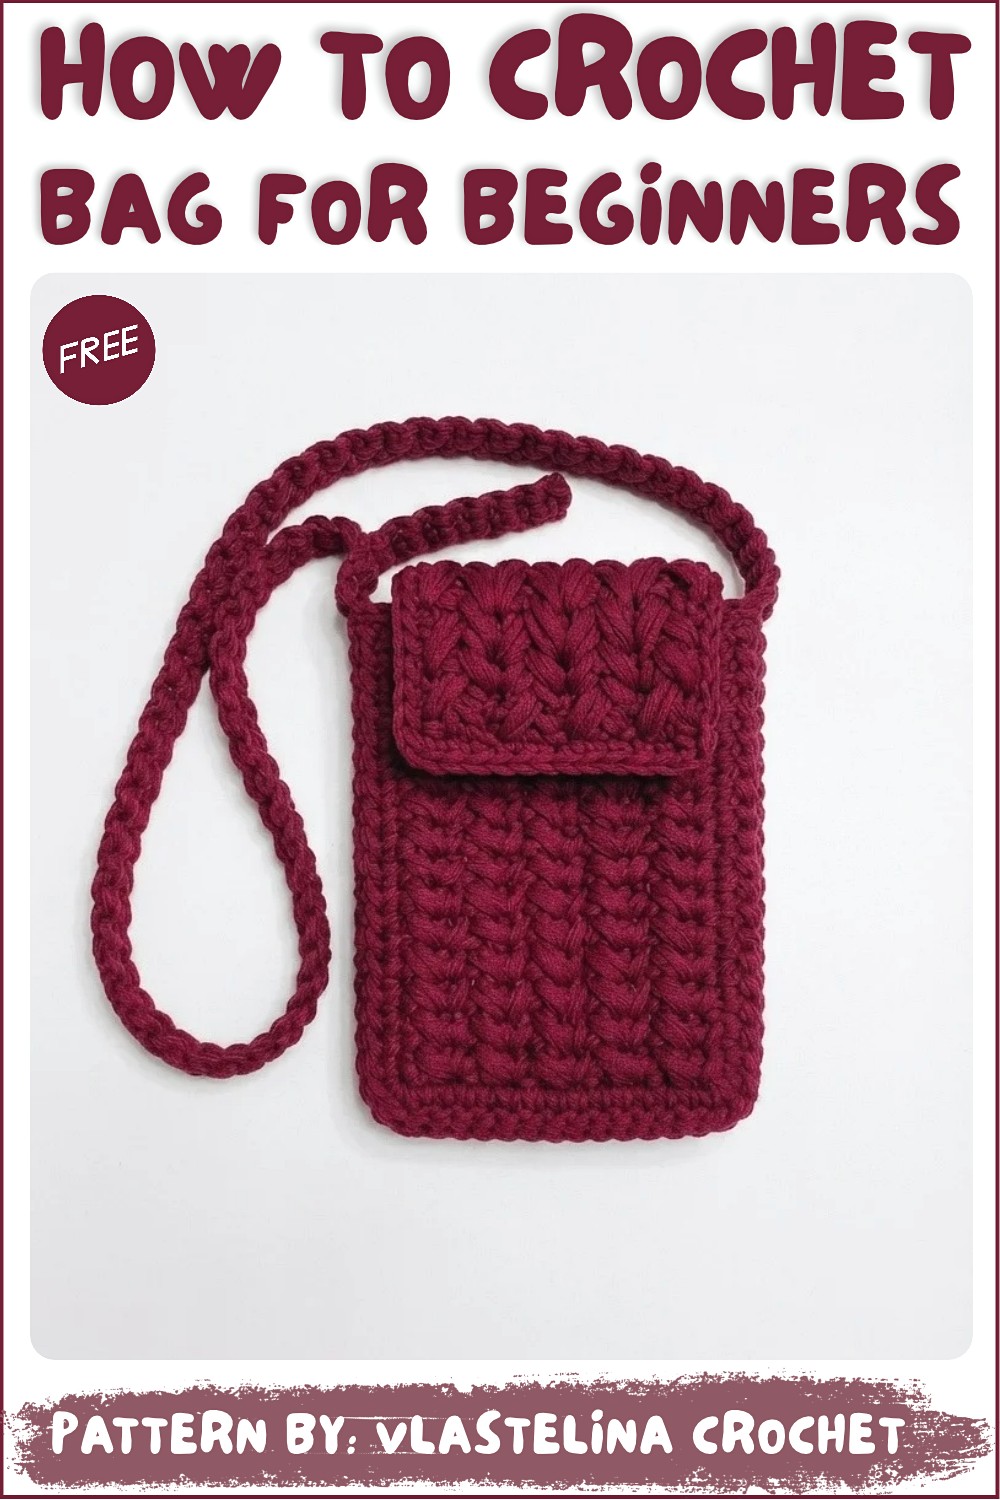
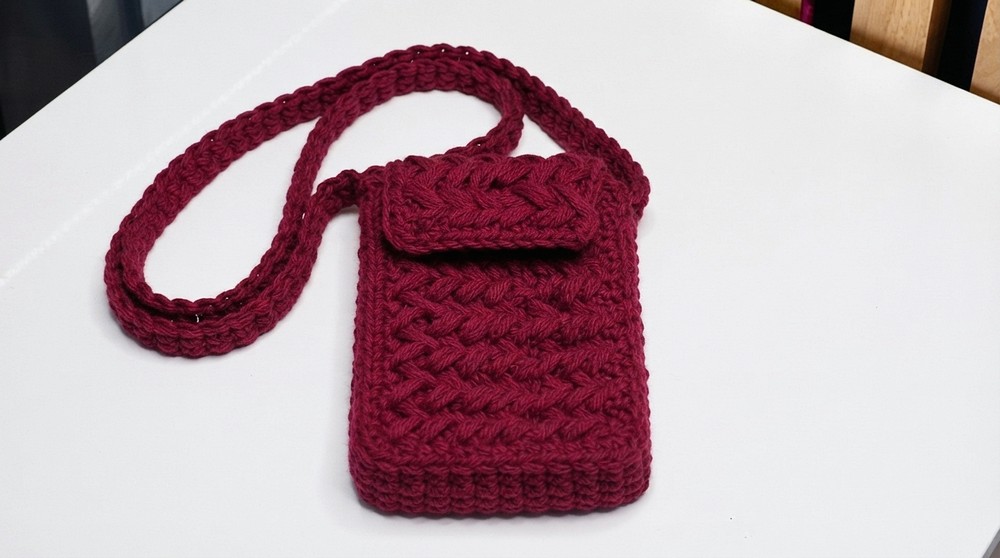
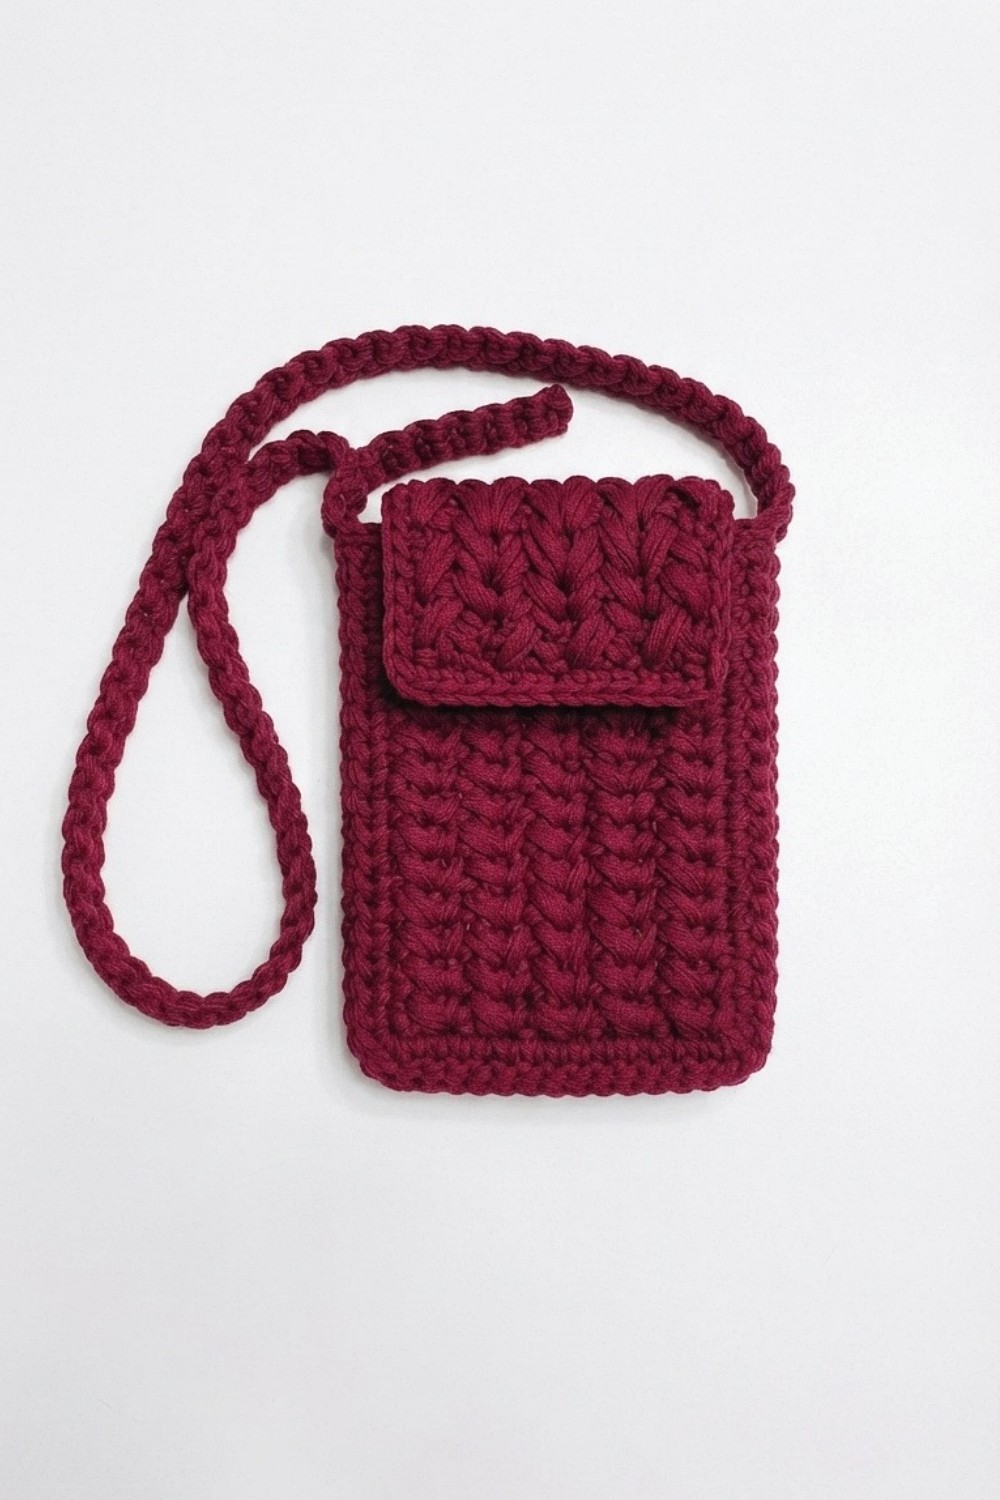
The design is simple yet elegant, featuring a textured surface and a roomy, lightweight shape. With strong yet soft yarn, the bag feels great to carry while holding all your essentials. Its handle fits comfortably on your shoulder, and you can experiment with different colors to match your style. The woven-like pattern gives it a lovely, handmade touch that’s sure to receive compliments.
Free Crochet Drawstring Bag Pattern for Small Essentials
This crochet bag is as versatile as it gets. It can be used to carry groceries, books, or even as a trendy everyday handbag. Its sturdy design makes it long-lasting, while its handmade charm adds a personal touch to your accessories collection. Plus, making this bag is both relaxing and rewarding, whether you’re a beginner or a seasoned crocheter.
About the channel:
The pattern from Vlastelina Crochet comes with detailed instructions that make crocheting this bag fun and easy. You can follow along with the YouTube video for step-by-step guidance and tips to create your perfect design.
Beginner Jersey Yarn Crochet Bag – Detailed Step-by-Step Pattern
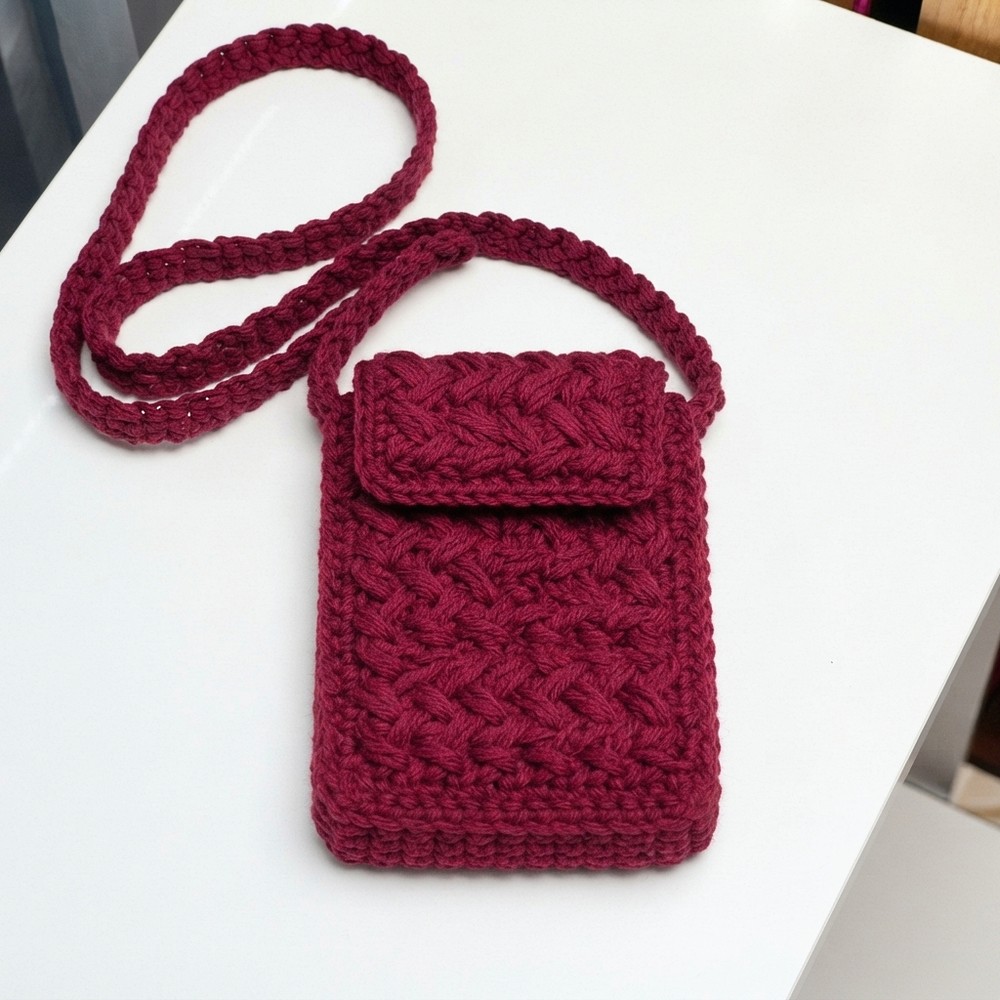
This tutorial offers a simple and clear guide to create a stylish, practical crochet bag using jersey yarn. Designed with beginners in mind, this pattern utilizes basic stitches combined with a decorative cross-stitch pattern to deliver a fashionable bag construction. The project includes two base panels, a coordinating flap, a long crocheted strip for the sides and strap, and a button closure option. The bag is made from durable jersey yarn using a consistent tension to ensure shape and longevity.
Pattern Highlights
- Yarn: Jersey yarn (Halva, 3-4 mm thickness) providing softness and structure
- Hook Size: 4 mm for balanced tension and stitch definition
- Base Construction: Two identical rectangular panels worked in single crochet and a cross-stitch half double crochet pattern
- Flap: Crocheted directly on one panel in the cross-stitch pattern, creating a decorative cover
- Side Panels and Strap: A continuous crocheted strip worked in single crochet attaches all sections, forming sides, bottom, and adjustable strap
- Assembly: Yarn strands pre-cut and used for whip stitch “snake” method seam joining
- Closure: Optional button sewn on the flap as finishing touch
Notes
- The width of the bag can be customized by adjusting the foundation chain in multiples of two stitches—here, 19 chains create a medium size.
- The cross-stitch pattern uses half double crochet (HDC) stitches worked in a way that forms an ‘X’ shape across rows, adding texture and visual interest.
- The long strip forming the sides and strap must be carefully measured to fit the panels snugly; the strap narrows by decreases toward its ends.
- The whip stitch “snake” technique creates a strong yet flexible seam binding the strip to the panels.
- Button placement on the flap is optional but adds a nice functional accent.
Skill Level
Beginner to Low-Intermediate. Skills required include:
- Chain (ch), single crochet (sc), half double crochet (hdc), and double crochet (dc)
- Working in rows and turning chains
- Simple stitch cross pattern construction
- Basic sewing techniques: whip stitch assembly and sewing on buttons
Materials
- Jersey Yarn: 2 skeins of Halva (or similar) jersey yarn, 3-4 mm thickness
- Crochet Hook: 4 mm size hook for appropriate gauge and stitch texture
- Tools: Large-eyed tapestry needle for assembly, scissors
- Optional: Button and sewing needle/thread for bag closure
Measurements / Sizing
- Foundation Chain for Base Width: 19 stitches (can be adjusted by multiples of two for wider or narrower bags)
- Base Panel Length: Determined by working rows as described until desired height is reached (14 rows for main body panels)
- Flap Height: 7 rows in cross-stitch pattern
- Strip Length: Approximately 66 rows to cover sides and bottom; length adjusted to fit panel dimensions
- Strap Width: Narrowed from 4 stitches to 2 stitches wide with two decreases; length adjustable
Gauge and Stitch Pattern
- Gauge: Not critical for this project but consistent tension recommended to preserve shape and symmetry
- Main Stitch Pattern:
- Row 1: Single crochet (sc) along foundation chain (base panel)
- Row 2 and onward: Half double crochet (hdc) in a cross-stitch pattern: yarn over, skip one stitch, hdc in the next, then hdc crossed back into the skipped stitch creating an ‘X’ effect
- Row ends with a double crochet (dc) in the final stitch to maintain even row length
- Side Strip: Worked in single crochet rows to shape and reinforce bag edges and straps.
Stitch Abbreviations
| Abbreviation | Stitch | Description |
|---|---|---|
| ch | Chain | Basic foundation stitch |
| sc | Single Crochet | Tight stitch forming sturdy fabric |
| hdc | Half Double Crochet | Medium height stitch used for cross-stitch pattern |
| dc | Double Crochet | Taller stitch to finish rows neatly |
| sl st | Slip Stitch | Used for joining rounds (not primarily in this pattern) |
Special Stitches
Cross-Stitch Pattern with Half Double Crochet
- Yarn over (yo), skip one stitch, insert hook into next stitch, yarn over, pull through (3 loops), yarn over, pull through all loops – this is the first HDC of the ‘X’.
- Then yarn over, insert hook into the stitch skipped previously (crossing back), yarn over, pull through (3 loops), yarn over, pull through all loops completing the ‘X’ shape across the stitches.
The Crochet Pattern: Step-by-Step Instructions
1. Preparation
- Before starting the main body, cut two long strands of yarn aside for later assembly/seaming. These will be used to sew the strip to the base panels.
2. The Base / Foundation
Foundation Chain:
- Create a slip knot and chain 19 stitches (or adjusted in multiples of two for sizing).
- Note this establishes the base panel width.
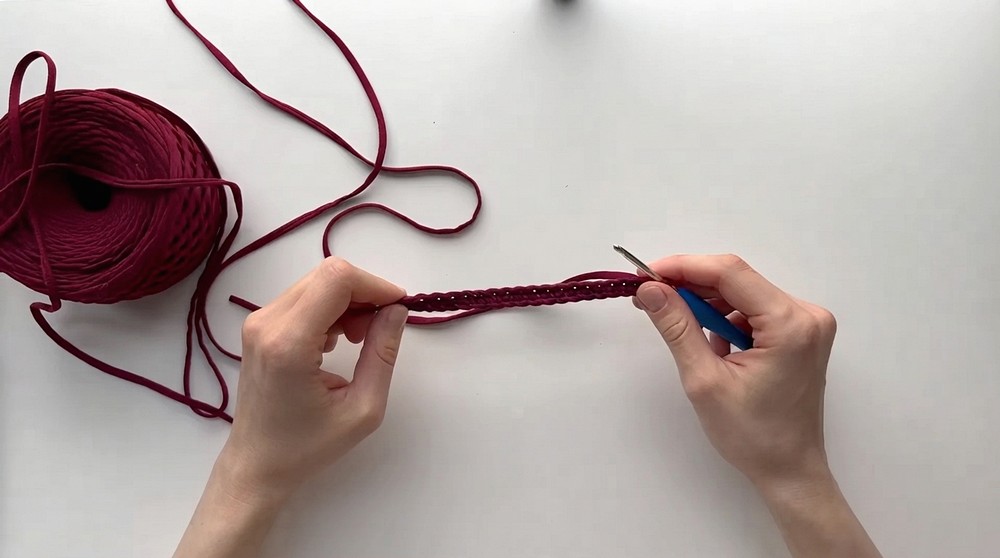
Row 1:
- Skip the first chain from the hook.
- Work single crochet (sc) stitches into every remaining chain until the end of the row.
- This forms the sturdy base foundation row.
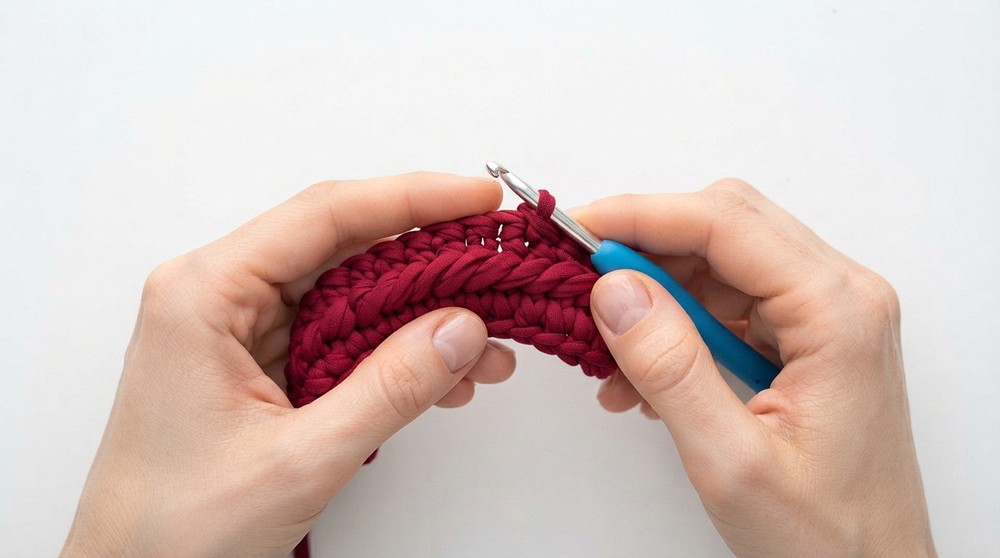
3. Main Body Pattern – Two Base Panels
Row 2 Onwards – Cross-Stitch Pattern:
- Chain 2, then turn your work.
- Work the half double crochet (hdc) pattern in the form of crossing stitches:
- Yarn over, skip one stitch, work one hdc into the next stitch.
- Cross back to the skipped stitch and work one hdc to complete the ‘X’.
- Repeat this process across the row.
- Finish each row with a double crochet (dc) in the last stitch to maintain uniform ends.
Repeat this cross-stitch row for 14 rows total to complete one base panel.
Create a second identical panel by repeating all above steps.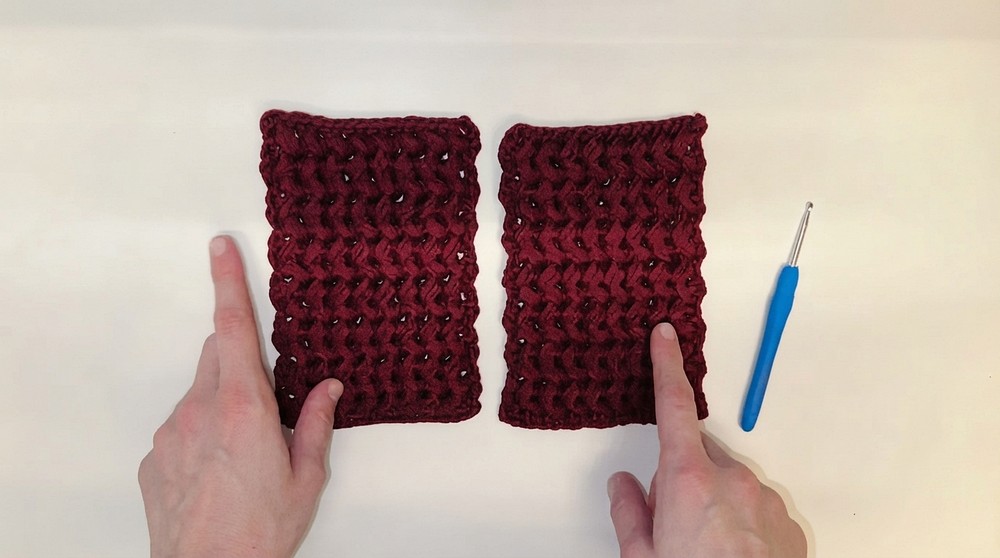
4. The Flap
Attaching the Flap:
- Attach yarn to one of the base panels, starting two stitches in from the edge where the flap will be created.
Flap Rows:
- Work the same cross-stitch pattern in rows for 7 rows.
- This forms the decorative flap that will fold over the bag’s opening.
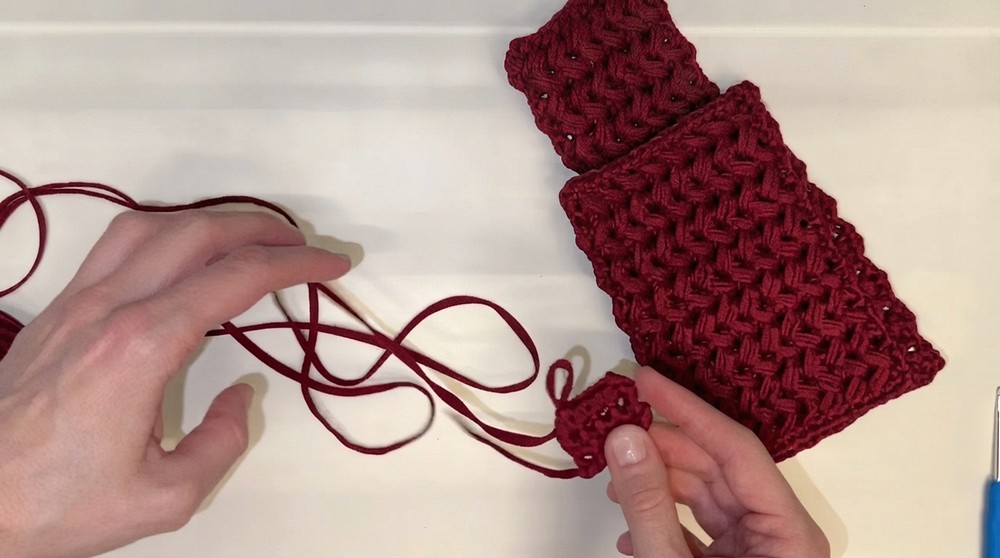
5. Side Panels, Bottom, and Strap
Strip Foundation:
- Chain 5 stitches for the width of the strip that will join the base panels and form the sides, bottom, and strap.
Work Rows:
- Work single crochets (sc) back and forth in rows of 4 stitches width (since turning chains do not count as stitches).
- Continue until the strip measures long enough to cover the bottom and sides of the bag, approximately 66 rows, but adjust accordingly based on your panel height and size.
Assembly of Strip and Panels:
- Using the two long yarn strands set aside earlier, sew the strip to each base panel using a whip-stitch ‘snake’ pattern — a neat, flexible stitch that secures edging.
Forming the Strap:
- Continue working the single crochet strip from the bag’s side.
- Make two decreases to reduce the width from 4 stitches to 2 stitches wide, creating a comfortable strap width.
- Keep crocheting the narrow strip straight until the strap reaches your desired length.
Finishing the Strap:
- Use the yarn needle to sew the end of the strap securely to the opposite side of the bag forming a loop strap.
6. Closure
Button Attachment:
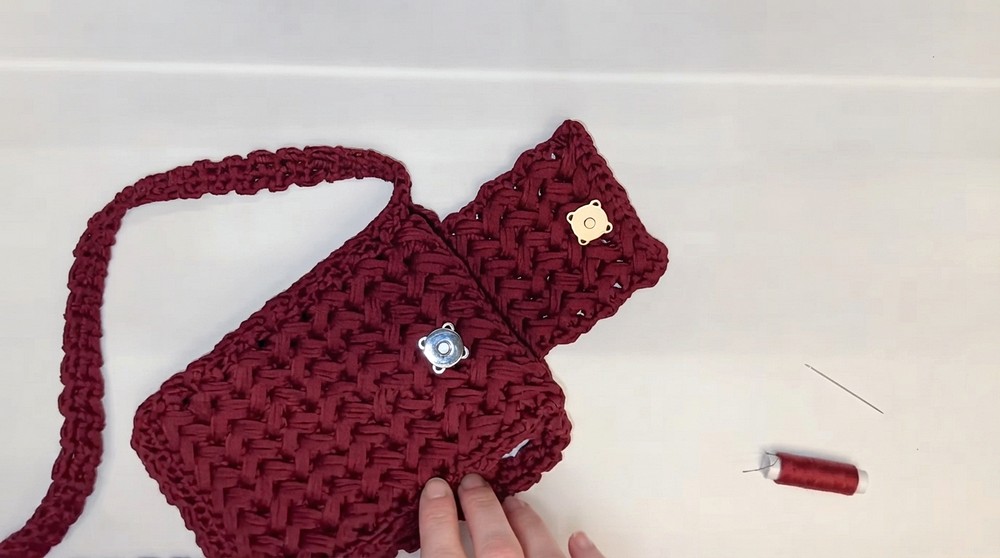
- Using a regular needle and matching thread, sew a button onto the flap for closure.
- You may create a corresponding loop or use the flap edge itself to secure the button.
Assembly & Finished Size
- This bag consists of two main cross-stitched panels joined by a long crocheted strip that forms the sides, bottom, and strap.
- The careful whip stitch seam provides durable, flexible joins that maintain bag shape without bulkiness.
- The flap adds an attractive finishing touch and allows for closure with an optional button.
- Final size can be adjusted by altering foundation chains and strip length, making this bag versatile from a small to medium-sized accessory.
- The strap width narrows smoothly with decreases to provide strength and comfort for carrying.
Conclusion
This beginner-friendly jersey yarn crochet bag pattern is accessible yet stylish, combining simple stitches with an attractive cross-stitch design to create a wearable accessory. The modular construction using separate panels and a connecting strip ensures flexibility in sizing and a straightforward assembly process. Whip stitch seam joining guarantees strong, comfortable edges ideal for everyday use. Adding a decorative flap with a button closure enhances both function and aesthetics. Whether crafted as a personal handbag or a thoughtful gift, this tutorial empowers crocheters to create a sturdy, neat, and elegant bag with approachable techniques.