Crochet Bralette Pattern with Free Step-by-Step Instructions

Step into boho beauty using this free crochet bralette pattern offering simple stitches and customizable sizing for a flattering made by you wardrobe staple.
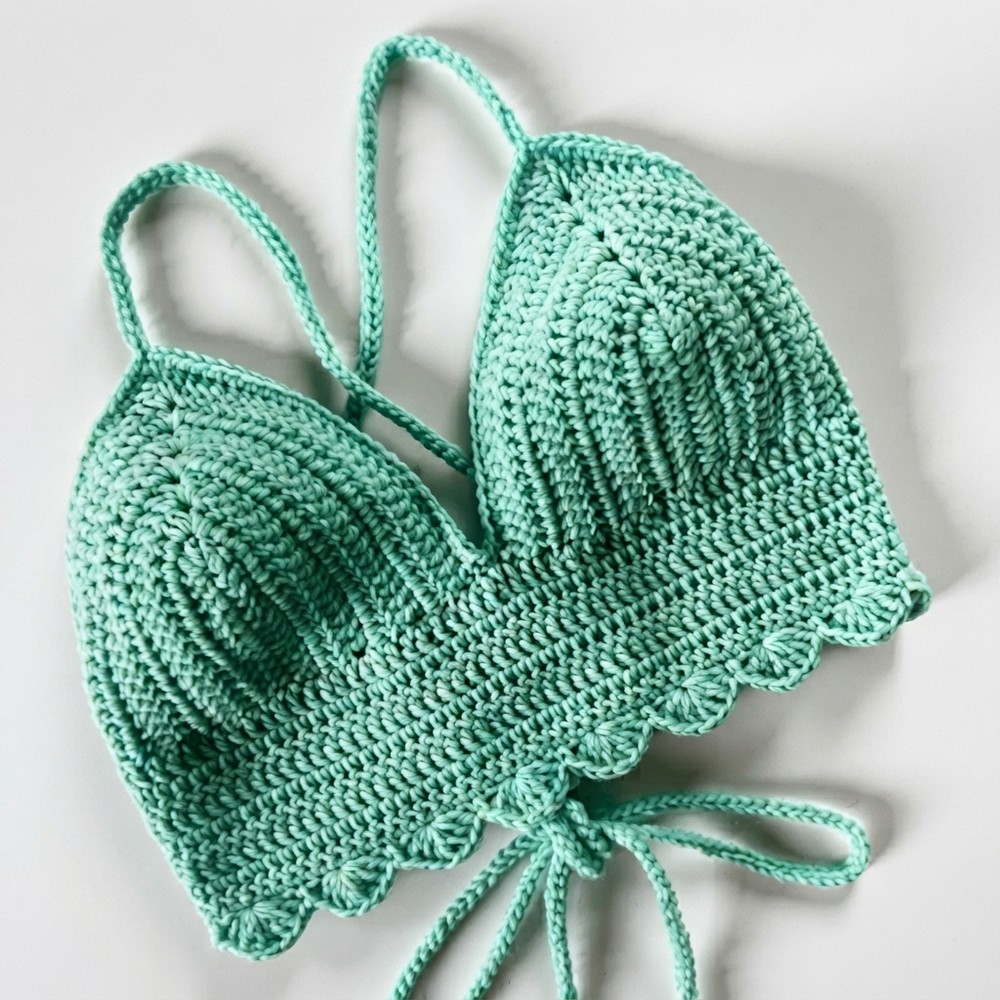
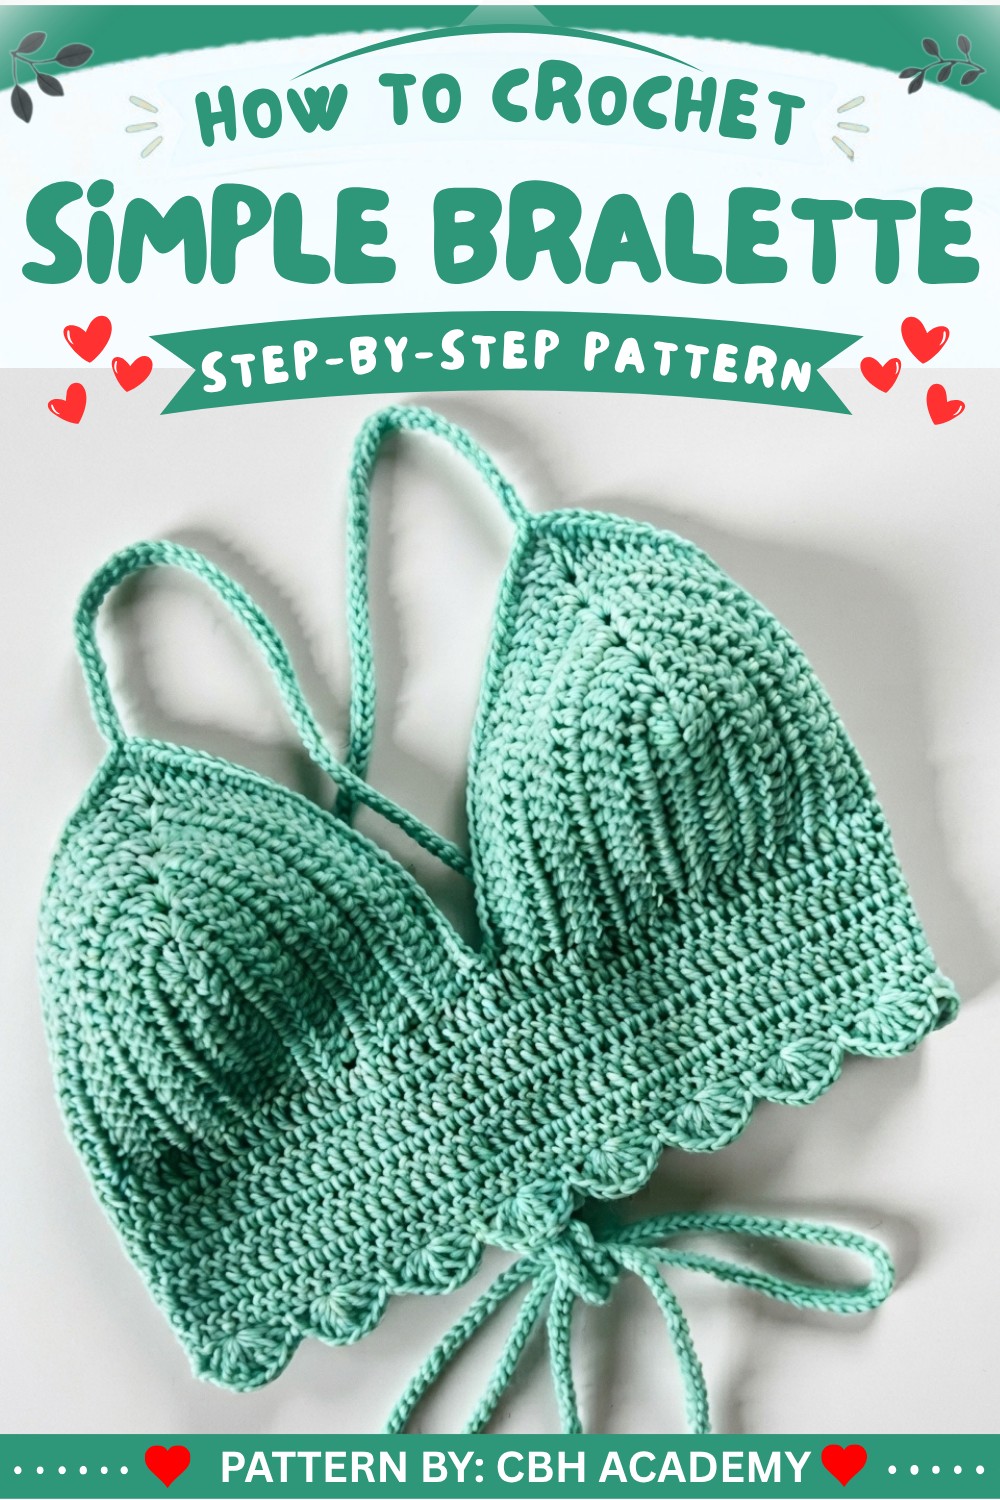
Creating a light and pretty summer top by hand is a joyful experience. This handmade piece features two carefully shaped cups joined together, creating a comfortable fit. The shape follows the natural curve of the body, giving support without being heavy or rigid. One of its most beautiful features is the delicate scallop edging at the bottom, which adds a soft, decorative touch and makes this top look elegant yet casual.
Stylish Free Crochet Bralette Pattern for Summer Outfits
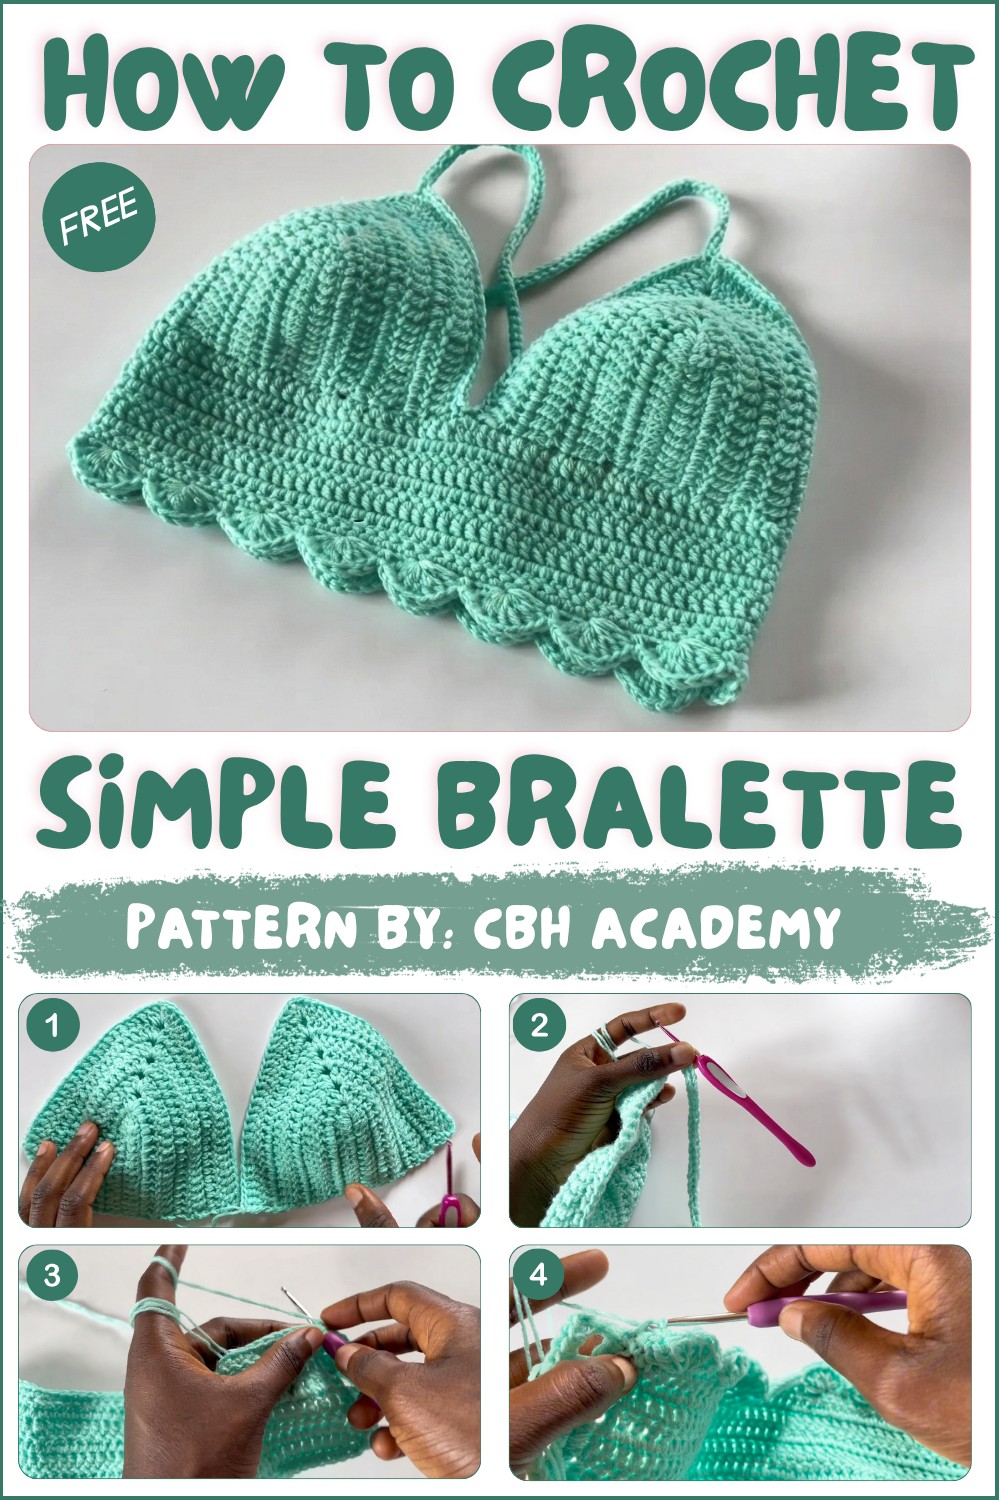
CBH Academy crochet tutorials bring beginner-friendly lessons with clear explanations and helpful tips. Their step-by-step guidance encourages creativity, showing you how to turn simple stitches into lovely wearable art, all while making sure your project fits just right. The channel carefully explains how to use two strands of lightweight yarn together for a thicker, sturdy fabric and demonstrates how to build straps that are both strong and comfortable.
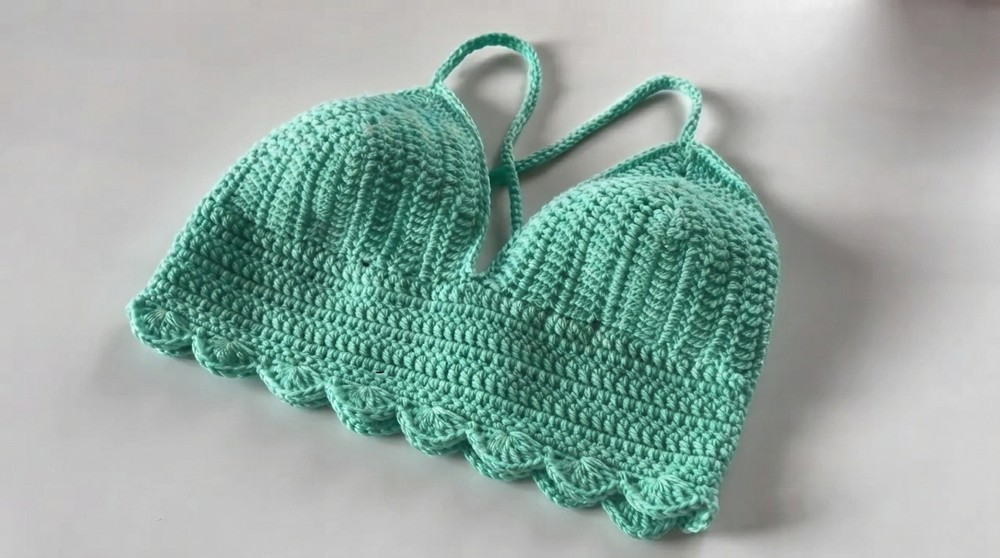
The working style involves mainly double crochet stitches worked in rows, beginning with joining the cups and creating chains for the back coverage. The tutorial emphasizes measuring accurately and customizing length to suit your preference, from crop tops to longer styles. The scallop edging, also known as shell stitches, is crocheted last with a larger hook to create pretty fan shapes that frame the bottom beautifully. This piece is perfect for warm weather, beach days, or layering, and its mix of form and function makes it a lovely, handmade addition to any summer wardrobe.
Crochet Bralette with Ready-Made Cups Pattern
This crochet bralette pattern utilizes two pre-formed bra cups and simple crochet stitches to create a stylish and supportive top. The design offers stretch, structure, and adjustable straps, along with a decorative scalloped edge for a finished look. Using lightweight yarn held double and two hook sizes, this project can be tailored to your exact body measurements for a custom fit and seamless construction.
Skill Level
Beginner to Intermediate
Crafters should be familiar with basic crochet stitches, working in rows, increasing, and chaining. Some knowledge of sewing/weaving ends and modifying simple shaping for fit is helpful.
Materials
- Lightweight (category 3) yarn, two strands held together throughout
- Crochet hooks: 3.00mm (main body), 4.00mm (for scalloped edge)
- Two pre-made bra cups (choose size to match your bust)
- Stitch markers
- Scissors
- Darning needle
- Measuring tape
Special Stitches
- Slip Stitch (sl st): Used for joining and edging
- Single Crochet (SC): Basic stitch for joining and border work
- Double Crochet (DC): Used for body and texture
- Scallop: 7 DCs worked into one stitch, followed by a skip and a single crochet to create a shell border
Stitch Abbreviations
- ch: chain
- sc: single crochet
- dc: double crochet
- sl st: slip stitch
- st(s): stitch(es)
Useful Tips
- Holding two light strands together provides extra coverage and a more substantial fabric.
- Use stitch markers to keep the beginning and end of rows clear for consistent panel edges.
- The cup joining step determines symmetry; take care that cups are aligned evenly.
- Adjust the back panel length/width based on personal fit preference using a measuring tape.
- When making the scallop edge, switching up a hook size gives a softer, drapier finish.
- The chain strap length can be customized for comfort and functionality, depending on body size.
Pattern
Joining the Cups
- Position the cups side by side with right sides facing you.
- With 3.00mm hook and yarn held double, use a slip stitch (sl st) to join the cups together along the inner edges so that there are no gaps between them.
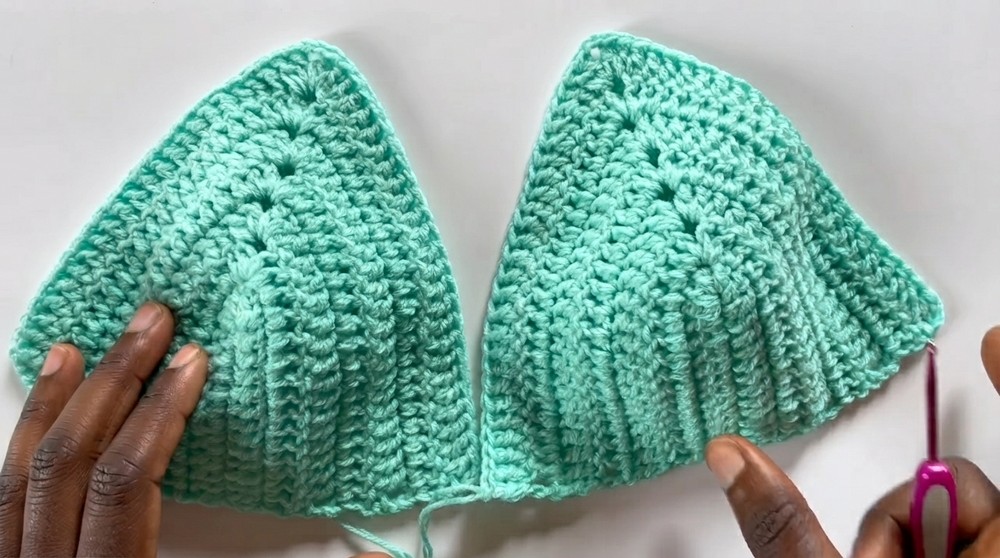
(Stitch marker may be helpful at start and end of join.)
Back Panel Chains
- On one outer edge of the joined cups, ch 14 (or enough to equal about three inches for each side, add or reduce chains according to fit; measure as needed).
- Repeat on the opposite outer edge with another chain of equal length.
- These side chains will become part of the lower band/back panel.
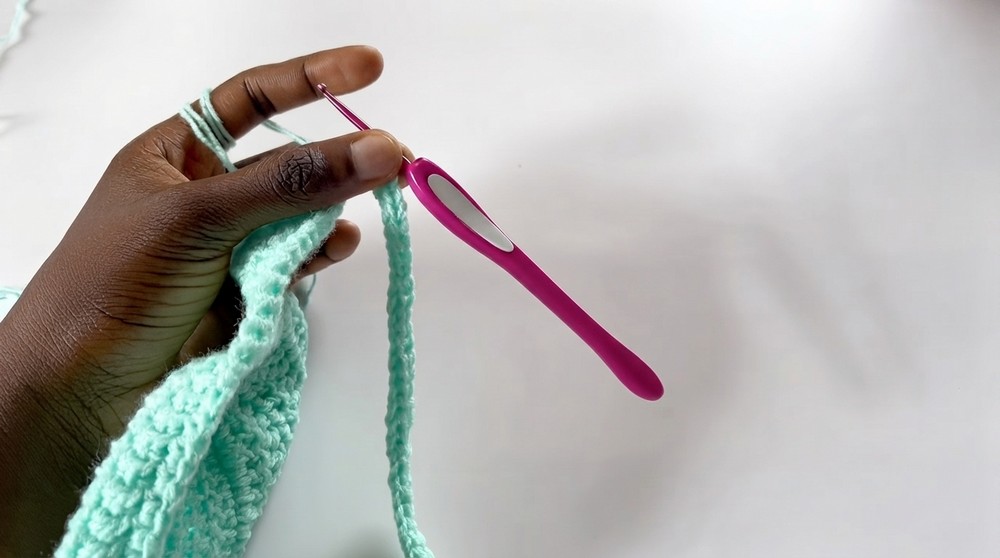
Row 1 (Bottom Band & Cup Base)
- Ch 2 to turn at the end of your chains.
- Work dc across the chain you just made, then continue working dc evenly along the bottom of the cups (2 dc per cup row, working into the foundation or edge stitches for a smooth appearance).
- When you reach the second cup, dc across the joining seam, continue dc along the next cup’s lower edge, and down the second side chain.
- You should now have one complete foundation row from one side chain, along both cup bottoms, to the second side chain.
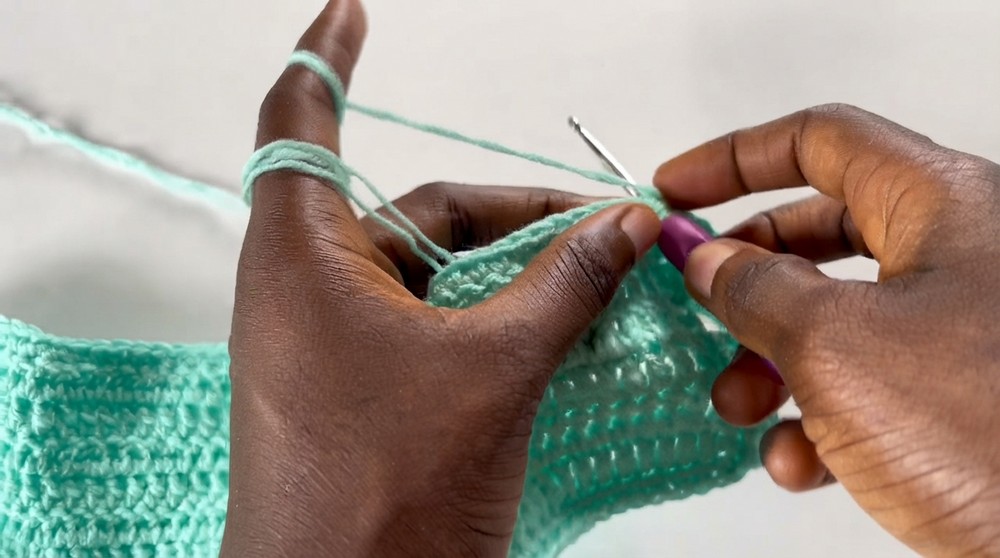
Rows 2 and Up (Body Length)
- Ch 3 to turn (counts as first dc).
- Work dc in every stitch across for the entire length (side chain, cups, side chain).
- Repeat for as many additional rows as needed to reach your desired length for the band/body (typically 4–8 rows). Try on as you go for fit.
Side Panel and Strap Holes
- With working yarn and hook at the edge, sc across the bottom band (for a clean edge), then turn and sc up the side edge of the body.
- Work 2 sc per row for a neat side edge until you reach the top.
- Now, to create strap holes, ch 3 then continue as follows:
- Ch 2, skip 2 sts, 2 dc in next 2 sts, repeat across the top for multiple holes (space for tying/attaching straps).
- End with any extra dc as needed (adjust repeat as needed for your size).
- On the final row at the top, work sc in each dc and each ch space for a clean finish.
Neck and Back Straps
- Begin at the lower side of one cup (or at the existing strap hole).
- With 3.00mm hook, sc up to the center point of one cup.
- Ch 250–300 (or measure up to 40–58 inches as needed for your desired strap length and crossing over the back).
- Sl st back along the entire chain to the starting point, which makes the strap thicker and sturdier.
- Fasten off, repeat for the second strap on the other cup.
- Weave in all ends with the darning needle.
Scallop Edging (Bottom)
- Switch to the 4.00mm hook for edging.
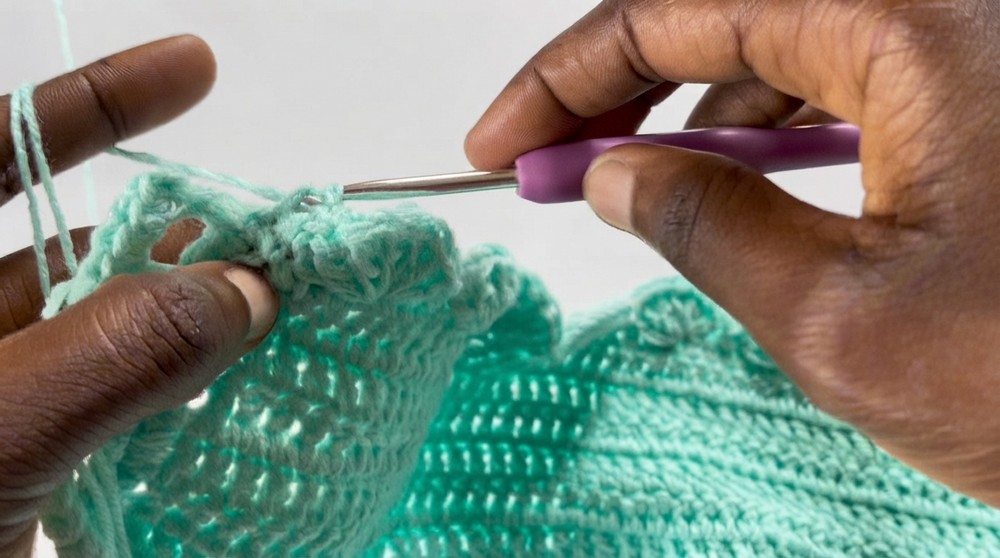
- Starting at one outer bottom edge, skip 2 stitches, then work 7 dc into the 3rd stitch to form the first scallop shell.
- Skip 2, work 1 sc into the next stitch to anchor the shell, skip 2, 7 dc into next, repeat across the bottom edge.
- Finish the final shell grouping with slip stitches and weave in ends for a clean look.
Assembly and Sizing
- Try on the bralette and inspect seam alignment and strap length.
- Make size adjustments by adding or subtracting rows to the back/side panels or changing strap length.
- If using as an undergarment or swim top, consider adding more coverage or a lining.
- The finished bralette covers the bust, provides adjustable support, and finishes with a pleasant scalloped drape at the band.
- Final width and depth will depend on the bra cup size, band rows, and your back measurement customizations.
Conclusion
This bralette pattern combines the structure of manufactured cups with the texture and beauty of handmade crochet. The double yarn strands create body and support, while custom-size panels, adjustable straps, and decorative edging yield a piece that is both wearable and attractive. The design can be further styled with color blocks, beads, or additional stitches for a unique, personal creation. Ideal for layering, swimwear, or as a statement piece in warm weather wardrobes, the project blends comfort and creativity on a practical scale.