Free Crochet Shell Stitch Dress Pattern + Bonus Sizing Tips

Step into spring with a breezy crochet shell stitch dress made easy with our free detailed pattern perfect for gifting or personal wear.
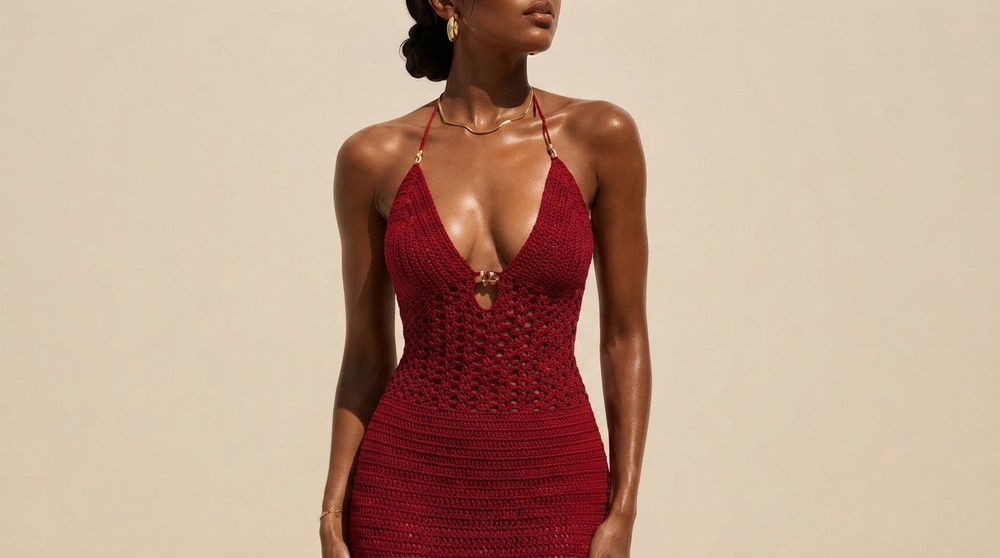
Have you ever thought about creating something that’s both simple and stunning? The crochet shell stitch dress stands out as a perfect example of beauty in simplicity. It’s designed with care and attention to every little detail, making it practical and stylish at the same time. This dress is lightweight, airy, and ideal for almost any occasion, from casual outings to warm summer evenings.
Stylish Shell Stitch Crochet Dress – Free Pattern for You
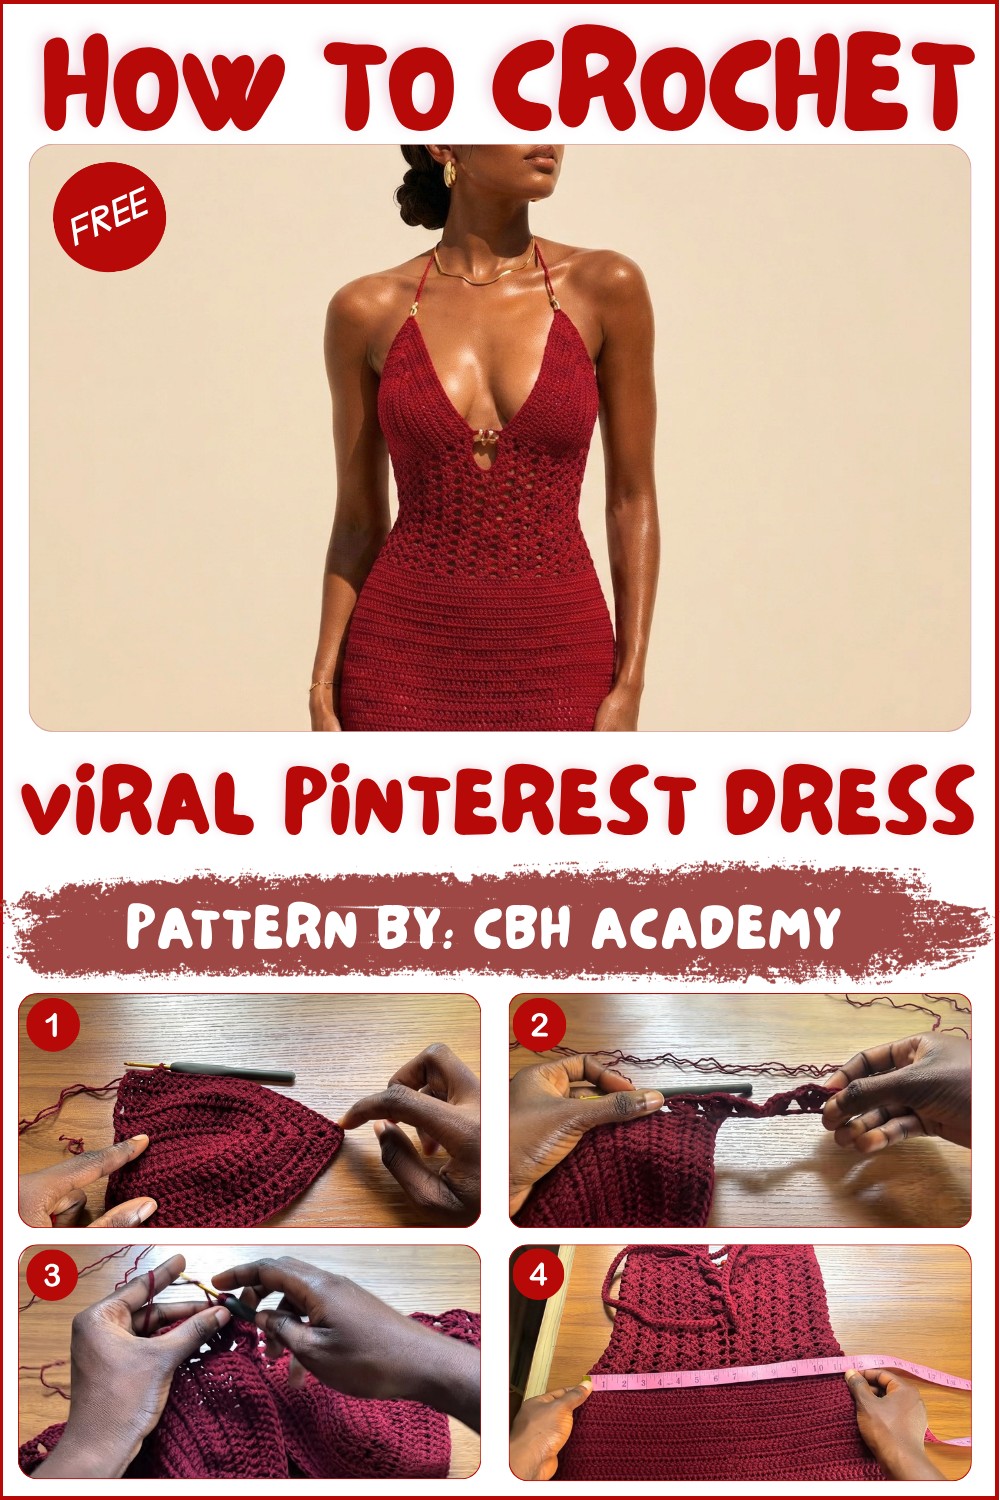
The process involves starting with two bra cups for the bodice, providing a customized fit that feels comfortable yet elegant. The real charm of the dress lies in the shell stitch design, which creates a delicate, flowing texture all the way down. Its waistline gracefully transitions into a sleek, flattering shape that suits many body types.
For those who like a bit of flair, the optional front slit adds character and movement to the overall appearance, making it all the more appealing. You can also add extra touches, such as beads on the straps or neckline, to make it truly one-of-a-kind.
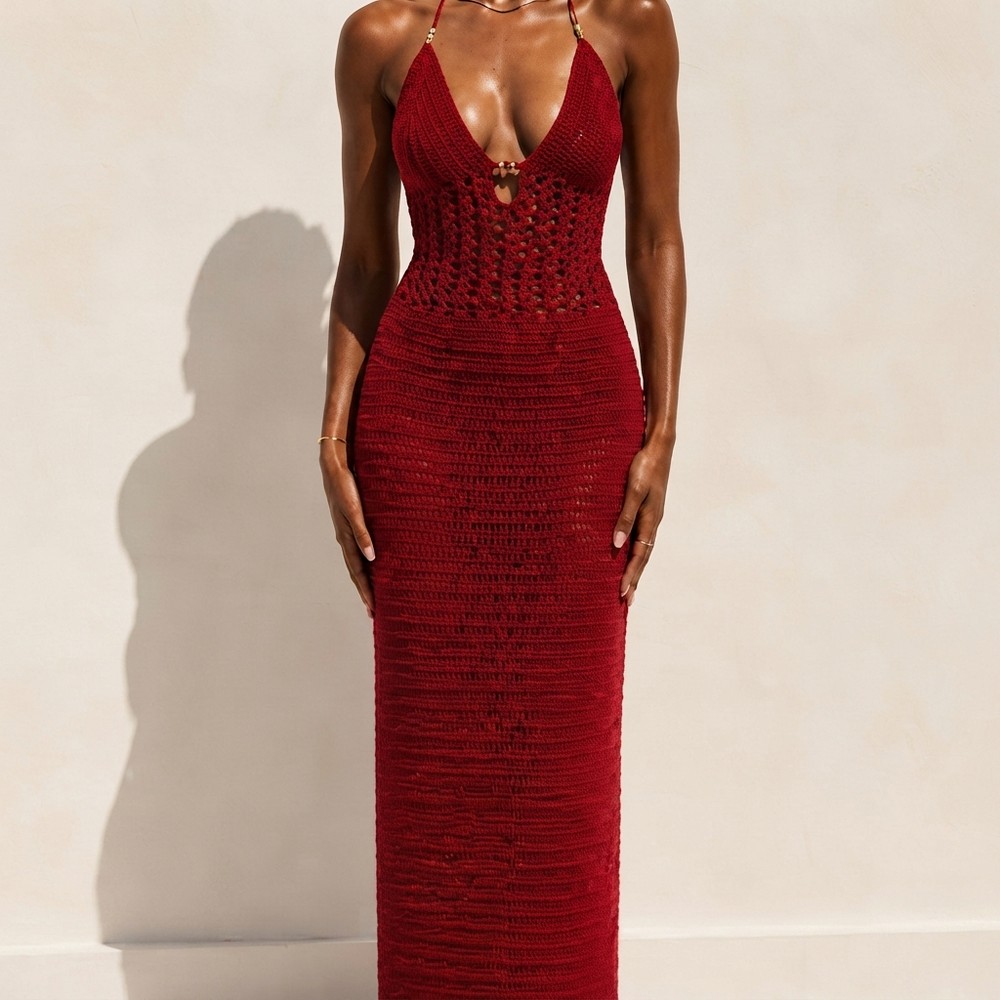
What makes this crochet dress so appealing is its versatility, it can be adjusted for length, size, and personal style preferences. This flexibility, paired with the stylish shell stitch pattern, makes it a favorite among both beginners and experienced crocheters.
Thanks To Designer!
CBH Academy has a special way of guiding viewers through this design. Their tutorials are clear, easy to follow, and designed so that even those without much experience can succeed. This dress is a wonderful project, whether you’re making it for yourself or gifting it to someone special. Its timeless design is a joy to create and a delight to wear.
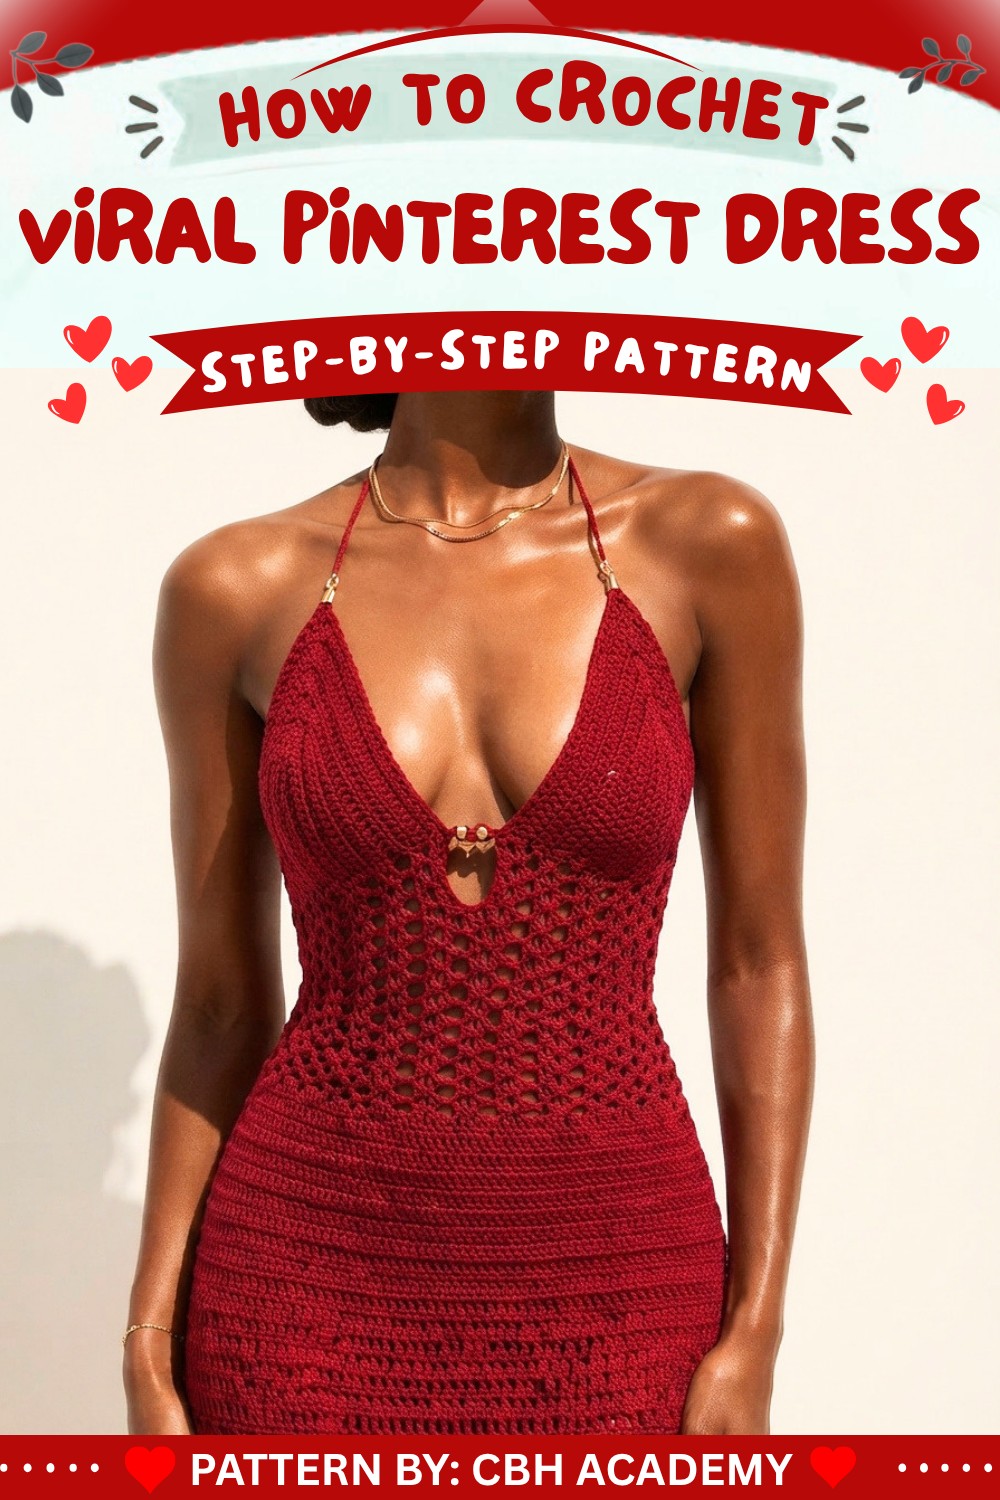
Crochet Long-Form Dress Pattern with Beaded Detailing
This crochet pattern guides you through creating a stunning long-form dress, complete with tailored bra cups, a decorative lace body, and a flowing skirt. This design incorporates elegant shell stitch patterns and beaded details for a polished, stylish look. It’s a versatile design that can be customized to fit any size with a precision-based approach to measurements.
Skill Level
Intermediate – This pattern requires an understanding of basic crochet stitches, such as double crochet (DC) and half-double crochet (HDC), and the ability to manage construction techniques like creating bra cups, increasing, decreasing, and working shell stitches.
Materials
- Yarn:
- Yaya lightweight yarn (held double for this tutorial). For a more delicate project, you can use single-strand yarn of a slightly thicker weight.
- Crochet Hook:
- 3.0 mm hook.
- Additional Tools:
- Measuring tape – crucial for obtaining accurate measurements.
- Stitch markers – helpful for marking key points during construction.
- Darning needle – for weaving in ends and assembling.
- Scissors – to cut yarn.
- Beads – used for center decoration and optional strap detailing (ensure bead holes are large enough to thread the yarn).
Special Stitches
- Slip Knot:
- Create a small loop with the yarn tail lying over the working yarn. Insert the hook into the loop, grab the tail, and pull it through to form a knot.
- Double Crochet (DC):
- Yarn over, insert hook into stitch.
- Yarn over and pull through (3 loops on hook).
- Yarn over, pull through the first 2 loops (2 loops remain).
- Yarn over, pull through the remaining 2 loops.
- Half-Double Crochet (HDC):
- Yarn over, insert hook into stitch.
- Yarn over, pull through (3 loops on hook).
- Yarn over, pull through all 3 loops.
- Shell Stitch:
- In one stitch, work 2 DC, CH 1, 2 DC. This forms a decorative “V” ideal for lace detailing.
Stitch Abbreviations
- CH = Chain
- DC = Double Crochet
- HDC = Half Double Crochet
- SL ST = Slip Stitch
Useful Tips
- Measuring Correctly: Accurate measurements of the underbust, waist, and hips are essential to ensure proper fitting. Use the guide provided to calculate specific measurements.
- Managing Beads: Use beads with openings wide enough to accommodate the yarn. Use a hook or needle to slide the bead along the yarn.
- Tension Control: When working with doubled yarn, be cautious about maintaining consistent tension to avoid uneven stitches.
Detailed Crochet Pattern
1. Bra Cup
Each cup is worked individually, and the size depends on your underbust measurement. Divide your underbust by 4 to calculate the total width of each cup. For example, with an underbust of 30.5 inches, one cup’s base will measure 7.6 inches.
Step-by-Step Cup Construction
- Begin with a slip knot, then CH 14 (measure this chain to ensure it matches the nipple-to-underbust distance, typically 3 inches).
- Add CH 3 extra stitches (counts as the first DC).
- Round 1:
- Twist the chain and work in the back bumps.
- In the 4th chain from the hook, work 1 DC.
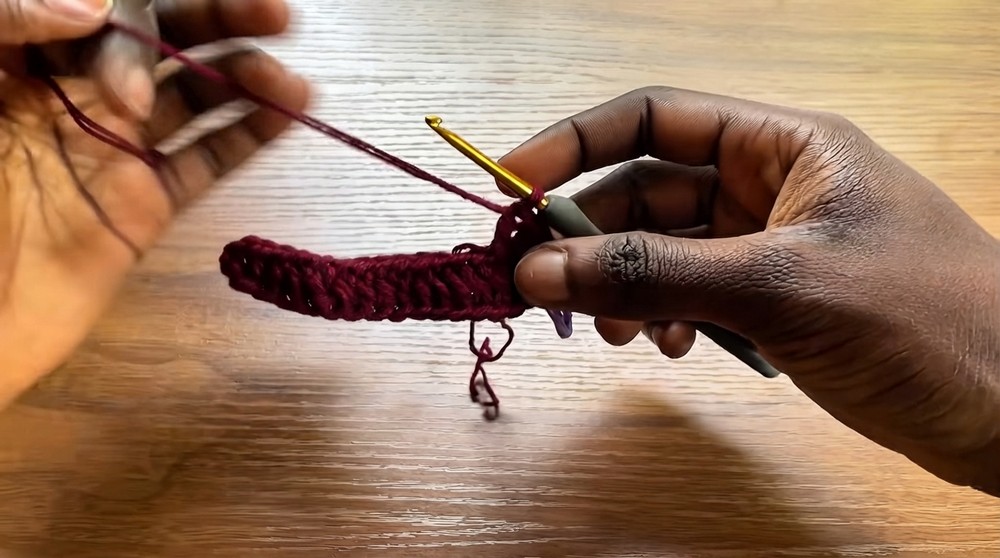
- Continue 1 DC in every chain until the last chain (total: 13 DC, excluding the chain 3).
- In the last chain, work 5 DC into the same stitch to create the curve for the cup. Use a stitch marker on the 3rd DC of this group.
- Continue to the opposite side of the chain and work 1 DC in each stitch (total: 13 DC).
- Round 2 and Beyond:
- CH 3 and turn.
- Skip the first DC (CH 3 counts as the first DC).
- Continue working DC in each stitch up to the marked center stitch (from the 5 DC group).
- In the marked center stitch, work 2 DC, CH 2, 2 DC (increases at the center).
- Continue making DC down the opposite side. Repeat in rows until the cup base stretches to almost your calculated measurement.
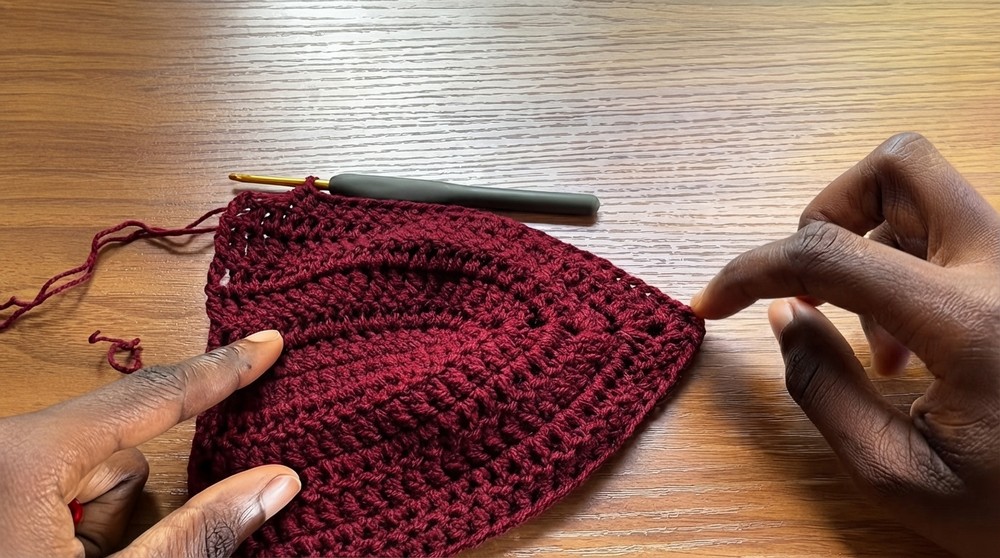
- Final Row:
- Work the final row in HDC. This avoids adding unwanted height to the cup but provides a neat finish.
Make a second cup following the same steps. Detach the yarn from the first cup and leave the second one attached for joining.
2. Beaded Center Detail
- Using the yarn tail from one cup, thread the beads onto it (use a small hook or needle).
- Join the two cups at their last rows using HDCs or DCs.
- Secure the beads in the middle by threading yarn through the bead hole and pulling the thread until the bead is comfortably nestled at the center of the cups.
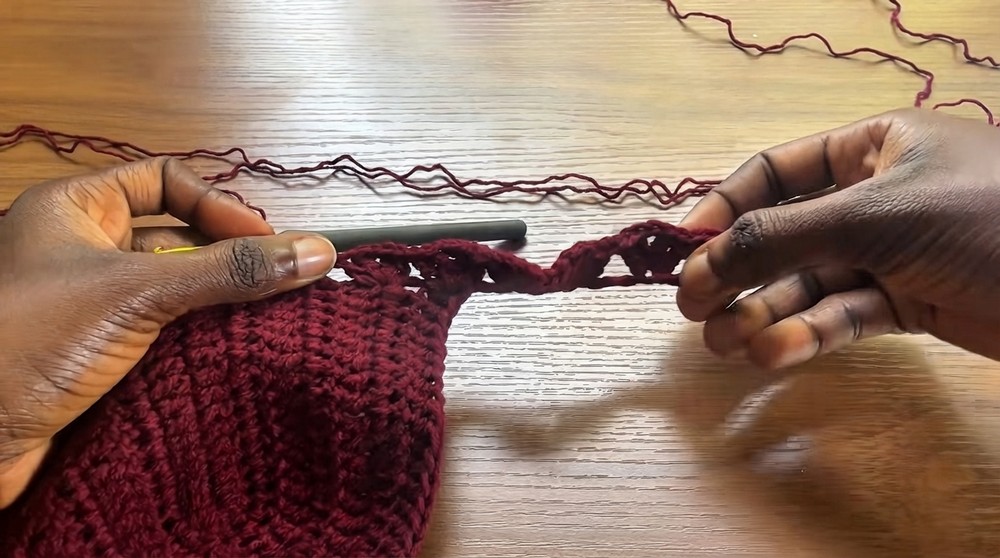
3. Lace Body (Shell Stitch Pattern)
Once the cups are joined, proceed with the lace stitch for the body, following the shell stitch pattern.
Foundation Chain:
- Measure and chain according to the gap needed under the arm for the back lace-up.
- Work a multiple of 4 chains + 3 extra for the first row’s turning stitch (e.g., 16, 20, etc.).
Shell Pattern Construction (Rows):
- Row 1: Work 2 DC, CH 1, 2 DC in every 4th chain after skipping 3 chains. Repeat this shell across until the end of the chain.
- At the cup base, continue working evenly, ensuring the shell stitch shapes the lace pattern evenly across the body.
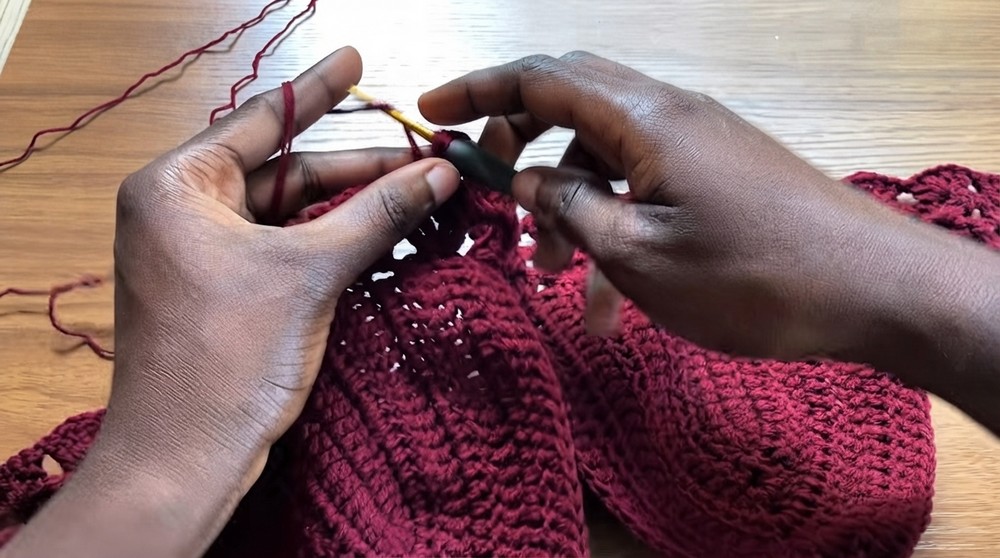
- Row 2 Onwards:
- Continue with rows, working shell stitches into the CH 1 spaces in the row below.
- Gradually add rows until the lace panel measures up to the waistline.
4. Form the Skirt
- Once the lace panel reaches the waistline measurement, close the back lace section by slip-stitching the edges together. Continue to work the skirt in the round.
- Waist to Hips:
- Work rows of DC stitches in the round for several rows without increasing. Gradually add increases at regular intervals to accommodate the natural widening of the hips.
- Insert 2 DC into the same stitch along each side every 6–7 rows, alternating between rows with and without increases to create a natural shaping effect.
- Hips to Slit:
- Work rows in DC until the dress reaches the desired length (e.g., just above the knees).
- Begin a slit at one side by splitting into rows instead of rounds and working evenly for the rest of the length.
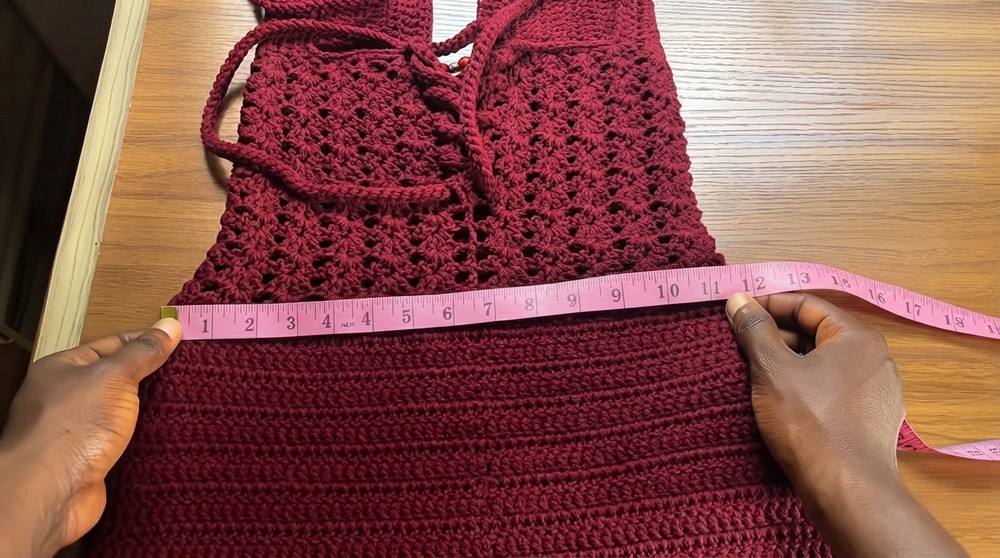
Assembly and Sizing
- Measure Carefully: Custom-sizing is key for this dress. Always stretch the bra cups and body slightly to align with your specific measurements.
- Add Beading: Choose beads that complement the dress and attach them to the neckline chains for decorative accents.
- Finishing Touches: Work I-cords or sturdy chains for the straps. Thread them through the top stitches or side edges of the bra cups to create a comfortable, functional tie for the back.
Conclusion
This personalized crochet long-form dress pattern allows for a wide variety of customizations, from the cup size to the waist and hip measurements. With its delicate shell stitch pattern and optional bead details, this design combines elegance with functionality. Perfect for summer events or special occasions, this dress is a rewarding project for every intermediate crocheter. Adjust, experiment, and make it uniquely yours!