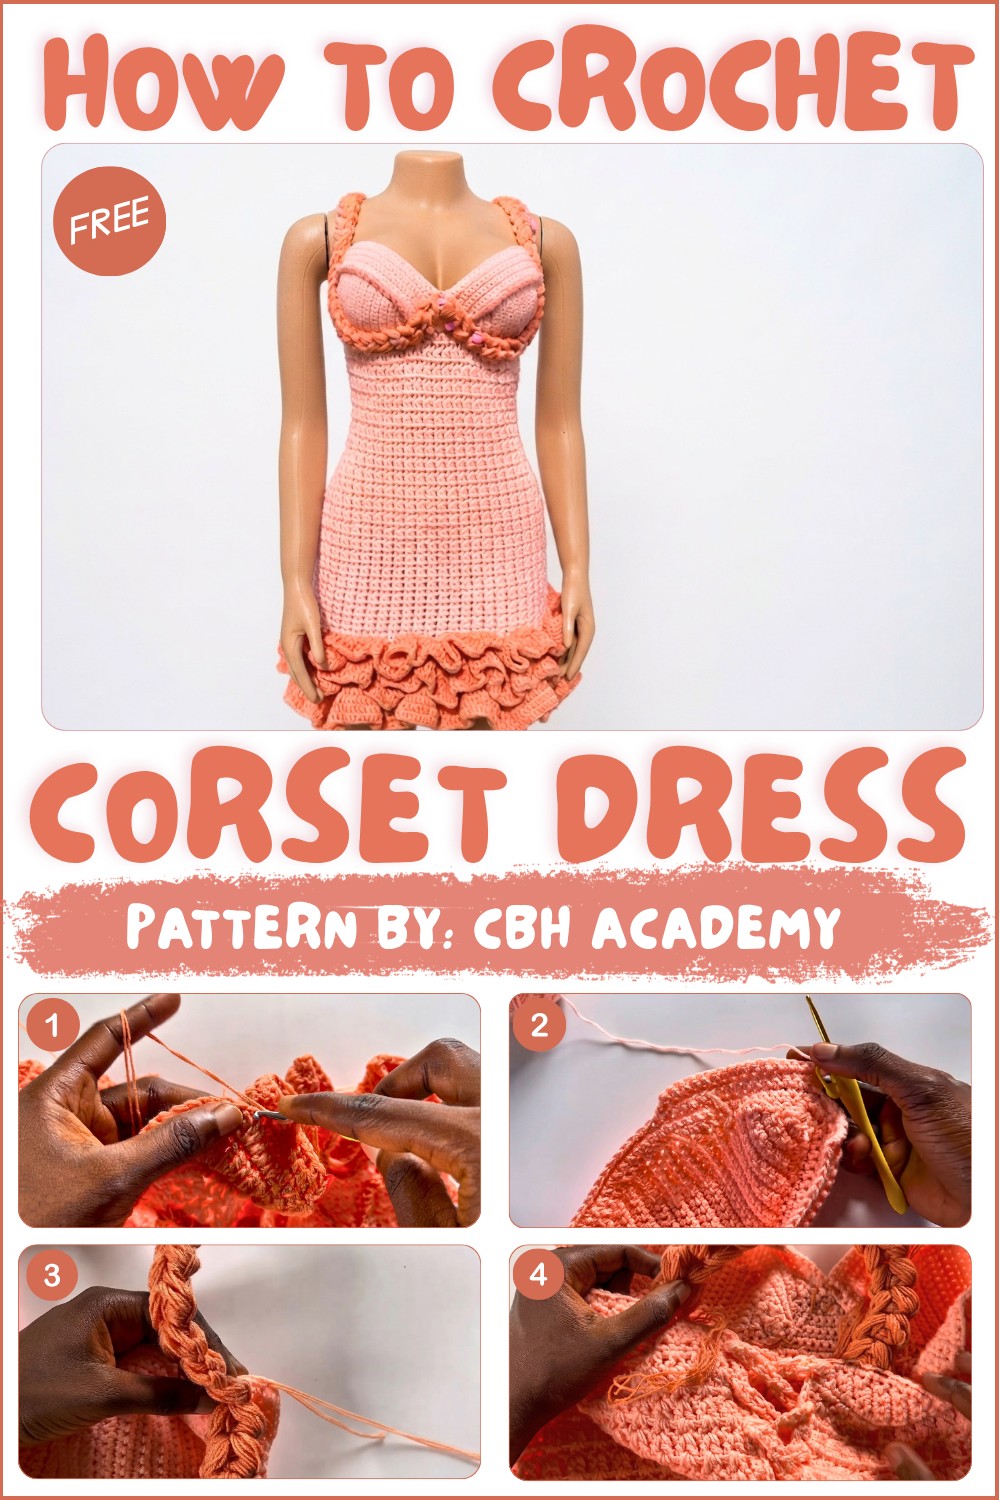
How to Crochet Corset Dress Free Pattern + Step-by-Step Tutorial

Free pattern for a crochet corset dress that combines a fitted waist, flowing skirt, and easy shaping for a stylish & chic look.
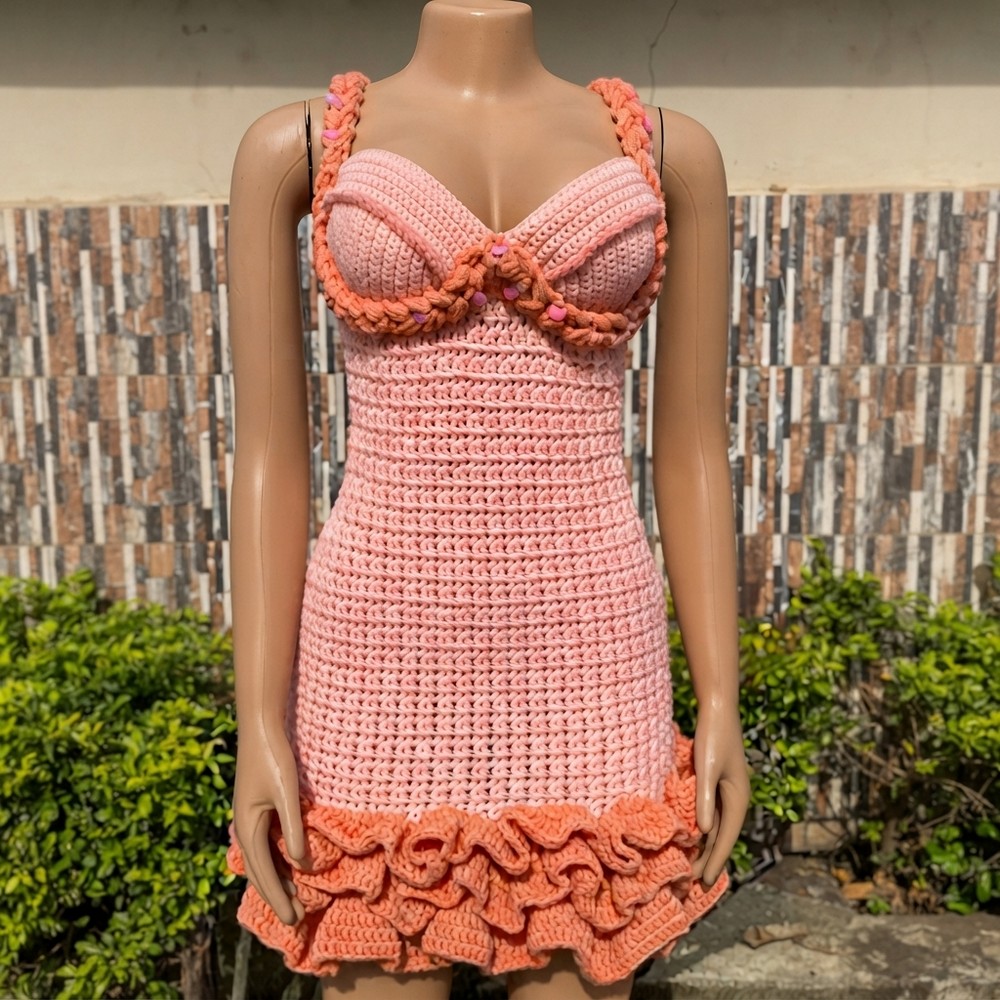
I discovered a beautiful handmade dress that feels both elegant and comfortable. It comes from CBH Academy, a crochet channel known for its easy-to-follow and friendly teaching style. The dress stands out because it fits tightly around the waist like a corset and flows smoothly down, creating a lovely shape.
Easy Crochet Corset Dress Tutorial with Free Pattern
The textured crochet pattern adds a pretty detail that makes the dress look special. It’s perfect for parties or any time you want to look nicely dressed. The design is stylish yet comfortable, thanks to the way it’s made with crochet.
To make this dress, you start by creating the top part that fits snugly around the waist. Special crochet techniques are used to shape the dress so it hugs the body well. After finishing the top, the skirt is added, which flares out gently. The dress is made mostly with simple crochet stitches, and all parts are joined neatly to give a clean finish. Straps or sleeves are then attached to support the dress and add style.
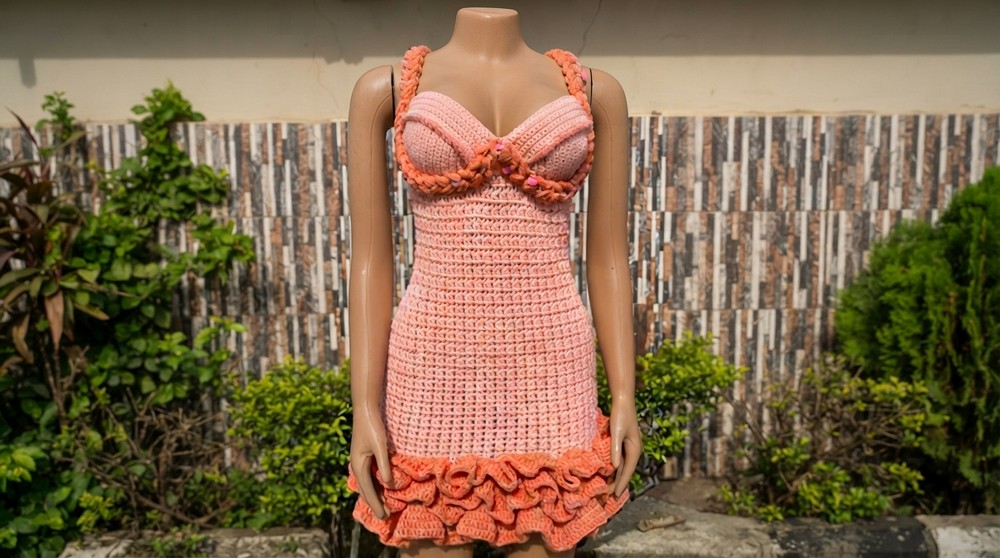
This dress is inspired by traditional corsets that shape the waist tightly. But this crochet version is soft and comfortable, giving a fresh look. The pretty stitch patterns look like lace, adding a delicate touch. It’s a great example of how classic crochet can be turned into modern, wearable fashion that’s easy to make and beautiful to wear.
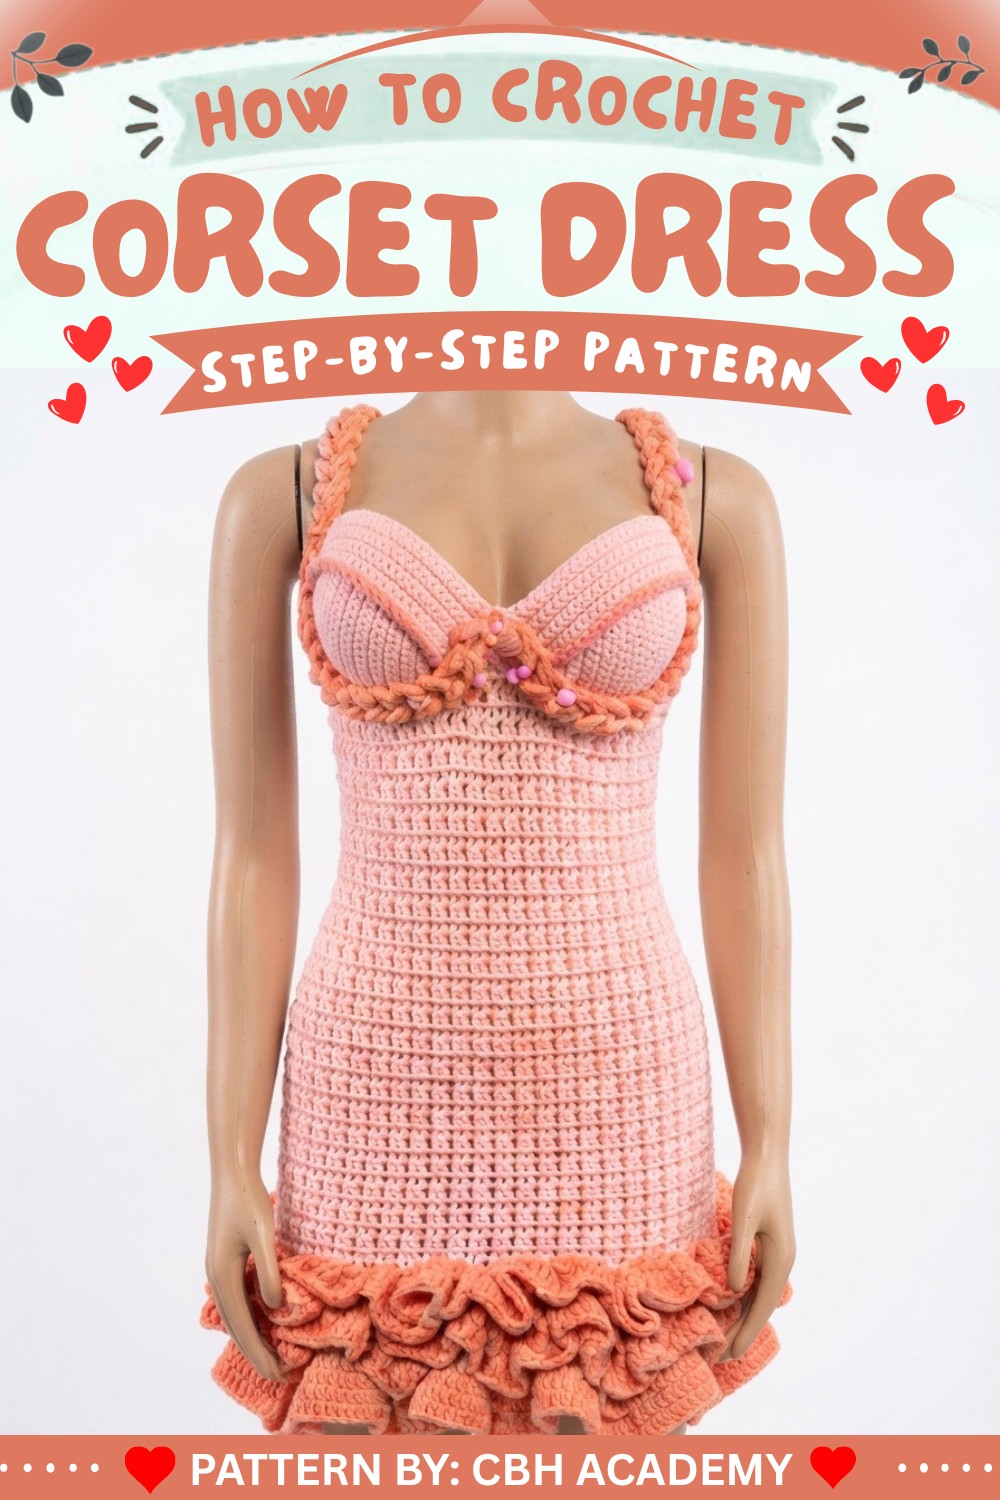
Crochet Corset Dress with Ruffles and Braided Detailing
The crochet corset dress is an impressive and feminine wardrobe piece, constructed from joined cups, sculpted “wings,” a cinched body, a dramatic ruffled hem, and unique braided straps that provide both structure and decorative flair. With shaping to flatter the body and custom fit instructions, this dress is both a satisfying technical adventure and an eye-catching finished project.
Pattern Important Tips
Precision and Fit
- Measure as you go: Use a tape measure at each stage—cups, wings, and body—matching your own bust, waist, and hip dimensions.
- Stitch markers: Mark start and end points for wings, body, and decrease/increase rounds for accuracy.
- Symmetry: Work both wings and all straps to identical stitch and row counts for balanced results.
- Practice ruffles: Test your ruffle tension and technique on a swatch for consistency and fullness.
- Adapt the length: The dress is easily adjustable in length and width; always check your progress on your body or a dress form.
Skill Level
Intermediate to Advanced
This project is suitable for confident crocheters experienced with shaping (increasing/decreasing), working in rows and rounds, joining pieces, and applying decorative surface techniques like ruffles and braided straps.
Materials
- Yarn: Soft, medium (category #3 or #4) weight yarn in two shades (main color and ruffle/strap accent).
- Hooks: 2.5 mm for cups; 3.5 mm for wings; 4.0 mm for the body; 4.5 mm for ruffles and braided straps.
- Tapestry/darning needle
- Scissors
- Stitch markers
- Measuring tape
Gauge and Stitch Pattern
- Gauge: Varies depending on yarn and hook size. Example: Single Crochet (SC), Double Crochet (DC), and Closed V-stitch—(2 DC in one stitch, skip one stitch, repeat).
- Main stitch patterns:
- Single Crochet (SC) for joins, wings, and borders
- Closed V-stitch (no-chain V, as described below) for the dress body
- Double Crochet (DC) for ruffles
- Braided cable/strap created with multiple strands and incomplete DCs
Stitch Abbreviations
- ch = chain
- sc = single crochet
- dc = double crochet
- sl st = slip stitch
- rep = repeat
- st(s) = stitch(es)
Special Stitches
- Closed V Stitch: 2 dc in one stitch, skip next stitch; repeat.
- Braided Strap (Thick): Made with 6 strands, chaining and incomplete dcs, forming a chunky, textured band.
- Ruffle Peaks: Extra dc increases (“2 dc in one stitch”) added at peak and low points for fullness.
Notes for Starting the Pattern
- For optimal fit, always begin by accurately measuring bust, waist, and hips.
- Adjust hook size as specified for each section for shaping.
- Always keep even tension, especially for the joined wing areas and the body section.
- Remember to mark key reference points: cup ridge, beginning/end of wings, hip points, decrease points.
- Customization is easy by adding or removing stitches/rows as you see fit for your measurements.
Pattern
Joining the Cups
- Step 1: With the same hook used for the cups (2.5 mm), make a slip knot.
- Step 2: Insert hook at outer edge of first cup (first/last stitch).
- Step 3: Attach slip knot, ch 1.
- Step 4: Insert hook in same stitch on second cup; pull up loop and sl st (cups now joined by one chain).
- Step 5: Sl st again in the next stitch of the first cup, turn work.
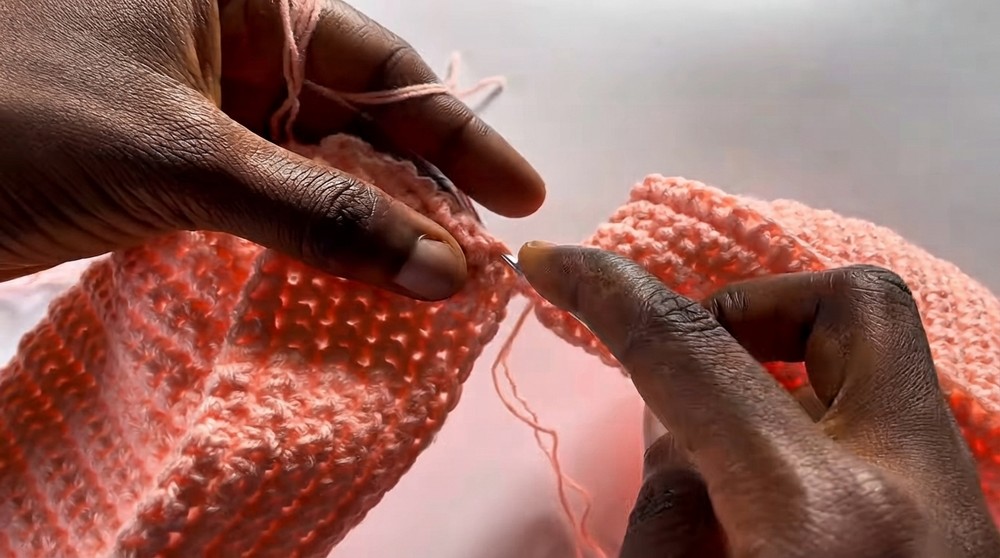
- Step 6: Row 1: 2 sc into chain, sl st twice on the second cup, turn.
- Row 2: 3 sc (1 in previous sl st, 2 others as described), sl st twice in the first cup, turn.
- Rows 3–10: For each new row, add one more sc at the start, continuing to slip stitch twice at each join and turning after every set.
- Repeat until you have 10 rows or until the join reaches the bottom ridge of the cup.
- Fasten off and repeat for the other side if needed.
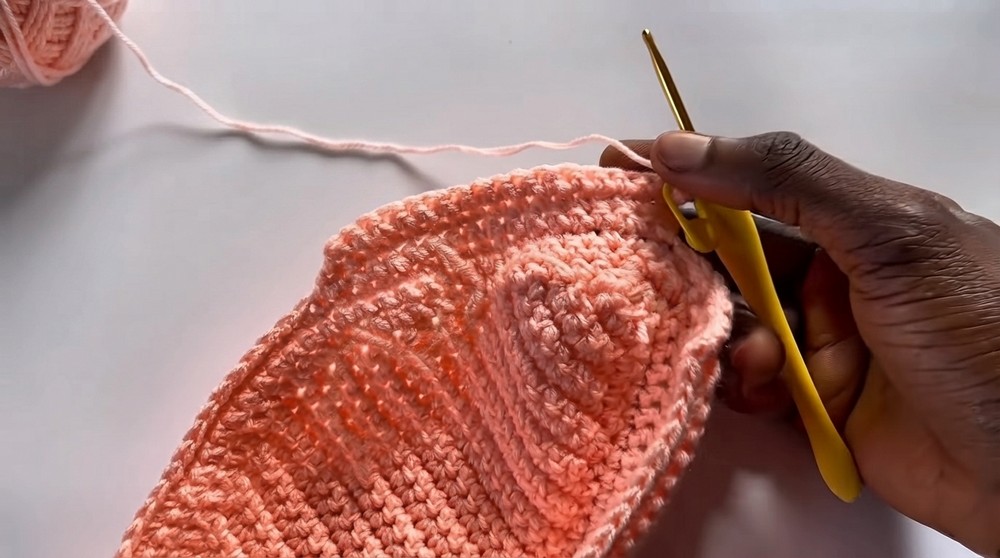
Forming the Wings
- Switch to a 3.5 mm hook.
- Mark stitches: From the ridge point, count 15 stitches outward; mark at 18th for the center, and two after ridge for wing end.
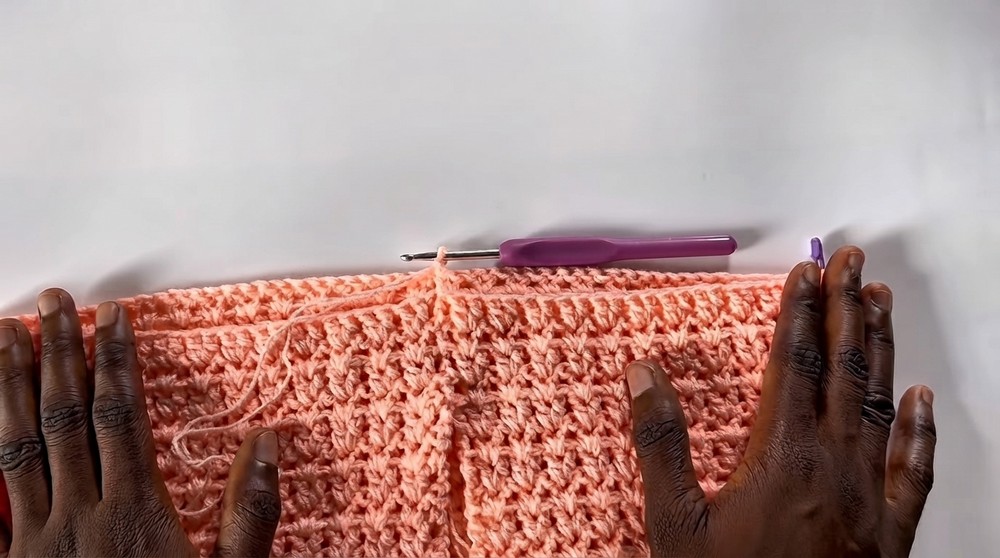
- Row 1: Attach yarn at first marker, ch 1, and work one sc in each marked stitch (17 sc in example).
- Row 2 (Increase at tail): Ch 1, turn, 2 sc in first st (place marker in first), one sc in each st to two before end, skip, and one sc in last st (decrease at center).
- Row 3 (Decrease): Ch 1, turn, skip first st, sc in next and every st across.
- Continue:
- Even-numbered rows: Increase at tail (2 sc first st), decrease at center (skip penultimate st).
- Odd-numbered rows: Decrease at center (skip first st), sc across.
- Repeat this 2-row sequence until only 2 sc remain.
- Typically about 32 rows (adjust for your initial wing stitch count).
- Repeat wing on opposite side, ensuring equal stitch and row count.
Beginning the Dress Body
- Switch to 4.0 mm hook.
- Attach at end of one wing, ch 1.
- Work one sc in each row end down the wing, across the cup join, and up the opposite wing.
- Count and verify total number of single crochets for symmetry (should be even).
Closed V Stitch Skirt Body (Rows)
- Confirm total stitches are even; add one if needed.
- Row 1: Ch 3 (counts as dc), skip one st, 2 dc in next st, skip one st; rep across, end with dc in last st.
- Row 2/Onward: Ch 3, turn. In each V stitch (the pair from previous row), make 2 dc; repeat across, end with 1 dc in top of starting ch-3.
- Continue without increasing/decreasing until piece reaches from underbust to the waist (typically 5–6 inches).
Joining and Shaping the Skirt (Rounds)
- After reaching the waist-to-hip length, slip stitch to join round at end of last row.
- Work in rounds: Ch 3, turn, continue V stitch pattern as established, working in the spaces between previous row’s dc pairs.
- For a fitted waist: continue even rounds until ready for hip increases.
Hip Increases
- Place markers at two side points (aligned to hips).
- Increase Rounds: On even rounds, when you reach the marked spot, in the space between V stitches, make an extra V stitch (2 dc). Continue as established.
- Alternate increase (even numbered) and steady (odd numbered) rounds:
- Even rounds: increase at marked hip points.
- Odd rounds: work as established, moving stitch markers upward each round.
- Repeat until dress body stretches to your desired hip measurement (measure flat and doubled, accounting for stretch).
Lower Skirt and Decreases
- After hips, continue in round with no increases for desired length before decreasing.
- To create a pencil silhouette, alternate decrease rounds (as at hips but in reverse):
- In marked decrease point, work 1 dc, ch 1, 1 dc (instead of a V).
- Next round, resume normal V stitch over the chain 1 space.
- Repeat for three sets or as desired for a tapered effect.
- Continue in even V-stitch rounds until desired dress length (from underbust to hem, typically 19–20 inches).
Edging and Borders
- Switch to 4 mm hook.
- Work a round of sc evenly along lower edge and up the back opening, swapping to 2.5 mm hook around the cups for neatness.
- At every orientation change or wing/cup transition, work 3 sc in the turning point; at joins, use 2-sc decreases to draw edges together.
- Fasten off.
Ruffle Skirt
- Attach contrast color yarn and use 4.5 mm hook for movement and drape.
- Work three “wave”/ridge guide rounds (marking peaks and valleys), making sc up and down the body of the skirt following previously marked lines.
- Ruffle Round 1: Attach yarn, ch 3, 1 dc in next st, 2 dc in following st; repeat for entire round (increasing creates waves).
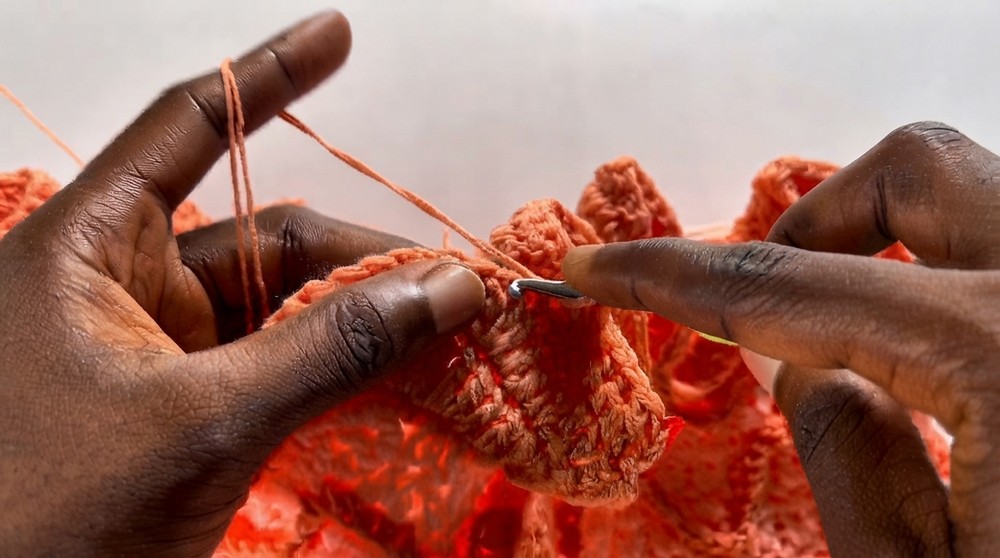
- Ruffle Round 2: Ch 3, dc in next 2 sts, 2 dc in next st; repeat.
- Further rounds: Continue evenly in dc, adding extra dc at peaks/valleys for fullness as needed. Add as many rounds as desired for ruffle depth.
Braided Straps and Lacing
Back Lacing Strap
- Use 4 mm hook and main color yarn.
- Ch 4, dc in first ch for a short foundation.
- Ch 3, turn, dc in ch-3 for next link; repeat for approx. 65 inches (or as long as you desire).
- Fasten off; weave in through open V-stitch spaces for crisscross lace up back.
Decorative Braided Straps
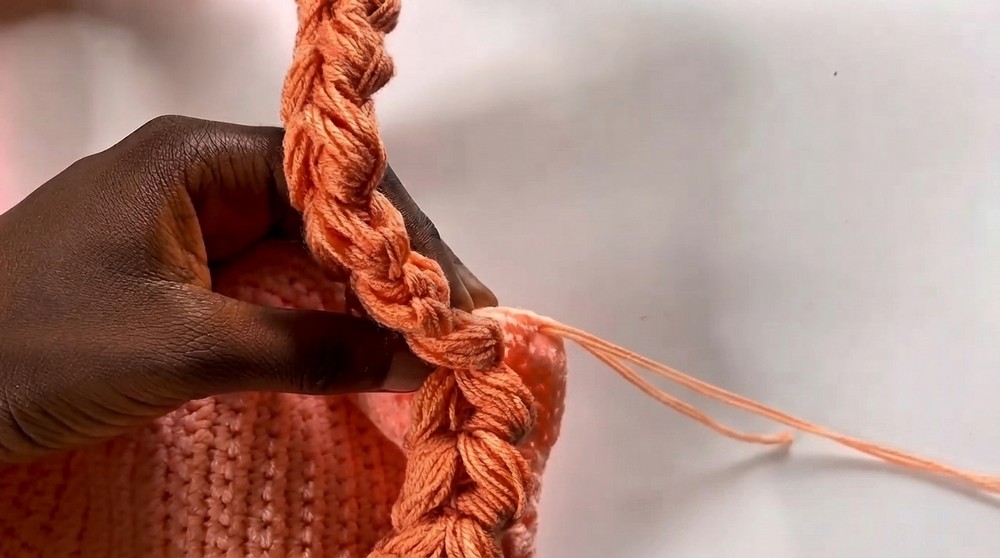
- Use 4.5 mm hook and 6 strands held together.
- Ch 3, work 2 incomplete dc into first ch, yo and pull through all loops.
- Ch 1, turn, work 2 incomplete dc in previous ch-1 space, yo and pull through all.
- Repeat, always turning after each ch 1, until reaching the desired length (e.g., 46 in or specified count of “braids” for cup/shoulder/strap placement).
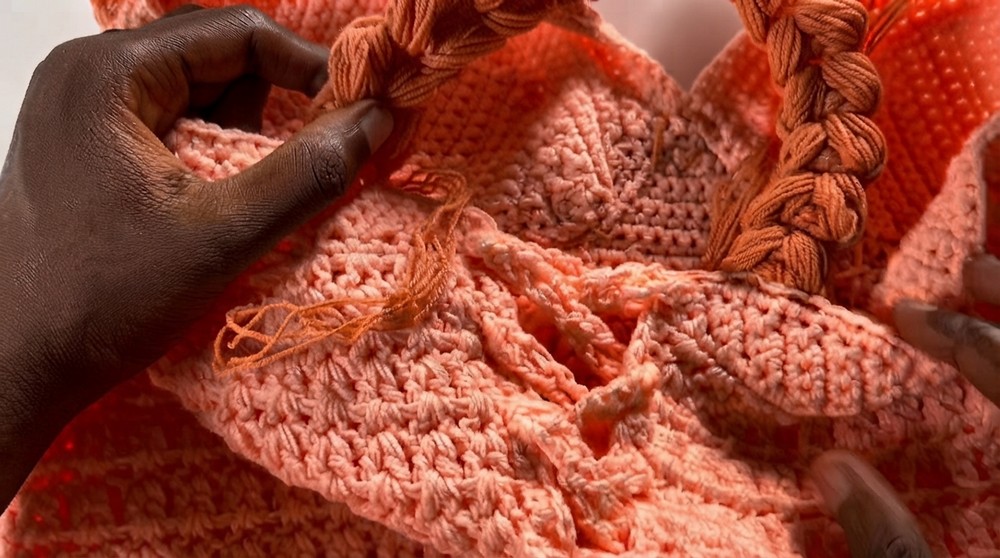
- Secure at strap, cup, and back points according to your measurement and fitting.
- Tack down securely with tapestry needle.
Assembly and Sizing
- Measure and check fit at each phase, adjusting as needed for bust, waist, and hip.
- Ensure cups, wings, and ruffle rows are symmetrical and evenly joined.
- Braided straps can be customized in placement—test on body or dress form for optimal fit and shaping.
- Sizing depends heavily on personal measurements; always reference actual body dimensions for the most flattering fit.
Conclusion
This crochet corset dress pattern combines foundational shaping, innovative textural details, and customizable flourishes. Each section encourages thoughtful measurement and mindful construction, resulting in a tailored, dynamic, and feminine garment. Unique touches such as the closed V-stitch, ruffled hem, and thick braided straps blend technical skill with creativity, offering a challenging but deeply rewarding experience for the advanced maker. This pattern is easily adjustable, so every piece created will be uniquely yours both in fit and in artistic expression.