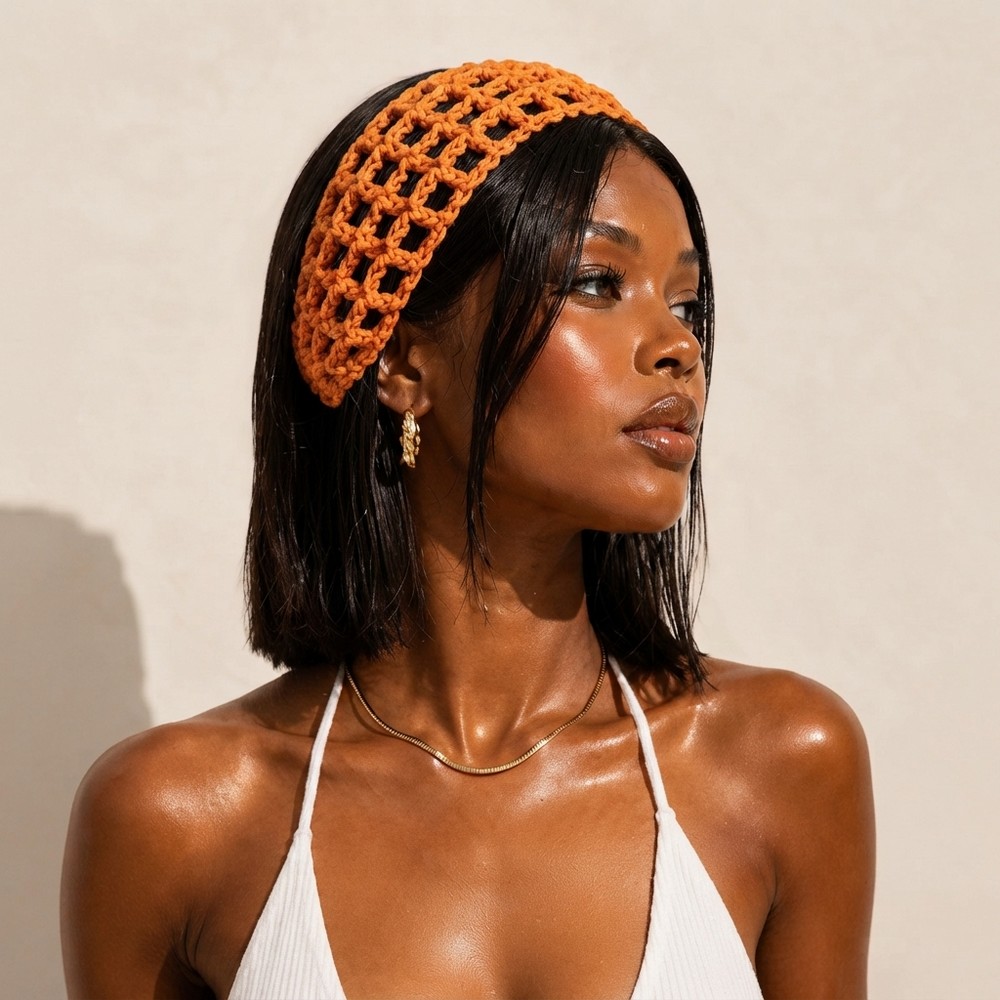
Easy Crochet Mesh Headband for Beginners – Free Pattern

Enjoy a crochet mesh headband with a free pattern with this comfy, stylish piece is perfect for beginners and adds a fresh touch to any look.
A simple headband can add a fresh touch to your everyday look while keeping your hair tidy and stylish. The design from CBH Academy, a crochet channel that teaches in a clear and friendly way, uses a light and open mesh structure that feels comfortable to wear.
Crochet Mesh Headband Free Pattern You’ll Love
Its shape fits well around the head, making it useful for daily activities, workouts, or casual outings. This headband combines ease and style, giving you an accessory that looks good without feeling tight or heavy.
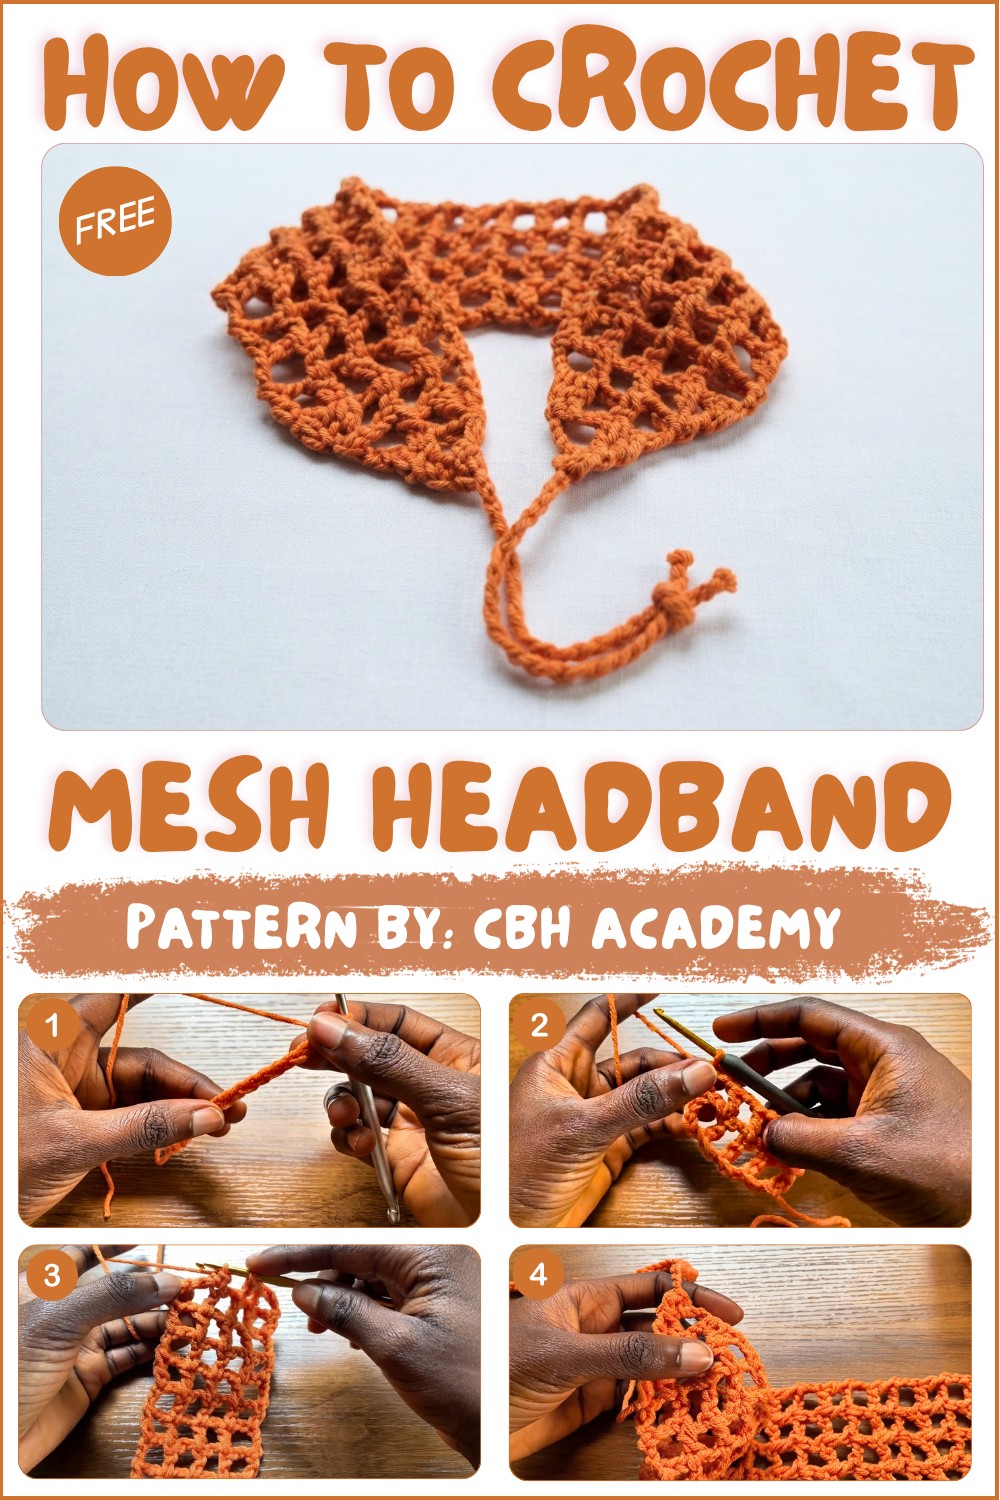
The headband starts with a chain that matches the size of your head. Then, rows of basic crochet stitches like chains and double crochets create the mesh design with small open spaces. This makes the headband breathable and flexible. The edges are finished simply but neatly, so it holds its shape well. Using soft and light yarn helps make the headband comfortable for long use. Because the stitch techniques are easy, this project is perfect for beginners who want a quick and attractive result.
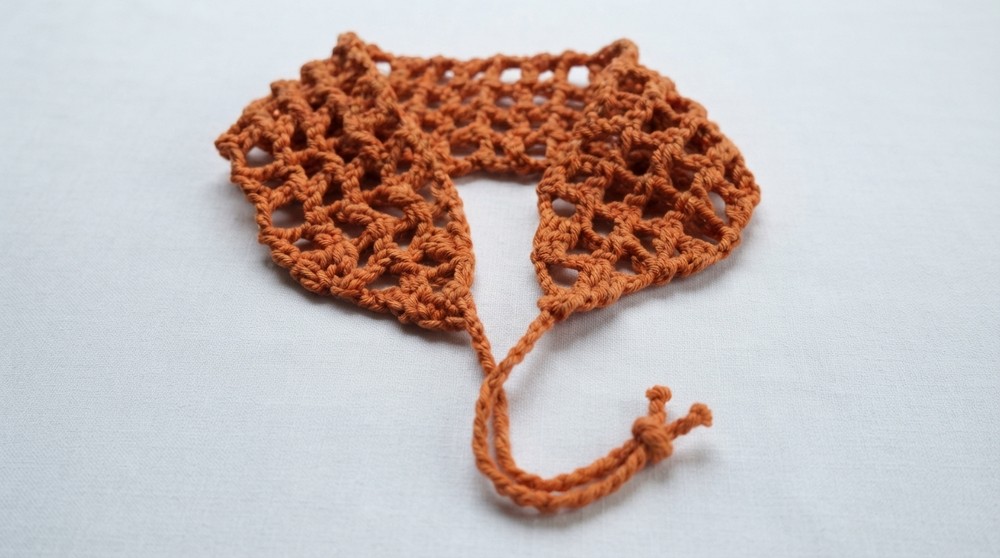
The design is inspired by traditional lace styles but made casual and modern with crochet. The open mesh keeps the headband cool and suitable for many different occasions. This simple yet charming look shows how classic crochet techniques can make useful and attractive accessories that fit well into everyday fashion.
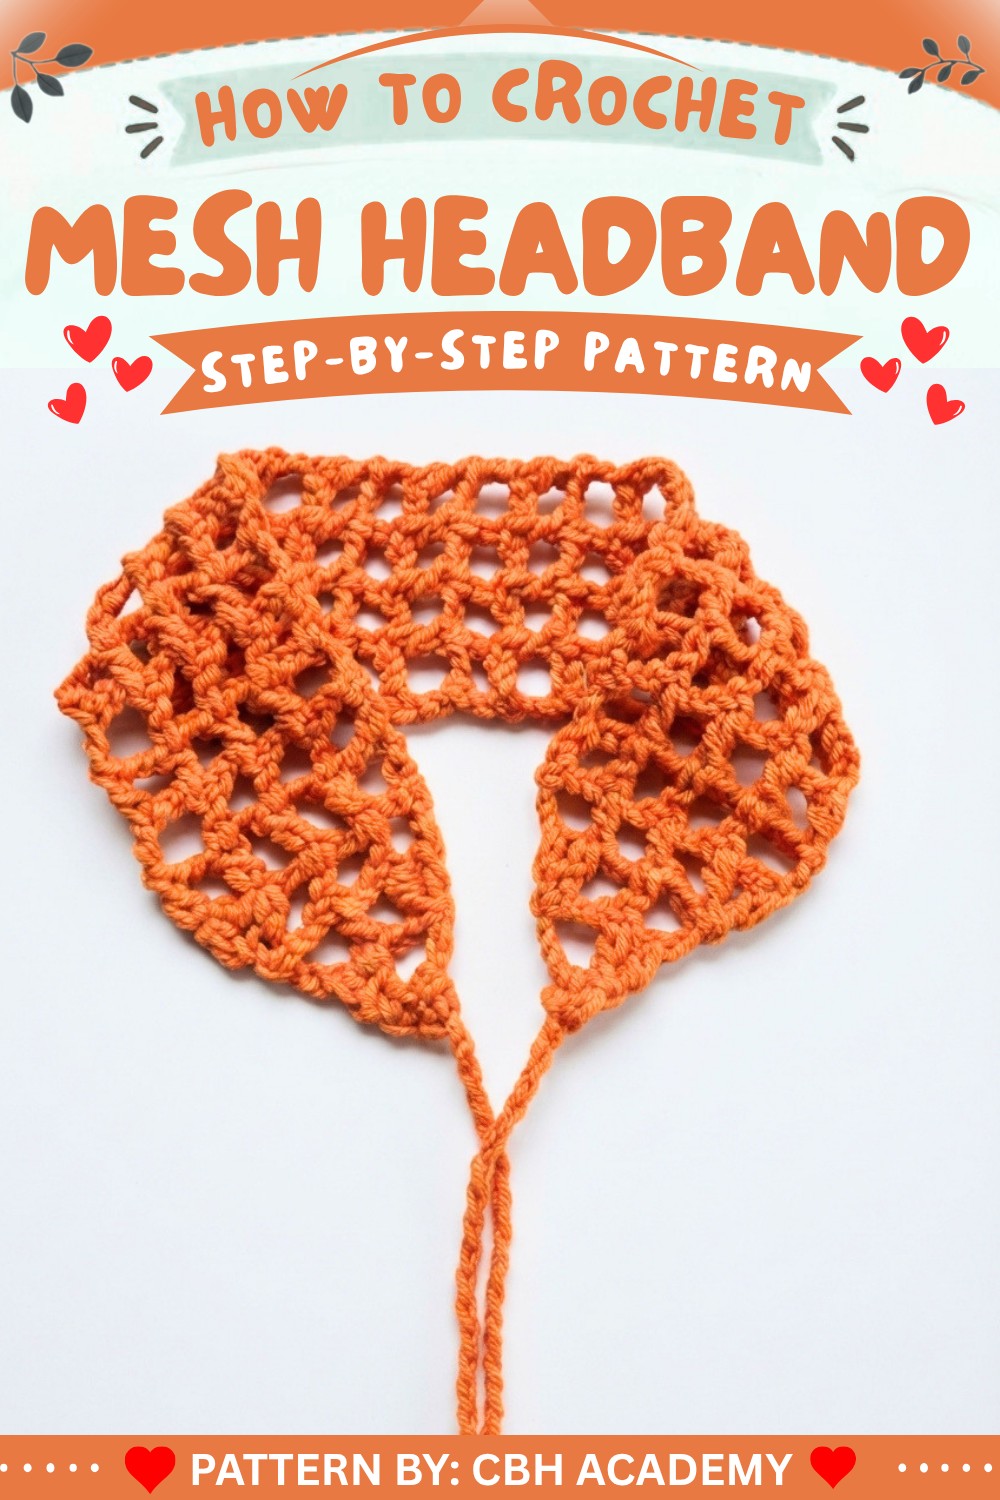
Mesh Crochet Headband Pattern
A mesh crochet headband brings a touch of handmade elegance and comfort to everyday outfits. Designed to be lightweight, stretchy, and adjustable, this stylish accessory is an excellent project for practicing basic stitches while mastering simple shaping and structure. The airy, open design is perfect for warmer temperatures and tames flyaways in style. Read on for all the steps and tips to crochet your own headband from soft milk cotton yarn.
Pattern Important Tips
Reliable Results
- Work loosely: Gentle tension is key for stretch and comfort—avoid tight stitches so the mesh remains flexible.
- Count accurately: Consistently track your chains and rows to achieve symmetrical ends.
- Back bump foundation: Working into the back bump of the starting chain creates a straighter and sturdier edge.
- Even turning chains: Be sure to make the correct number of chains at the turning point (ch 5 or ch 4) to maintain the mesh grid.
- Tapering technique: Focus during the decreasing rows, as these taper the headband ends for graceful ties.
- Finishing: Secure, neat ends are essential for both appearance and durability. Weaving and optionally fusing tips will prevent fraying.
- Sizing: Customize the length of the straps and total rows for the wearer’s head circumference, especially for children or adults with different hair volumes.
Skill Level
Beginner
This pattern is approachable for new crocheters yet engaging enough for more experienced makers who want a quick project.
Materials
- Yarn: Soft milk cotton yarn (lightweight recommended)
- Hook: 3.50 mm crochet hook
- Tools: Tapestry or darning needle, scissors
- Optional: Lighter (for fusing ends after cutting – only for synthetic yarns)
Gauge and Stitch Pattern
- Gauge: Not crucial due to the adjustable nature, but approximately: 1 mesh box = 1.5 cm square using 3.50 mm hook and milk cotton yarn
- Stitch Pattern: Open mesh (double crochet and chain spaces)
Stitch Abbreviations
- ch = chain
- sc = single crochet
- dc = double crochet
- sl st = slip stitch
- dec = decrease (2 double crochet together/incomplete dc together)
- st(s) = stitch(es)
Special Stitches
- Mesh Box: Made by skipping 2 chains, then working a double crochet; chains form the mesh “walls.”
- Double Crochet Decrease (dc2tog): Yarn over, insert in first stitch, pull up a loop, yarn over, pull through two, yarn over, insert in next stitch, pull up a loop, yarn over, pull through two, yarn over, pull through all loops.
Notes for Starting the Pattern
- A slip knot is used to begin the foundation chain.
- Chains at the start of each row count as part of the mesh structure; maintain accuracy to prevent accidental increases or decreases.
- Use stitch markers at row milestones or at mesh boxes if you wish for guidance, though not mandatory.
- Replacement for “milk cotton” can be any soft, non-scratchy yarn with a bit of elasticity.
- Optional: Use a lighter only if your yarn is synthetic. Do not use a flame on natural fibers.
Pattern
Foundation Chain
- Step 1: Make a slip knot and place it on the hook.
- Step 2: Ch 17.
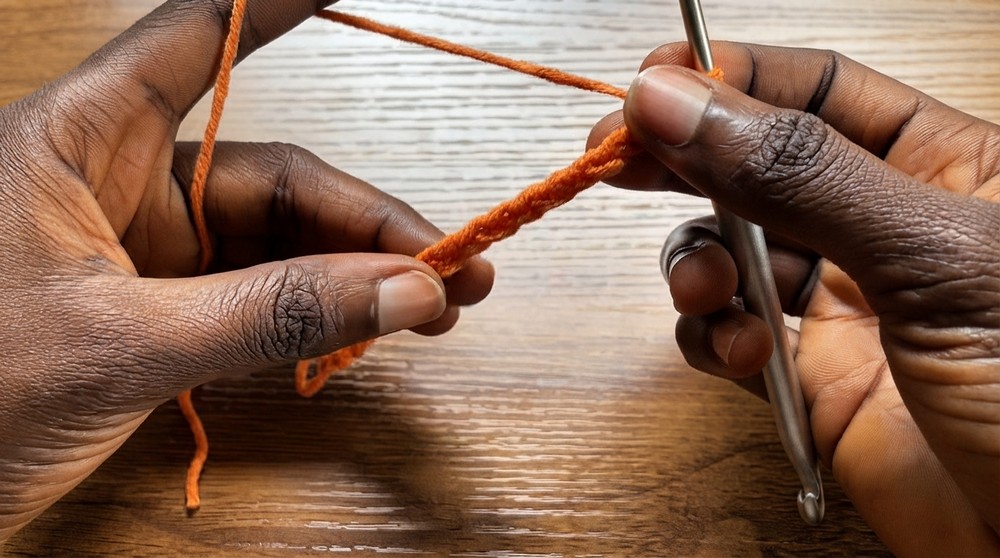
(This forms the width of the headband.)
Row 1 (Foundation Row)
- Skip the first 7 chains from the hook.
- In the 8th chain’s back bump, dc.
- Pattern for Row 1:
- Ch 2, skip the next 2 chains, dc in the next chain; repeat from * until the end of the row.
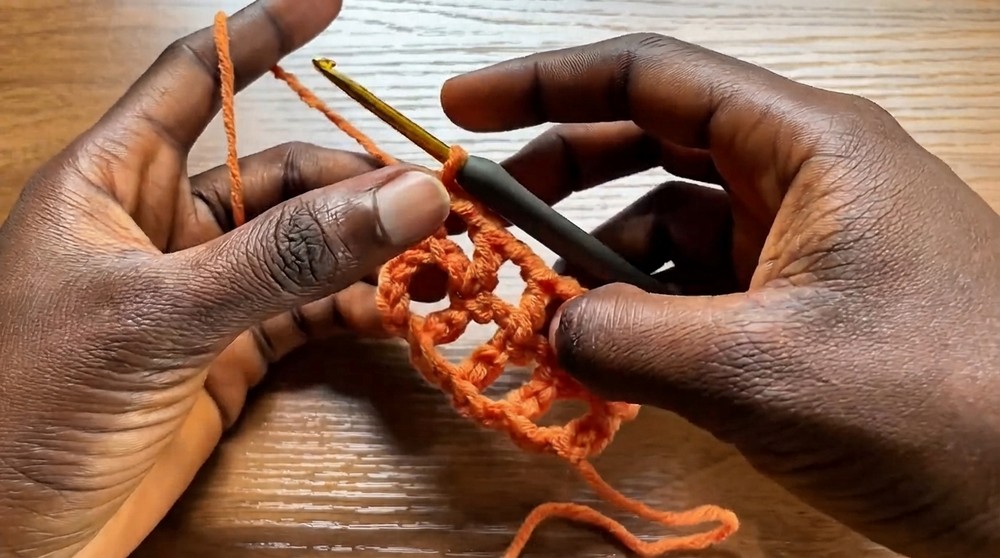
- Ch 2, skip the next 2 chains, dc in the next chain; repeat from * until the end of the row.
- At row’s end, turn your work.
- The row should have a series of evenly spaced mesh boxes.
Rows 2 through 22 (Mesh Body)
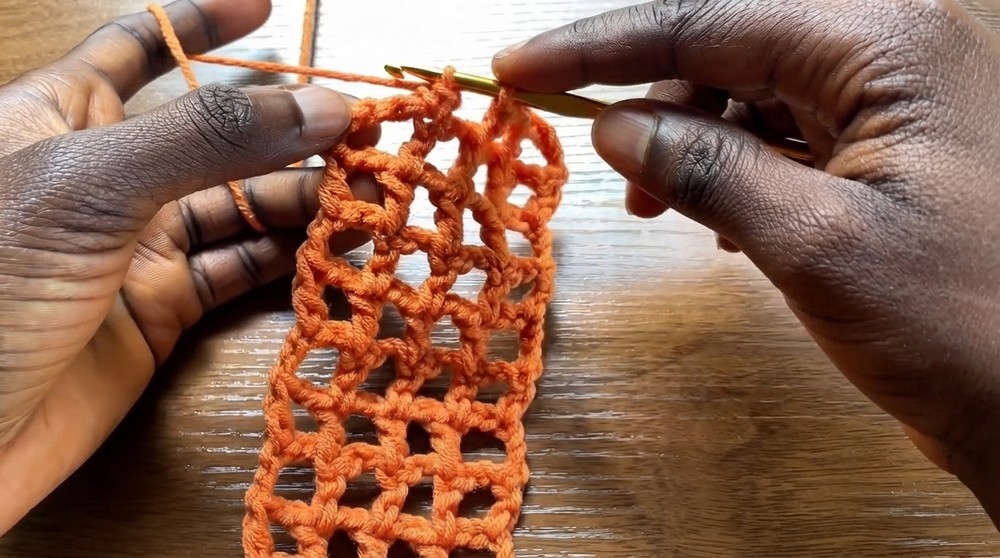
- Step 1: Ch 5, turn.
- Step 2: Dc in the double crochet stitch of the row below.
- Step 3: Ch 2, skip the chain space, and dc in the next dc of the row below.
- Repeat across each mesh box.
- Continue these rows until you have a total of 22 rows or your desired length for the main headband (adjust row count for head size, more or less as needed).
Tapering/Decreasing the Ends
- To begin tapering, after your last normal mesh row:
- Step 1: Ch 4 (instead of 5), turn.
- Step 2: Dc in the next dc of the row below.
- Work mesh pattern across the row as established until you reach the last two double crochets.
- In the final two double crochets of the row, work a double crochet decrease (dc2tog)—this reduces the width by one box.
- Continue this process, decreasing at each row’s start and end, until only one mesh box remains (the headband end will have a single mesh box at the tip).
Finishing the Strap (First Side)
- Step 1: Ch 3, turn.
- Step 2: In the remaining mesh box, sc.
- Step 3: Sl st in the chain-3 space.
- Step 4: Ch 50, creating a long strap.
- Fasten off securely; cut the yarn (leave a 4–6 inch tail for weaving).
Finishing the Strap (Second Side)
- Repeat the process for the opposite short end:
- Attach yarn, ch 3, sc into the mesh box, sl st in chain space, then ch 50 for the strap.
- Fasten off, leaving a sufficient tail.
Securing Ends
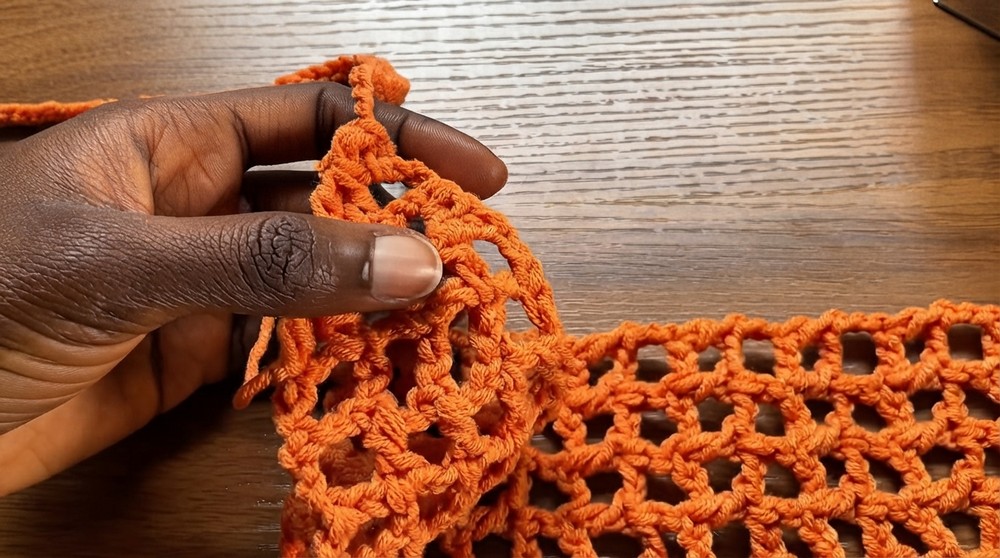
- Use the tapestry/darning needle to weave in all yarn tails neatly into the headband/straps.
- (Optional) Carefully melt the strap tips with a lighter to securely fuse synthetic yarn ends (never use flames on natural fibers).
Assembly and Sizing
- To assemble, simply tie the straps behind your head or under your hair.
- Finished headband in this pattern fits an average adult. For smaller or larger sizes, add or subtract rows between the tapered ends or adjust the length of the starting chain for width.
- Strap length can also be lengthened or shortened per preference for tying ease.
Conclusion
The mesh crochet headband offers a modern, minimalist accessory that combines breezy comfort and easy wearability. Designed to be customizable in length, width, and strap size, it is approachable for beginners yet still satisfying for those looking for a quick, stylish make. The open mesh texture works beautifully in a variety of yarns and colors, making it easy to create unique variations for any wardrobe or gifting occasion. This project offers a practical way to build crochet confidence while adding a touch of handmade charm to daily looks.