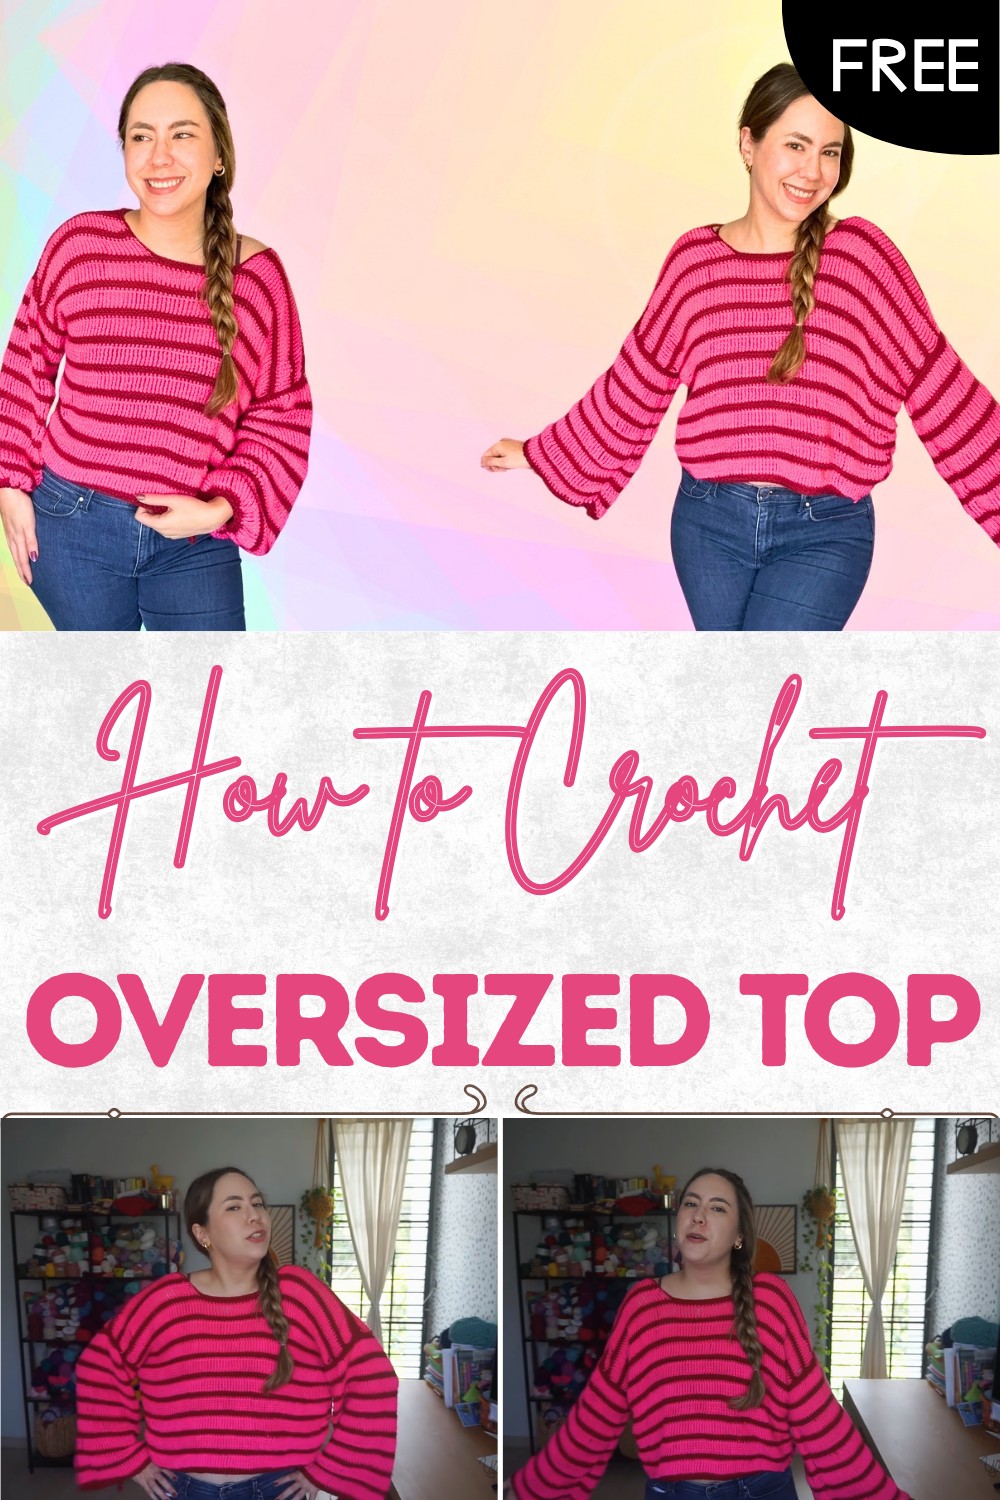
Easy Crochet Oversized Top Pattern – No Hassle and Free
Slip into comfort and style with this free crochet oversized top pattern that guides you to effortlessly create a breezy handmade favorite.
Soft fabric drapes gently across the shoulders and brings a look that feels relaxed and stylish at the same moment. Loose shape lets air flow freely so moving around or staying cool on a warm day becomes simple. Many people love how the crochet oversized top pattern can be worn for comfort at home or as a special outer layer for trips outside. Pretty lacy spaces and gorgeous shapes give each top a modern yet timeless style.
Free Crochet Oversized Top Pattern for All Sizes
This garment fits almost any body type and flatters every figure with its easy, forgiving design. Such tops are popular for their ability to hide what you want and show off a bit of personality with color and openwork stitches. The pattern is great for making gifts or getting creative with leftover yarn. Everyone can enjoy how practical and lovely it feels to slip into this top and use it for several occasions. Try making one and find out how simple clothes can be bold and beautiful.

Oversized Crochet Top with Adjustable Sleeves
Materials
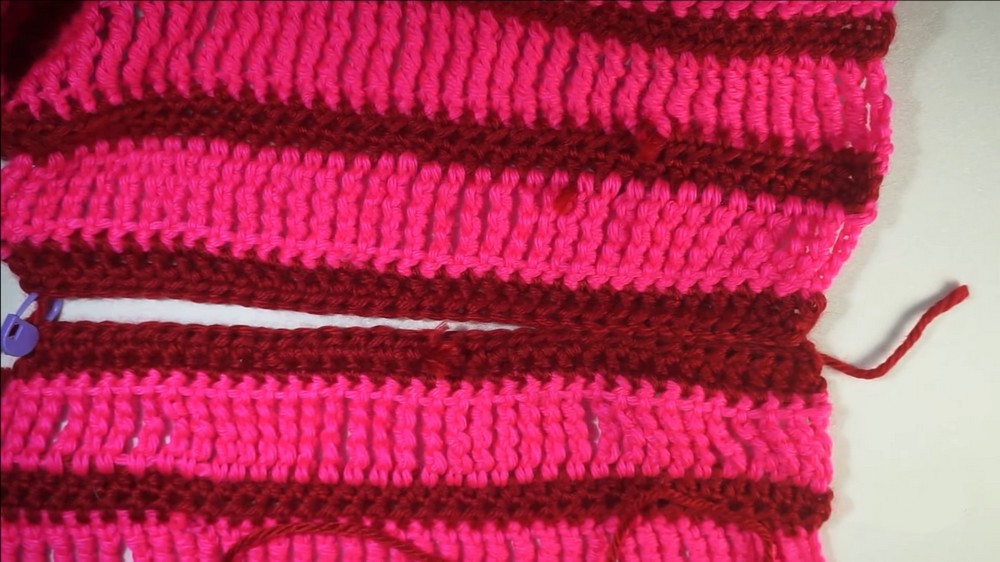
- Yarn: Mighty Stitch from WeCrochet, worsted weight (Colors shown: Pucker and Love Letter. You may use any number of colors or a single color.)
- Crochet Hook: 4.5 mm (US size 7)
- Notions:
- Yarn needle (for weaving in ends and seaming)
- Stitch markers
- Scissors
- Measuring tape
Optional: Additional yarn for sleeve ties and neckline edging.
Key Abbreviations
| Abbreviation | Description |
|---|---|
| ch | Chain |
| st(s) | Stitch(es) |
| hdc | Half double crochet |
| trtr | Extended treble crochet (explained below) |
| dc | Double crochet |
| sl st | Slip stitch |
| RS | Right side |
| WS | Wrong side |
Special Stitches
Extended Treble Crochet (trtr):
Yarn over four times, insert hook into next stitch, yarn over and pull up a loop (6 loops on hook), [yarn over and pull through two loops] five times.
Popcorn Stitch:
Work 5 double crochets into the same st, drop loop from hook, insert hook into first dc, pick up dropped loop, pull through, ch 1 to close.
Special Notes
- Pattern is written for size Medium (oversized fit).
- Starting chains and row counts for different sizes can be adjusted by adding or removing stitches/rows.
- The top is worked in two panels (front and back), seamed at the shoulders and sides, with separately made sleeves.
- All instructions are in US crochet terminology.
Pattern
Main Body Panels (Make 2)
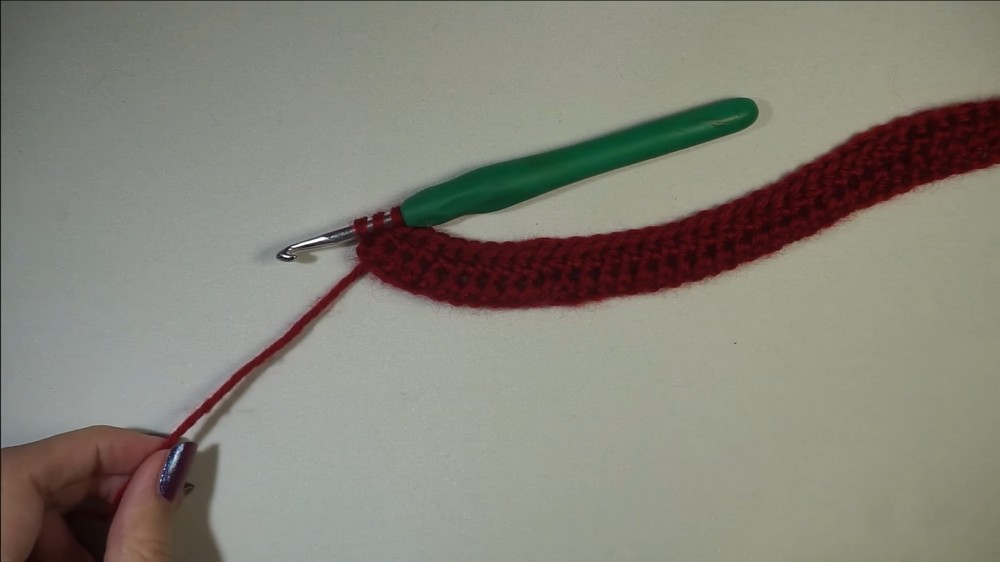
Step 1: Foundation Chain
- With first color (Color A), ch 93 (92 + 1 for turning).
Adjust the chain for different sizes—see notes at end.
Step 2: Setup Rows
Row 1:
- Hdc in second ch from hook and in every ch across. (92 hdc)
- Ch 1, turn.
Row 2:
- Hdc in first st and in every st across.
- Ch 1, turn.
Step 3: Begin Pattern Repeats
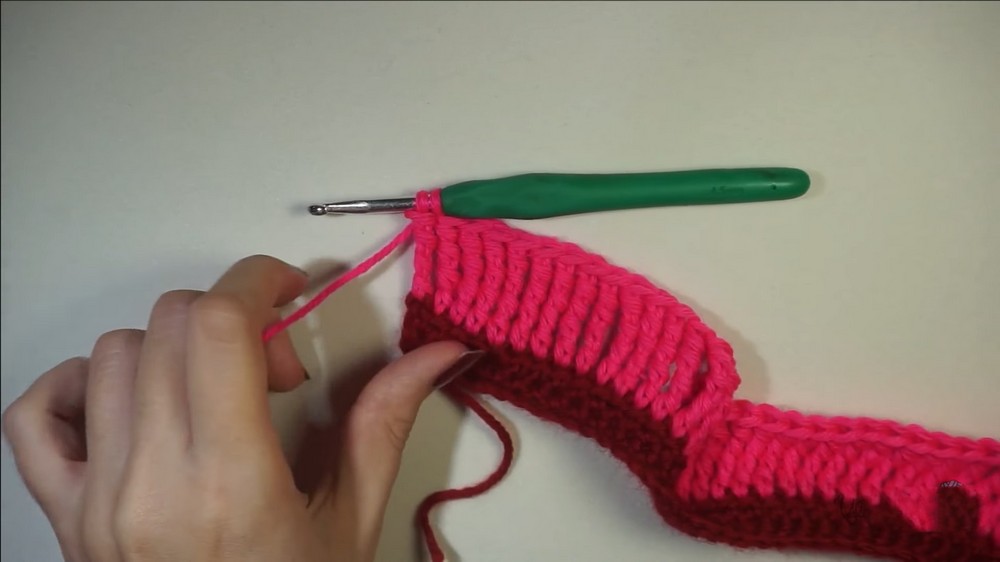
Row 3 (Begin Striped Section):
- Change to second color (Color B) on the last stitch.
- Attach Color B and secure with a knot if preferred.
- Ch 6 (counts as first trtr).
- Extended Treble Crochet (trtr) in each hdc across.
- Turn.
Rows 4–5:
- Change color back to Color A as preferred.
- Row 4: Hdc in first st and in each st across. Ch 1, turn.
- Row 5: Repeat Row 4.
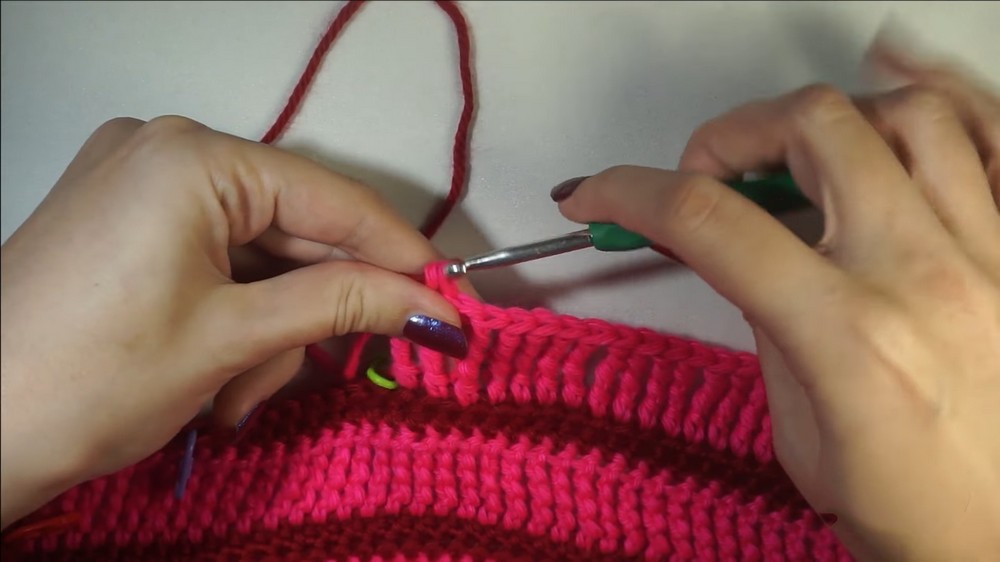
Row 6:
- Change to Color B on last st.
- Ch 6, trtr in each st across. Turn.
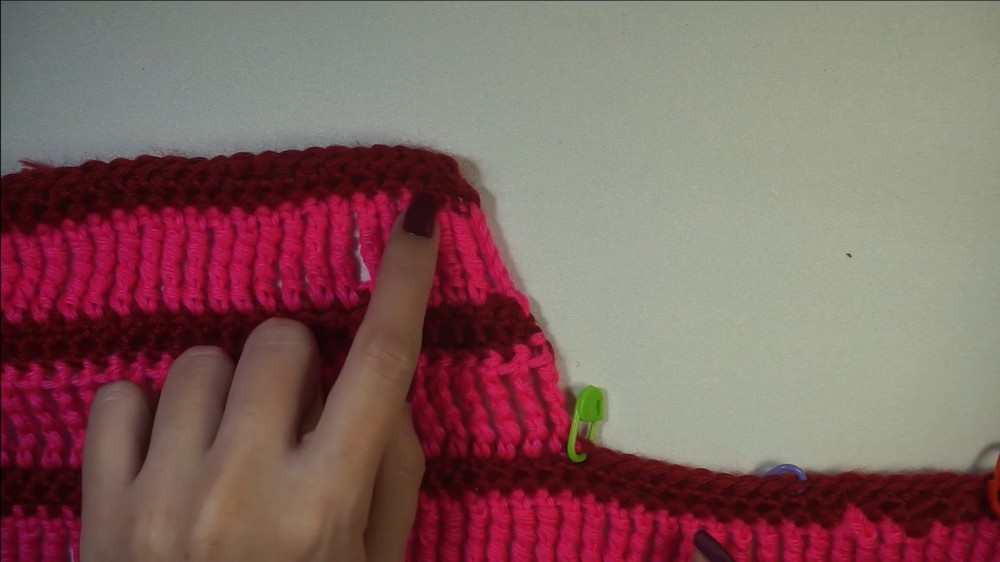
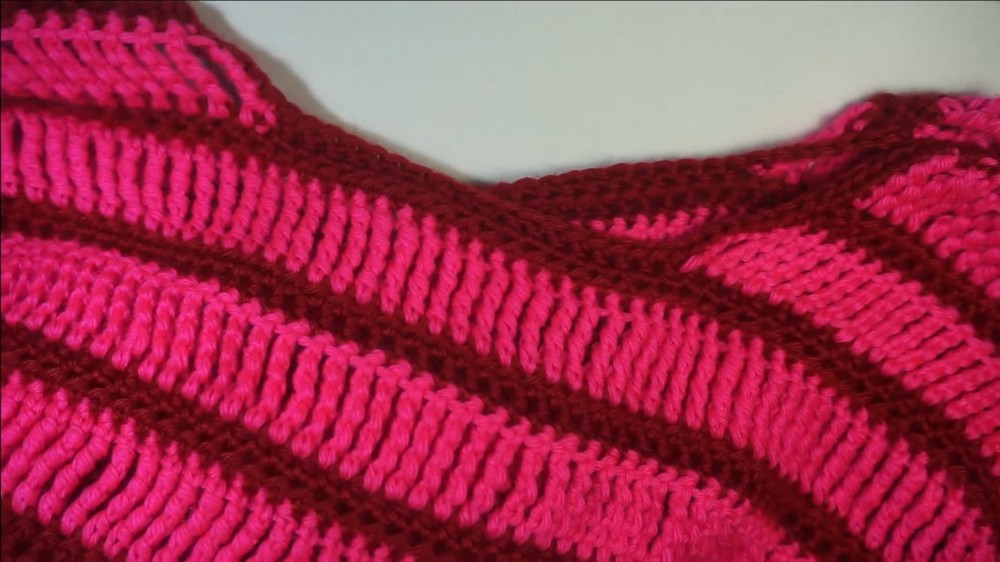
- Repeat pattern: 2 rows hdc (Color A), 1 row trtr (Color B), continuing to alternate colors if desired.
- Continue working in repeats until you have 9 extended (trtr) rows (for Medium size), ending with two rows of hdc, or until the piece reaches your desired length (measure from neck to waist as shown).
Step 4: Shaping the Neckline
(Work neckline at the end of the panel repeat rows)
- Fold your panel in half to find the center.
- From the center, count 8 stitches to the left and right (mark each).
- Place a stitch marker at each 9th stitch (each side of center). This will define neck opening.
- Resume trtr row at the right marker (changing colors as before), work trtr stitches until the left marker—leaving neck opening unworked.
- On return rows, begin decreasing at the neckline edges (every other row):
- For decrease: Yarn over 4 times, insert hook into next 2 sts together, finish trtr as one.
- Work hdc rows as before, ch 1, turn.
- Repeat decreases on each alternate row for a gradual sloping neckline edge, until desired depth.
- For decrease: Yarn over 4 times, insert hook into next 2 sts together, finish trtr as one.
- Finish off; repeat process on the other side of neckline for symmetry, attaching yarn at the neckline edge and mirroring decreases.
Step 5: Make the Sleeves (Make 2)
- Foundation:
- With Color B, ch 71 (70 + 1 for turning).
- Rows 1–27:
- Work in rows, alternating 2 rows of hdc (each row: hdc in every st across, ch1, turn) and 1 row of trtr (ch 6, trtr in each st, turn), until sleeve reaches 9 extended (trtr) rows (about 27 total rows if continuing in the same sequence as used in body).
- Finish off and weave in ends.
Step 6: Adjustable Sleeve Ties
For Each Sleeve:
- With matching color, make a chain measuring about 25″ (or as long as desired for wrist gathering).
- Work a popcorn stitch at one end:
- Ch 3 (counts as dc), 4 dc in 3rd ch from hook, drop loop, insert hook in first dc, pull loop through, ch 1.
- Weave the chain in and out along the wrist edge of the sleeve, threading through every couple of stitches (“in and out” like lacing).
- At the opposite end, repeat popcorn stitch to finish.
- When wearing, pull ties to gather the sleeve and secure with a bow.
Step 7: Assembly
A. Shoulder Seams
- With panels RS together and matching up stripe pattern, seam the shoulders using:
- Yarn needle (whip stitch), or
- Crochet hook (sl st or single crochet through both layers).
- Seam width should match your neckline opening as established earlier.
B. Attach Sleeves
3. Find center of sleeve top (fold in half, mark with stitch marker).
- Match to shoulder seam; pin/safety-pin in place.
- Seam sleeve cap to armhole (distribute evenly), using slip stitches or sewing.
C. Side Seams and Sleeve Seams
6. Fold top in half, RS together.
- Seam from bottom edge to underarm, then down sleeve length to cuff.
- Repeat on other side.
- Weave in all ends.
Step 8: Neckline Edging (Optional)
- With top RS facing, join yarn at any neckline point.
- Work single crochets evenly around neckline edge, placing 1 sc in each st or every available edge stitch.
- Join with sl st to first sc. Fasten off, weave in ends.

Conclusion & Tips
- Try on as you work: Hold the growing panel to your body to check length and fit before splitting for the neckline.
- Custom sizing: For smaller or larger sizes, add or subtract stitch and row counts in the initial panels and sleeves.
- Prevent shrinkage: Remember to place hdc at the end of each trtr row into the turning chain to avoid edge tapering.
- Stripe variations: Personalize with more or fewer color changes or stick to a single color for a minimalist look.
- Finishing: Block pieces for best drape and professional finish.
Pattern Correction
- The extended treble crochet as described by the instructor is not a typical stitch but can be considered an “extended quadruple/treble treble crochet.” The described method (yarn over four times, [yo, pull through two] x5) is followed throughout.
Final Tip
For crisp seams, always double-check that your stripes (if using color changes) align perfectly before joining panels and sleeves.
Drawstrings in the sleeves can be omitted or replaced with elastic for a different look.