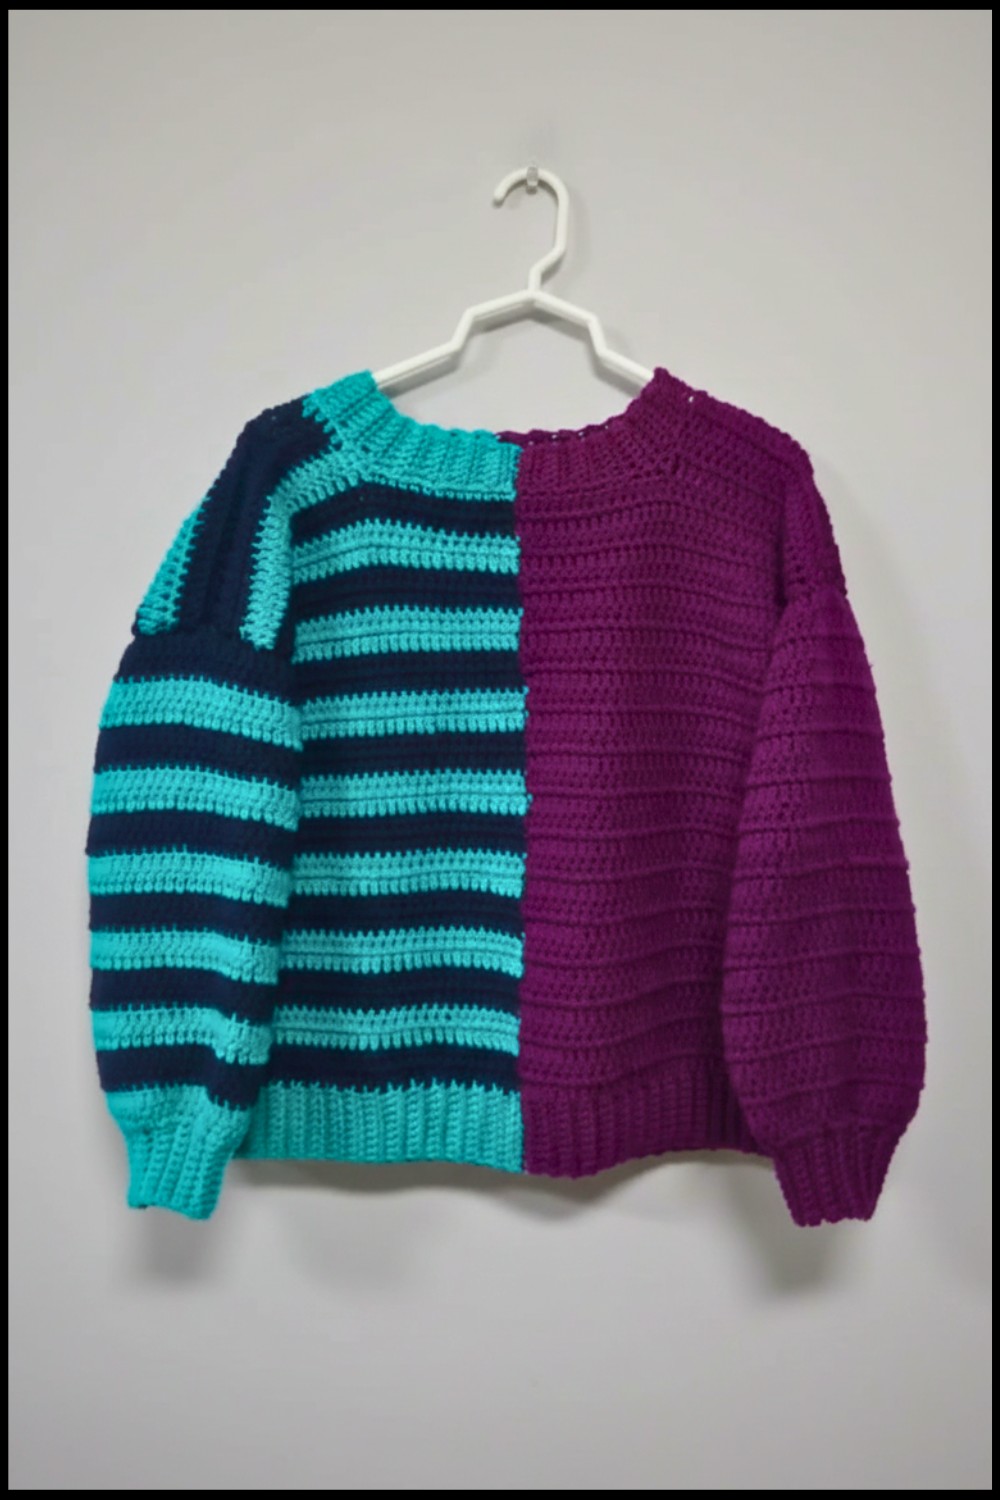
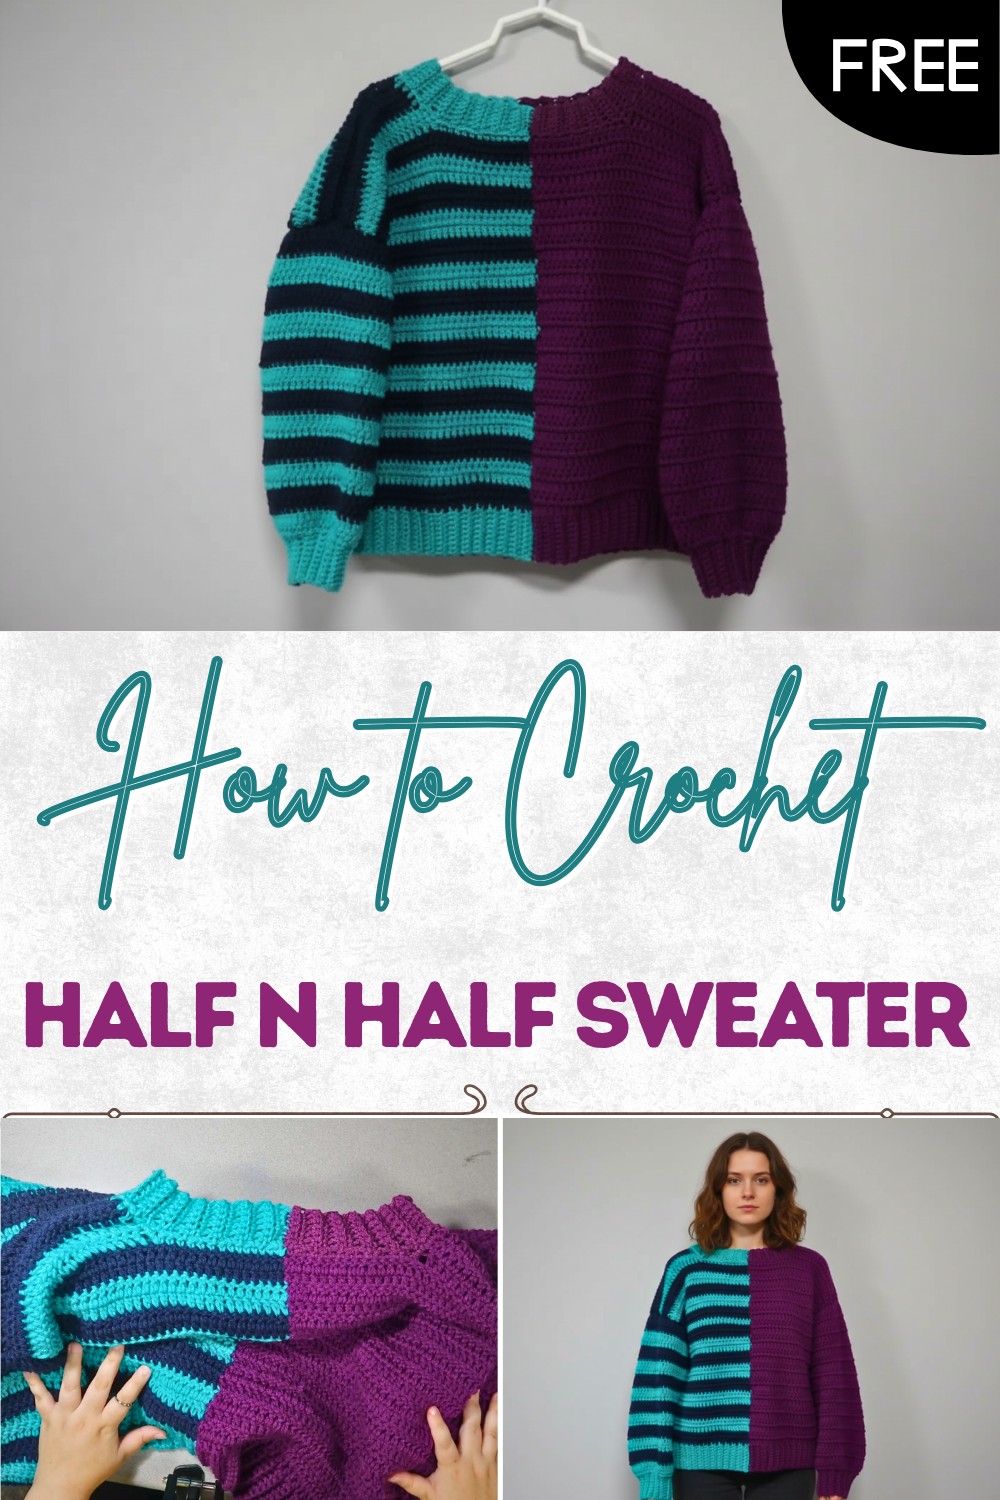
Modern Half N Half Sweater Crochet Pattern Free
Radiate charm with this Free Crochet Half N Half Sweater Pattern, effortless warmth, color, and style for an eye-catching look all year round.
Feeling cold or tired of plain old sweaters can make days less fun and cheerful but there’s a colorful way to brighten things up. Mixing two lively shades in the crochet half n half sweater pattern lets you enjoy a cozy fit and a fresh look at the same time. One side shines with a different color from the other making your outfit look full of energy and style.
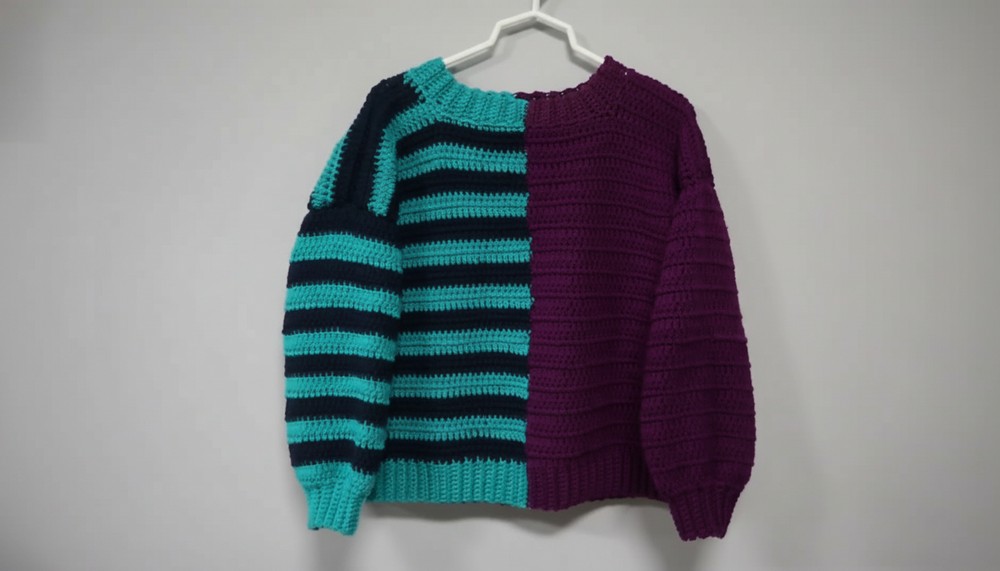
Free Half N Half Sweater Crochet Pattern
This sweater is perfect for all ages and simple enough for anyone to enjoy because it’s lightweight warm and easy to wear. You can layer it over any top and wear it everywhere—from relaxing at home to sharing fun with friends outside. Its soft touch gives you comfort while playful colors help you stand out with pride. With this unique sweater days feel warmer and every moment smiles a little brighter.
Free Crochet Half and Half Sweater Pattern
Materials
- Yarn:
- Worsted Weight (#4) acrylic yarn
- Two colors for the striped half (A and B; example: two shades of blue)
- One color for the solid half (C; example: purple)
- (Recommended: Big Twist from JoAnn’s)
- Worsted Weight (#4) acrylic yarn
- Hook: 5 mm or 5.25 mm crochet hook
- Stitch Markers or bobby pins
- Scissors
- Yarn/Tapestry Needle (for sewing and weaving in ends)
- Measuring Tape (to adjust for size)
Key Abbreviations
| Abbreviation | Meaning |
|---|---|
| ch | Chain |
| sc | Single Crochet |
| dc | Double Crochet |
| sl st | Slip Stitch |
| st | Stitch |
| rep | Repeat |
| BLO | Back Loop Only |
| inc | Increase (2 in 1 st) |
Special Notes
- Pattern uses back loops only for ribbing.
- Sleeves begin with ribbing, then are increased for width.
- Sweater is worked in panels and sewn together at the end.
- Use measurement guidelines for sizing for best fit.
- You can adjust stripe width or switch color-changing method as desired.
Sizing Guide (Body Panel Width)
| Size | Finished Width | Ribbing Length (Each Half) |
|---|---|---|
| XS | 18″ | 9″ |
| S | 20″ | 10″ |
| M | 22″ | 11″ |
| L | 24″ | 12″ |
| XL | 26″ | 13″ |
| 2X | 28″ | 14″ |
| 3X | 30″ | 15″ |
| 4X | 32″ | 16″ |
Example: For Large, half is 12″, usually about 36 rows of ribbing per color.
Step-by-Step Pattern Instructions
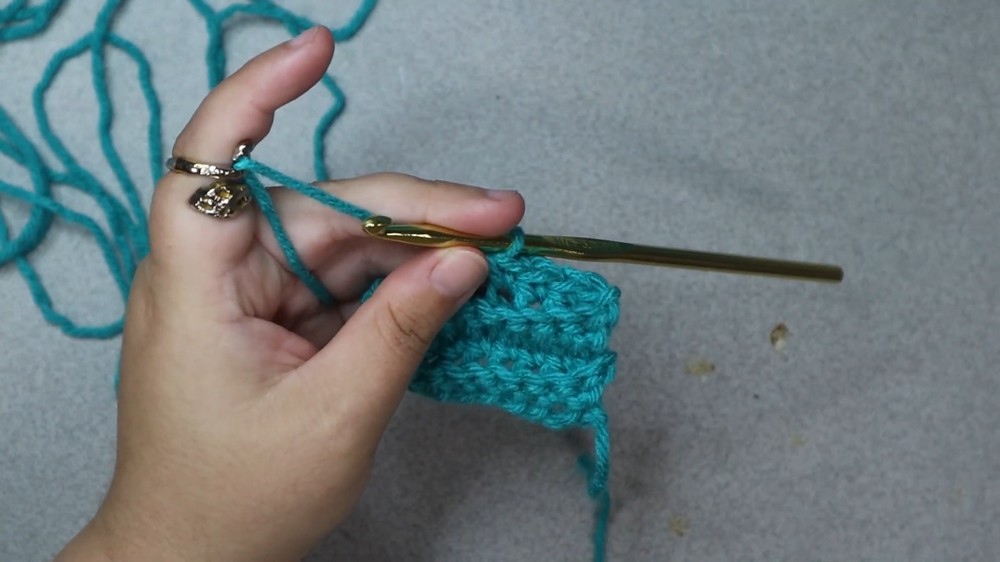
A. Bottom Ribbing (Make 2 Panels)
1. First Ribbing Color (Stripe or Solid)
- Foundation: With Color A (stripe color), ch 10.
- Row 1:
- Starting in 2nd ch from hook, sc in each ch across (9 sc).
- Starting in 2nd ch from hook, sc in each ch across (9 sc).
- Row 2:
- Ch 1, turn.
- Sc in BLO of each st across (9 sc).
- Repeat Row 2 until ribbing measures half your required sweater width (e.g., 12″ for Large; about 36 rows).
- Tip: It’s easier to count raised ribs or “valleys” in the back loop ribbing for row counts.
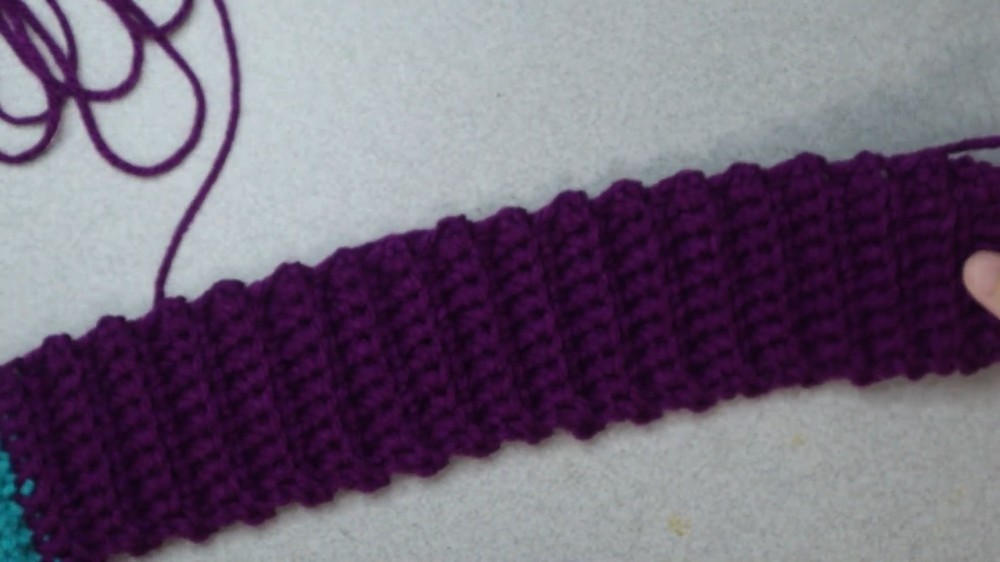
2. Second Ribbing Color (Solid or Stripe)
- Attach Color C (solid or stripe).
- Repeat Row 2 for the same number of rows as the first color.
- You now have one long strip of ribbing, half in each color.
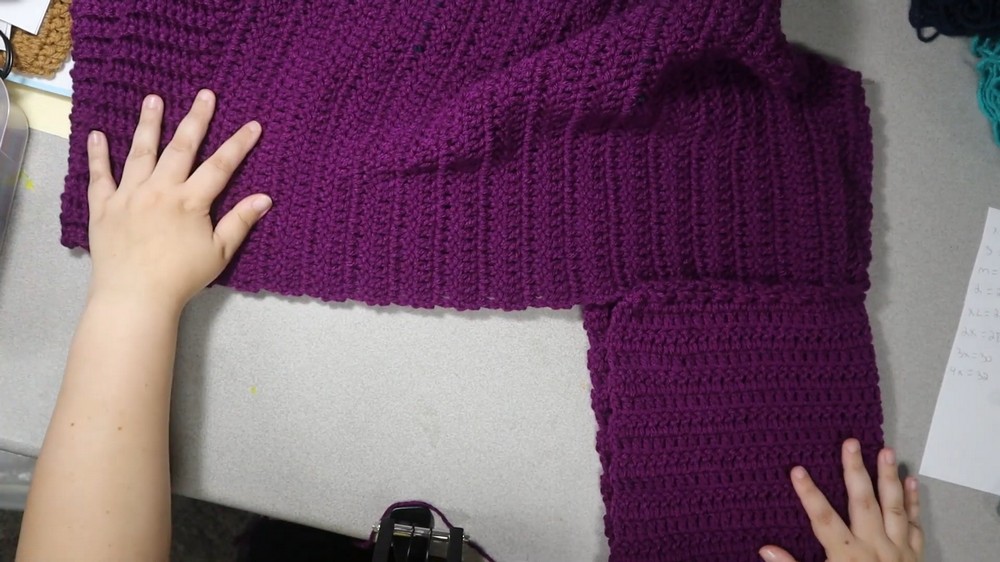
B. Body Panel
1. Setting Up
- Rotate ribbing so you will crochet along the long edge, picking up stitches (one stitch per row).
- For each color section of ribbing, dc one stitch into the side of each row (e.g., 36 dc in each color for 36 rows = 72 dc total across the row).

2. Body Panel Rows
- Row 1:
- Working with the appropriate color (continue with color at ribbing), ch 2 (counts as dc), dc in each st across to the color change point.
- When you reach the center (change between colors), change to the new color before finishing the last dc (stop with 2 loops left, yarn over with new color to pull through).
- Continue dc across rest of panel.
- Row 2+:
- Ch 2, turn. Dc in each st across.
- Change colors as you reach the dividing line, always switching yarns as above on the last yarn-over of the last dc before the color change.
- Rep this for 30 rows (or until desired length).
- Stripe half: Alternate two rows each of Color A and Color B.
- Solid half: Use Color C.
- Tip: The solid/split division will remain in the same spot every row.
- Customizing:
- Add more rows for a longer sweater.
C. Shoulder Shaping
1. On Solid Side
- With solid color yarn:
- Ch 2, turn. Dc in first 23 sts (or as needed for about 8-9″ shoulder width).
- Mark (with a stitch marker or bobby pin) 23 sts from the opposite edge.
- Ch 2, turn. Work 3 more rows of dc over these 23 sts only (4 shoulder rows total).
- After 4th row, ch 1 and cut yarn (leave a slightly long tail for sewing shoulder).
2. On Striped Side
- At other edge, maintain stripe pattern:
- Continue with next stripe color as needed.
- Ch 2, dc in 23 sts to the marker.
- Repeat for 4 rows (total), alternating colors after every 2 rows.
- Finish with a long tail for sewing.
D. Make Second Body Panel
- Repeat Sections A, B, and C for a matching back panel.
E. Sleeves (Make 2)
1. Sleeve Ribbing
- Chain 10, leave a very long tail at starting chain.
- Row 1: Sc in 2nd ch, sc across (9 sc).
- Row 2: Ch 1, turn, sc BLO across (9 sc).
- Repeat Row 2 for 24 rows.
2. Sleeve Body (Increasing Width)
- Row 1:
- Rotate ribbing and dc twice in each rib row end along the long edge (total 48 dc for 24 rows—double the number of stitches).
- Row 2:
- Ch 2, dc in each st across. At the last st, work 2 dc in the last st (inc).
- Row 3–4:
- Continue dc rows, always increasing at the last st (2 dc in last st), for desired wideness (usually 3 rows with inc).
- Continue rest of sleeve rows (e.g., 20+ more rows) with straight dc (no inc), changing colors for stripes or using solid as needed.
- Stripe sleeve: alternate 2 rows of Color A, then 2 of B, etc.
- Solid sleeve: use Color C.
- Total length: 24–26 rows (adjust for arm/torso length).
3. Finish off, leaving long yarn tail at end for sewing.
4. Make second sleeve; one sleeve striped, one solid.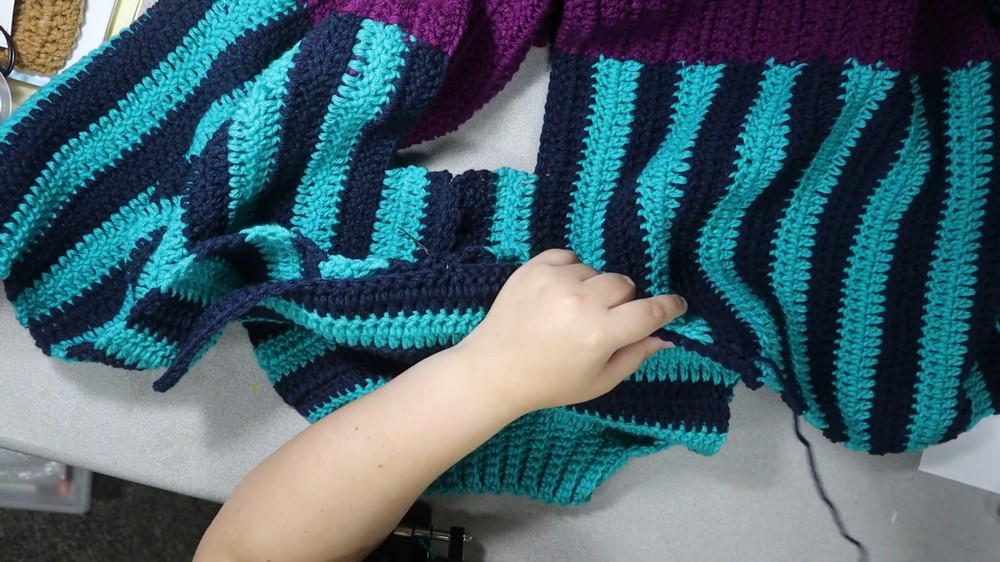
F. Assembly
- Sew Shoulders:
- Lay body panels together, right sides facing.
- Sew shoulder area (the 23-stitch sections) together with tapestry needle and long tails.
- Attach Sleeves:
- Fold sleeve in half to find center.
- Line up sleeve center with shoulder seam; pin or use stitch marker.
- Sew sleeve to body, working from the center out to both edges of armhole.
- Sew Side Seams:
- Fold sweater in half (right sides together).
- Use remaining long tails from sleeve ribbing to sew up the length of the sleeve and then down the body side seam.
- Turn right side out.
G. Neckline & Collar Ribbing
- Attach collar color at color split in front.
- Ch 1, sc evenly around neckline (switch color at halfway point as needed to match split sides).
- Join with sl st.
- Ch 7 (for collar rib height).
- Sc in 2nd ch from hook and next 5 ch (6 sc).
- Turn, sl st in next 3 neck edge sts, turn.
- Back loop only sc up the rib, ch 1, turn.
- Rep: sc down, sl st in next 3 neck edge sts, turn, blosc up, ch 1, turn.
- Switch collar color at the halfway point as you reach the sweater split in back.
- Continue ribbing all around neckline. Join neatly where ribbing began, fasten off and weave in ends.
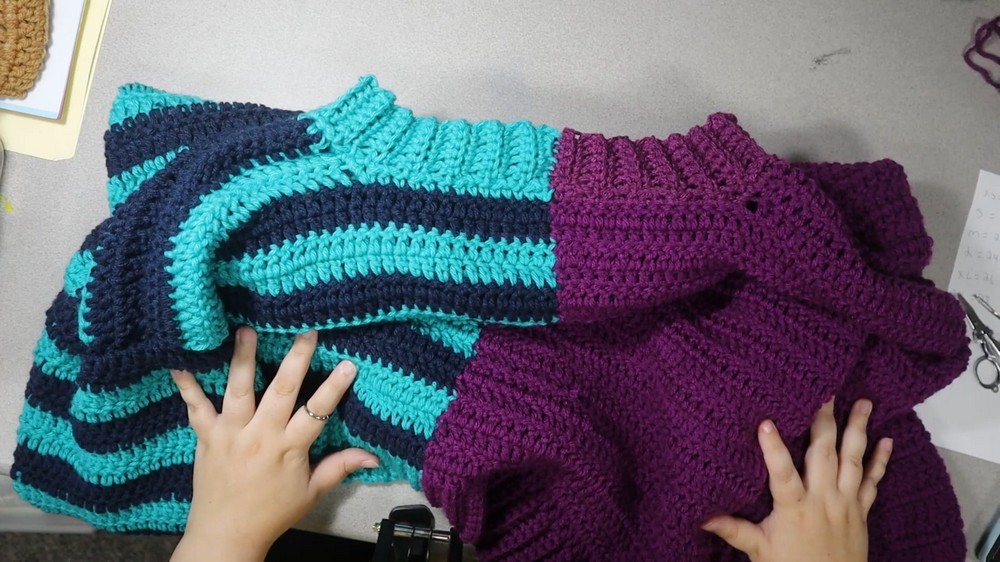
Conclusion
This half and half sweater is an easy construction project that creates a striking look with one striped panel and one solid panel. It uses basic stitches (single crochet for ribbing and double crochet for body) and simple color changes for visual impact. Panels and sleeves are joined with minimal shaping, making it approachable for ambitious beginners and enjoyable for seasoned makers.
Pattern Corrections & Tips
Corrections:
- Always pick up one dc per rib row along ribbing.
- Be consistent with color changes for a clean dividing line.
- Shoulder shaping on each panel must match.
Tips:
- Measure against a favorite sweater to adjust width/length.
- Count ribbing rows by counting ridges for efficiency.
- Use a yarn needle to hide bright tails under their own color for a cleaner look.
- If you knit tightly/loosely, adjust rows or stitches to match finished measurements.
- For more pronounced collar rib, add more ch at the start.
- Mark center of sleeves and body for even, symmetrical sewing.