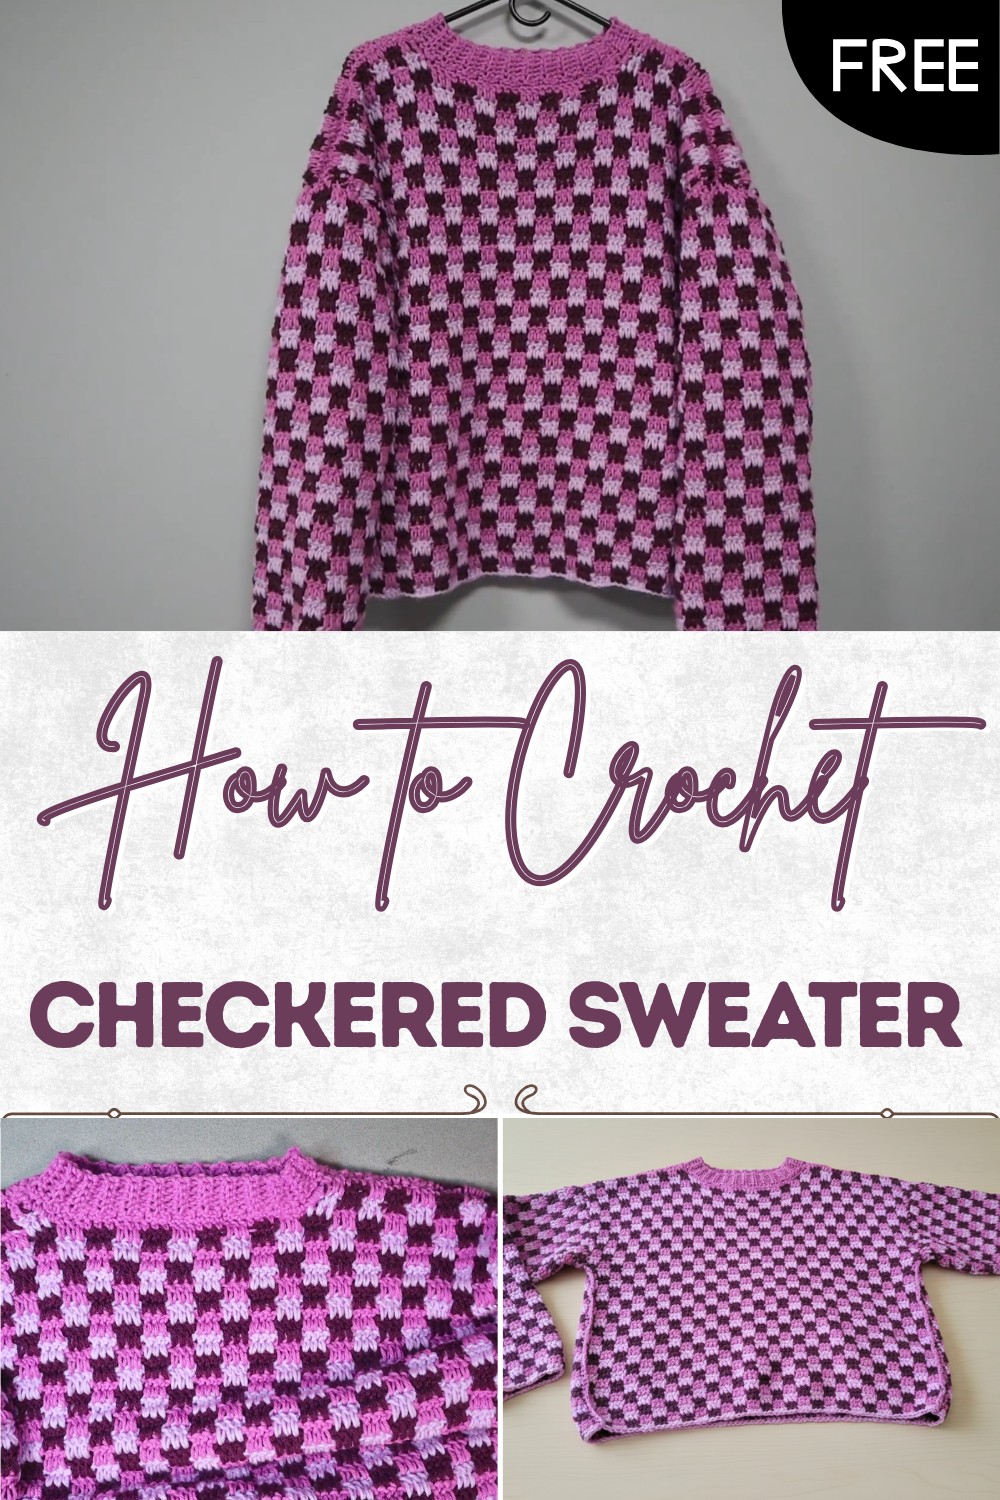
Easy Crochet Checkered Sweater Pattern Free
Show your love for color and style with this free crochet checkered sweater pattern perfect for cozy days and adding flair to your wardrobe.
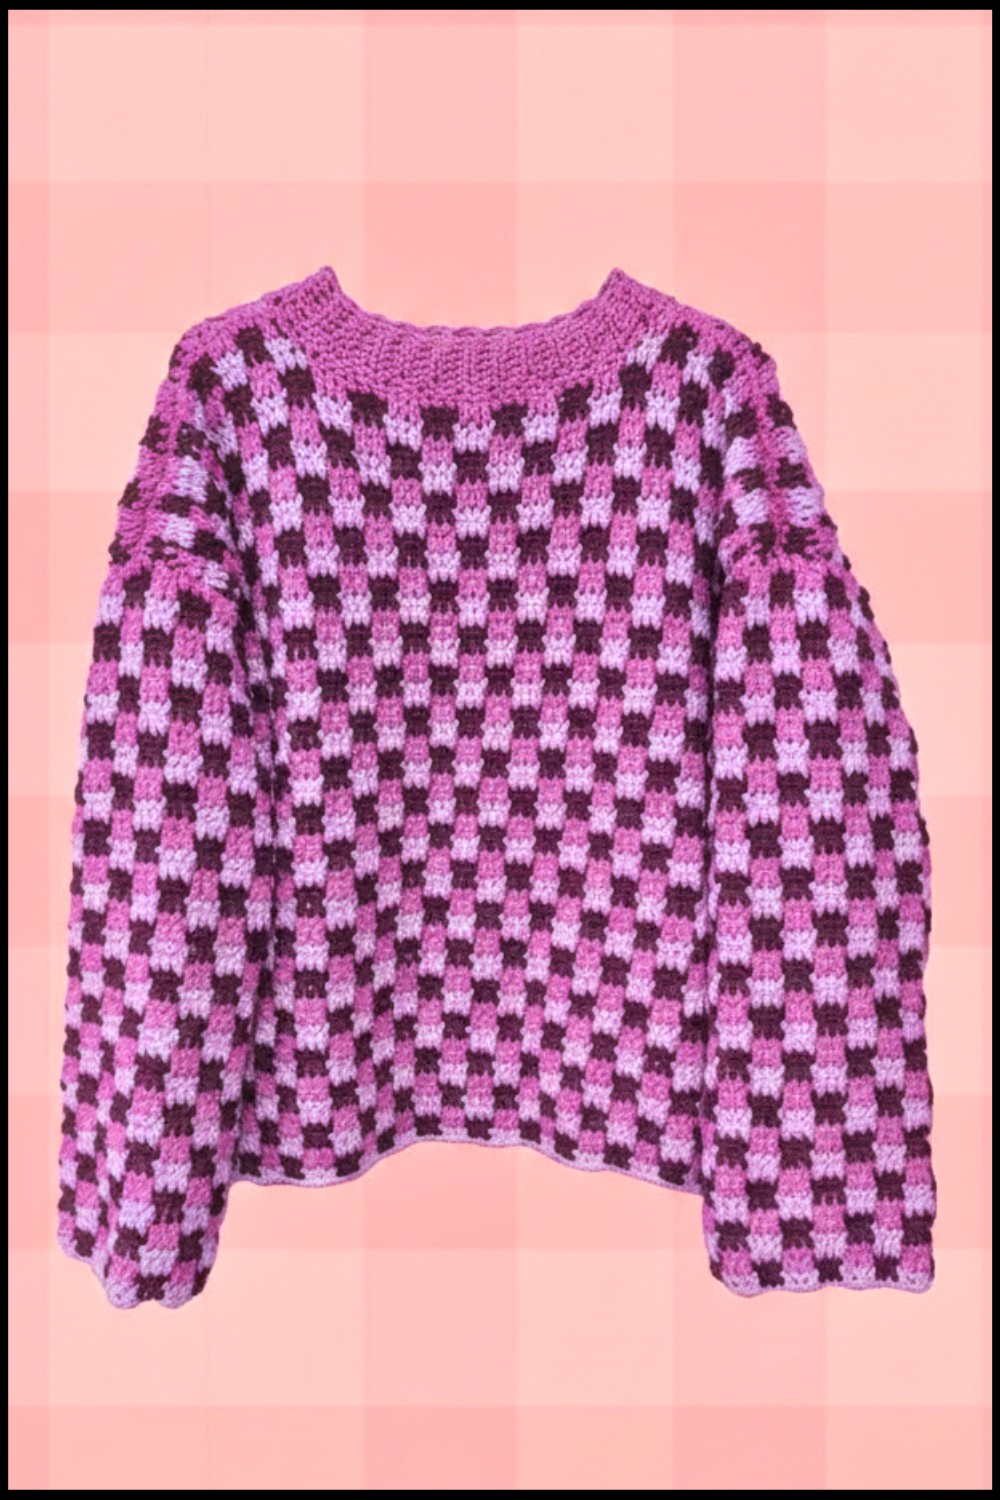
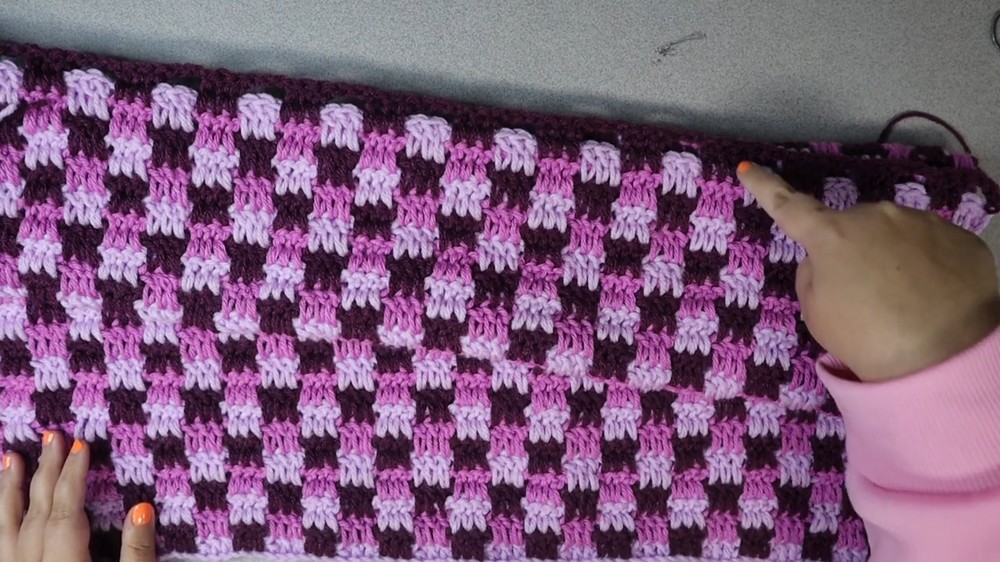
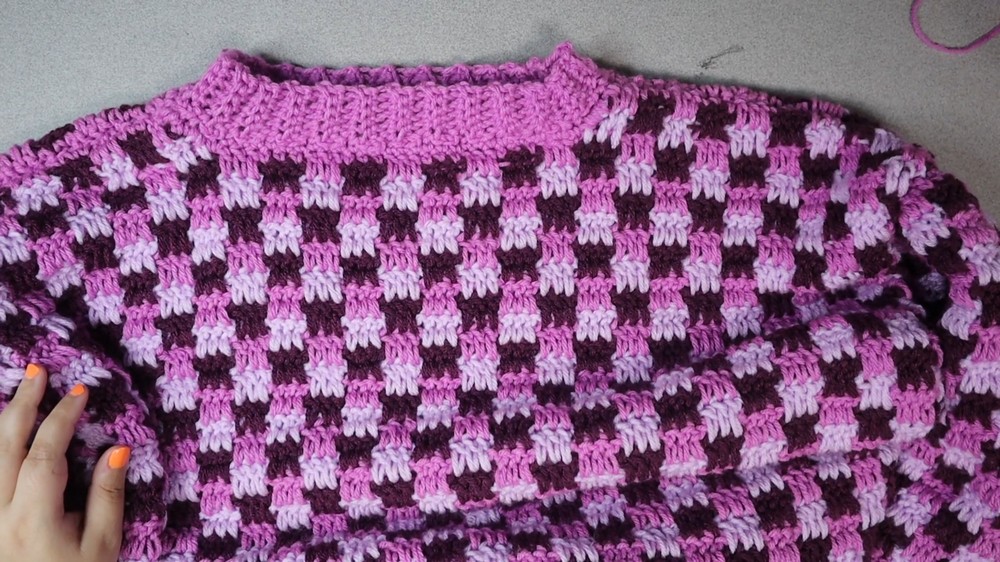
Have you ever dreamed of wearing something that stands out and makes people smile? A crochet checkered sweater pattern brings bright colors and unique squares together for a look that’s full of charm. Each square blends into the next creating a cheerful patchwork that shows off your favorite shades. The sweater feels soft and gentle on your skin keeping you warm and comfortable no matter where you are.
Stunning Free Crochet Pattern for Checkered Sweater Lovers
By choosing different color combinations you can design it to match your personal style. Many love using this pattern because the finished sweater becomes a wonderful addition for family gatherings time with friends or just cozy moments at home. The crochet checkered sweater pattern offers a mix of fun and fashion giving everyone a chance to enjoy something eye-catching and special in their daily life.
Mini Checkered Sweater Crochet Pattern
Materials
- Yarn: Weight 4 (Worsted) Acrylic yarn – 3 colors (e.g., Big Twist from JoAnn)
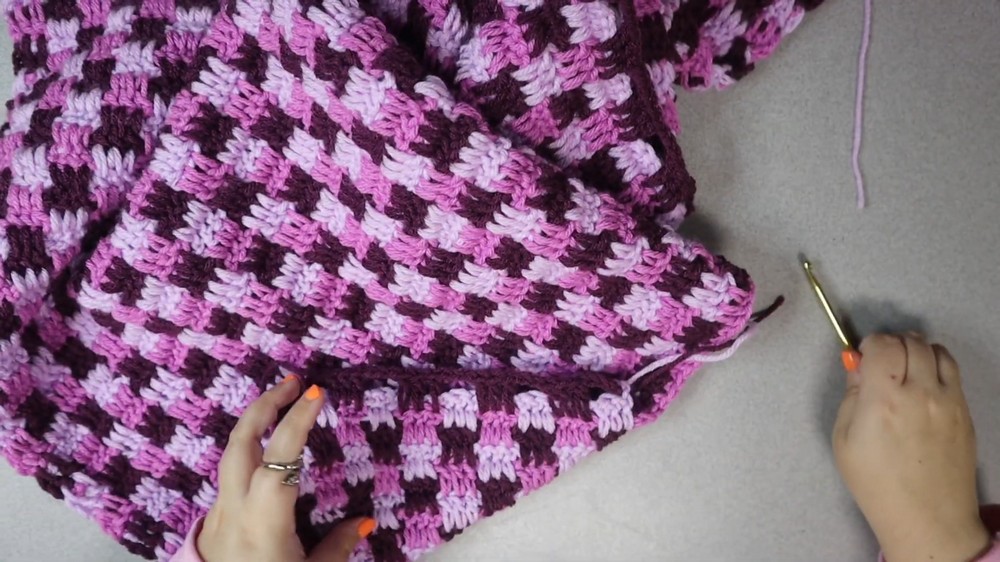
- Hook: 5 mm or 5.25 mm crochet hook
- Stitch Markers: For marking neckline and sleeves
- Scissors
- Tapestry Needle: For sewing and weaving in ends
- Measuring Tape: Optional, to check size against a favorite sweater
Key Abbreviations
| Abbreviation | Meaning |
|---|---|
| ch | Chain |
| dc | Double Crochet |
| sc | Single Crochet |
| sl st | Slip Stitch |
| st | Stitch |
| rep | Repeat |
Special Notes:
- Pattern is written in multiples of six for the foundation chain.
- Sweater is constructed in panels (front, back, two sleeves) and sewn together at the end.
- Acrylic yarn is stretchy; measurements may vary slightly without issue.
- Leaving long tails at the beginning and end of sleeves and one body panel is recommended for sewing.
- When referring to “clusters of three,” this means working three double crochets, each in its own stitch (not increases).
- Pattern alternates rows of color in a checkered sequence.
Size Reference
| Size | Foundation Chain Length (inches) | Chain Count Example |
|---|---|---|
| Small | 20 | ~84–90 |
| Medium | 22 | ~96 |
| Large | 24 | ~108 |
| X-Large | 26 | ~120 |
Example: Large Size uses a chain of 90.
Pattern Instructions
Body Panel (Make 2)
- Foundation Chain:
- Using Color 1, make a chain in multiples of 6 to desired length (see size chart).
- E.g., Chain 90 for Large.
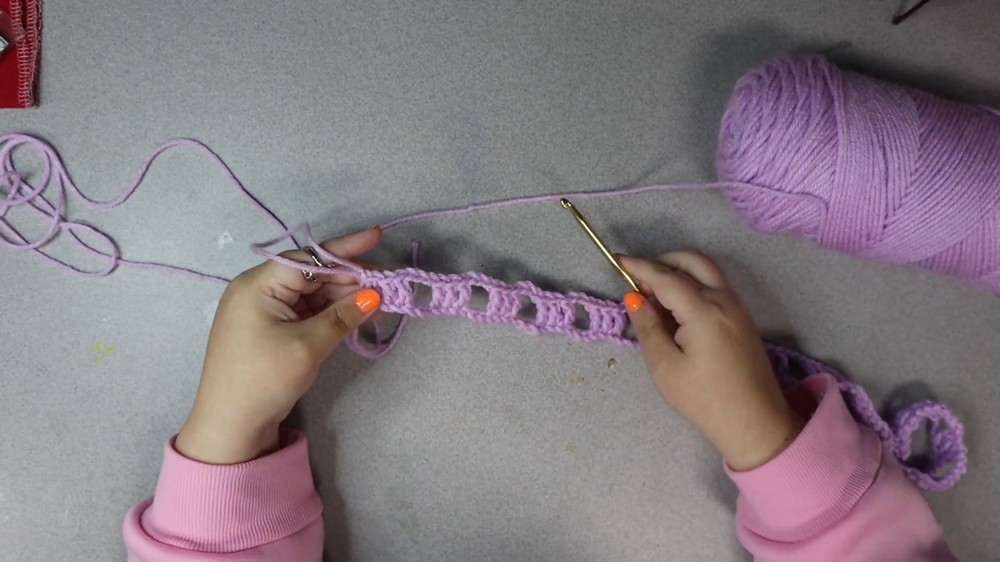
- Row 1:
- Beginning in the 5th chain from the hook, work 1 dc.
- Work 2 more dc in the next two chains (total 3 dc cluster; the turning chain counts as 1 dc).
- ch 3, skip 3 chains, then 3 dc in the next chain.
- Continue across: [ch 3, skip 3, 3 dc in next st] until the row is finished.
- At end: Cut yarn.
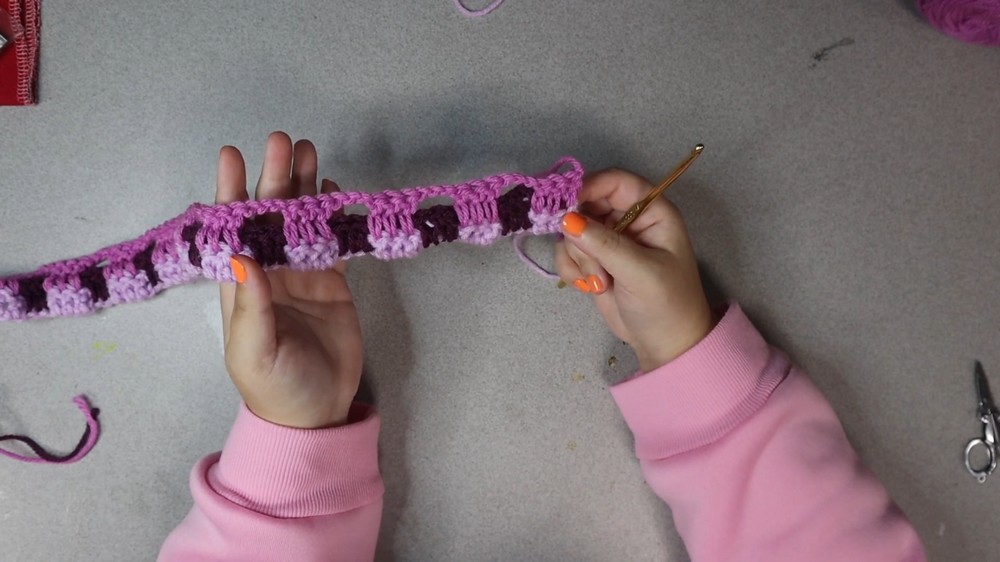
- Row 2 (Color Change):
- Attach Color 2, turn work.
- Ch 4 (counts as dc + ch), skip cluster, work 3 dc into the foundation chain gap beneath the ch 3 space from previous row, working over the ch 3.
- ch 3, skip cluster, 3 dc into next gap, rep to end.
- At end: ch 3, sl st into top of turning chain. Cut yarn.
- Row 3 (Second Color Change):
- Attach Color 3.
- Ch 3 (counts as first dc), work 2 dc into next two stitches on top of dcs (total 3 dc cluster).
- ch 3, skip cluster, 3 dc into next gap, rep to end.
- At end: finish with 3 dc cluster in last gap. Cut yarn.
- Rows 4–56:
- Alternate repeating Rows 2 and 3, switching colors each row.
- Keep in mind:
- Ch 4 (when starting row without a gap at the beginning).
- Ch 3 (when starting row with a gap at the beginning).
- Repeat until panel measures approx. 23 inches or desired length.
- End on second color to prep for neckline.
- Neckline Setup:
- Place stitch markers to mark a neckline width (8–9 inches is suggested).
- For large: Place markers five clusters (blocks) in from each edge.
- Final Full Row Before Shoulders (Third Color):
- Work normal pattern up to first stitch marker (including gaps).
- From first to second marker: sc in each dc (do not work gaps; this solidifies neckline).
- After second marker: Resume pattern with gaps.
- Cut yarn.
- Shoulder Rows (2 for Each Side):
- Attach yarn at one side, work up to marker in pattern (including gaps), cut yarn.
- Repeat on opposite side.
- Final Shoulder Row (Third Color):
- Attach yarn at shoulder edge, ch 2 (acts as sc), sc in tops of previous dc clusters, dc as normal over previous color, continue alternating sc and dc across the shoulder.
- End with a long tail (for sewing panels together).
Sleeves (Make 2)
- Foundation Chain:
- Make a very long tail (for sewing).
- Chain 54 (or desired width, multiples of 6).
- Folded in half; sleeves will be wide without cuffs.
- Row 1:
- Begin in 5th chain, work 1 dc.
- 2 more dc (counting turning chain as first dc).
- ch 3, skip 3, 3 dc in next chain.
- Repeat across.
- Rows 2–47:
- Alternate Rows 2 and 3 from body panel; switch colors on every row.
- Row 48 (Final Row):
- Chain 2, sc across where gaps would be, dc in clusters.
- Fill in all gaps with sc.
- Leave a long tail at the end (for sewing the sleeve to the body).
Assembly
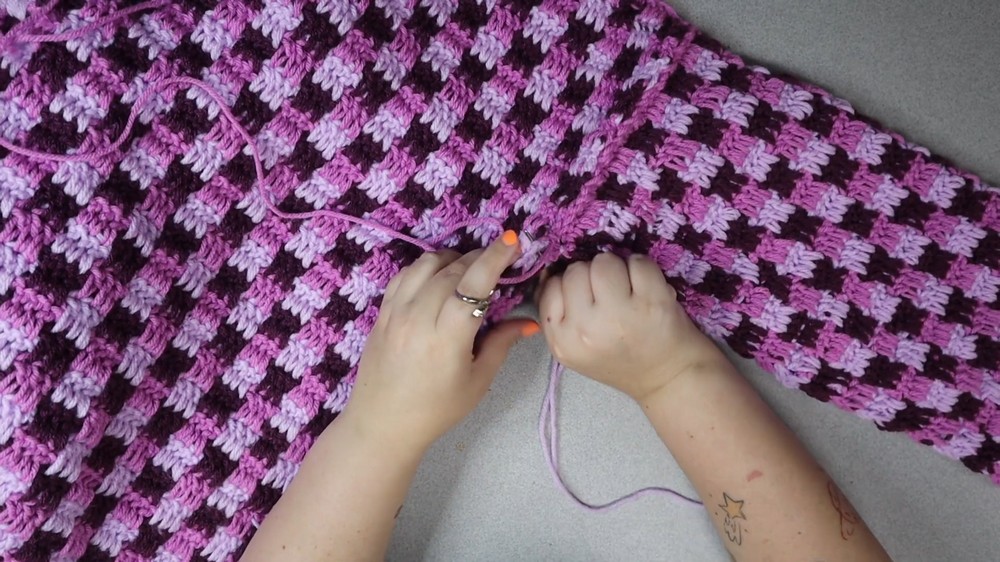
- Sewing Body Panels:
- Place panels with right sides facing together, sew at shoulder seams using long tails.
- Attaching Sleeves:
- Fold sleeve in half, mark center, line up with body’s shoulder seam.
- Use stitch marker to ensure center alignment.
- Sew sleeve to body panel along armhole.
- Closing Sweater:
- Fold sweater, sew up sleeve sides and down body sides using long tails.
- Ensure checkered pattern aligns as you sew.
- Turn Right Side Out:
- Once sewn, flip sweater right side out.
- Once sewn, flip sweater right side out.
Neckline
- Attach Yarn (any color):
- Insert hook at neckline edge.
- Single crochet around entire neck opening for a clean border.
- Ribbed Collar (optional):
- Ch 6 (adjust for desired collar height).
- Sc 5 down the chain (skip the stitch closest to hook).
- Sl st to the next 3 neckline sts to secure, turn.
- Sc back up the chain, ch 1, turn.
- Repeat process around neckline: sc down, sl st to 3 sts, sc up, ch 1, turn.
- Adjust sl st into 2 instead of 3 if collar becomes too tight.
- Finish:
- Slip stitch to join at end, weave in all remaining ends.
- Slip stitch to join at end, weave in all remaining ends.
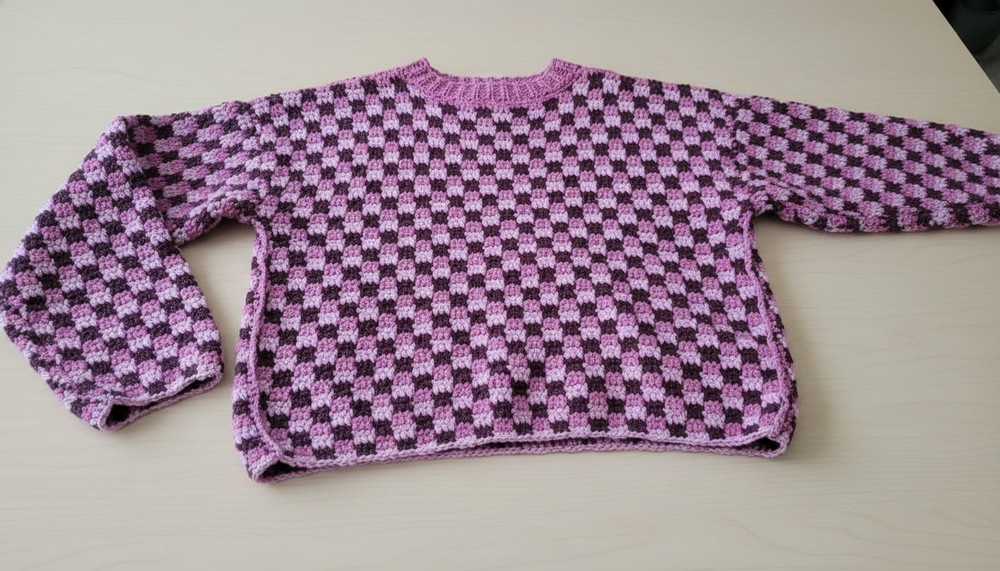
Conclusion
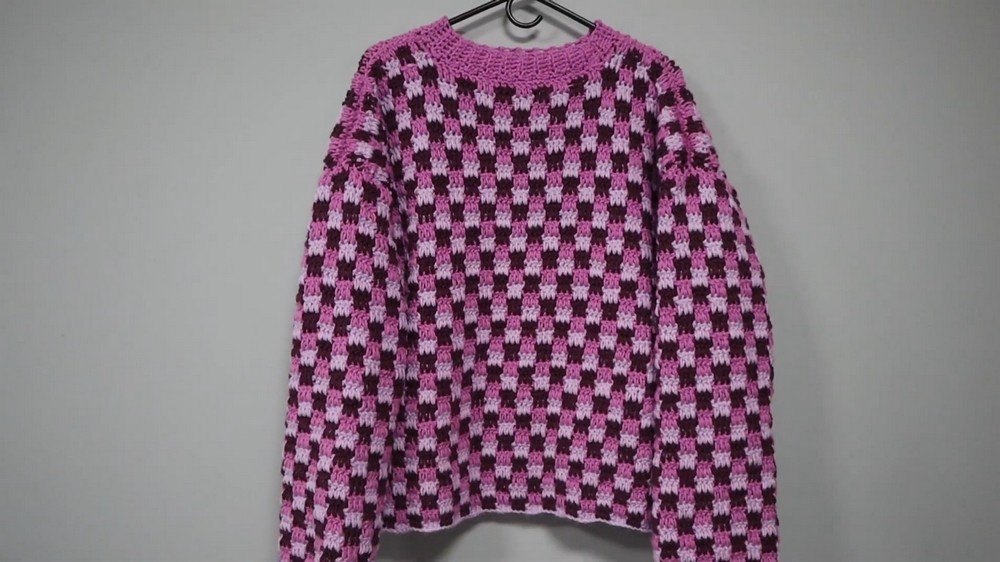
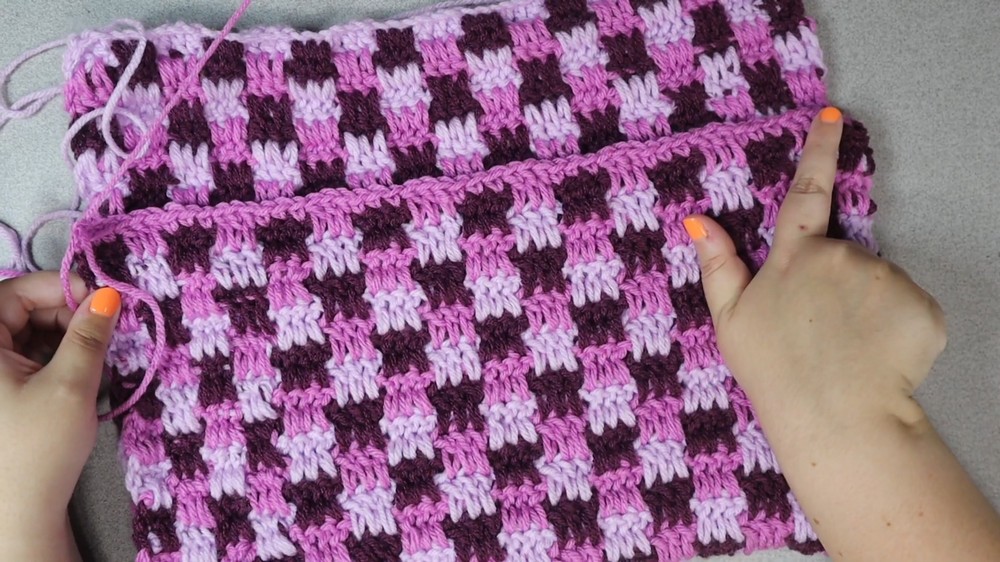
This mini checkered sweater is constructed using a clear checkered pattern, alternating colors every row for a vibrant effect. The panels (front, back, sleeves) are crocheted in simple double crochet clusters and sewn together with minimal shaping, making this a great project for both beginners and intermediate crocheters. The neckline can be customized as desired.
Pattern Correction & Tips
Corrections:
- Ensure you always use multiples of 6 for your foundation chains on both body panels and sleeves.
- When working the pattern, a “cluster” always refers to three consecutive double crochets.
- The stitch markers are crucial for shaping the neckline and shoulders; accuracy here improves fit.
- When alternating colors, you can carry yarn if preferred, but weaving in ends at each color change is recommended for larger projects to avoid tangling.
Tips:
- Use measurements from a favorite sweater for exact sizing.
- Acrylic yarn is forgiving; slight measurement variances will not affect fit due to its stretch.
- Leave extra-long tails for sewing pieces, especially sleeves.
- If checkered blocks aren’t lining up during sewing, gently stretch panels to match.
- For beginners, going slowly through the first rows is normal; speed will increase as the fabric grows.