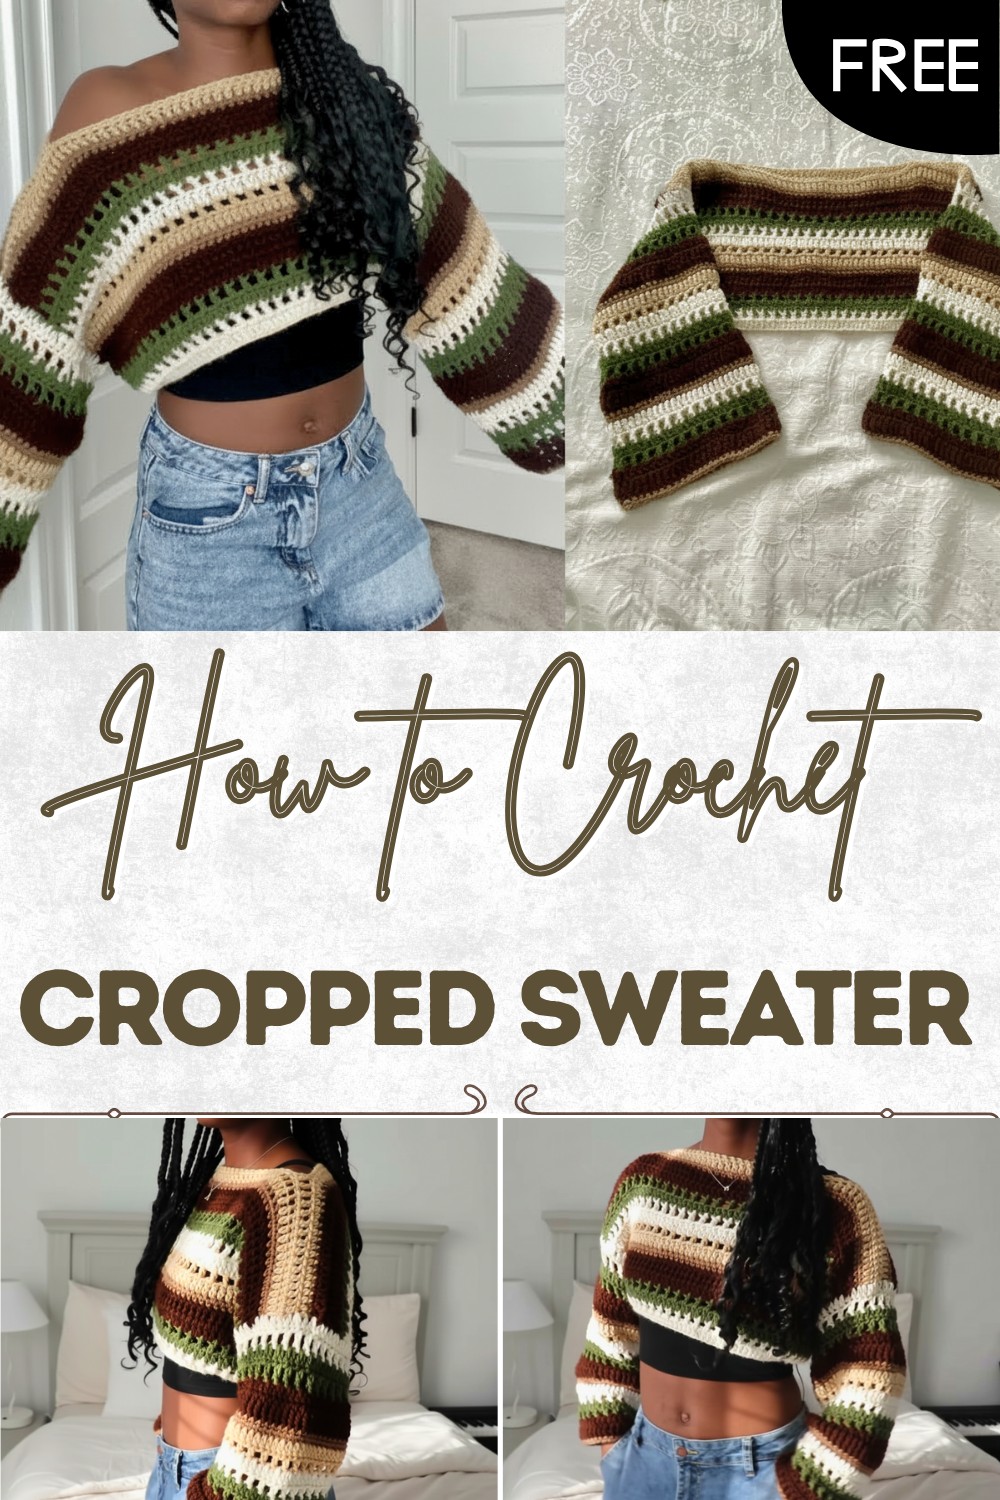
Stylish Cropped Sweater Crochet Pattern – Totally Free
Feel cozy and stylish by choosing our Free Crochet Cropped Sweater Pattern that lets you create a trendy piece with your favorite outfits.
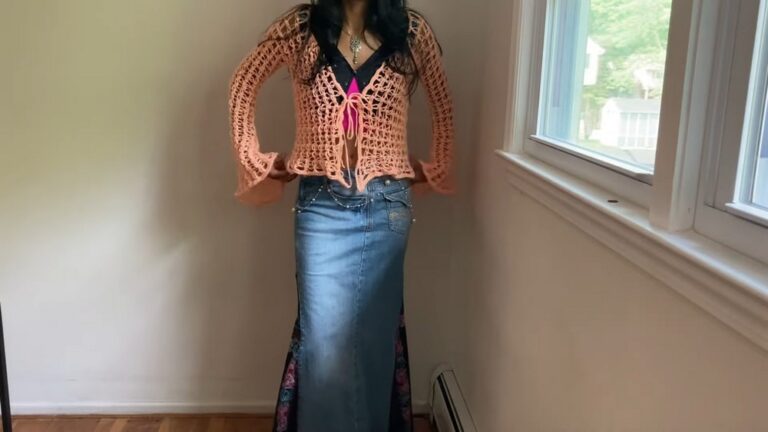
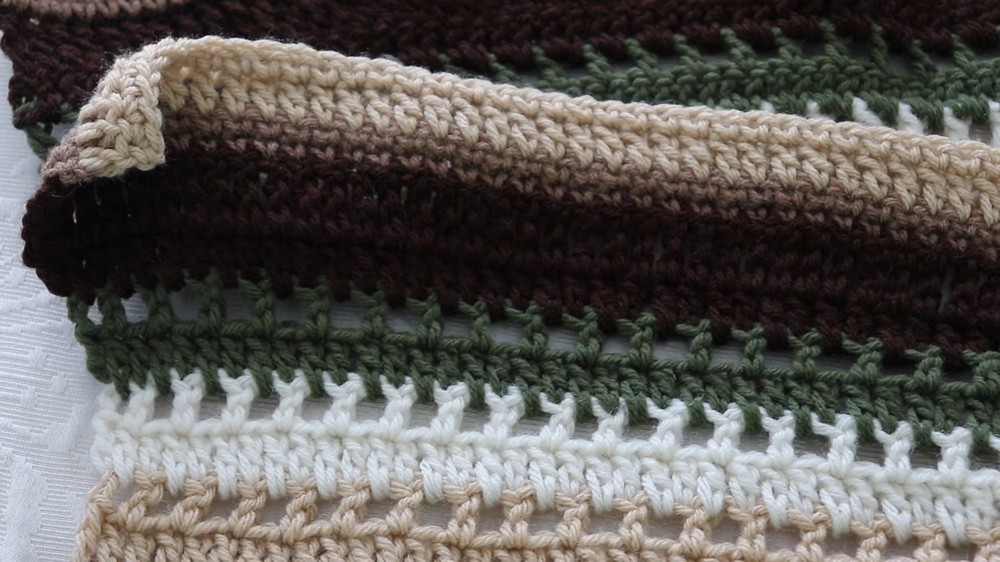
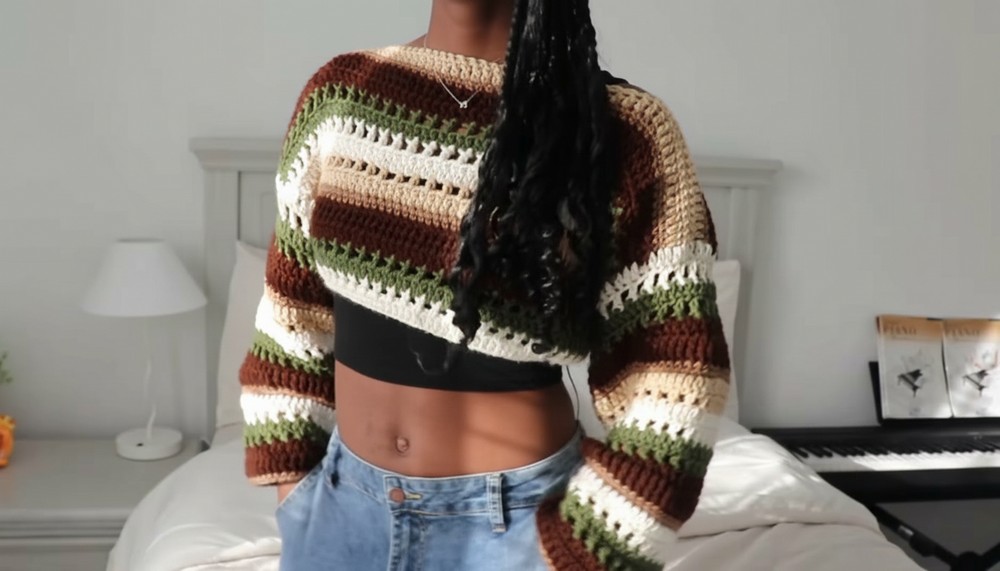
Slipping into a handmade sweater that brings a touch of charm and comfort to your day—it’s soft, light and fits just right. The design features a gentle crop, making it perfect for pairing with jeans skirts or even shorts. Colors and stitches blend to make patterns that please the eye and feel good on your skin. If you enjoy making things yourself this Crochet Cropped Sweater pattern offers a creative project that’s simple enough for beginners yet stylish enough to impress anyone.
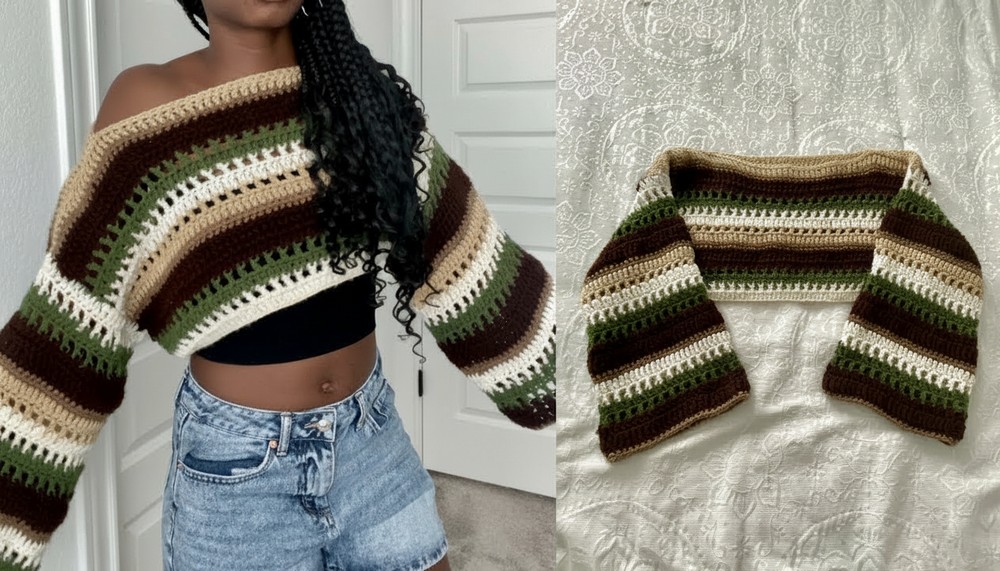
Free Crochet Cropped Sweater Pattern for Spring & Fall
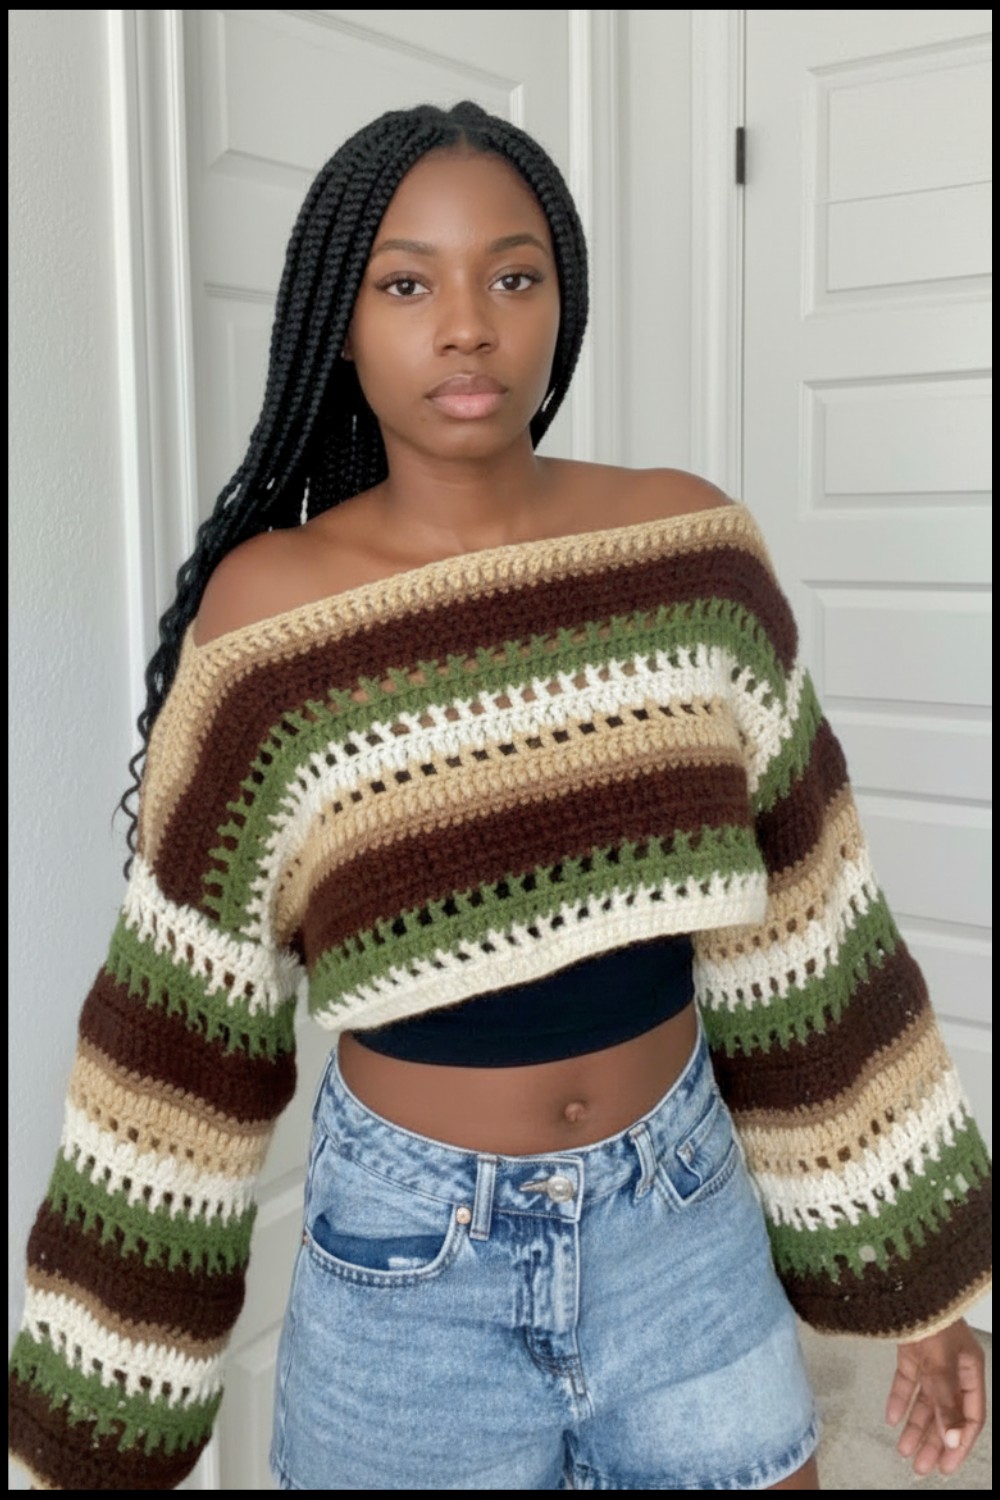
Wearing it feels like carrying a piece of warmth and personality wherever you go. It doesn’t just keep you cozy; it lets you show off your style in a unique way. Whether at home or out with friends this sweater adds a fresh twist to any outfit and helps you celebrate your creativity every time you wear it.
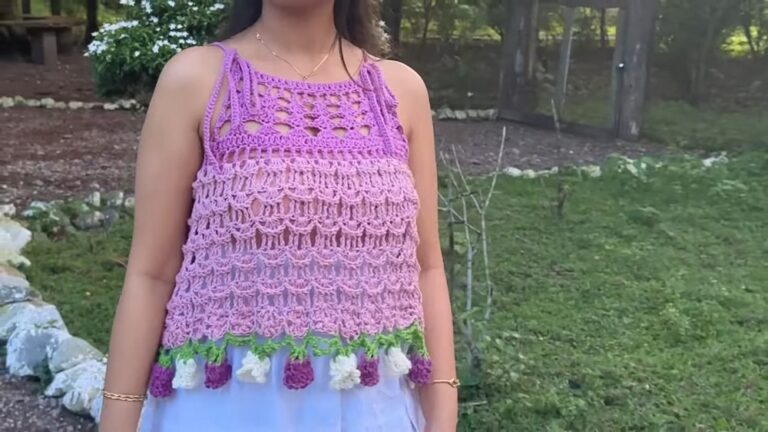
Beginner-Friendly Striped Crochet Sweater Pattern
Materials
- Yarn: Worsted weight (Category 4) acrylic yarn; sample uses Red Heart Super Saver and Mainstays acrylic from Walmart (choose several colors for stripes).
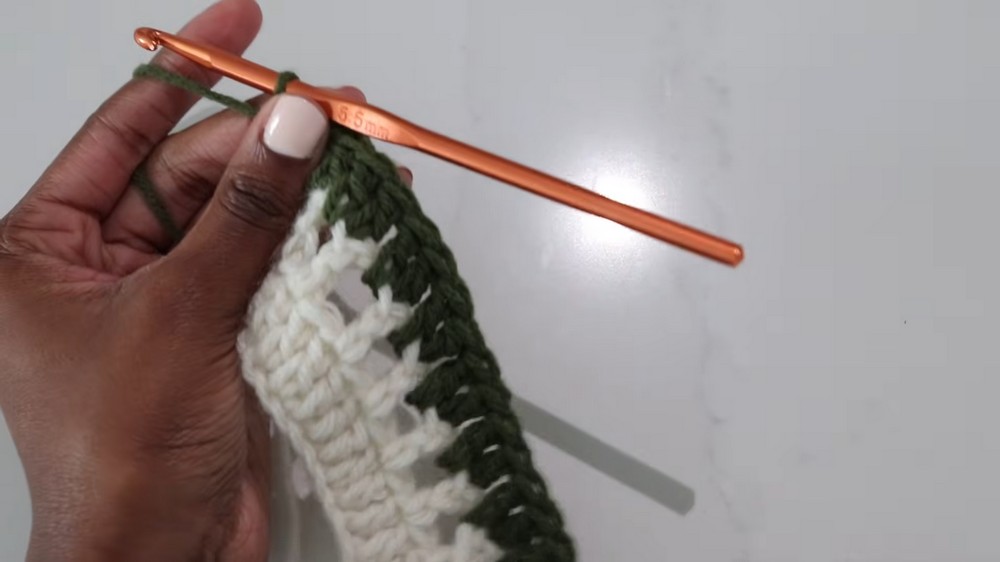
- Hook: 5.5 mm crochet hook.
- Notions:
- Scissors
- Tapestry (darning) needle
- Optional: stitch markers
Key Abbreviations
- ch = chain
- dc = double crochet
- sc = single crochet
- tr = treble crochet
- sl st = slip stitch
- sp(s) = space(s)
- st(s) = stitch(es)
Special Notes
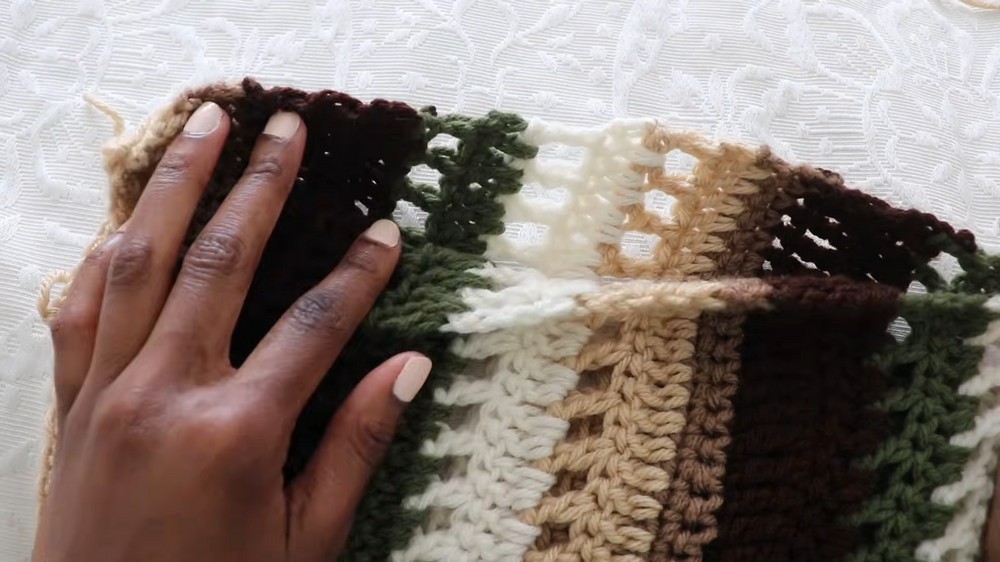
- Pattern is worked in two panels (front and back), joined at the shoulders and sides, then sleeves are added.
- When chaining to begin, ensure your foundation chain is an even number matching your shoulder width.
- Pattern is highly customizable: adjust length, width, sleeve length, and color changes as desired.
- Weave in ends as you go, or wait until assembly.
- Always turn your work at the end of each row.
- For beginners, marking initial or important stitches may help!
Instructions
Panel (Make 2)
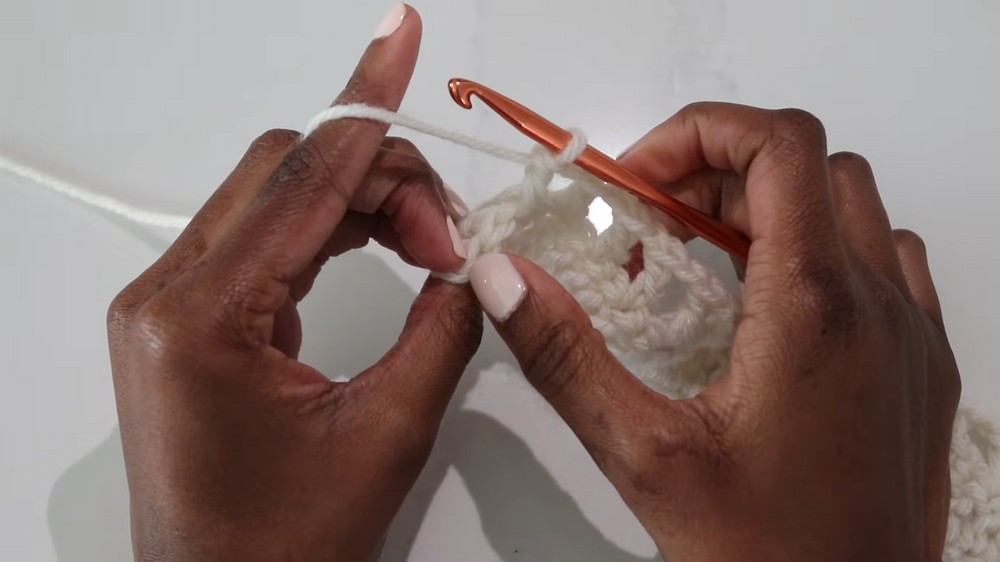
Step 1: Foundation Chain
- Make a slip knot, place it on your hook.
- Ch an even number to match the desired shoulder width (example in video: 64 chains).
- Hold up the chain to your shoulders—it should span your shoulder width.
Step 2: Row 1 (Double Crochet Row)
- Dc Row:
- Skip 2 ch.
- Dc into 3rd ch from hook.
- Dc in each ch across.
Step 3: Row 2 (Mesh Row)
- Ch 3, turn.
- Skip first dc. Dc in next dc.
- Ch 1, skip next st, dc in following st.
- Repeat across: [ch 1, skip 1 st, dc in next st] to the end.
- End with a dc in last st.
Step 4: Row 3 (Color Change & Double Crochet Row)
- Attach new color:
- On the last yarn-over of previous row, use new color to finish the stitch.
- Ch 2, turn.
- Dc in each gap (ch-1 sp) and in each dc across.
- Alternate: [dc in gap, dc in top of dc] across.
- End with dc in top of turning ch.
- Optional: weave in tails as you work.
Step 5: Row 4 (Mesh Row)
- Ch 3, turn.
- Skip first st, dc in next st, ch 1, skip next st, dc in following st.
- Repeat across: [ch 1, skip 1, dc in next st] to end.
- End with dc in last st.
Step 6: Row 5 (Color Change & Double Crochet Row)
- Change color as before.
- Ch 2, turn.
- Repeat Row 3:
- Dc in each gap and in each dc across.
Step 7: Row 6 (Mesh Row)
- Ch 3, turn.
- Repeat Row 4 mesh pattern across.
Step 8: Row 7 (Treble Crochet Row)
- Attach new color. Ch 4, turn.
- Skip first st, tr in each st across.
Step 9: Row 8 (Single Crochet Row)
- Attach new color. Ch 1, turn.
- Sc in each st across.
Step 10: Row 9 (Single Crochet Row)
- Ch 1, turn.
- Sc in each st across.
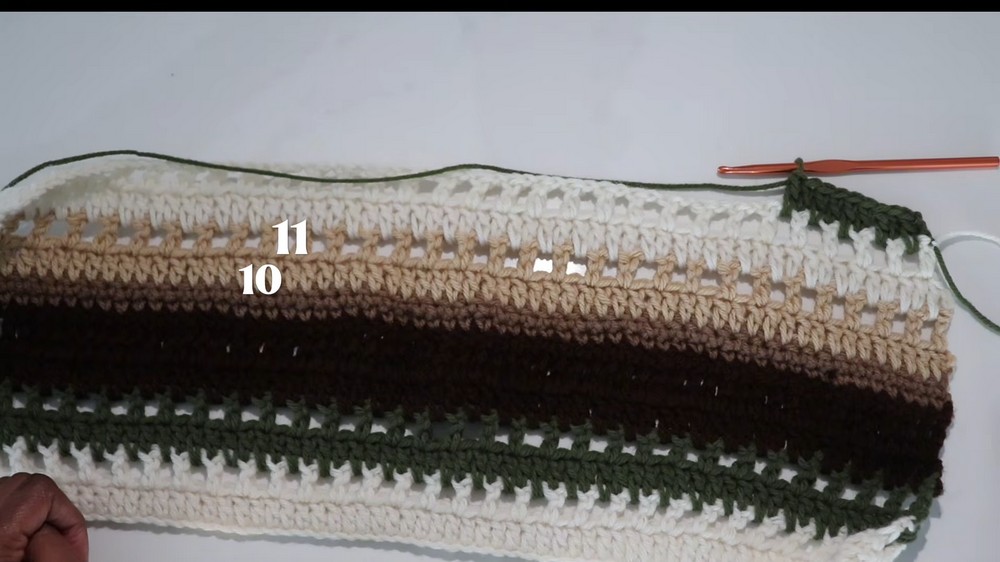
Step 11: Row 10 (Double Crochet Row)
- Attach new color. Ch 2, turn.
- Dc in each st across.
Step 12: Row 11 (Mesh Row)
- Ch 3, turn.
- Repeat mesh pattern:
- [skip 1, dc in next, ch 1] across.
- Begin sequence again:
- Repeat Rows 2–11 for a second sequence.
- For Row 11 of the second repeat, instead of a mesh, work a single crochet row:
- Ch 1, turn, sc in each st across.
- Ch 1, turn, sc in each st across.
Step 13: Completion
- Fasten off, weave in ends.
Assembly: Connecting Panels
Step 1: Join Shoulders
- Place panels right sides together.
- Join shoulders with 14 sc (or method of choice):
- Insert hook through both panels at shoulder edge, sc across for 14 sts.
- Fasten off.
Step 2: Join Sides (Body)
- Join sides to leave room for sleeves:
- Using a slip knot, insert hook through appropriate spaces along side seam.
- Work 10 sc evenly spaced for each side seam, leaving armhole size as desired.
- Fasten off.
Sleeves (Make 2)
Step 1: Attach Yarn at Armhole
- Make a slip knot, attach in armhole space, ch 2.
- Dc evenly around armhole (example: 56 dc).
- Sl st to first dc to join.
Step 2: Mesh Row
- Ch 3, turn.
- Skip first st, dc in next, ch 1, skip next st, dc in following st:
- Repeat around, join with sl st to top of ch-3.
Step 3: Color Change & Double Crochet Row
- Change color, ch 2, turn.
- Dc in each gap and dc, weaving in tails as needed.
- Repeat rounds as per body (mesh, dc, tr, sc, etc.), following sequence of Rows 2–11 until sleeve reaches desired length.
Step 4: Finishing
- Fasten off, weave in ends.
Pattern Correction & Tips
- Row 11 of the second repeat should be a single crochet row (sc in each st), rather than mesh, for a neater finish.
- Take care at color changes: secure knots well and weave in ends to prevent unraveling.
- For neater sleeves or seams, consider using a mattress stitch with tapestry needle.
- If counting stitches is challenging, use markers for start/end points or gaps.
- Try the sweater on as you work to adjust for fit.
Conclusion
This easy, fun, and customizable crochet sweater is constructed from two simple panels with repeating textured and mesh rows. After assembling the sweater and adding sleeves, you’ll have a beautiful striped pullover suitable for beginners and experienced crocheters alike. Enjoy experimenting with colors and lengths to create your unique look!