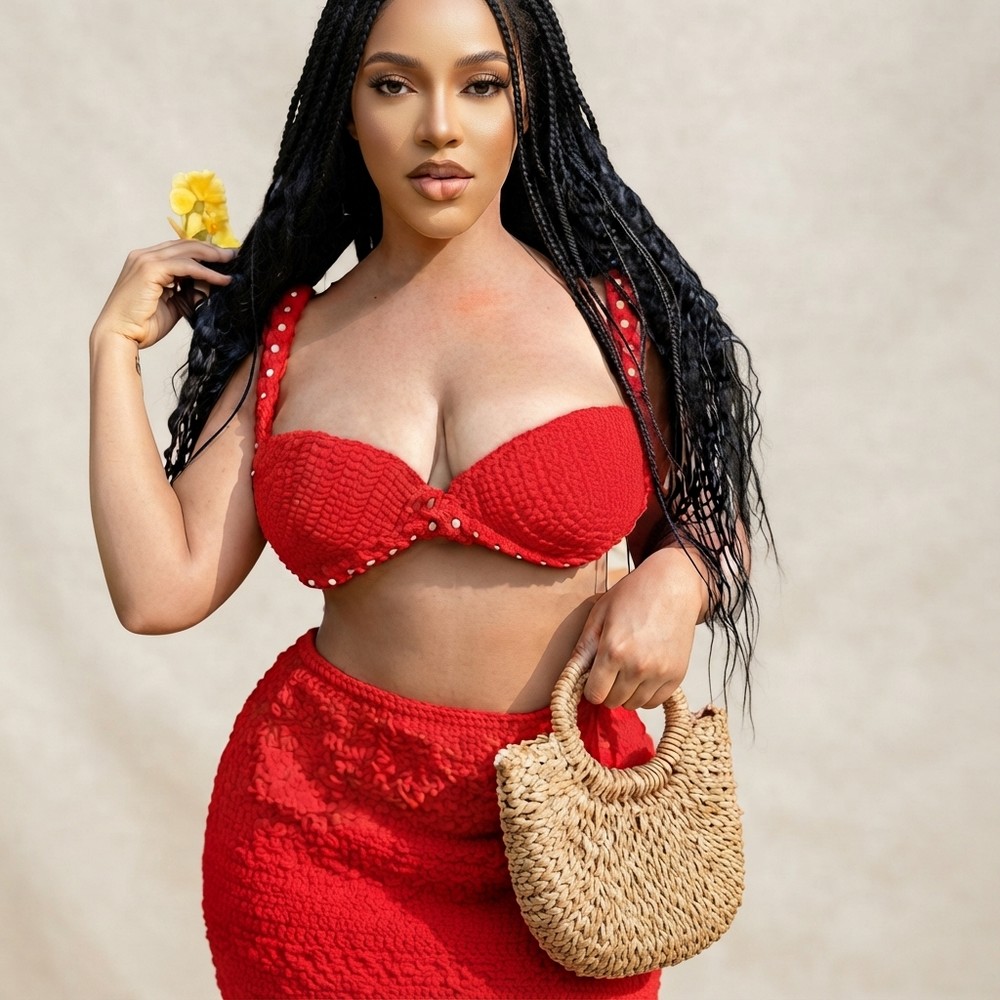
Crochet Beaded Corset Top – Free Pattern & Step-by-Step Tutorial

Shine bright with a stunning crochet beaded corset top using this free pattern that blends elegance and sparkle perfect for any fashion-forward wardrobe.
There’s a certain charm in creating a custom piece that fits perfectly and stands out as a work of art. This beautiful crochet corset top is one such masterpiece. Made with a medium-weight yarn, intricate stitching, and optional beads for added elegance, it’s perfect for wearing to special occasions or even for adding a trendy touch to casual outfits. Designed with care and precision, this top is not just fashionable but also incredibly versatile, it can be adjusted for various bust sizes and body shapes, making it a favorite for everyone who loves unique handmade clothing.
Crochet a Beaded Corset Top – Easy Free Pattern for Beginners
CBH Academy stands out because of its clear, easy-to-follow tutorials that welcome creators of all skill levels. With step-by-step instructions, even beginners can confidently make this gorgeous corset top. Wearable, stylish, and customizable, this design isn’t just fashion, it’s a lasting piece of art you can feel proud of.
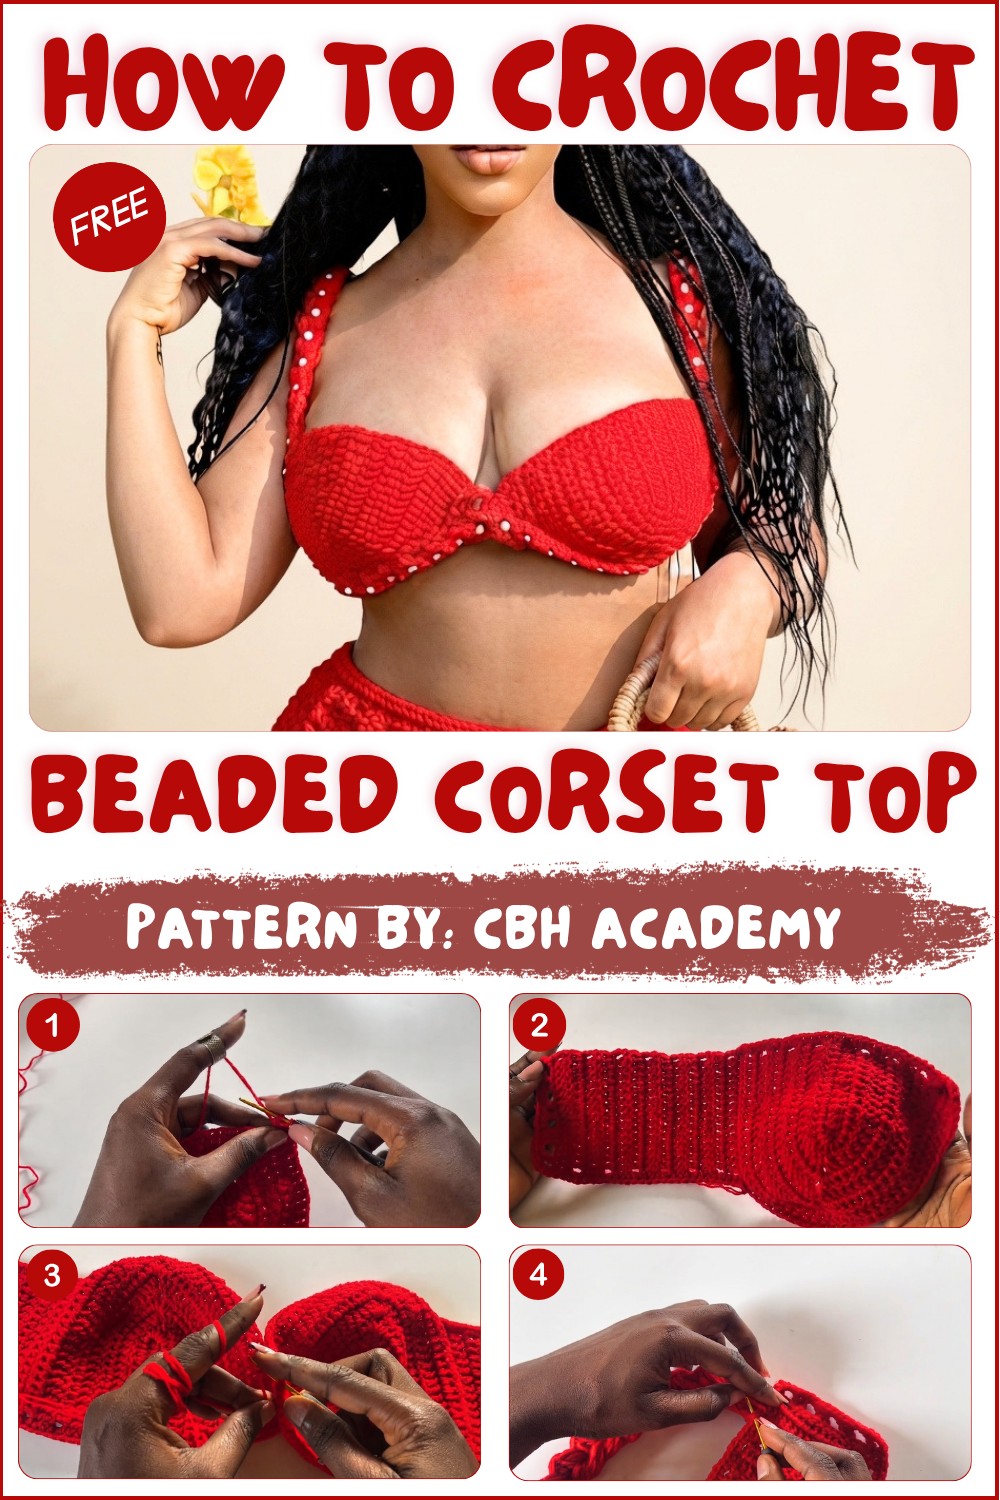
The design starts with two structured bra cups, carefully shaped to fit different sizes. These cups curve gently for a snug, lifted fit, adding both comfort and style. The double crochet stitching in rounds creates a strong yet lightweight texture, while small adjustments in the final rows give the cups a more rounded and supportive shape. The top also features braided straps that connect the cups to the back with an elegant finishing.
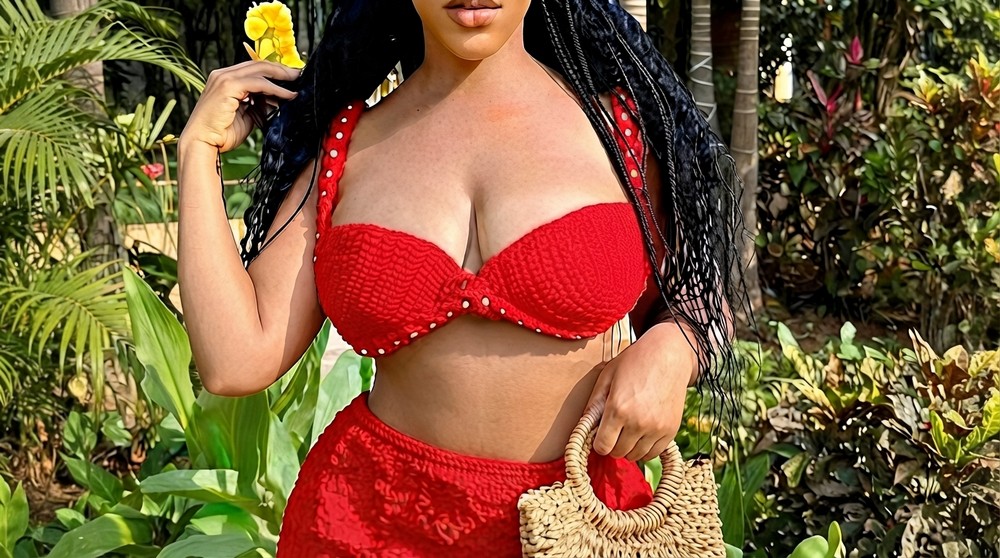
This braided look is achieved using a unique technique that creates a stylish, textured appearance. Strategically placed beads along the straps or neckline complete the design, giving it an extra touch of beauty. The lace-up back adds a stunning detail, making the top adjustable and allowing for a perfect fit every time.
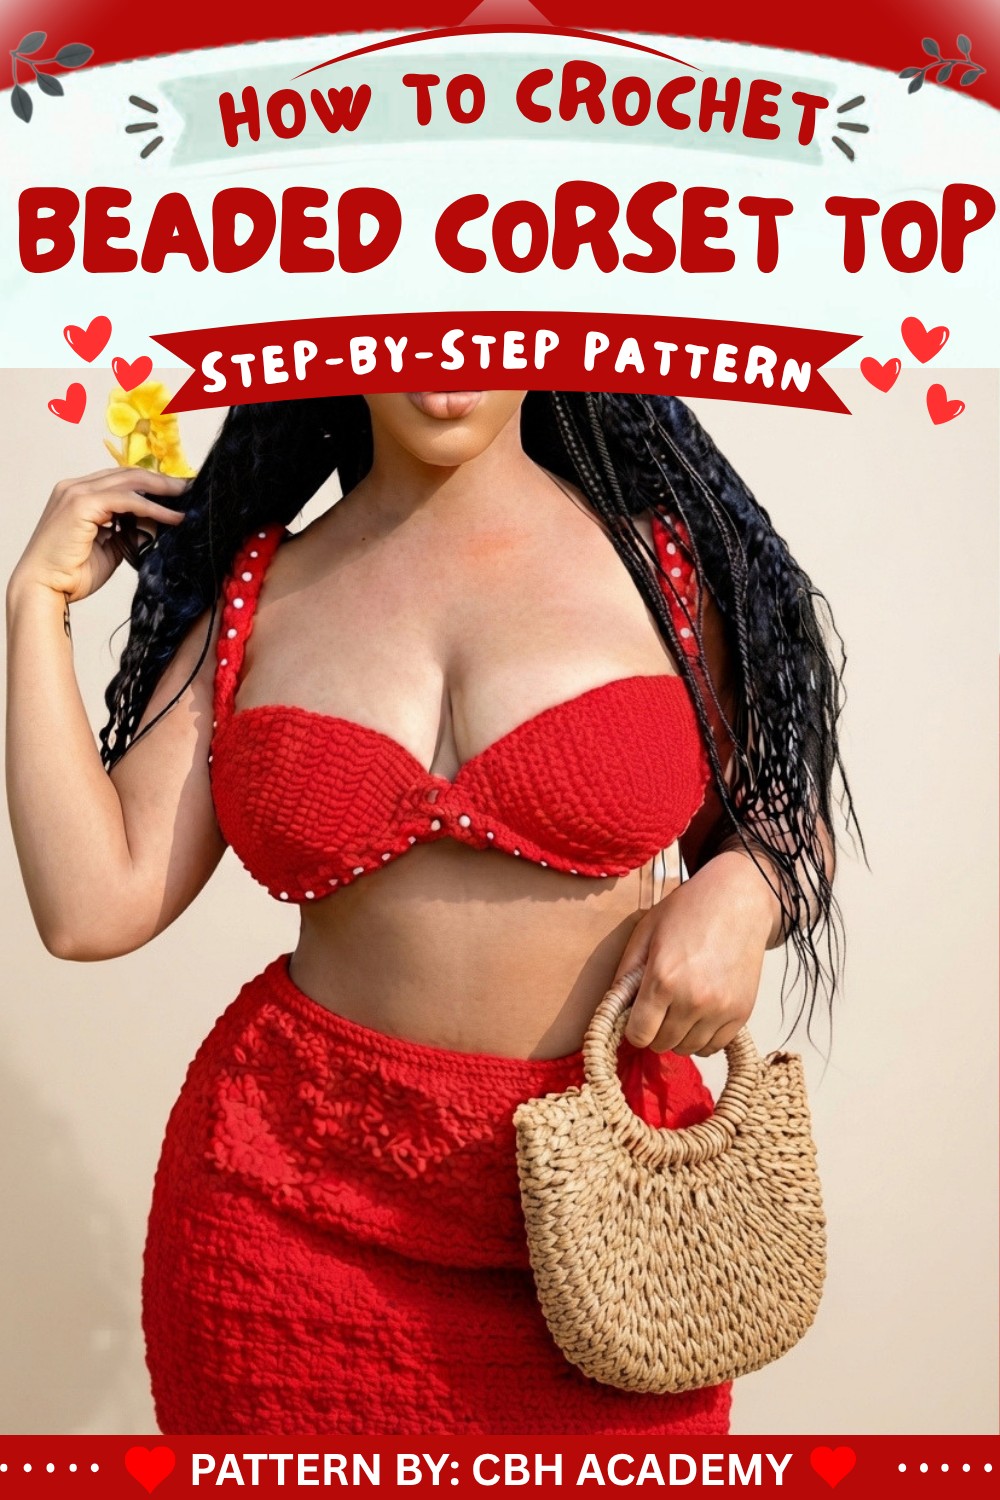
Crochet Valentine Bralette Pattern
This Valentine-inspired crochet bralette is a beautiful and customizable design perfect for any occasion. It features structured cups, back wings, and a braided strap, all customizable to fit your measurements and preferences. This pattern emphasizes a clean finish and detailed instructions to help you create a perfectly fitting bralette.
Skill Level
Intermediate – The pattern involves basic crochet stitches, increasing, working in rows and rounds, customization for size, and final assembly. While the techniques are simple, a good understanding of crochet basics is required to create a neat and polished finish.
Materials
- Yarn: Yaya Regular medium-weight yarn (doubled strands for durability).
- Hook: 2.5 mm crochet hook (adjust based on your yarn and tension).
- Tools:
- Measuring tape.
- Stitch markers.
- Scissors.
- Darning needle.
Special Stitches
Double Crochet (DC):
- Yarn over, insert your hook into the stitch.
- Yarn over and pull through (3 loops on the hook).
- Yarn over and pull through the first 2 loops (2 loops remain).
- Yarn over and pull through the remaining 2 loops.
Single Crochet (SC):
- Insert the hook into the stitch.
- Yarn over and pull through the stitch (2 loops on hook).
- Yarn over again and pull through both loops.
Stitch Abbreviations
- CH = Chain
- DC = Double Crochet
- SC = Single Crochet
- SL ST = Slip Stitch
Useful Tips
- Accurate Measurements: Ensure precise bust size, nipple-to-underbust length, and back measurements. Use the guide provided to calculate chain lengths.
- Even Stitching: Maintain consistent tension to ensure flawless shaping of the cups and wings.
- Customize Size: Increase or decrease the number of rounds as needed for larger or smaller cup sizes.
- Optional Beading: Add beads to the bra straps or back strap for extra embellishment.
Detailed Crochet Pattern
1. Creating the Bra Cups
Measurements:
- For a bust size of 39 inches, chain 16 (measures about 3 inches for nipple-to-underbust distance).
- Adjust the starting chain length per bust size:
- Bust Size 32 inches: Chain 12.
- Bust Size 35 inches: Chain 14.
- Bust Size 39 inches: Chain 16.
Step-by-Step Bra Cup Construction:
Foundation Chain:
- Make a slip knot and chain the required starting chains for your size.
Round 0 (Base Round):
- Skip the first two chains from the hook; work 1 DC into the 3rd chain. Mark the gap between the CH 2 and the first DC with a stitch marker. This will help identify the center point later.
- Continue to work 1 DC into each chain across the row. The total number of double crochets will be your starting chain minus 2.
- Finish the row and prepare for the next round.
Round 1:
- Chain 3 (counts as a DC), turn your work.
- Skip the first stitch and begin working 1 DC in each stitch across until you reach the marked center gap.
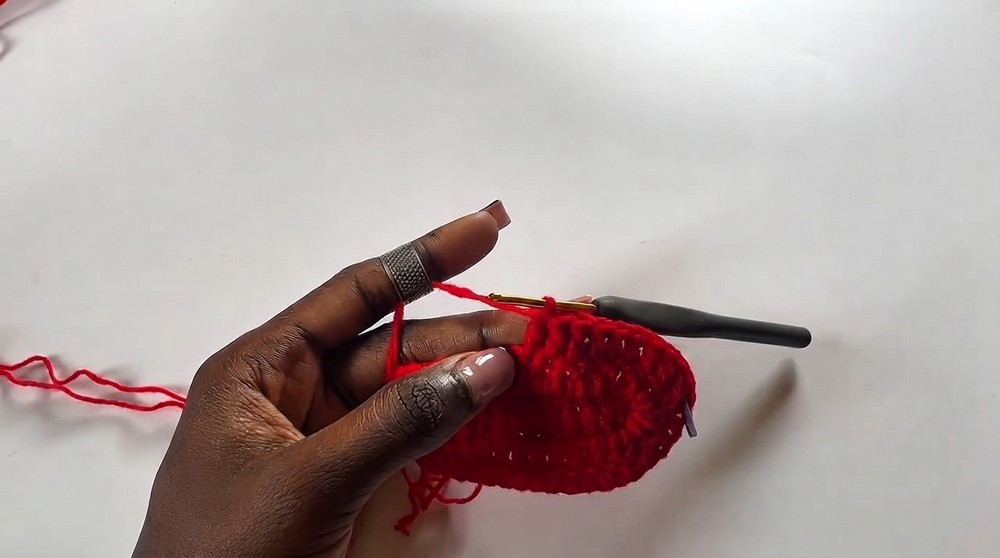
- At the marked center (created at the CH 2 gap from Round 0), remove the marker and work 5 DC into the gap.
- Place the stitch marker on the third DC within this group for the new center.
- Continue working 1 DC into each stitch along the other side of the foundation chain.
Subsequent Rounds:
- Repeat Round 1, adding 2 DC, CH 1, 2 DC into the center marked stitch for each round to create increases.
- Stop working increases when you are three rounds away from your desired total cup height. For a size 39-inch bust, repeat for Rounds 2-5.
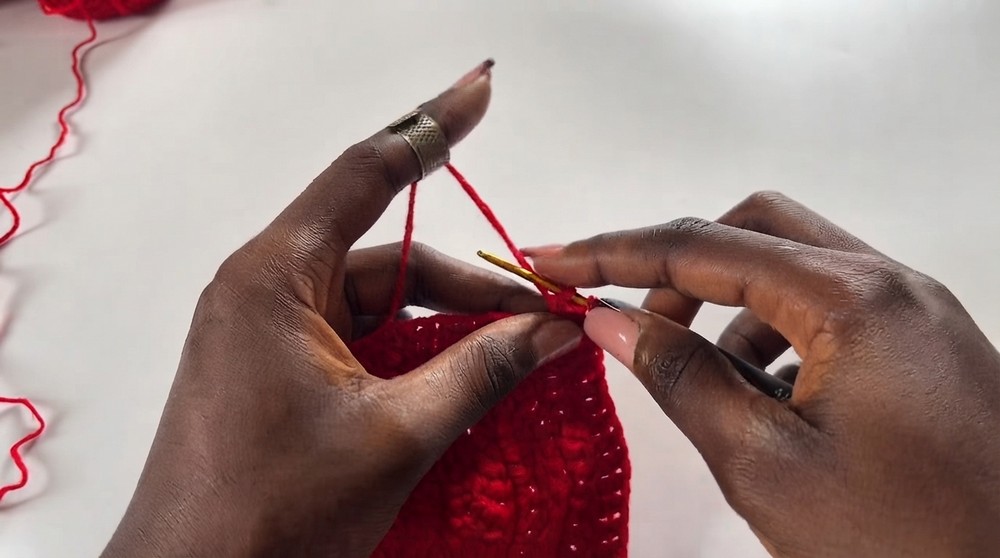
- For the last three rounds:
- Round 6: At the center, work 3 DC instead of the previous increase method.
- Round 7: Work 1 DC in every stitch without increases.
- Round 8 (Final Round): Chain 1, turn, and work 1 SC in every stitch to clean up the edges.
2. Creating the Cup Wings
- With the yarn still attached to the cup, CH 1 and SC into the body of the last DC where Round 8 ended (not directly into the stitch).
- Along the curve, work single crochets evenly:
- For each DC, make 2 SC: one in the stitch and one in the gap of each DC.
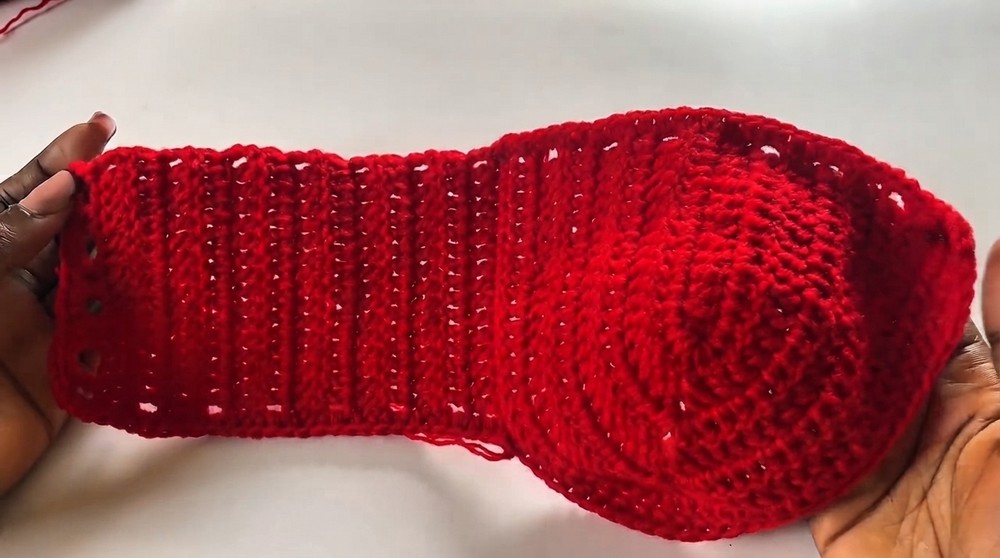
- For chain spaces, work 2 SC directly into the chain gap.
- For each DC, make 2 SC: one in the stitch and one in the gap of each DC.
- When you finish working the curve, SL ST into the first stitch of the straight edge.
Building the Back-Wing Rows:
- Start with a CH 3 (counts as a DC) and work 1 DC into every stitch.
- Continue working rows of DCs without increasing or decreasing until the wing measures approximately 5.25 inches (or desired length). For this tutorial, 13 rows of DC were made.
- Create strap holes in the final row as follows:
- CH 3 and turn. Work 2 DC, then CH 2 and skip 2 stitches.
- Continue: 2 DC, CH 2, skip 2 stitches. Repeat this pattern across the final row to create spaces for the lace-up strap.
- Chain 1 and turn. Work 1 SC into every DC and 2 SC into every CH-2 space to clean up the strap hole row.
3. Joining the Cups
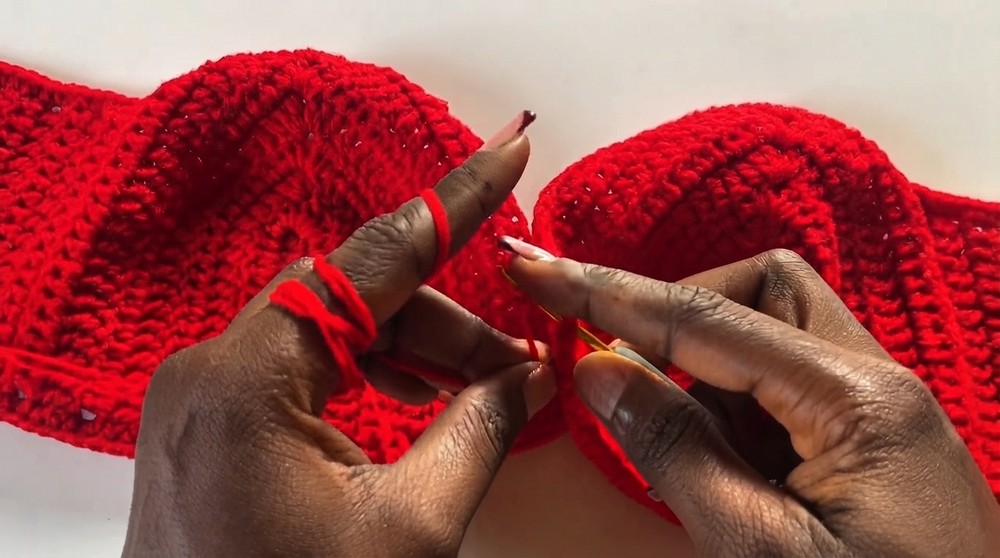
- Create a slip knot and attach your yarn to one cup at the single crochet stitch closest to the curve.
- Chain 3 and SL ST into the corresponding stitch on the second cup. This creates the first bridge connecting the cups.
- Work three rows of shells:
- Each shell consists of 2 DC, CH 1, 2 DC worked into the chain-1 space of the previous row.
- SL ST three stitches downward on one cup, work the shell, then SL ST onto the opposite cup.
- Repeat until both cups are securely joined. Add an additional shell row if you prefer more coverage.
4. Braided Strap
- Using 6 strands of yarn, create a slip knot and switch to a 4.5 mm hook.
- Chain 3. Work two incomplete DCs into the first chain (both leaving two loops on the hook), then yarn over and pull through all loops. Chain 1 to close the stitch.
- Turn the work. In the space between the two large V-stitches of the previous row, work two incomplete DCs, pull through all loops, and chain 1.
- Repeat this pattern, turning the work after every chain 1. Continue until the braid has 58 V-stitches or desired length.
5. Assembly and Sizing
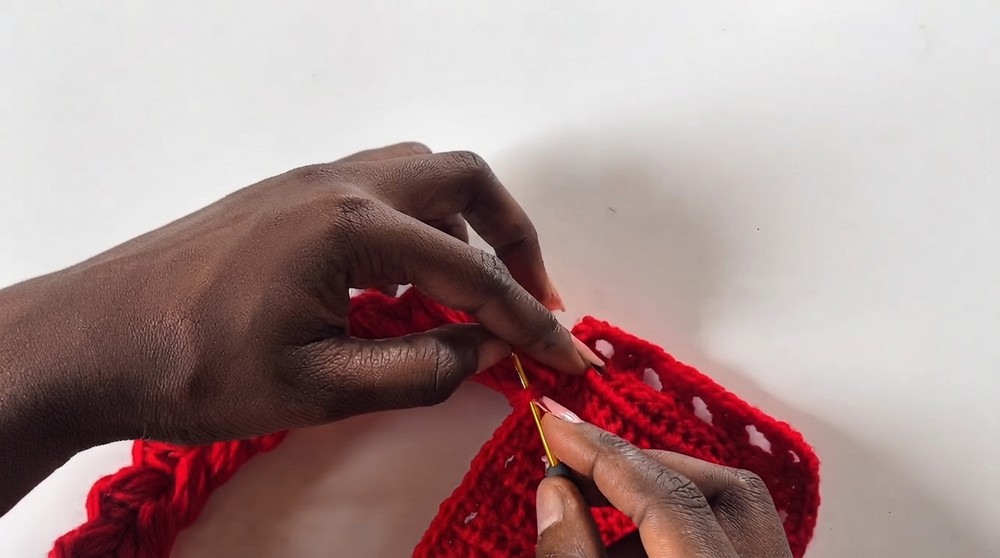
- Attach the braided strap to the cups, marking points for the front, back, and center. Sew securely using the 6-strand leftover yarn.
- Ensure straps sit flat and without twists before finalizing attachment for a polished look.
- For the lace-up back, create a chain strap or use the braided strap method as the lacing. Thread it through the strap holes created in the back wings.
Conclusion
This elegant Valentine bralette is not only beautifully designed but also highly customizable. By following the measurements and pattern, you can adapt it to suit your style or client preferences. Feel free to add beads or other embellishments to the straps for extra detailing. This bra is perfect when paired with a matching skirt or can be worn standalone for a chic look. Have fun experimenting with colors and sizes to make it your own!