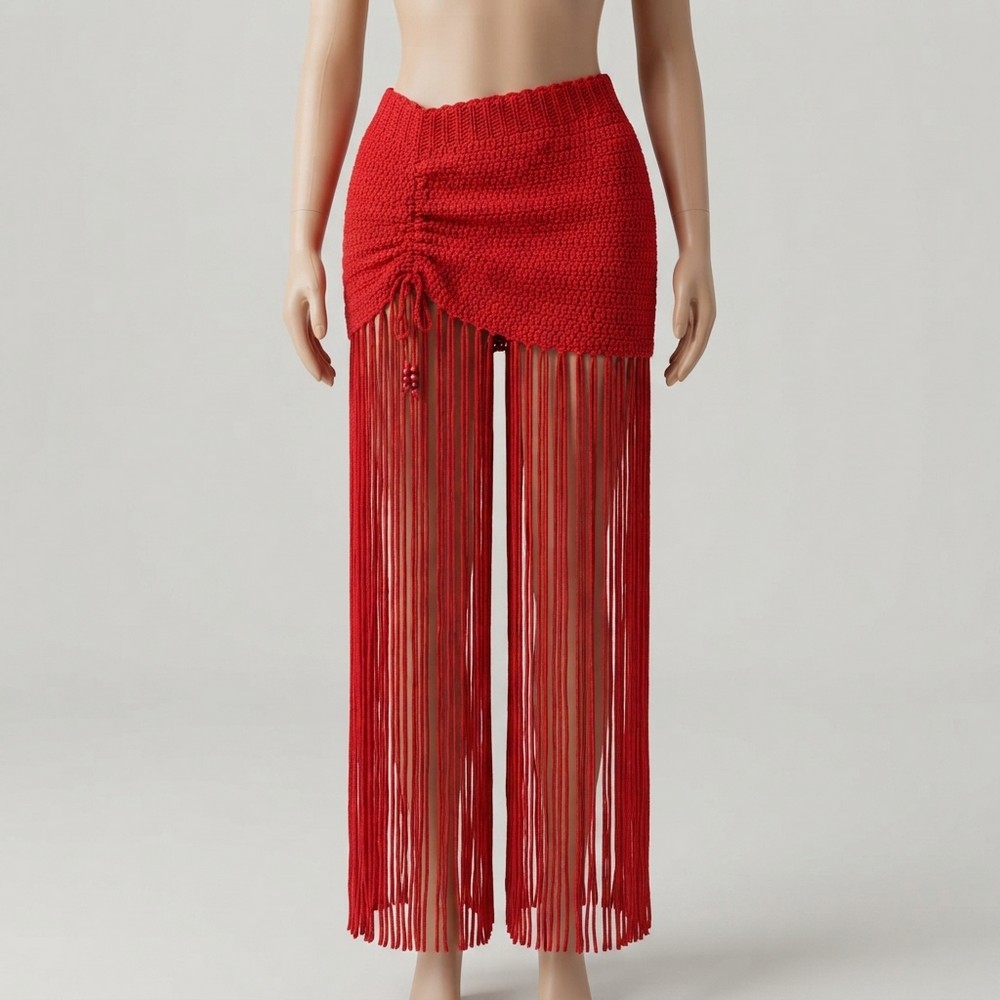
Bohemian Crochet Fringe Skirt – Free Pattern & Tutorial to Try

Dance into style with this free crochet fringe skirt pattern perfect for adding playful movement and boho flair to your summer wardrobe.
CBH Academy is a trusted crochet hub, guiding creators of all skill levels with simple, step-by-step tutorials. One of their standout designs is the stunning crochet fringe skirt, a perfect mix of elegance and playfulness. This skirt is lightweight, breezy, and ideal for everything from vacations to beach outings or even for adding a bold touch to everyday outfits. What makes it truly special is its stylish details and the flowing fringes that sway beautifully with every movement, creating a dramatic yet effortless look.
How to Crochet a Fringe Skirt – Free Pattern for Beginners
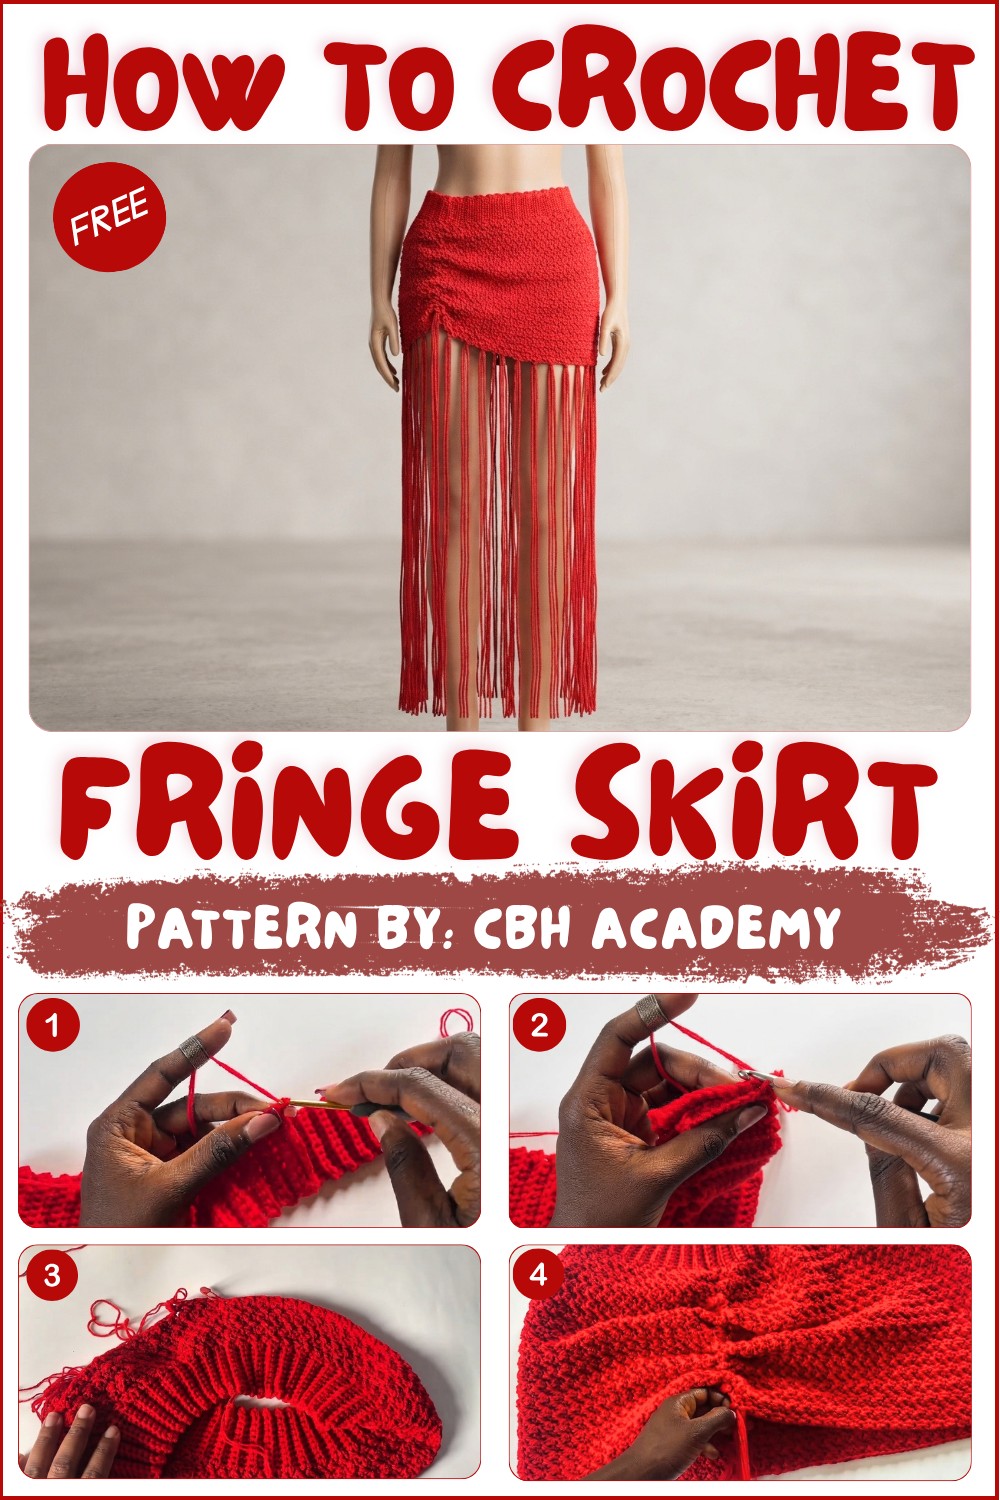
The design starts with a stretchy, ribbed waistband that sits comfortably on the waist, adapting to different body shapes without feeling tight. The main body of the skirt is crocheted using the Suzette stitch, which creates a soft texture and a rich, detailed pattern. This stitch is simple enough for beginners yet delivers a professional, polished finish. Moving further, the skirt transitions into ankle-grazing fringes that add drama and fun, making every step feel lively and confident. A drawstring is added to the waistband for an adjustable fit, making it not only stylish but also practical.
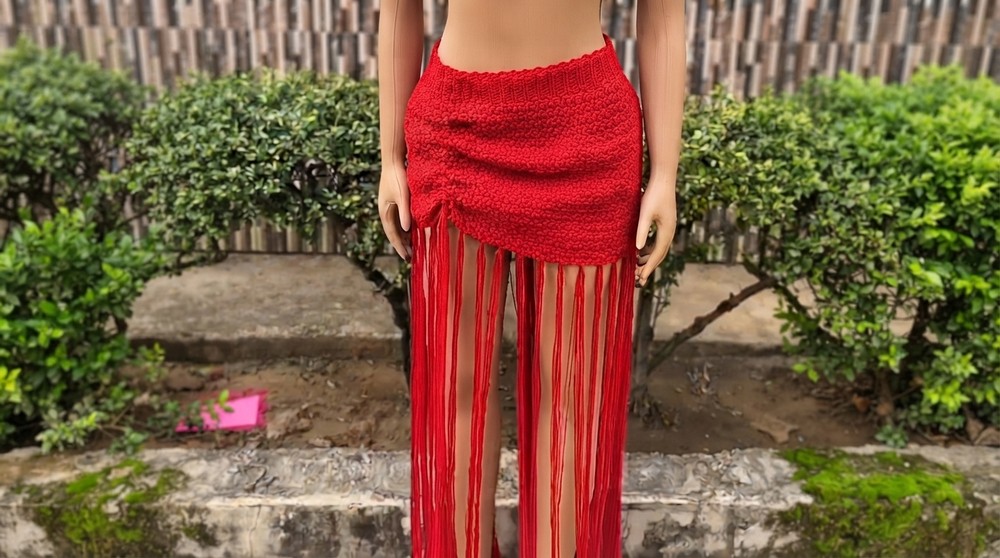
This skirt works for any occasion, whether you’re heading to a beach party or simply want a standout piece for your wardrobe. With clear and easy-to-follow teaching style, crocheting this pattern becomes an enjoyable and simple journey. Its flowing design, combined with customizable features, ensures that this skirt isn’t just a garment, it’s a bold and beautiful statement that reflects your unique style.
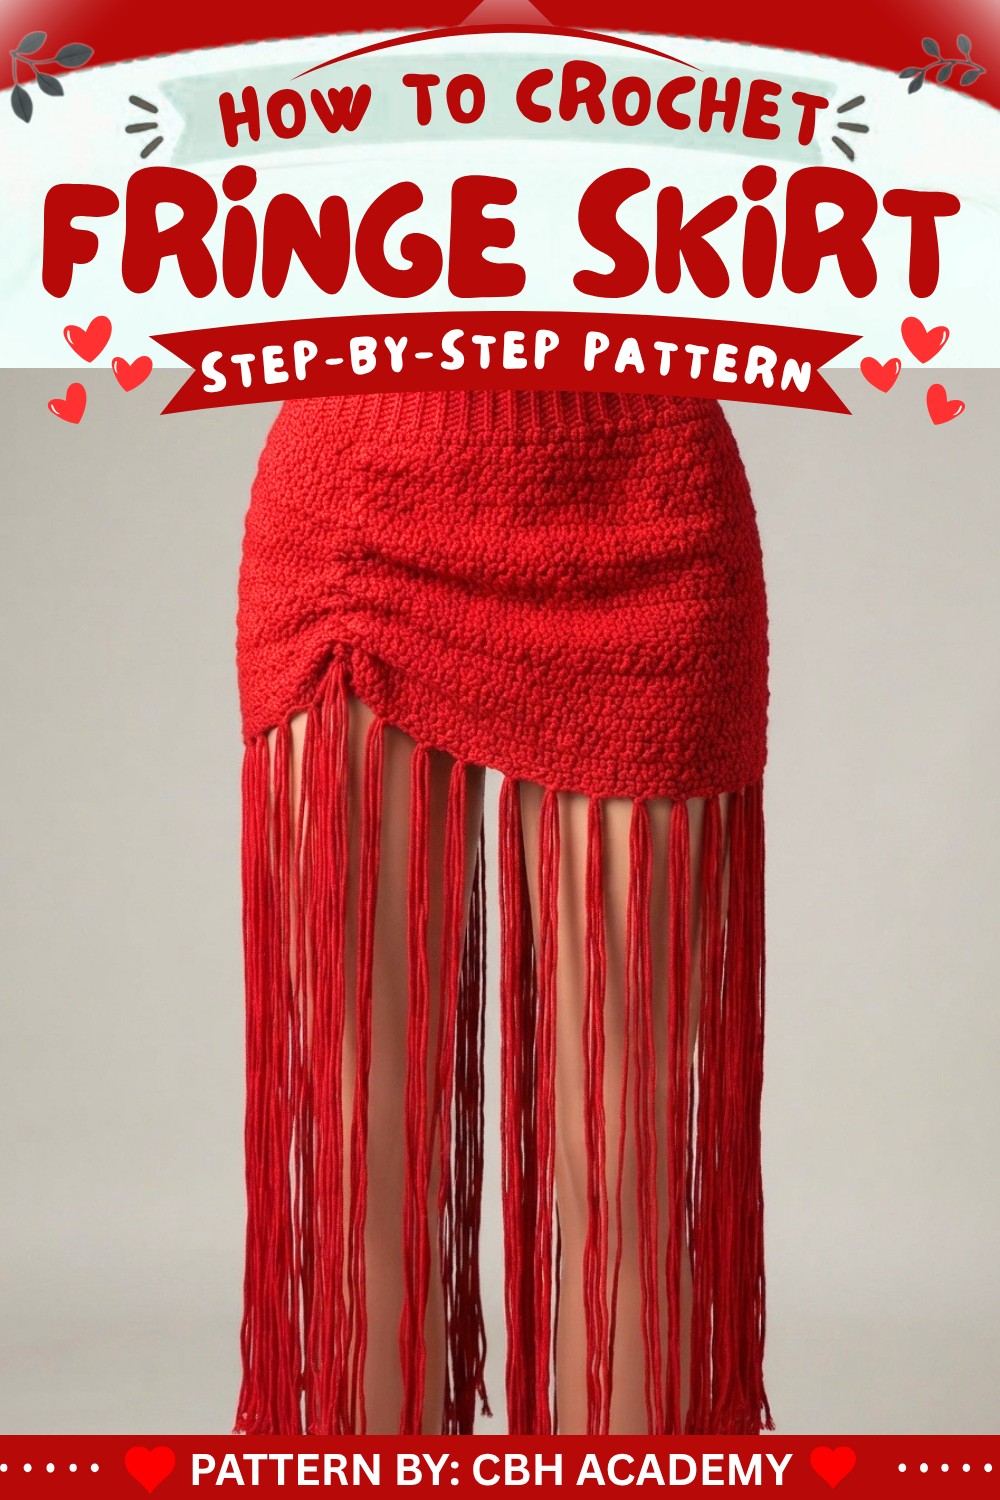
Crochet Fringe Skirt Pattern
This fringe skirt is an elegant crochet project designed for comfort and versatility. The design features a ribbed waistband for a secure fit and a textured body constructed using the Suzette stitch. Tassels along the hemline add a flowing and stylish aesthetic. Follow this pattern for a custom-fit skirt that can be tailored to suit various sizes and preferences.
Skill Level
Intermediate – This pattern includes techniques such as creating a ribbing waistband, working in rounds, stitch increases, and attaching fringe elements. While the Suzette stitch is straightforward, attention to detail is required for seamless assembly and embellishments.
Materials
- Yarn:
Medium/lightweight yarn, doubled for added thickness and durability. Choose yarn in your preferred color(s). - Hook:
3.50 mm crochet hook. - Additional Tools:
- Scissors – for cutting yarn and fringe pieces.
- Measuring tape – essential for accurate sizing.
- Darning needle – for threading strings and weaving ends.
- Stitch markers – to identify key points (e.g., increases, hip locations).
Special Stitches
Slip Knot:
- Start by forming a loop with the yarn tail over the working yarn.
- Insert your hook into the loop and pull the yarn through to create a knot.
Single Crochet (SC):
- Insert the hook into the stitch.
- Yarn over and pull through the stitch (2 loops on hook).
- Yarn over again and pull through both loops.
Back Loop Only Single Crochet (BLO SC):
- Work a single crochet, but insert the hook only into the back loop of the stitch.
Double Crochet (DC):
- Yarn over and insert the hook into the stitch.
- Yarn over and pull through (3 loops on hook).
- Yarn over and pull through the first two loops (2 loops remain).
- Yarn over and pull through the remaining two loops.
Suzette Stitch:
- Work 1 single crochet (SC) and 1 double crochet (DC) into the same stitch. Then skip the next stitch. Repeat.
Stitch Abbreviations
- CH = Chain
- SC = Single Crochet
- DC = Double Crochet
- BLO = Back Loop Only
- SL ST = Slip Stitch
Useful Tips
- Size Customization: Make adjustments to the waistband length and skirt width based on your hip and waist measurements.
- Consistent Tension: Maintain even tension to ensure the ribbing stretches evenly and the Suzette stitch texture remains consistent.
- Fringe Length: Decide the length of your fringe before cutting yarn pieces. Longer fringe creates fluid movement, while shorter fringe adds subtle detailing.
- Hip Markers: Use stitch markers to identify side points for accurate increases during the skirt body construction.
- String Management: Pre-measure the chain strings used for ruching or waistband adjustments to ensure a smooth process during assembly.
Detailed Crochet Pattern
1. Waistband Ribbing
Step-by-Step Instructions:
- Create a slip knot on your hook and chain 10. This forms the width of the waistband ribbing.
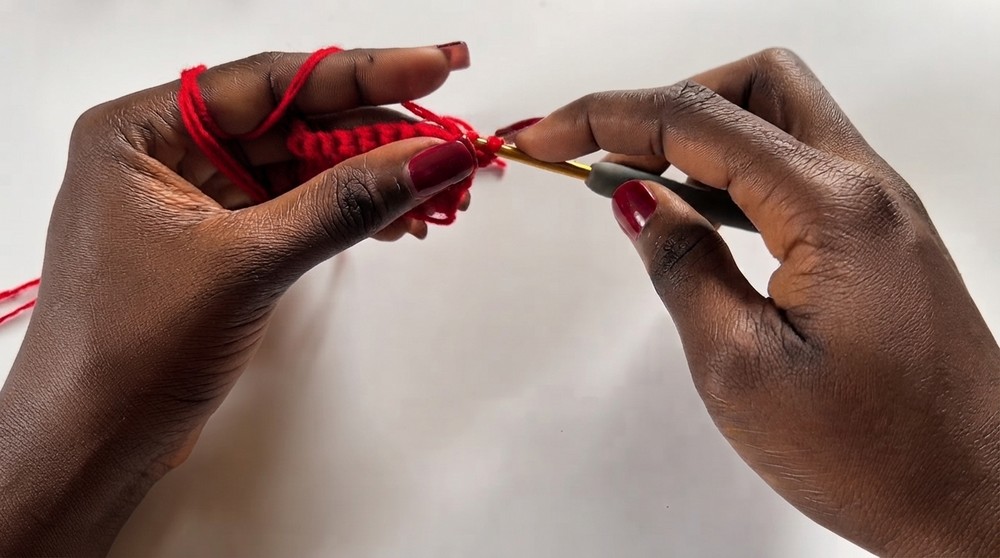
- Row 1: Work 1 SC into the second chain from the hook, and continue working 1 SC in every chain across. You will have 9 stitches in total.
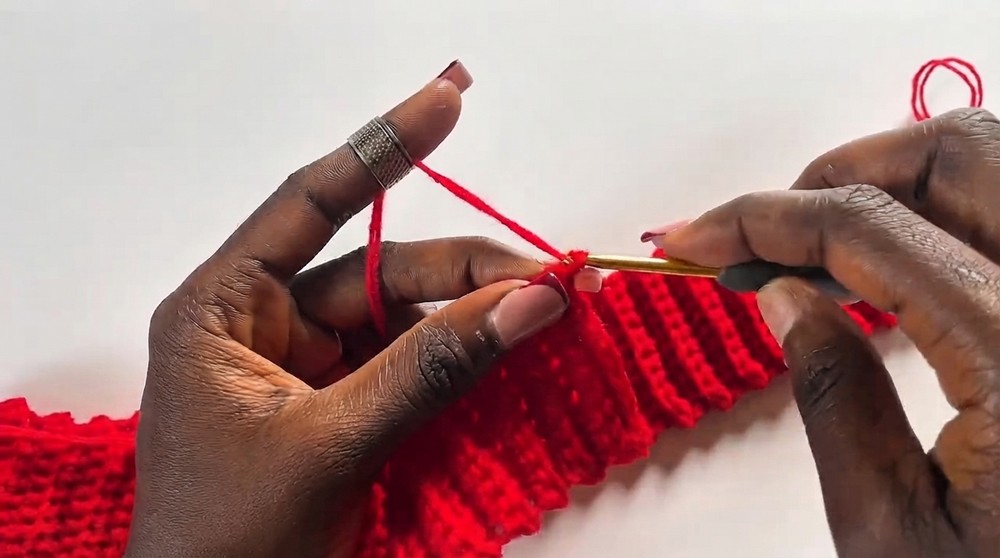
- Row 2: Chain 1 and turn your work. Begin working BLO SC into each stitch across the row. This gives the ribbing its stretchy texture.
- Repeat Row 2 until the ribbing stretches to your hip measurement. Ensure the ribbing length equals waist measurement minus 4 inches for proper fit and elasticity.
2. Joining the Ribbing Band
- Fold the band in half and align the two short edges.
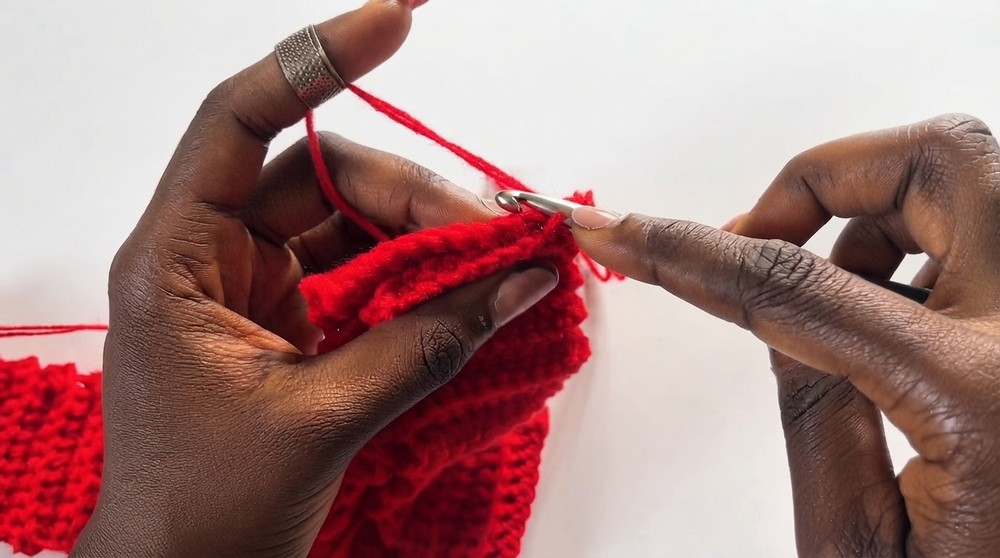
- Use SCs to join the edges together, inserting your hook through both loops of each stitch.
- Once joined into a circle, finish with a SL ST and fasten off.
3. Skirt Base
Step-by-Step Instructions:
- Attach yarn to the edge of the ribbing waistband.
- Work SC evenly along the edge of the waistband to clean it up. Place 3 SC for every 2 rows of ribbing.
- Join the round with a SL ST.
4. Suzette Stitch Body
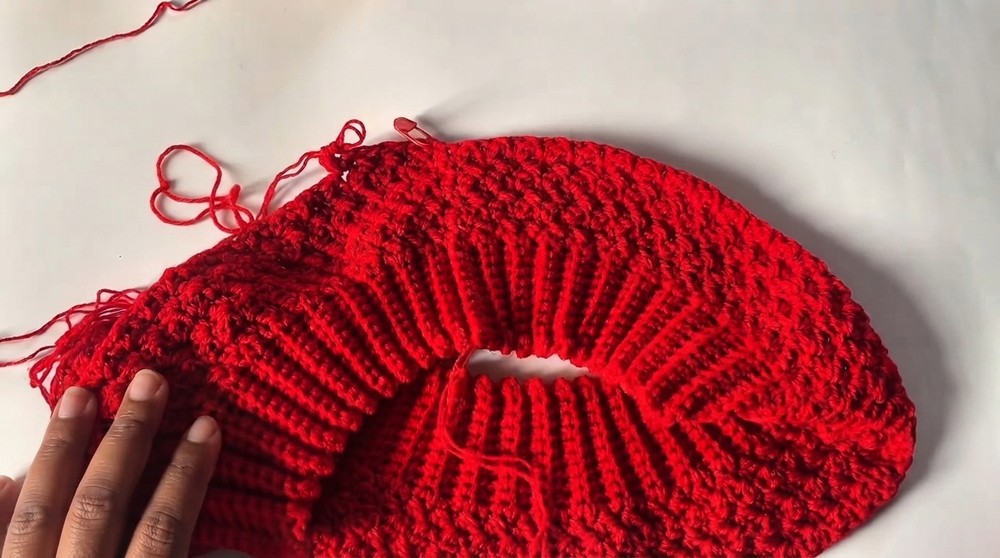
Round 1:
- Chain 1 and turn your work.
- Work 1 SC and 1 DC into the first stitch, then skip the next stitch. Continue this pattern (SC + DC in one stitch, skip next) around the entire row.
- Finish with a SL ST into the first stitch.
Subsequent Rounds:
- Chain 1 and turn.
- Continue working the pattern into the SC stitches only from the previous row, skipping all DC stitches. This maintains the texture of the Suzette stitch.
- Repeat for multiple rounds.
Adding Increases:
- Use stitch markers to mark the side hip points of the skirt.
- To increase width at these points:
- When you reach a marker, work the Suzette stitch pattern into both the SC and the DC instead of skipping the DC. This adds an extra pattern repeat.
- Alternate two rounds of increases with one round of no increases for gradual flare.
- Continue until the desired skirt width is achieved.
5. Finishing Details
Adding Ruching:
- Create a single chain string using yarn.
- Use a darning needle to thread the chain through the skirt body. Insert the string at regular intervals to ruche (gather) the fabric. Adjust to suit your desired fit.
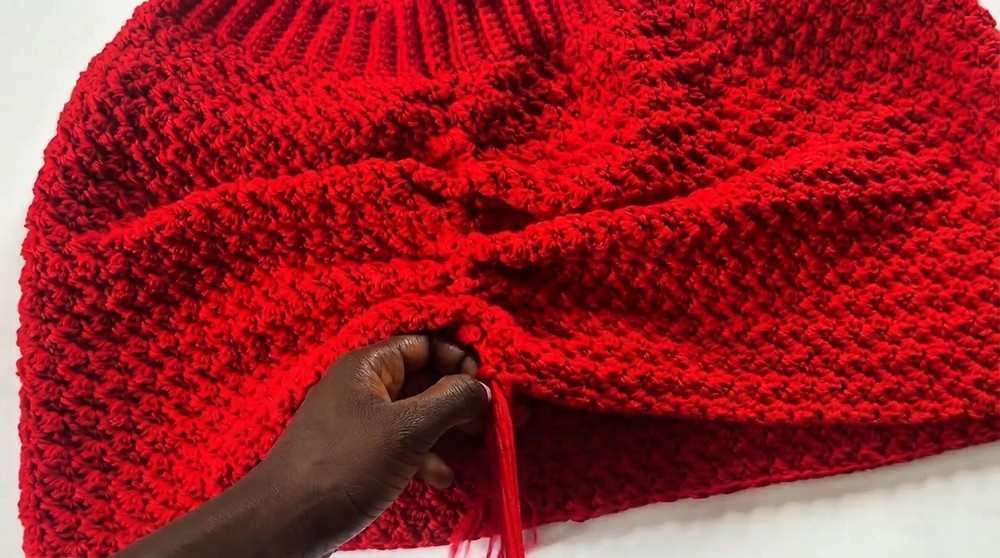
Waistband String:
- Make a longer chain string (using three strands of yarn for durability).
- Thread this string through the waistband ribbing using a darning needle. Tie loosely to adjust the waistband fit.
Fringe/Tassels:
- Cut yarn strands to the desired length (target length x 2 + extra for knots).
- Fold each strand and attach to the hem by using the loop-through method:
- Insert the folded strand through a space in the hem (e.g., SC stitch space).
- Pull the tail ends through the loop to create a knot.
- Continue attaching tassels around the hem until the fringe is complete.
- Trim tassels to ensure uniform length.
Assembly and Sizing
- Final Assembly: Ensure all strings are securely threaded and tied. Weave in loose ends with a darning needle for a polished finish.
- Sizing: Confirm the skirt fits comfortably at the hips and length. Adjust ruching tension or fringe placement as needed for styling preferences.
Conclusion
The crochet fringe skirt is a versatile and customizable design that combines texture, movement, and functionality. Perfect for summer events or casual outings, the skirt’s elegance and craftsmanship come from attention to detail, proper measurement, and creative fringe elements. Whether paired with sandals or heels, this project delivers confidence and style tailored to your needs.