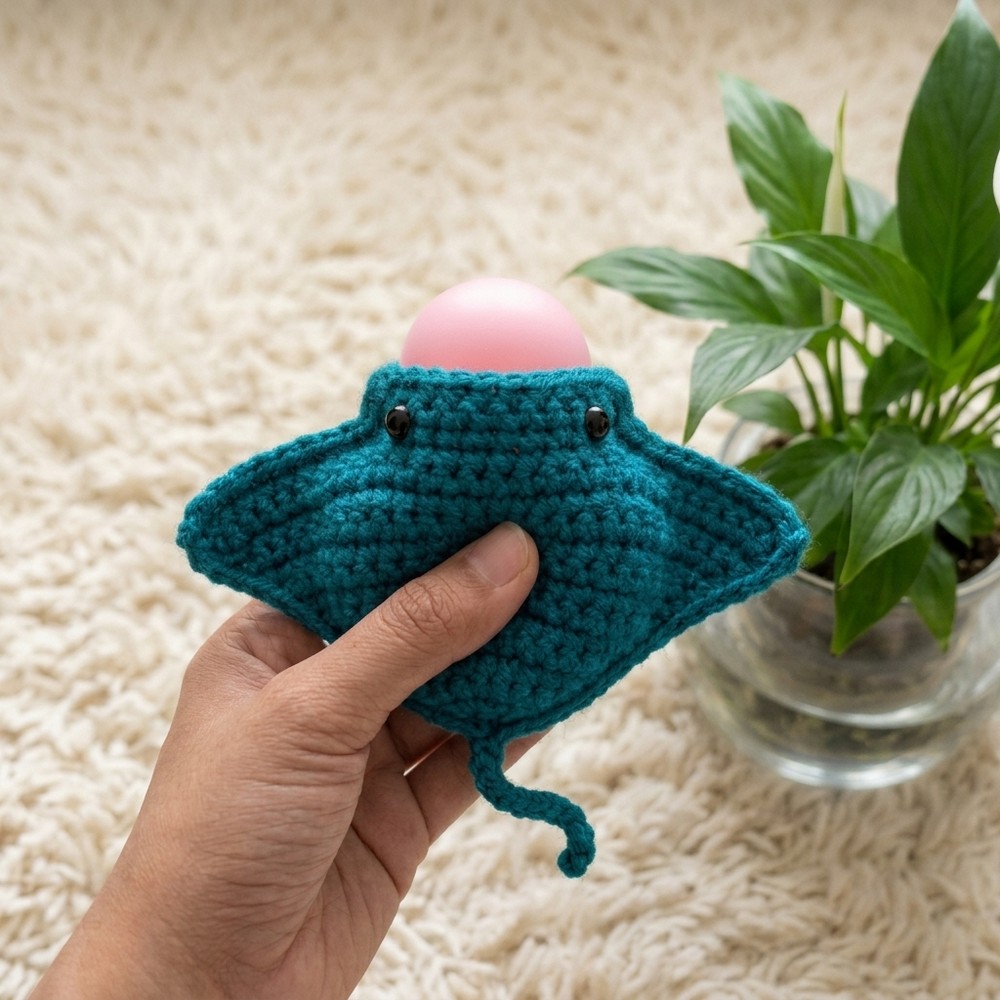
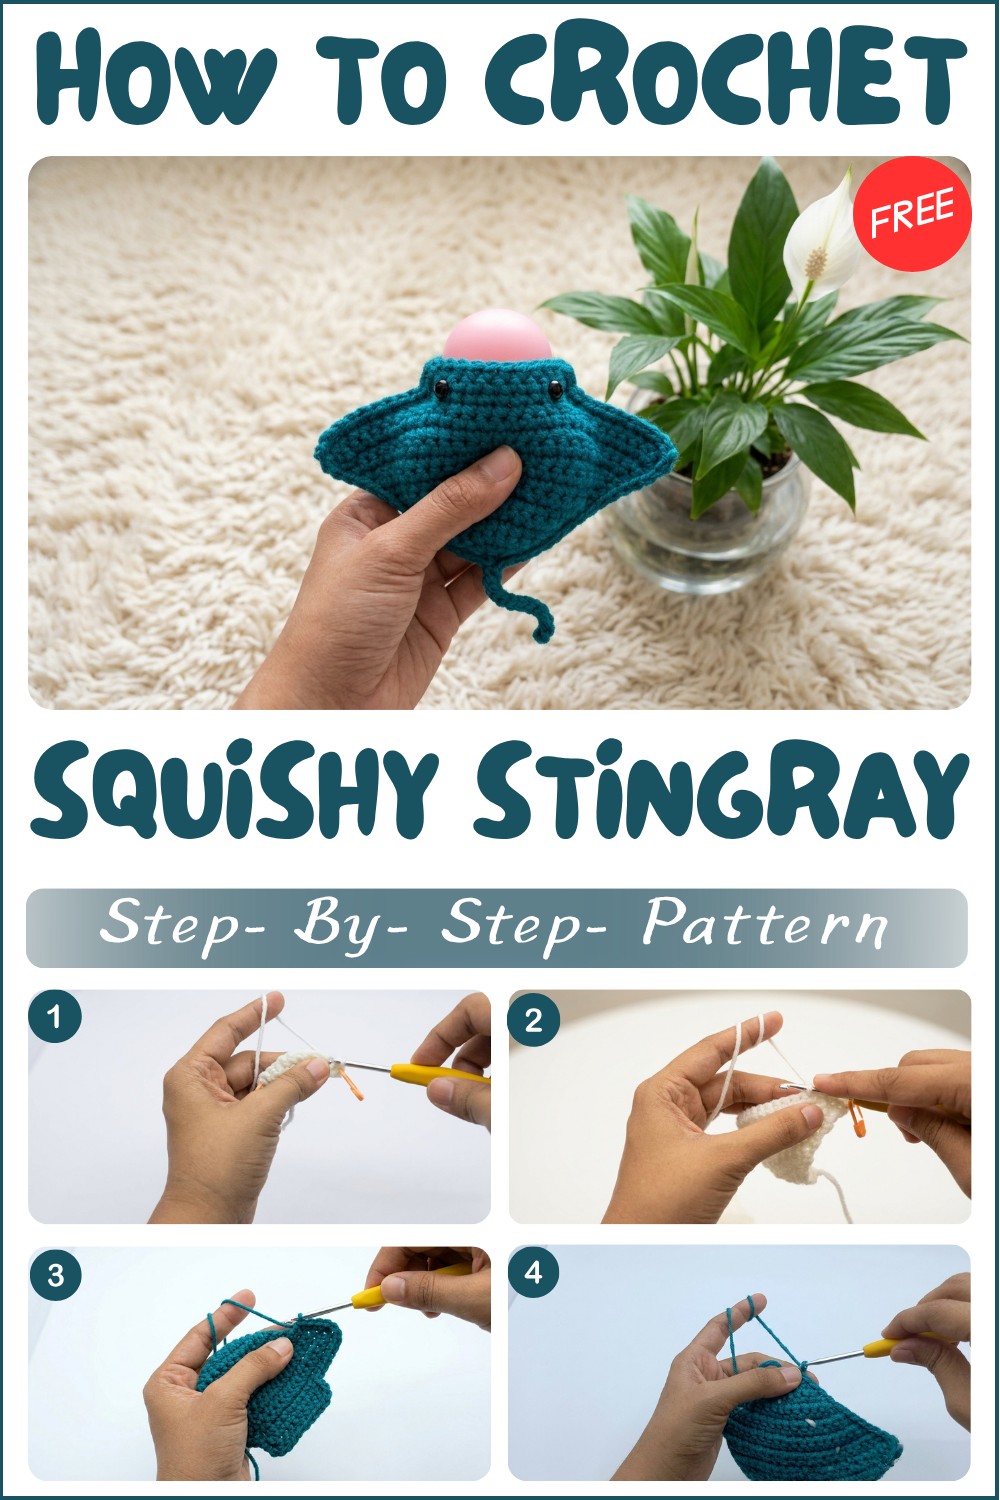
Unique Free Crochet Squishy Stingray Amigurumi Pattern
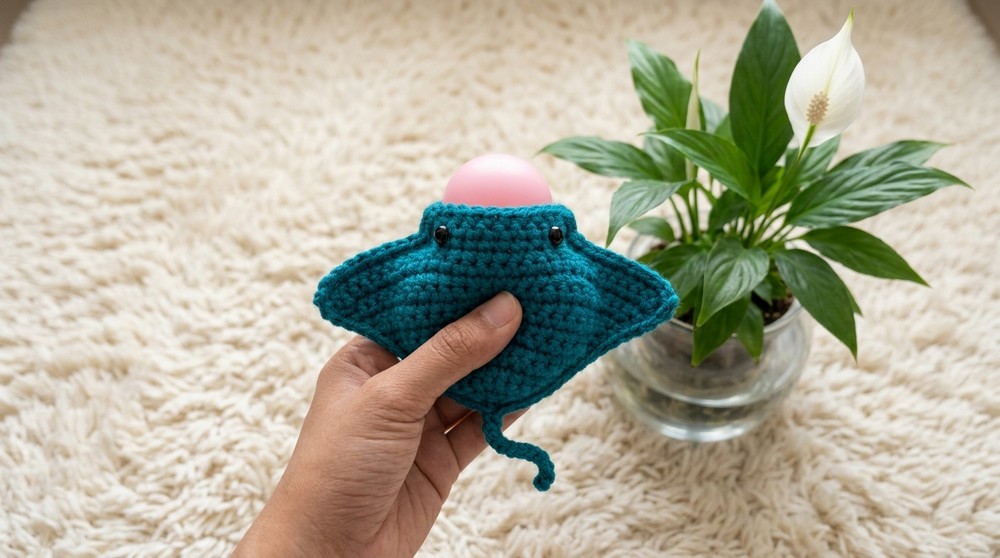
A little stingray lives beneath the waves, soft and squishy just like a pillow. You can make your own by following a free crochet pattern that shows how to create this friendly sea creature from yarn. The stingray has a round, smooth body with tiny fins and a long tail that adds to its charm.
You can pick any yarn colors you like to make your stingray special. Bright colors can make it look playful, while softer shades give it a gentle feel. The size is up to you too — small enough to carry around or large enough to hug tight.
Crochet Squishy Stingray Free Pattern
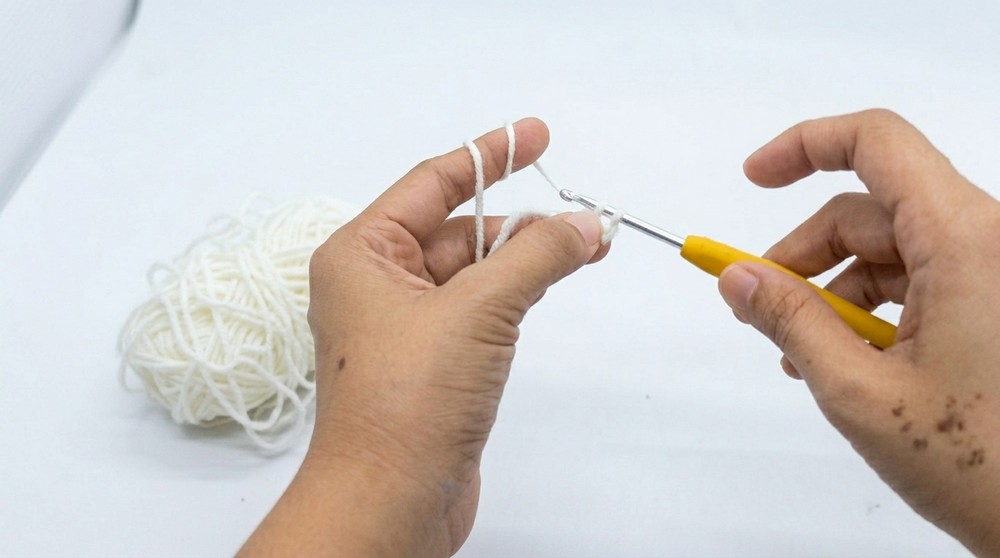
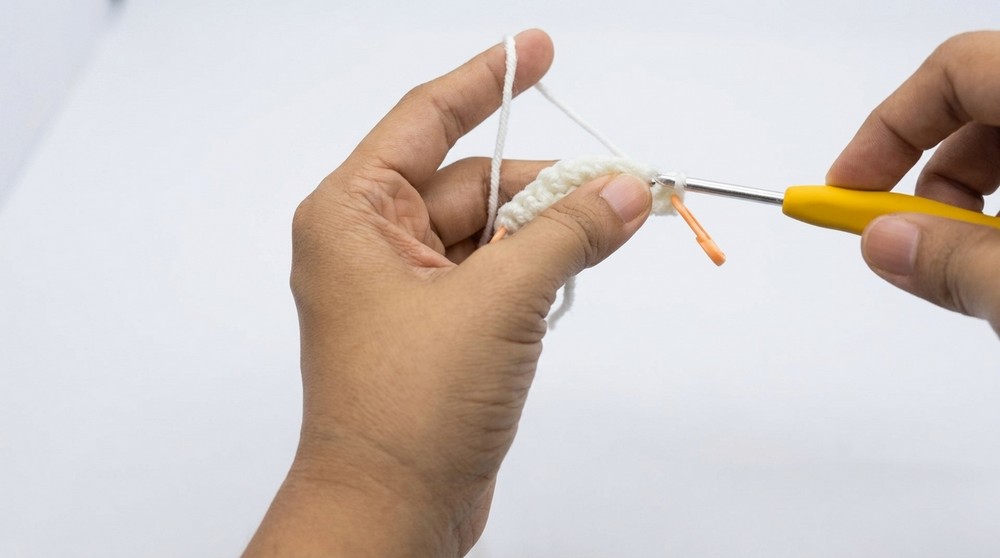
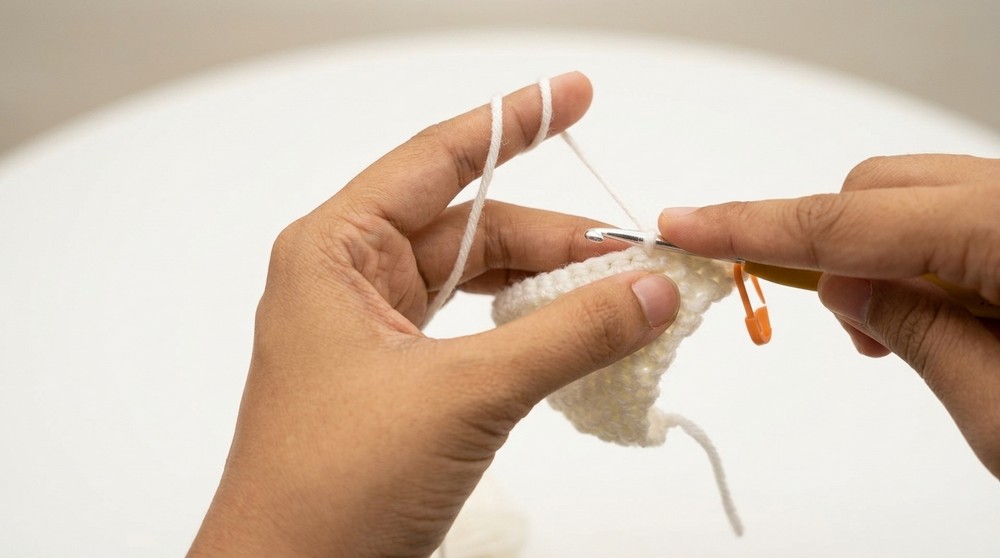
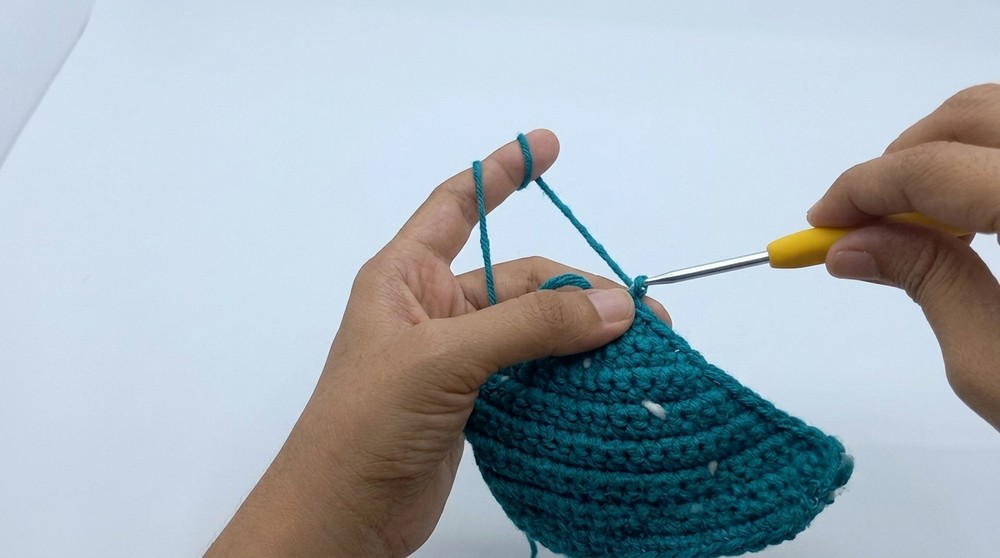
This squishy stingray is made using a simple stitch called single crochet. It’s easy to learn and helps build a nice soft shape by working in circles. After finishing the round body, little fins and a tail are added for completeness.
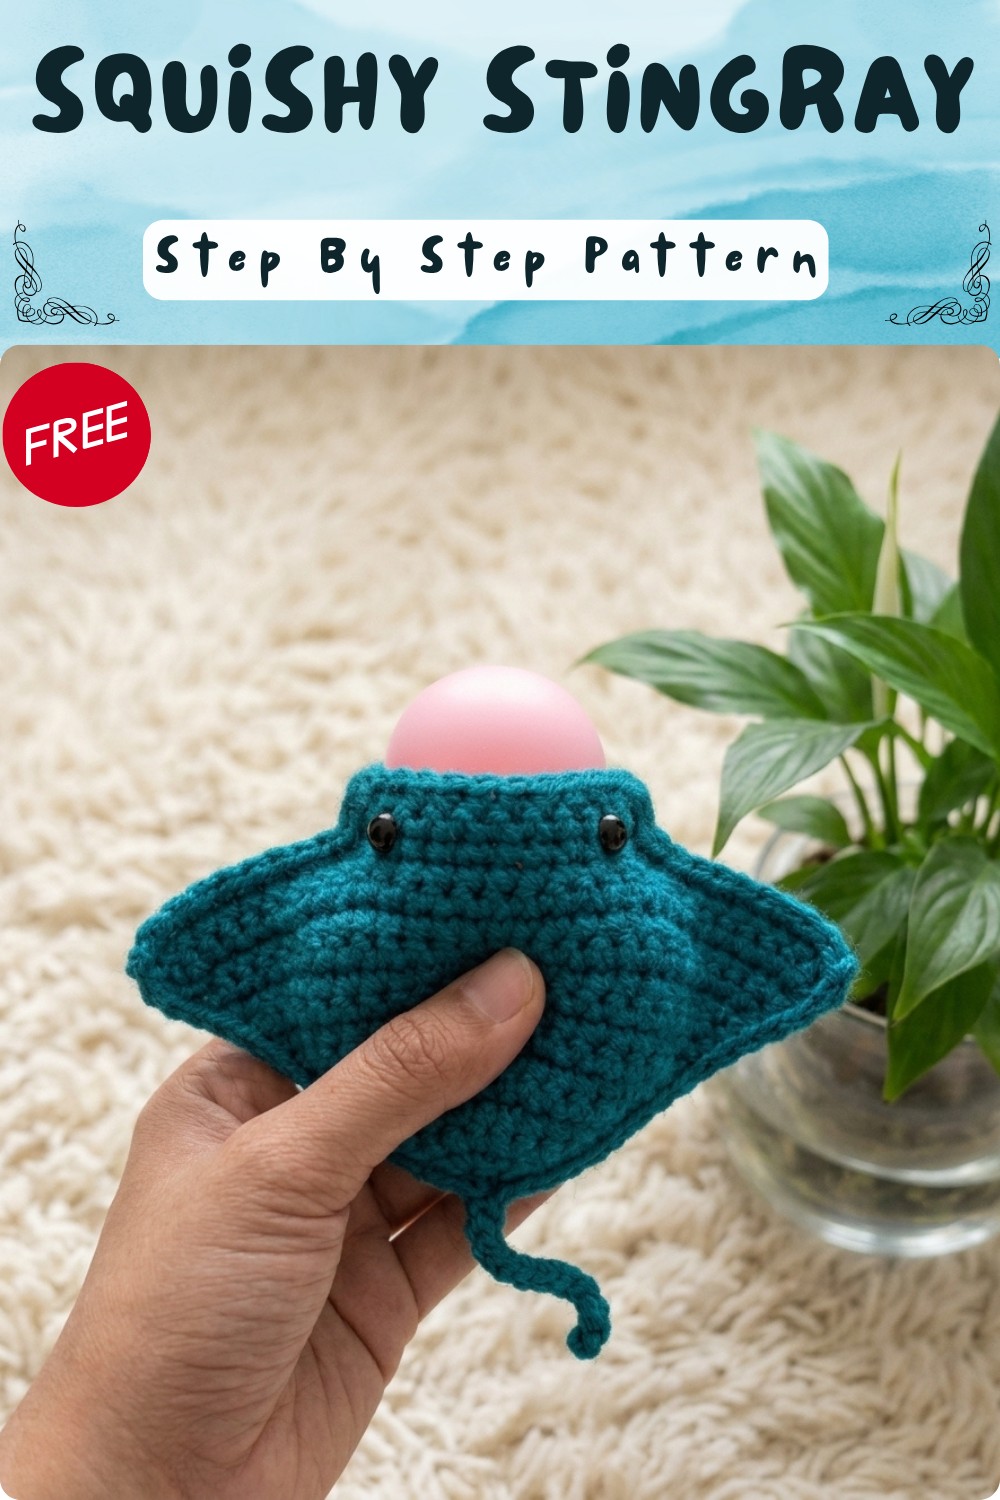
This project is not just about making a stingray. The way it is made allows you to change colors or sizes, or even create similar soft creatures that bring comfort and fun. It’s a wonderful soft toy suitable for children or anyone who enjoys soft, squeezable friends.
The free crochet squishy stingray is perfect for those who like something soft to hold, colorful, and full of personality. By learning just one important stitch, the single crochet, you can make this toy and enjoy a simple, fun activity that results in something beautiful. It’s a perfect handmade friend to keep or share with someone special.
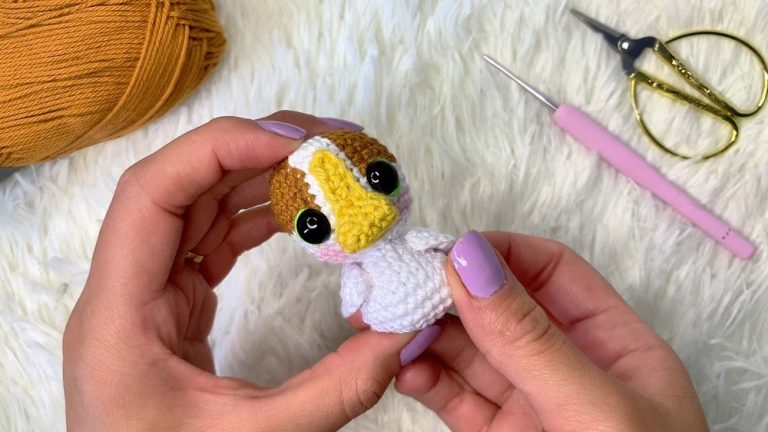
Crochet Balloon Animal (Dog/Balloon Cover) Pattern
This charming and whimsical crochet pattern creates a balloon animal, perfect for party favors, balloon covers, or as an adorable plush toy when stuffed. This pattern is built from simple flat rows, with easy increases and shaping for the head, body, and tail. A decorative polka dot layer and cute details make it extra special!
Skill Level & Terminology
- Skill Level: Confident Beginner
- Terminology: Pattern uses U.S. crochet terms.
You should know how to chain, single crochet, increase, decrease, and slip stitch. The instructions are clear and accessible for crafters with a basic understanding of flat crochet row work and simple shaping.
Materials & Tools
- Yarn: Two colors of sport weight or DK yarn (main color and contrast for dots; white and another color recommended).
- Hook: 2.0 mm crochet hook (or size for tight stitches in your yarn weight).
- Tools: Yarn needle, scissors.
- Notions: Black safety eyes or small beads, hot glue gun for attaching eyes, a balloon, balloon pump (optional).
Gauge
Gauge is not crucial but stitches should be tight enough that a balloon doesn’t show through easily.
Example:
10 sc × 10 rows = 4 × 4 cm (1.5″ × 1.5″) with chosen yarn/hook (adjust to your tension as needed).
Abbreviations List
| Abbreviation | Meaning |
|---|---|
| sl st | slip stitch |
| ch | chain |
| sc | single crochet |
| inc | increase (2 sc in a st) |
| dec | decrease (sc 2 together) |
| st(s) | stitch(es) |
Special Stitch Instructions
- Increase (inc): Work 2 single crochet stitches in the same space.
- Decrease (dec): Insert hook into next st, yarn over, pull up loop; insert into following st, yarn over, pull up loop (3 loops on hook), yarn over, pull through all.
- Slip Knot & Chain (ch): Start your work with a slip knot and form the foundation with chain stitches.
- Slip Stitch (sl st): Insert hook, yarn over, pull through both loops.
Finished Size
Fits a typical small party balloon (inflated ~18-22 cm/7-8.5″). When stuffed as a plush, measures about 20-22 cm (8″) nose-to-tail, width adjusted by stuffing or balloon.
Pattern Overview
The body is crocheted in rows with turns, with shaping done via increases mostly at the ends of rows. Separate pieces are made for the legs, then assembled together. A polka dot detail is worked as a second flat layer, joined around the body to form the “skin.” The tail is made with a simple chain and slip stitches. You finish with gluing or embroidering the facial features, and inserting a balloon or stuffing with fiberfill.
The Pattern
MAIN BODY (White Yarn)
- Foundation:
- Slip knot, ch 2.
- Row 1:
- Sc in 2nd ch from hook, inc in next st, sc in last st. (3 sts)
- Sc in 2nd ch from hook, inc in next st, sc in last st. (3 sts)
- Row 2:
- Ch 1, turn, inc, sc 4 times, inc.
- Row 3:
- Ch 1, turn, [inc, sc] × 4, sc, inc.
- Row 4:
- Ch 1, turn, inc, sc 5 times, inc.
- Row 5:
- Ch 1, turn, inc, sc 7 times, inc.
- Ch 1, turn, inc, sc 7 times, inc.
- Row 6:
- Ch 1, turn, inc, sc 9 times, inc.
- Row 7:
- Ch 1, turn, inc, sc 11 times, inc.
- Row 8:
- Ch 1, turn, inc, sc 13 times, inc.
- Row 9:
- Ch 1, turn, inc, sc 15 times, inc.
- Row 10:
- Ch 1, turn, inc, sc 17 times, inc.
- Row 11:
- Ch 1, turn, inc, sc 19 times, inc.
- Row 12:
- Ch 1, turn, sc in 24 sts.
- Ch 1, turn, sc in 24 sts.
- Row 13:
- Ch 1, turn, [inc, sc] 12 times, inc.
- Row 14:
- Ch 1, turn, inc, sc 16 times, inc.
- Row 15:
- Ch 1, turn, sc in each st across (30 sts).
Fasten off and weave end.
- Ch 1, turn, sc in each st across (30 sts).
At the end of these rows, you should have a large flat oval—this is the main side of your balloon dog!
FRONT LEG
- Join white yarn.
- Skip 10 sts from the body edge, rejoin yarn and ch 1.
- Row 1:
- Sc in next 10 sts.
- Rows 2–3:
- Ch 1, turn, sc in 10 sts.
Fasten off.
- Ch 1, turn, sc in 10 sts.
BACK LEG
- Rejoin yarn to the other side, skip 5 sts from the end.
- Ch 1, sc in next 10 sts, ch 1, turn.
- Row 2:
- Sc in each of 10 sts.
Fasten off.
- Sc in each of 10 sts.
POLKA DOT LAYER (Contrast Yarn)
- Ch 4.
- Row 1:
- Skip first ch, sc in next ch, inc, sc in last ch.
- Skip first ch, sc in next ch, inc, sc in last ch.
- Row 2:
- Ch 1, turn, inc, sc in 4, inc.
- Ch 1, turn, inc, sc in 4, inc.
- Row 3:
- Ch 1, turn, [inc, sc] × 4, sc, inc.
- Continue as body rows, increasing as with the white layer to match the size, until you reach the final row.
- Do not fasten off!
Work polka dot surface crochet, or embroidery, as desired before joining the “skin” to the main body.
JOINING BODY AND SKIN
- Overlay the contrast (polka dot) piece on top of the white body piece.
- With both layers aligned, single crochet around the perimeter to join, skipping the mouth area.
- This leaves a pocket for inserting a balloon.
TAIL
- Attach yarn to mid-back.
- Ch 16.
- From 2nd ch from hook, sl st in each ch back to body.
- Finish off and weave the end.
FINISHING (Face & Assembly)
- Using hot glue gun, add black safety eyes or beads for eyes.
- Embroider or glue a small mouth at the snout.
- Weave in all ends and secure.
- Insert balloon mouth-first into the body pocket, blow up, and tie.
- For plush, use fiberfill instead.
For crafters who don’t read patterns:
Create two flat pieces: a white body and a colorful polka dot layer, both made with simple increases each row. Make small rectangles for legs, a long chain for the tail, and join the pieces around the edge, leaving part open for the mouth. Glue on eyes and a smile, and insert a balloon or stuffing for the final effect.
What Stitches are Used in this Pattern?
- Slip Knot/Chain: To start each piece.
- Single Crochet: Used for almost all fabric.
- Increase (inc): For shaping (2 sc in one stitch).
- Slip Stitch: For finishing and tail.
- Embroidery (optional): For decorating with dots or face.
What You Can Make Using These Stitches
- Balloon and plush animal covers
- Flat animal plushies or ornaments
- Decorative pillow toppers
- Colorful children’s soft toys