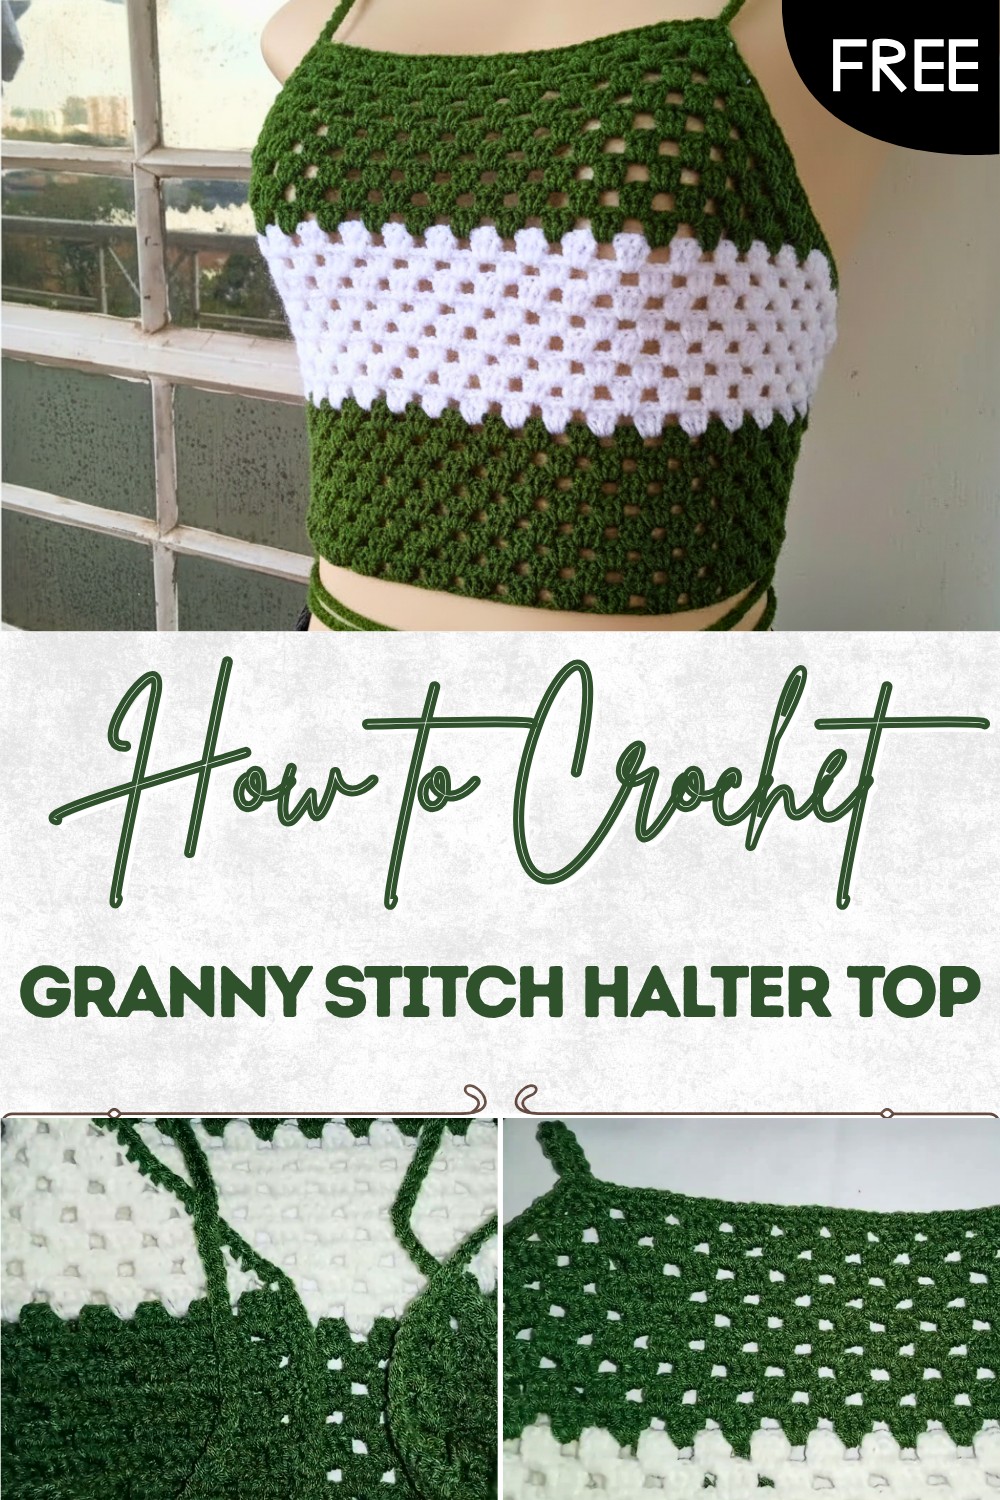
Beautiful Free Crochet Pattern for Granny Stitch Halter Top
Feel the joy of personal style with this free crochet granny stitch halter top pattern perfect for sunny days and showing your creative flair.
Missing out on cheerful summer clothes can make dressing up in warm weather feel less exciting. Bright patterns and playful vibes come alive with the crochet granny stitch halter top pattern, giving you a chance to create something joyful and unique. This handmade top brings color and style, using simple stitches that turn leftover yarn into a fresh, comfortable piece for anyone.
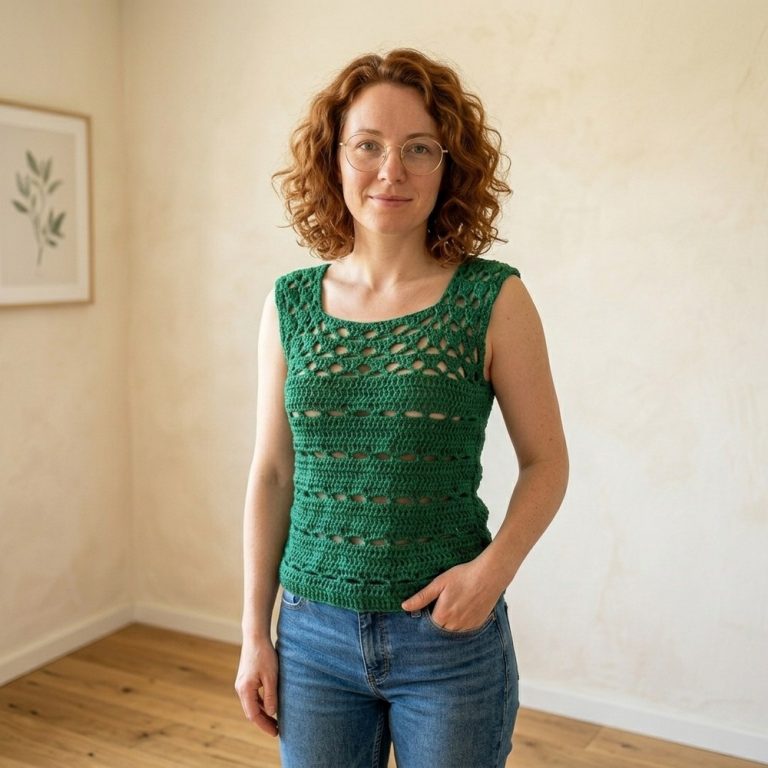
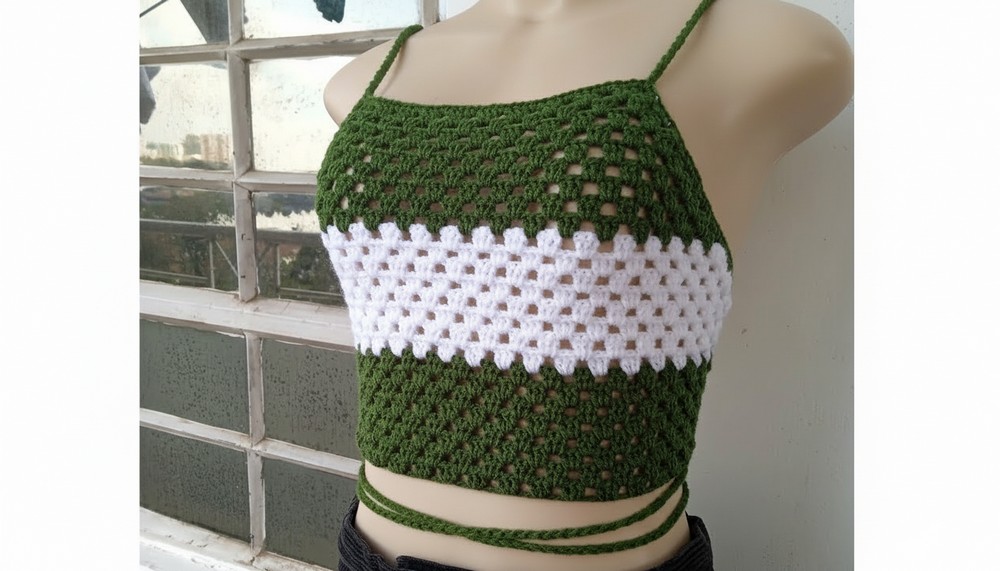
Granny Stitch Halter Top Crochet Pattern Free
The open back and adjustable ties make it easy to fit and perfect for layering or wearing on its own. Enjoy wearing this top to picnics, festivals, or simply around the house—its charm shines everywhere. Creating your own top is a fun, relaxing way to crochet a favorite outfit while learning new skills. With the crochet granny stitch halter top pattern, there’s a feeling of happiness and confidence in every stitch, making it a treasure for any wardrobe at any age.
Crochet Halter Top – Step-by-Step Pattern
Materials
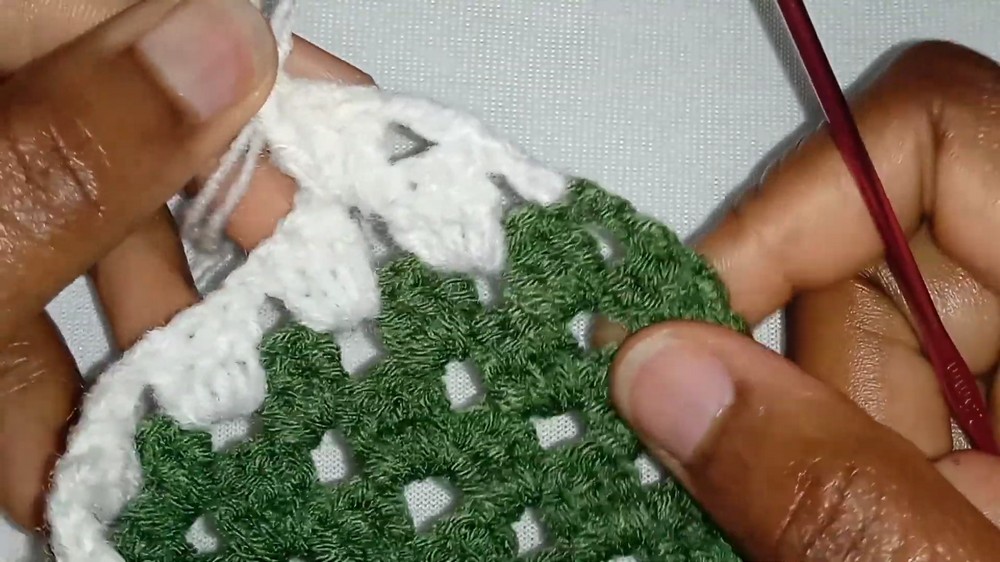
- Yarn: Medium-weight (#4/worsted) acrylic yarn, or combination of leftovers (sample uses two colors/strands held together)
- Hook: 2.5 mm crochet hook
- Scissors
- Yarn needle (for weaving in ends)
- Measuring tape (for fit)
- Stitch marker (optional, for corner marking)
Key Abbreviations
| Abbreviation | Stitch |
|---|---|
| ch | chain |
| dc | double crochet |
| sc | single crochet |
| sl st | slip stitch |
| rep | repeat |
| sp | space |
| st(s) | stitch(es) |
Special Notes
- Work with two strands held together throughout for a chunkier texture and color blending.
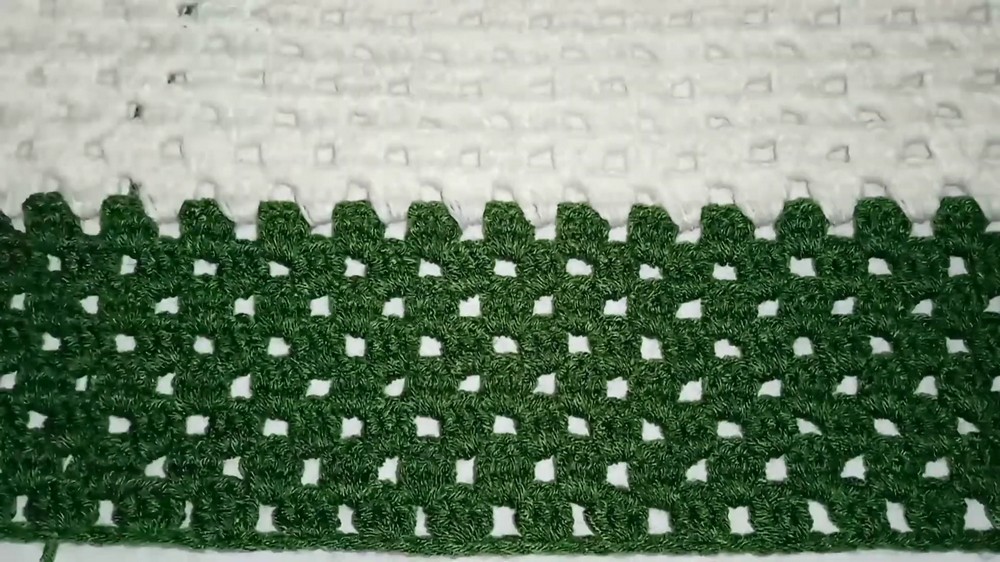
- Band is slightly shorter than high waist circumference (negative ease) so it stretches to fit.
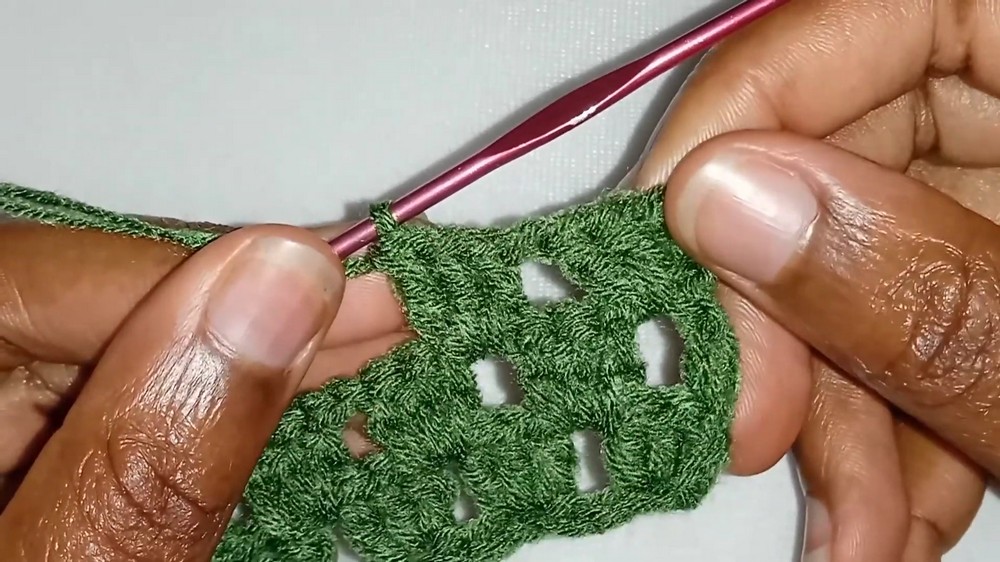
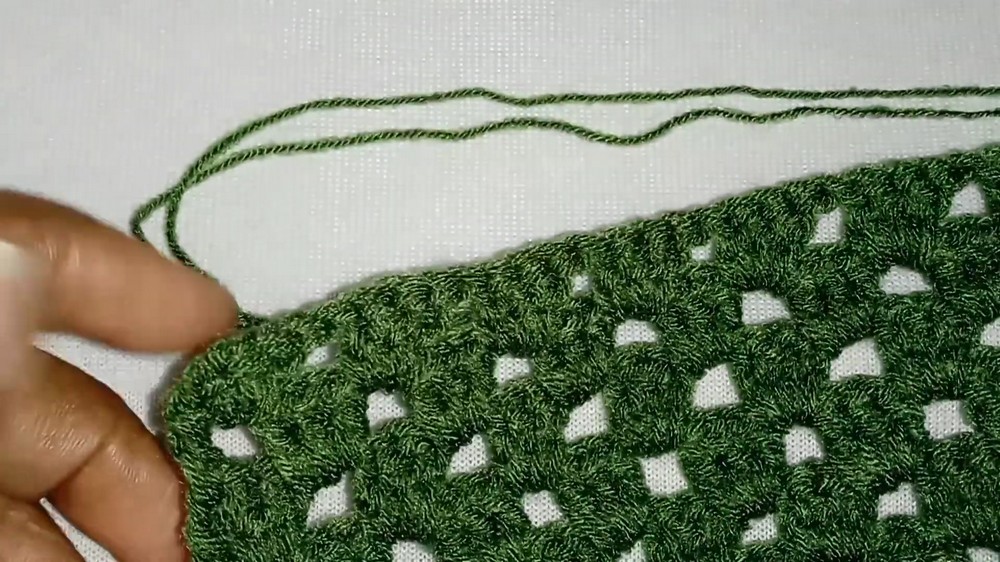
- Clusters: 3 dc in the same chain or space.
- Row count and width are customizable: follow measurements for your preferred fit and coverage.
- Edge finishing and straps are made last for structure and comfort.
Pattern Instructions
1. Foundation Chain and Band
- Make a slip knot with both yarns held together.
- Ch to your high waist measurement minus 5 inches (for a snug fit).
- Sample: 21″ (unstretched)
- Do not stretch the chain too much as you measure; just enough for shape.
- Row 1:
- Yarn over, 3 dc in the 3rd ch from hook.
- Ch 1, skip 2 ch, 3 dc in next ch.
- Rep to end of row.
- If you finish with remaining chains, ch 1, skip 2, 3 dc in last ch.
- Fasten off color if doing color-blocking, or continue with current yarn.
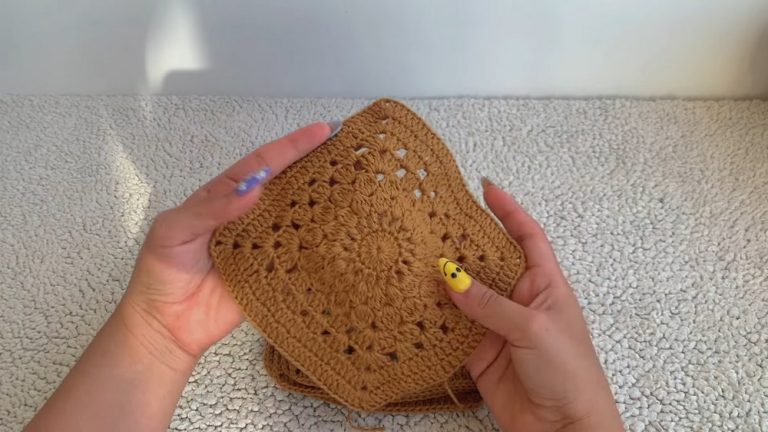
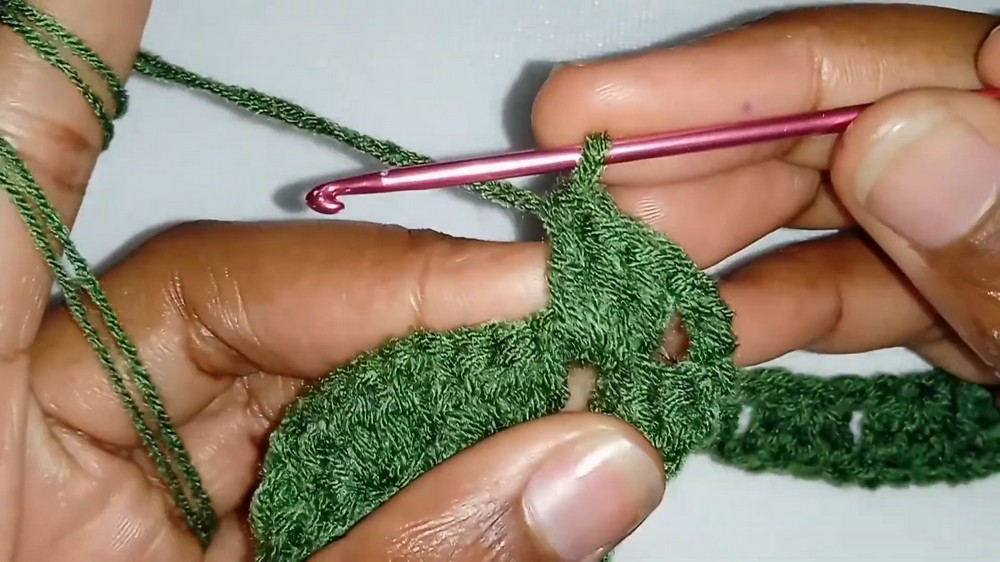
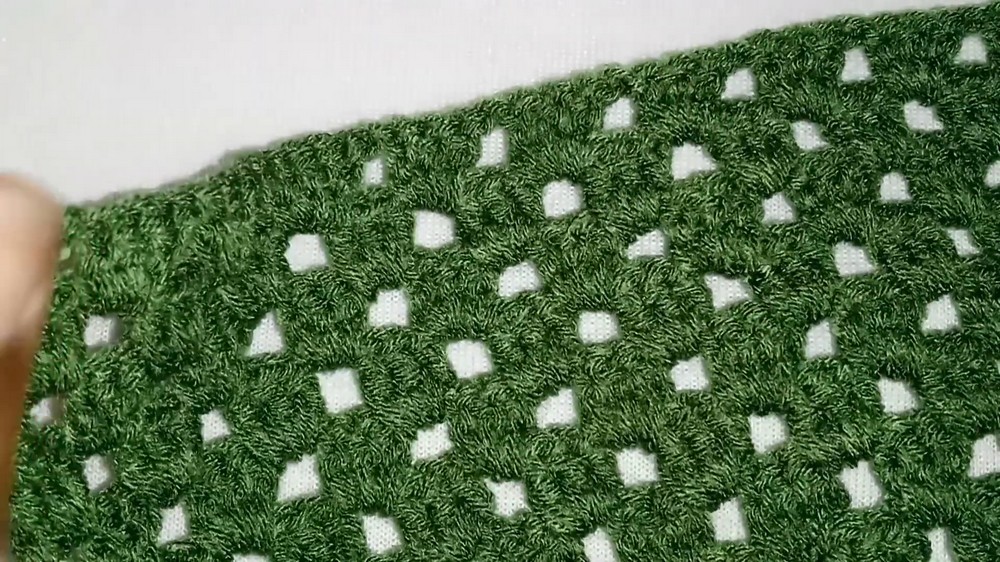
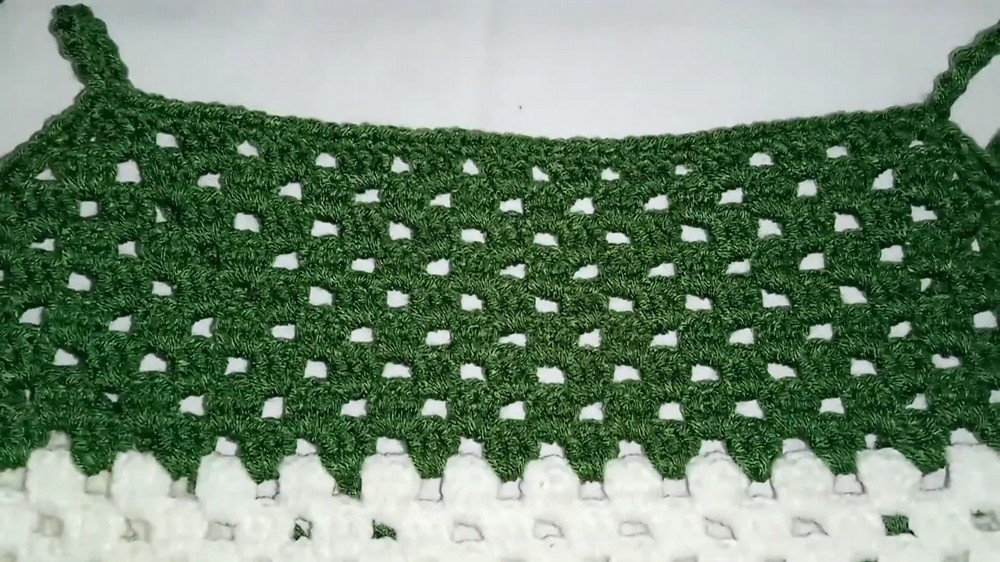
2. Body (Cluster Stitch Rows)
- Ch 3 (counts as dc), turn.
- In first ch-1 sp, 3 dc.
- Ch 1, skip cluster, 3 dc in ch-1 space; repeat across.
- At end of row:
- If beginning with a space, chain three then 2 dc in first space OR
- If beginning with a cluster, chain three, skip cluster, proceed to next ch-1 space for next cluster.
- Continue as established, working cluster pattern for approx. 2.5–3 inches (or desired length from waist to start of neckline).
- If you want more coverage, make more rows.
- If you want more coverage, make more rows.
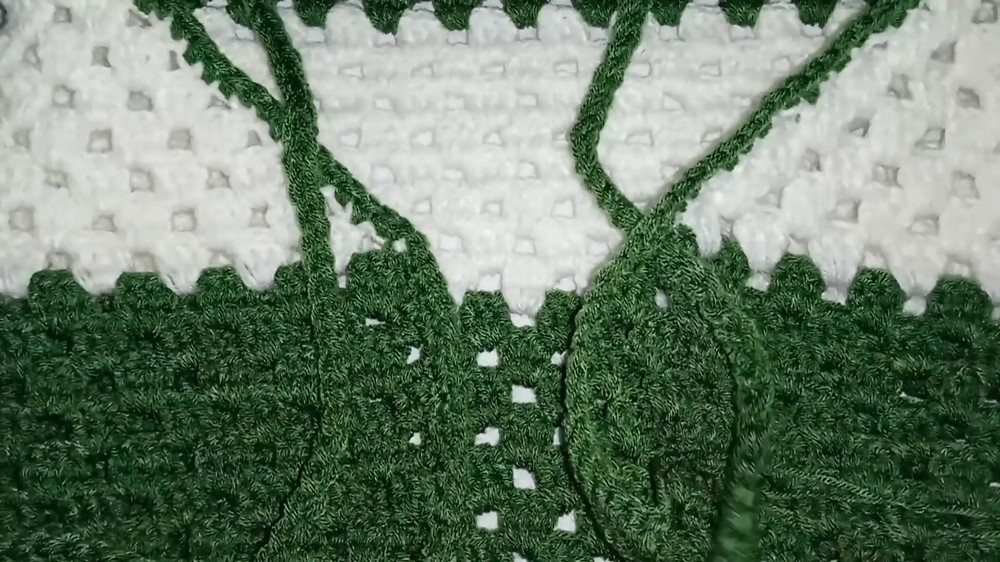
3. Decreasing Rows for the Bust/Triangle
- From the last row, begin decreases at both ends to form the triangle halter shape.
- Decrease Row:
- If beginning with a space:
- Ch 3, 2 dc in same sp (counts as cluster at edge).
- If beginning with a cluster:
- Ch 3, do not cluster in edge, proceed to next ch-1 sp.
- Chain 1, 3 dc in each ch-1 sp as before.
- At row end: Instead of a cluster in the last ch-1 space, dc once in the edge space (no ch-1 before this dc).
- If beginning with a space:
- Alternate colors if desired.
- Continue the decrease method on both ends until width tapers to your desired neckline (sample: 8 inches at top).
4. Edging
- Attach yarn at one lower side edge with a slip knot.
- Make 2 sc into each row edge as you work up the side for firmness.
- At top corner:
- Sc, ch 1, sc in the corner st.
- Continue sc evenly down the other side edge, again working 2 sc per row.
- At other bottom edge, fasten off.
5. Straps
- Make a slip knot and attach to the top corner of the halter.
- Ch 60 inches (or desired length for tying at neck).
- Repeat for the other top corner.
- Straps are simply chains, can be made more sturdy by working sc back along the chain if desired (optional).
- Weave in all ends.
Conclusion
You have completed a versatile and stretchy halter top using easy cluster stitches and scrap yarn! The negative ease at the waist ensures a flattering fit, and the simple decrease method naturally shapes the bust and neckline. Large straps make it adjustable for comfort and style.
Pattern Corrections & Tips
- Pattern Correction: Pay careful attention to the ends of each row; always work a single dc (not a cluster) at the end of decrease rows.
- Tip: If you want a more modest halter, simply extend the lower section longer before starting decreases.
- Tip: For neater edges, add a row of slip stitch or crab stitch after single crochet edging.
- Tip: Hide all ends as you sc along the side to reduce finishing work.
- Tip: If only using one color, ignore color change steps.