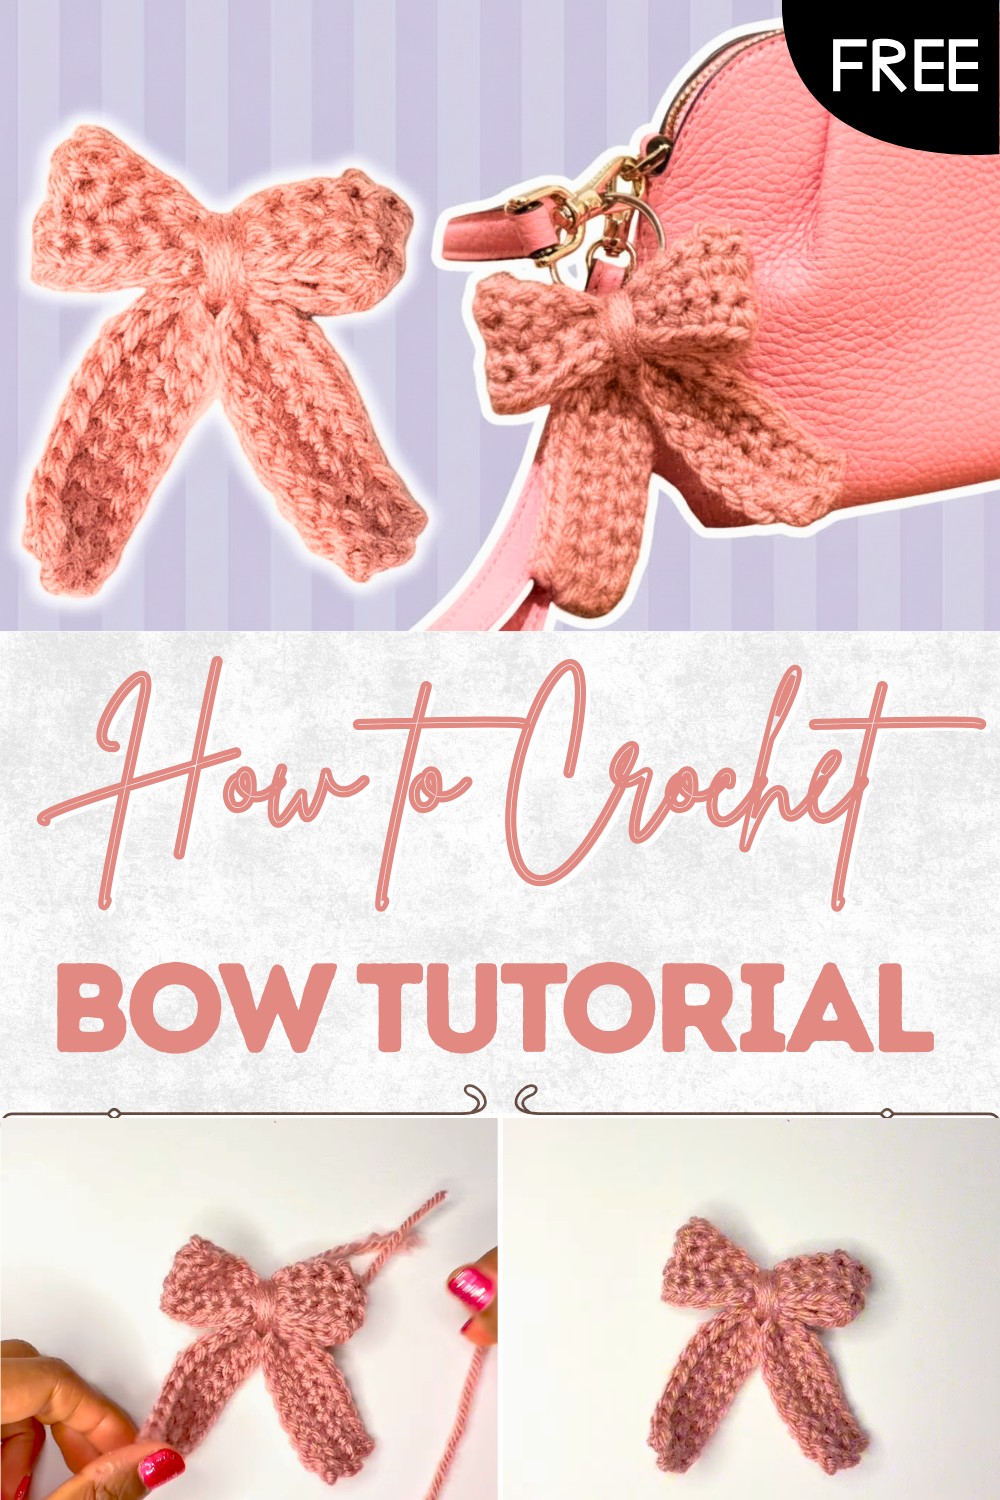
Simple Crochet Bow – Free Step by Step Pattern
Style your look with this free crochet bow pattern that offers a charming accent enhances outfits and works for hair accessories or gifts.
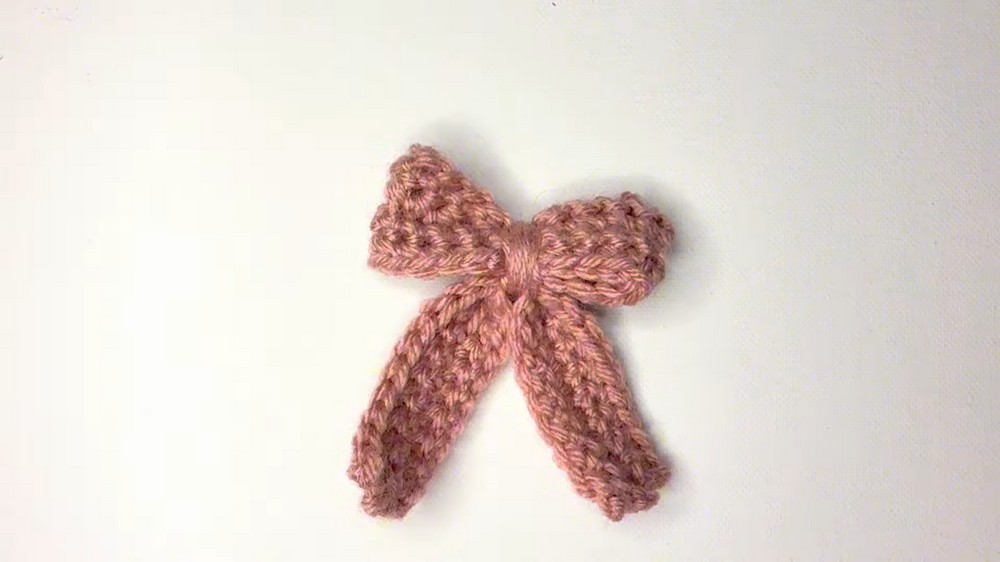
A soft bow catches everyone’s attention as it sits on a cap or brightens up a simple bag It looks like a tiny ribbon made from thread but feels special because your own hands have made it. With a crochet bow pattern you can turn leftover yarn into something beautiful and fun. Different colors make each bow unique and you can make one big or small in just a few short steps. People use these bows to make hairbands pretty or to decorate gifts so they look more special.
Unique Crochet Bow Design with This Free Pattern
Sometimes a bow adds a finishing touch to a baby blanket or a sweater making it happier and full of love. This pattern is simple enough for anyone to follow and does not need fancy tools or lots of time. When you give a handmade bow to someone it brings a warm smile and shows you care turning every ordinary thing into something sweet and bright.
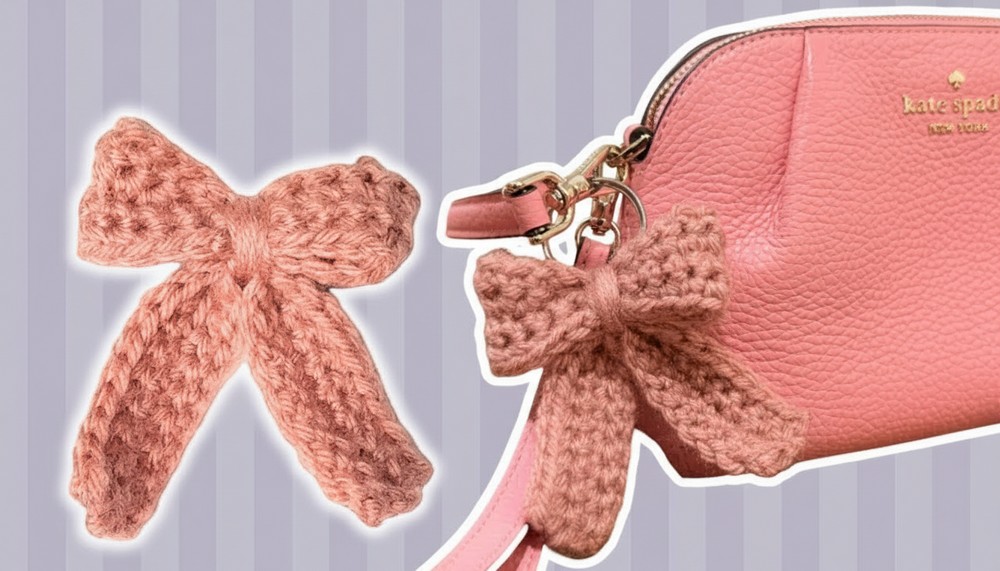
Crochet Bow (Keychain or Decoration)
Materials List
- Yarn: <15g worsted weight (#4) acrylic yarn (Color used: Pink)
- Hook: 5 mm crochet hook
- Notions: Yarn needle, scissors, stitch marker (optional), keyring (optional for keychain)
Key Abbreviations (US Terms)
- ch – chain
- sc – single crochet
- st – stitch
- sl st – slip stitch
- RS/WS – right side/wrong side
Special Notes
- This bow is made in two separate straps that are shaped and joined to form a full bow.
- You may leave a longer yarn tail for assembly/tied center, as noted.
- Single crochet rows create sturdy, neat straps.
Pattern
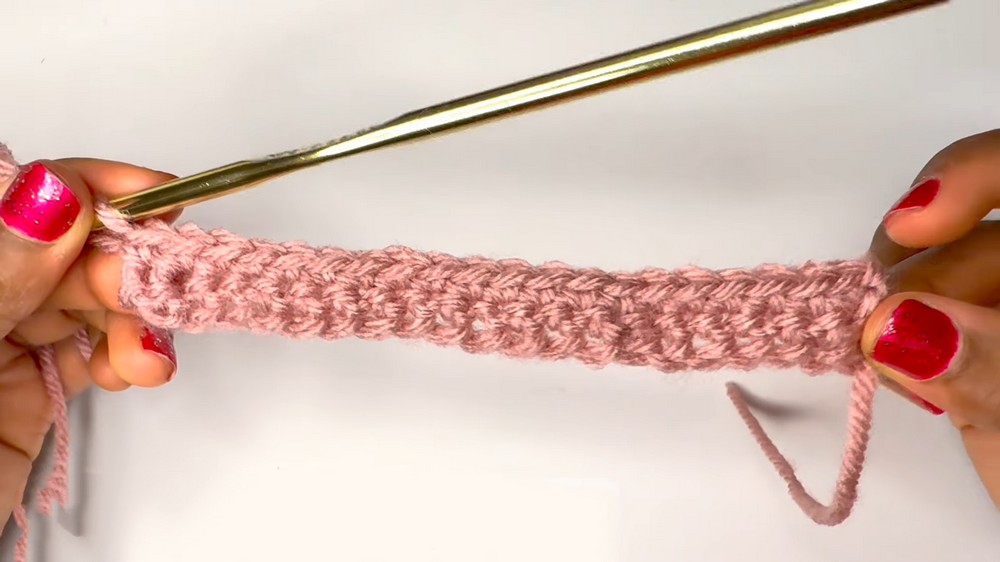
Top Bow Strap
- Make a slip knot and place on hook.
- Ch 21.
- Row 1: Sc in 2nd ch from hook and each ch to end. (20 sc)
- Row 2: Ch 1, turn. Sc in each st across. (20 sc)
- Rows 3-4: Repeat Row 2.
- At end of Row 4, ch 1 and fasten off, leaving a long tail (for sewing and wrapping the bow center).
Bottom Bow Strap
- Repeat Top Bow Strap steps 1–6.
- This time, leave a short tail when fastening off.
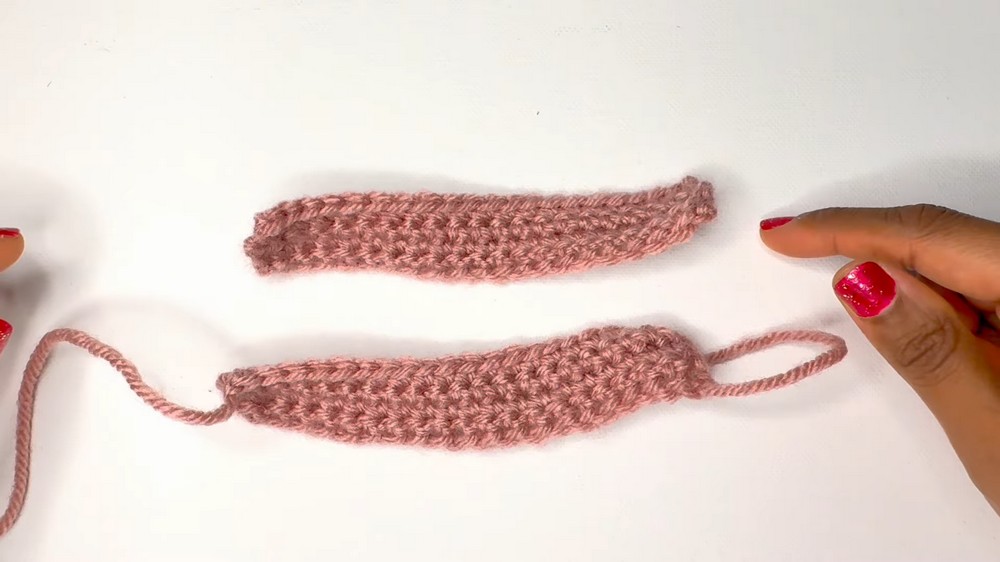
Weaving in Ends (Bottom Strap Only)
- With yarn needle, weave in the loose beginning and ending tails for the bottom strap only.
- Secure, trim excess yarn.
Assemble Bow Top
- Fold Top Bow Strap in half, short ends touching.
- Using tapestry/yarn needle and long yarn tail, sew short ends together (whipstitch through edge loops across).
- Place seam in center (will be on the underside/back of bow).
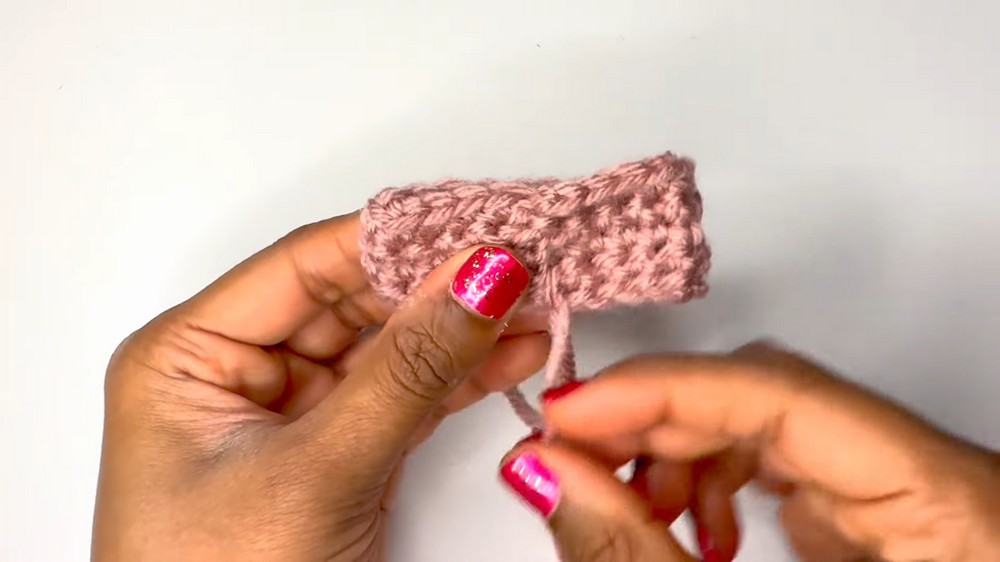
- Pull the yarn around and tie securely with starting tail (double knot).
- This seam will serve as the back of the bow.
Shaping and Attaching Bow Parts
- Fold Bottom Bow Strap in half, pinch center to gather.
- Lay Top Bow Strap (with its seam side down/hidden) across center pinch point of Bottom Bow Strap.
- With the long yarn end from Top Bow Strap, wrap firmly around the middle of both straps several times to form center knot of the bow.
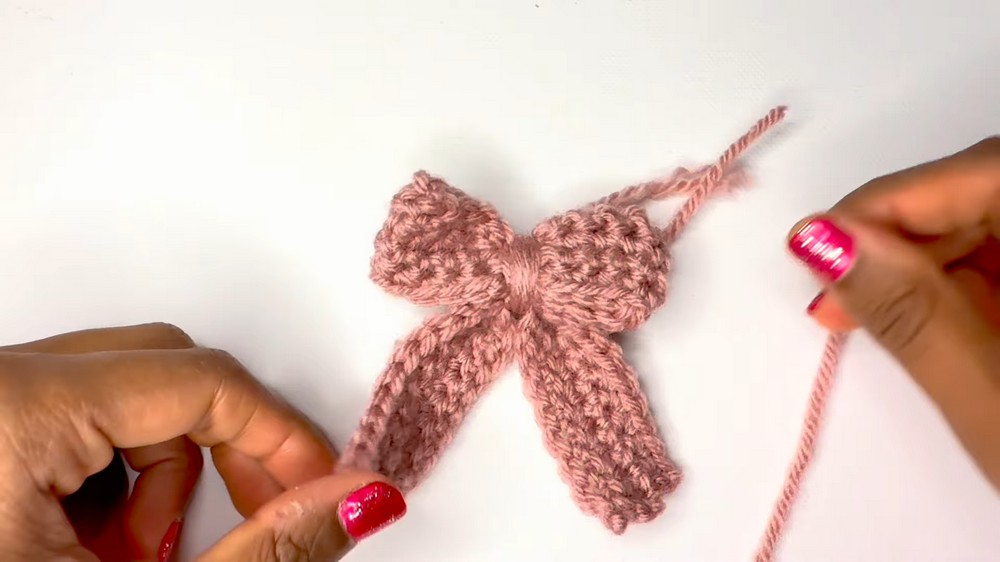
- When a small length remains, bring any other loose end to the back and tie a firm double knot to secure.
Finishing Touches
- Weave in any remaining loose ends at the back of the bow using a yarn needle.
- Shape the bow as desired:
- Gently pull on loops/sides to even out/stiffen shape.
- Widen or flare out corners of both bow layers for appearance.
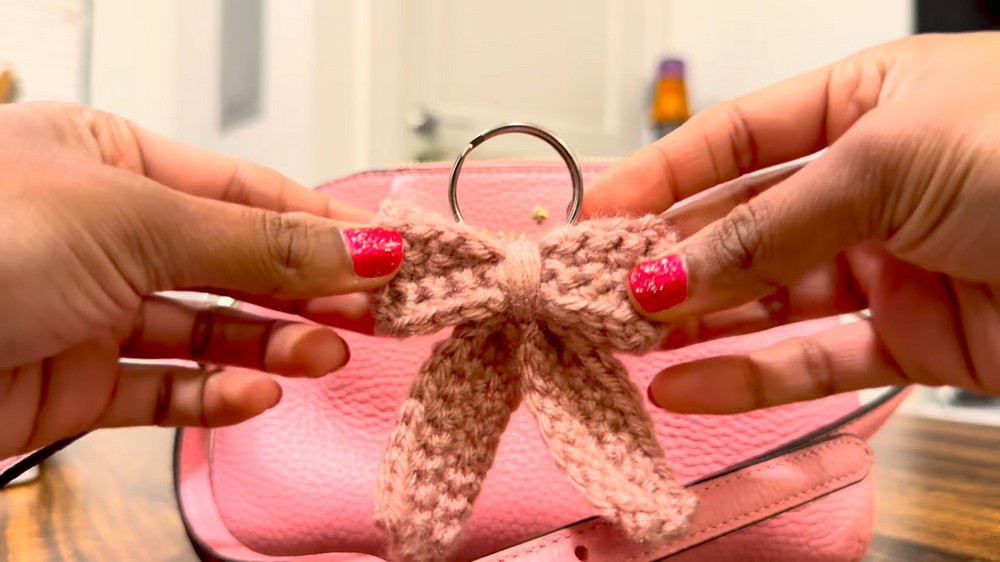
Turning Bow Into Keychain (Optional)
- Take a key ring and use a crochet hook or yarn needle to help open it.
- Insert the open ring under the yarn wraps at the bow’s center (top side).
- Secure ring in place by closing it completely.
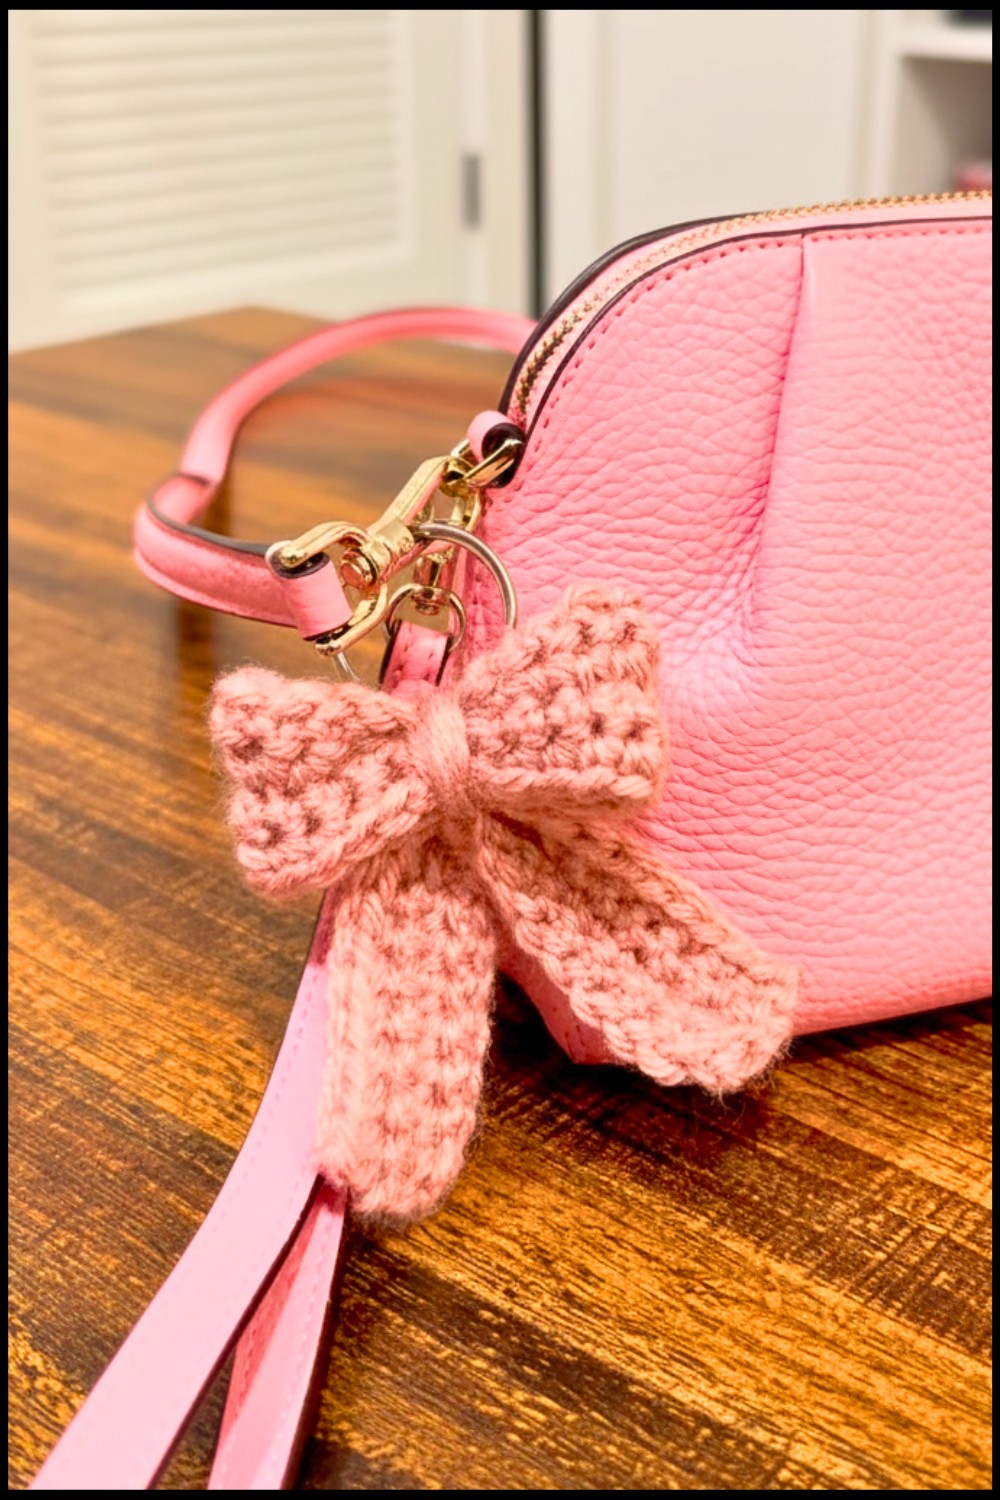
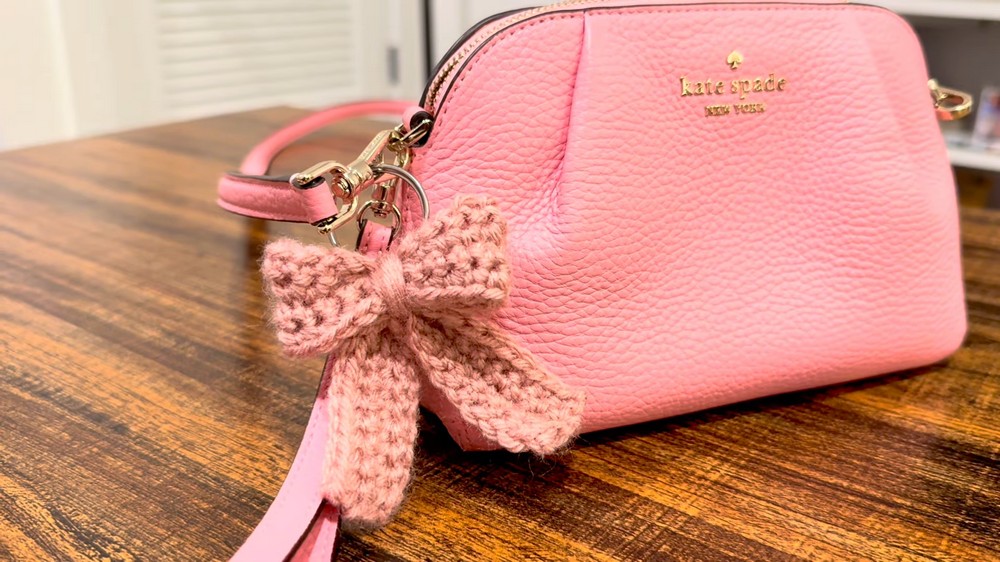
Conclusion
Congratulations! You have created a beautiful and versatile crochet bow, perfect for use as a keychain, bag charm, or decorative accent. For variation, try experimenting with different colors, yarn textures, or even adding embellishments.
Pattern Corrections & Tips
- Be sure each strap is folded and pinched at the exact center for a symmetrical bow.
- Keep wrapping the center tightly to ensure the bow holds its shape.
- For a firmer bow, block or lightly steam after assembly.
- This project is a great way to use up yarn scraps.
- To resize bow: Change starting chain and number of rows.