Free Crochet Bralette Top Pattern for a Handmade Touch

Find the best step-by-step instructions with a free crochet bralette top pattern to easily stitch a fashionable and comfortable design tailored to your needs.
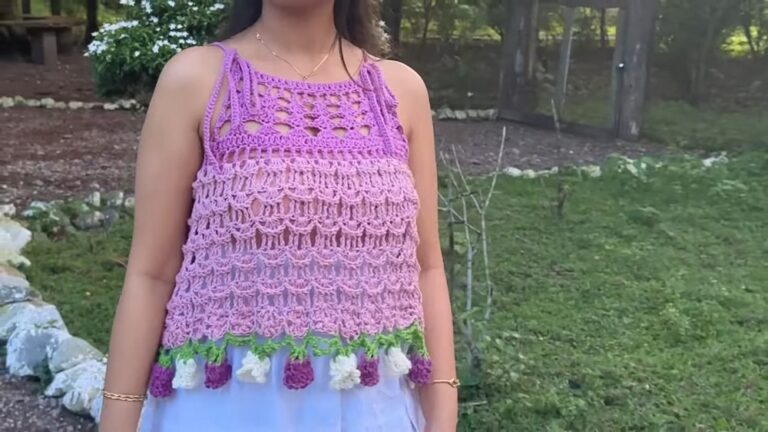
A few summers ago, I started dreaming about creating the perfect crochet bralette, something light and breathable that would blend style and comfort effortlessly. This is how the free crochet bralette top pattern came to be. The piece features delicate textured stitches and a flattering shape that hugs you just right. Adjustable straps add an extra touch of practicality, making it as comfy as it is cute.
Free Crochet Bralette Top Pattern With Lace Mesh Design
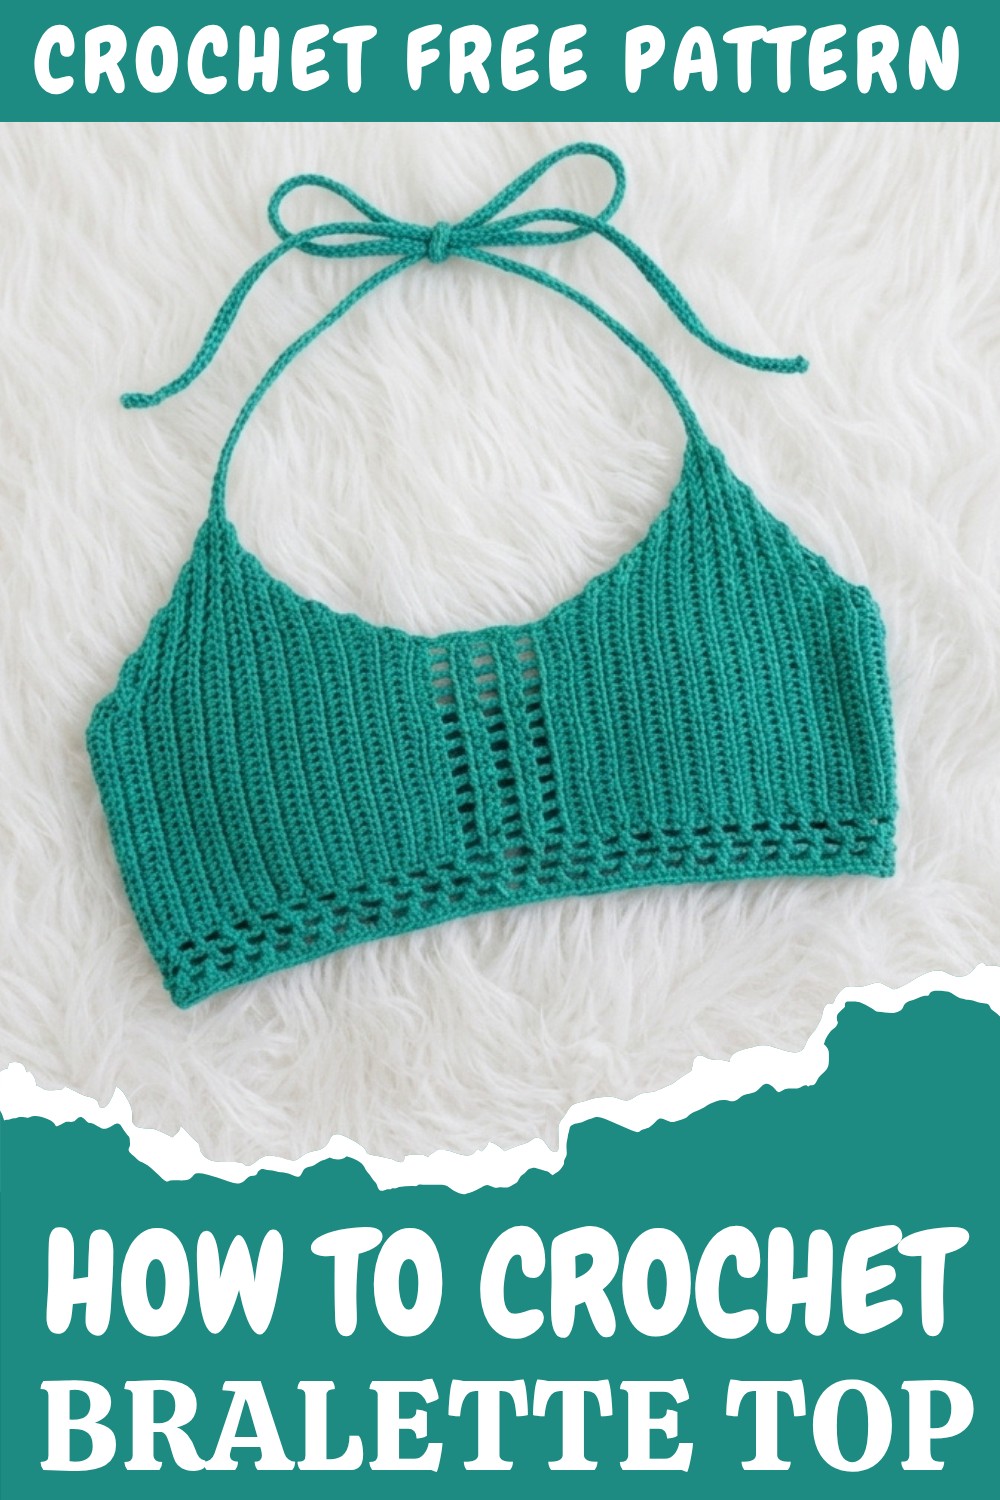
This bralette works well for confident beginners and experienced crocheters alike. It is available in a variety of sizes and can easily be customized to fit your unique shape. The construction is simple yet clever, beginning from the bottom and working upward with easy stitch patterns that form a lovely cup shape. A helpful tip is to select a soft cotton or cotton-blend yarn, as it beautifully enhances the texture and keeps the top breathable and fresh, perfect for warmer days.
The idea behind this piece came from those carefree summer moments, like music festivals and beach walks, where a fun but functional top is a must-have. You can wear it on its own or layer it under your favorite shirts and jackets. It also makes an amazing handmade gift that’s sure to impress. The best part is how you can mix colors, add embellishments, or try different stitch patterns to put your own creative spin on it. Making this bralette isn’t just about following a pattern; it’s about expressing your personal style with every stitch.
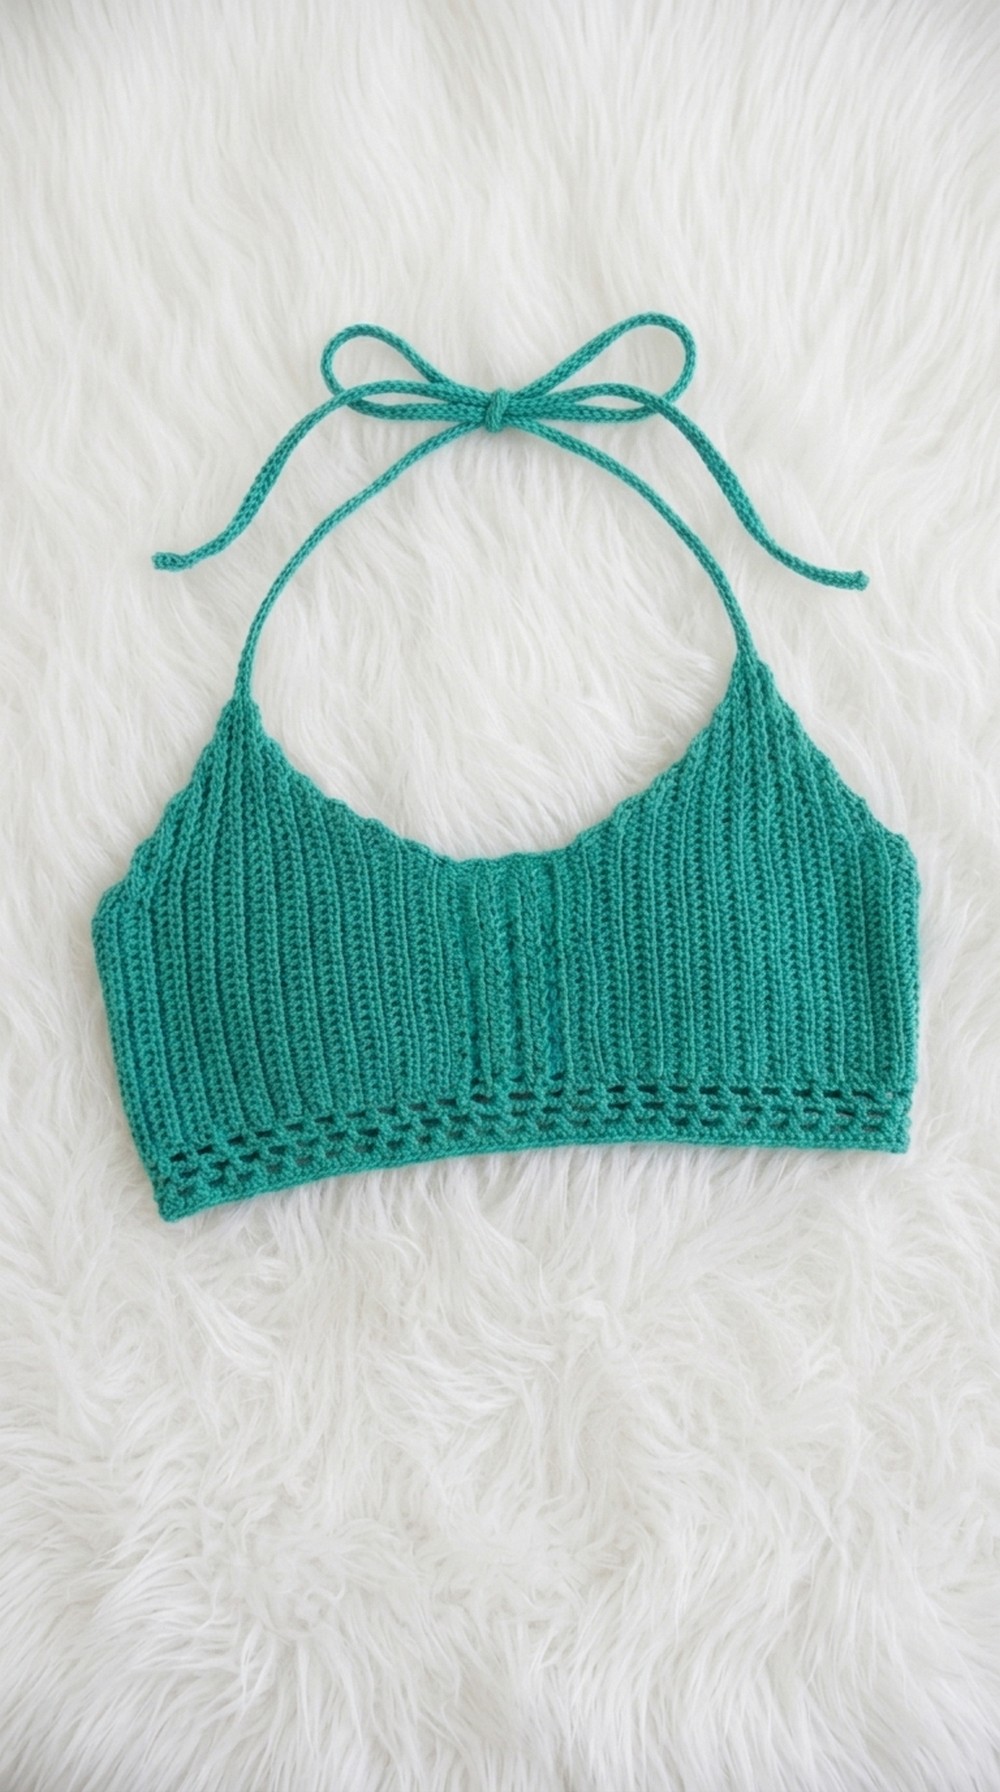
Horizontal Crochet Top – Step-by-Step Pattern
Welcome to your new favorite crochet project – a modern and customizable summer top, constructed in a single horizontal piece with shapely increases and decreases for perfect fit! This pattern works best with light/medium cotton or cotton-blend yarn and is perfect for anyone who wants to become comfortable with fundamental shaping and easy lace.
We’ll work across the body from one end to the other, building up the front, bust curve, and back with clear directions for adjustments, so your top fits just how you want it.
Skill Level & Terminology
- Skill Level: Advanced Beginner
- Terminology: US Crochet Terms
You will use basic stitches such as chain (ch), double crochet (dc), slip stitch (sl st), and a modified half double crochet (hbdc) for unique texture. Shaping is done with increases and decreases at the row ends.
Materials & Tools
- Yarn: DK/light worsted cotton or cotton-bamboo blend (smooth, breathable, ~150g)
- Hook: 3.5mm crochet hook (or size needed to achieve gauge)
- Notions: Scissors, measuring tape, yarn needle, stitch markers (recommended for row counting & strap placement)
Gauge
Make a Swatch to Check Size and Tension
- Ch 25, then work 10 rows alternating between hbdc and dc as in pattern.
- Swatch should measure about 12cm wide and 5–6cm tall.
- Adjust hook size as needed to get the fabric and fit you want.
This ensures your finished top will be the right width and fit. If unsure, err on the side of slightly loose.
Abbreviations List
- ch – chain
- sl st – slip stitch
- sc – single crochet
- hbdc – herringbone half double crochet (see below)
- dc – double crochet
- st(s) – stitch(es)
- rep – repeat
Special Stitch Instructions
Herringbone Half Double Crochet (hbdc):
- Yarn over, insert your hook into the next stitch.
- Yarn over, pull up a loop (three loops on hook).
- Pull through the first two loops on the hook (two loops remaining).
- Yarn over and pull through the last two loops.
(This creates a subtly slanted, flat stitch with great coverage and texture.)
Finished Size
- Width: Sample chain of 25 = 12cm; adjust upward for a broader top.
- Height/Length: Shaped as you go with increases/decreases; length easily customized by adding or removing rows.
- Try your top on as you work!
- Recommended for bust 80–100cm; size up or down by adjusting initial chain and the total row/round count.
About the Pattern
You’ll begin with a flat foundation chain (worked horizontally), then alternate lacy mesh rows (dc & ch) with solid texture rows (hbdc). Increases and decreases occur at row ends to create shaping for the bust and back. The finished piece is bordered, slip-stitched for stability, and completed with crocheted ties for the shoulders and back.
The Pattern Itself
Start with a long chain for your desired width. The main stitches are herringbone half double crochet (hbdc) and double crochet (dc) plus regular chains and slip stitches. The increases and decreases are made simply at the ends of rows with extra chains or leaving stitches unworked.
Foundation Chain:
- Ch 25 (or your chosen odd number for desired width).
- Tip: More chains = wider top (for bust/back width), fewer = narrower.
After making your base chain, you’ll crochet horizontally across the body for a seamless fit!
Row 1 – Modified Hbdc Row:
- Ch 1 (turning chain), hbdc in each ch across.
- [Hbdc: Yarn over, insert, yarn over, pull through 2 loops, yarn over, pull through 2.]
- (25 sts)
- At end of row, ch 2 and turn.
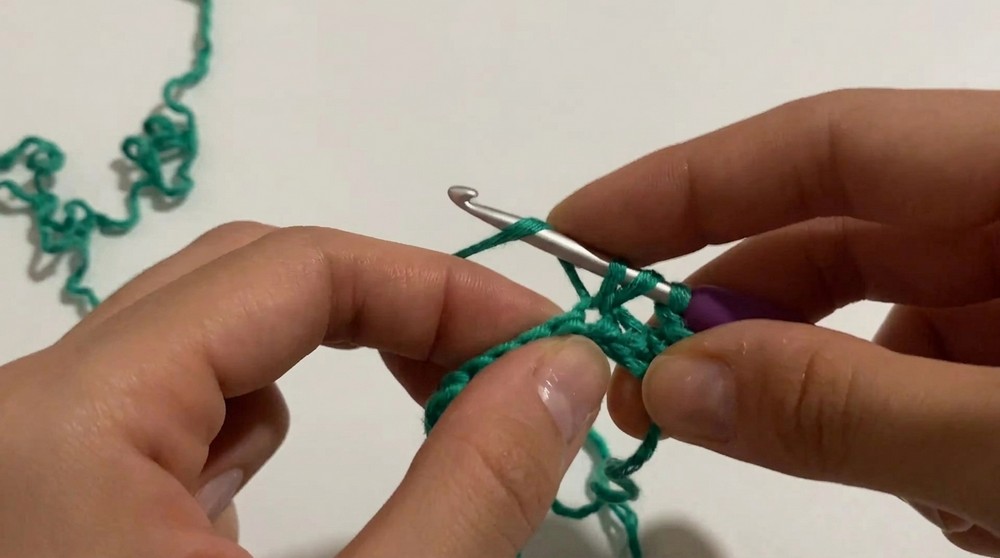
This first row gives structure and sets the stage for your textured body panel.
Row 2 – Mesh/Lace Row:
- Dc in 1st st, ch 1, skip next st, dc in next st; rep from * to * to end.
- (Your last st should be a dc at the edge.)
- Turn with ch 1.
For mesh/lace rows, always alternate dc and ch 1 (skipping a st between), creating a soft open pattern.
Row 3 – Textured Hbdc Row:
- Hbdc in the back loop only (blo) of each st across.
- At row’s end, take both loops for the last hbdc for a firm edge.
- Ch 1 and turn.
The ‘back loop only’ rule gives a light ribbed look and gentle stretch.
Rows 4–5 – Continue Texture Section:
- Rep Row 3 (hbdc blo) for the next two rows.
- Always ch 1 and turn after each.
Solid bands balance the openwork lace for modesty and structure.
Row 6 – Mesh/Lace Repeat:
- Rep Row 2 (dc/ch 1 mesh row) with ch 2 at row start and end.
- Continue as established, alternating 1 mesh row with 3 textured hbdc rows.
- Repeat this mesh/textured pattern until you’ve made 22 rows total or desired back width.
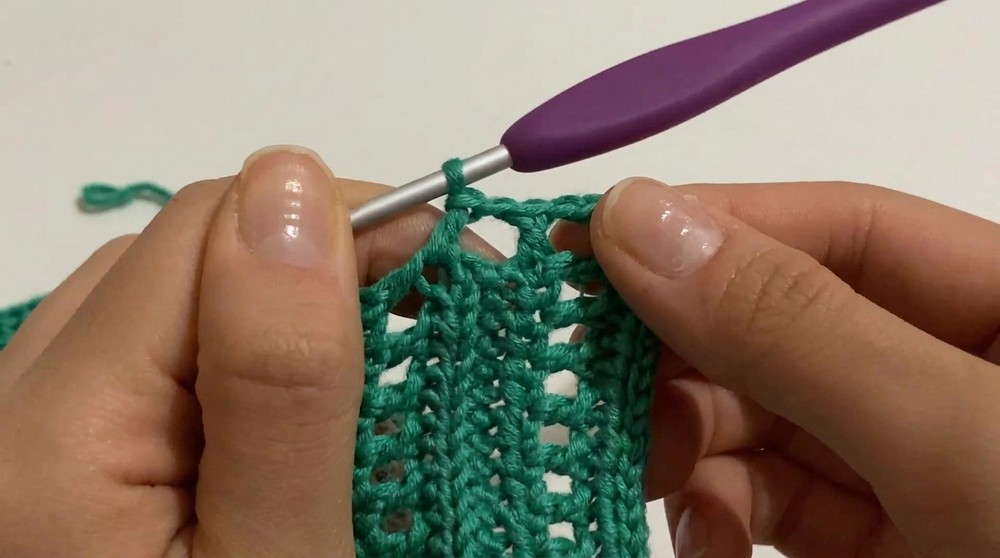
Try your top on, or measure—this section should cover your upper back comfortably.
Now, Begin the Bust Increases:
- On next mesh/lace row, add 2 chains at the end (you’ll now turn with 3 chains).
- On next row, work into these new chains for your increase.
- Continue mesh/textured sections, making an increase (2 extra chains at the end) on each mesh/lace row until you have your front bust width achieved (sample: 35 total rows; 38 sts at widest).
For this section, you’re expanding the panel for your bust curve. Remember to work into new chains when increasing!
Bust Decreases – Shape Toward Center:
- On texture rows, work only until 3 sts remain; do not work last 2 sts.
- Ch 1, turn.
- Continue for each row until your width is back to your original chain count (sample: 25 sts).
- Repeat the mesh/texture pattern as established without increasing or decreasing for three rows (center of bust).
This shapes the bust down for a clean, contoured fit! Try on here for best results.
Second Front Bust Increase and Decrease:
- Repeat the same increase sequence as before for the other bust side (typically, another 13 rows to achieve desired width).
- Then, repeat the decrease system again until you return to base chain count.
- For the final stretch, work 3–4 rows straight (no increase/decrease) for lower back band.
You have now finished the entire body piece of your top!
Back Band and Border:
- Slip stitch across last row to position yourself at the corner.
- Ch 2, turn.
- Work one final row of dc with ch-1 mesh and a last row of hbdc for a strong border.
- To finish, use sc all the way around the edges (sc in each st, and in each ch-1 space): this gives a neat, structured outline.
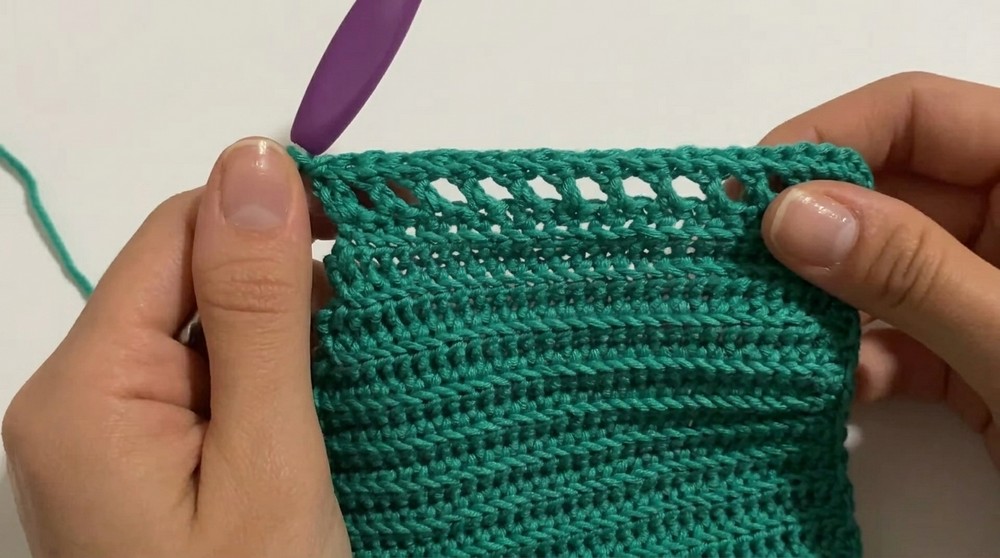
Adding sc border helps the top keep its shape – don’t skip this step!
Assembly & Finishing
Shoulder Straps:
- Cut long lengths of yarn.
- From each top corner, attach yarn, ch until desired length (try on to check).
- Secure by weaving end through last chain, and knot. Repeat for both straps.
Back Tie:
- Repeat the chain process to make a long cord for the back.
- Begin at side edge of lower back, ch desired length, fasten off.
- Thread this cord through the edge eyelets to cinch and tie at the back.
Finishing Touches:
- Weave in all ends with your yarn needle.
- Lightly steam or block your top.
- Put it on and adjust the straps and back tie for a perfect, custom fit.
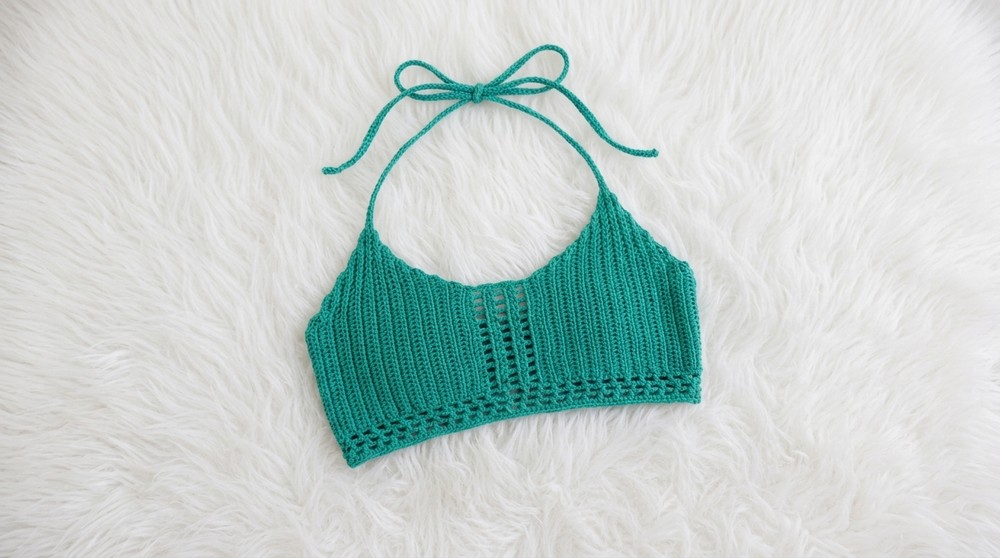
Plain Steps for Non-Pattern Readers:
- Start with an odd number of chains for the width you want.
- Alternate solid textured rows and easy open lace (dc/ch combo).
- Make it wider with increases as you approach the bust, narrower with decreases, using the back loop for texture rows.
- At the end, crochet long chains for shoulder straps and a back tie.
- Work one row of single crochet around the edge for a clean finish.