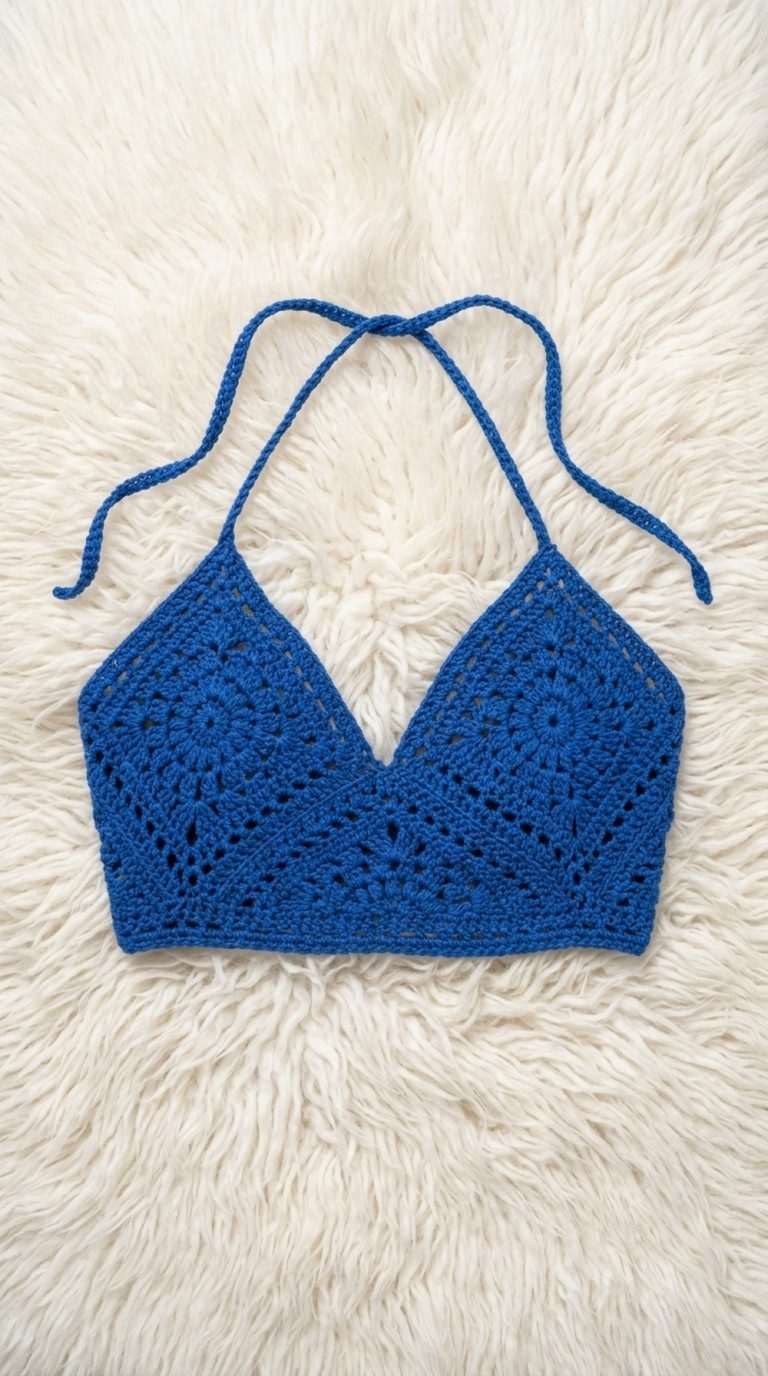
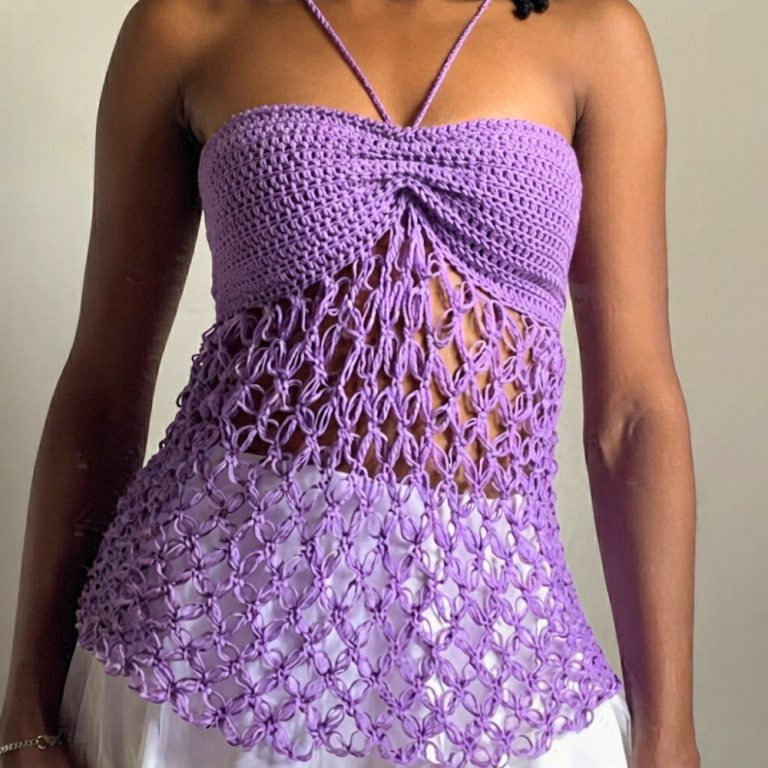
Trendy Free Crochet Poncho Pattern to Try

Create a stylish and comfortable crochet poncho with this free pattern, featuring step-by-step instructions perfect for beginners and advanced crocheters.
I never thought a poncho could be both stylish and comfortable until I tried this free poncho pattern that completely changed my mind. At first, I assumed ponchos were bulky and outdated, but this pattern proved me wrong with its modern design and cozy feel. It quickly became one of my favorite layers to throw on, adding effortless charm and warmth to my outfits.
Free Crochet Poncho Pattern For Stylish look
The poncho’s appearance is simply stunning, flowy and elegant with beautifully textured stitches that give it a handcrocheted look. Its relaxed drape makes it perfect for layering, whether you’re inside or out, and the lightweight fabric keeps you comfortable without feeling weighed down. It’s a piece that naturally elevates your style while offering practical warmth.
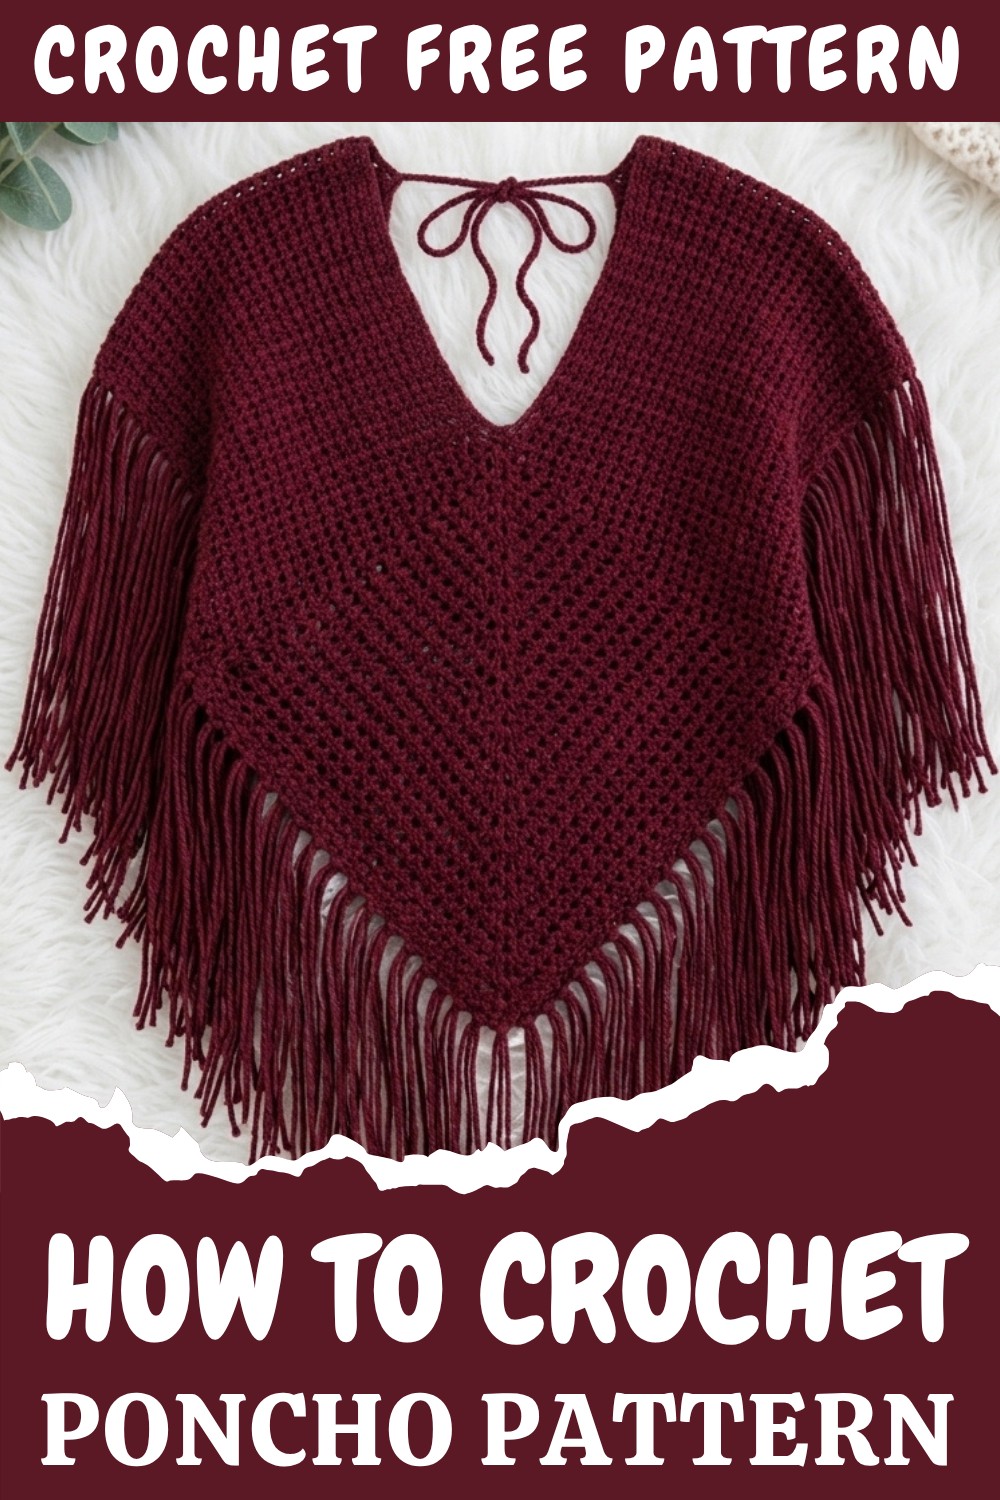
To get started, this pattern often begins with a foundation chain or a magic ring, depending on the design, and features stitches like double crochet combined with unique openwork or shell stitch patterns. These stitches add texture and breathability, creating a garment that’s both pretty and functional. The neckline is usually easy to customize, so you can make it fit your style and comfort needs perfectly.
What I appreciate most is how versatile this poncho is you can dress it up or down by choosing different yarn colors or weights. Its roomy shape complements most body types, making it an excellent gift, too.
Crochet Ruffled Blouse Pattern
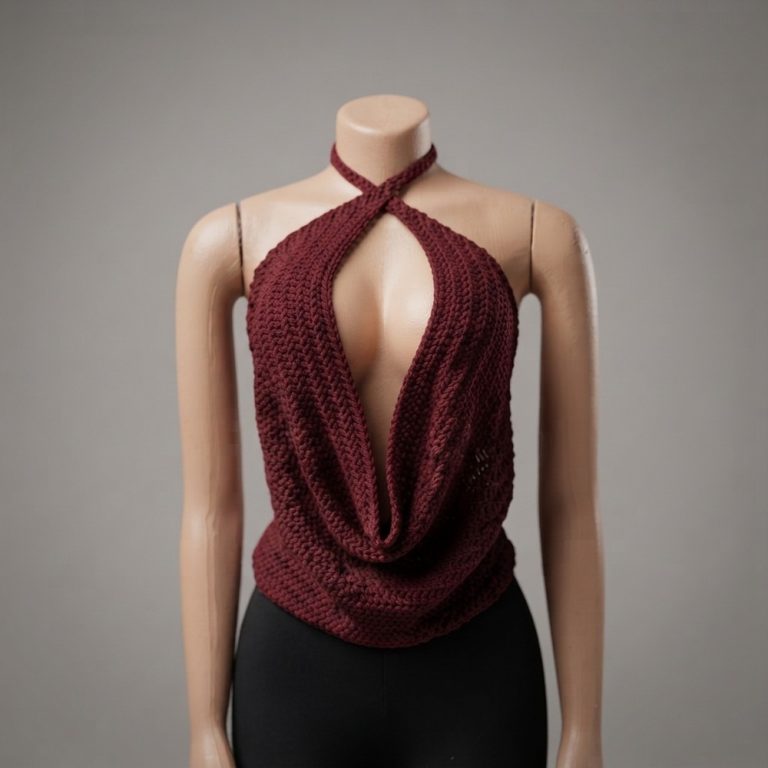
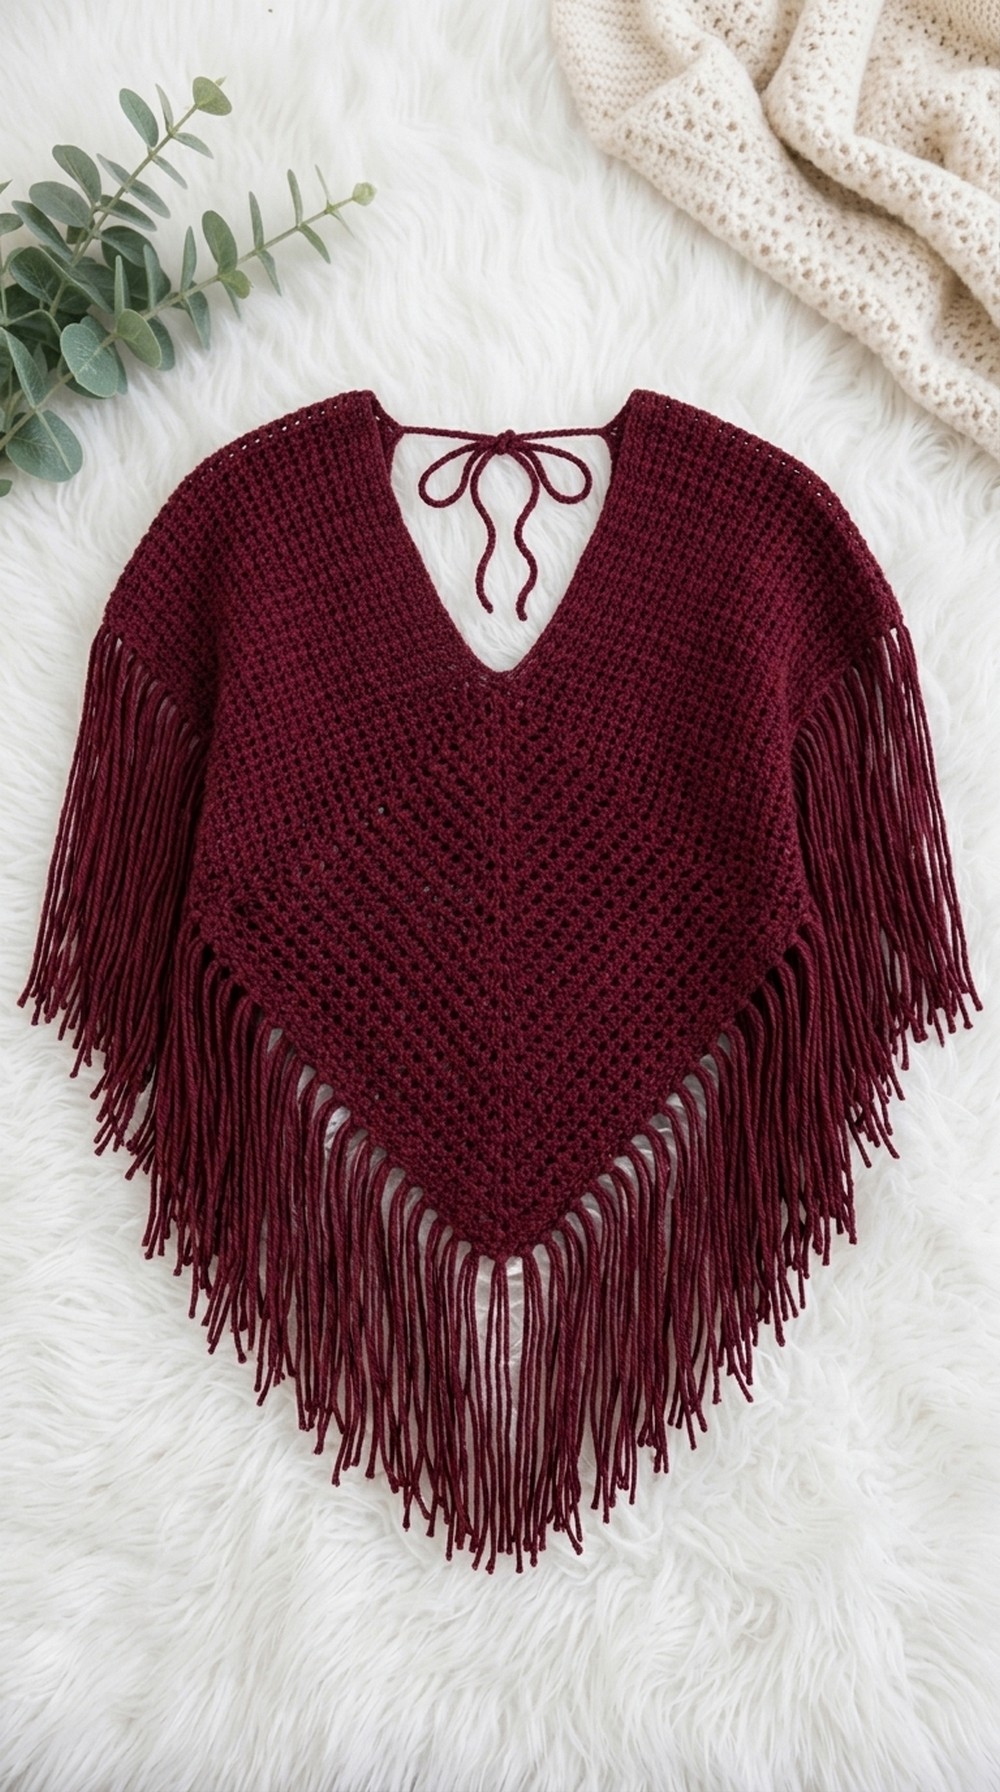
This pattern guides you through creating a trendy, ruffled crochet blouse. The body is worked flat in two identical rectangles using chain, double crochet, and chain spaces. After making two panels, you join them at the sides and shoulders, then add finger-friendly cords for tying and dense ruffle fringe for a playful finish.
The construction method is clear-cut, so you’ll confidently build a statement garment for summer layering or festival outfits. Suitable for beginners, this lesson covers all steps, from measuring and chaining to seaming and fringe assembly.
Pattern Notes
This crochet ruffled blouse has a simple yet elegant construction, suitable for beginners and those wanting to practice pattern repeats. The blouse features two rectangular panels worked in a lacy stitch, joined at the sides and shoulders, and finished with dramatic ruffle fringe, plus handmade cords to tie at the back. Designed in Anne brand yarn, this pattern is highly customizable for length and fringe fullness. Use silk thread for added drape on the fringes, and glue to secure them if needed.
Skill Level
Beginner / Easy
Basic crochet stitches, sewing by hand, and attaching fringe.
Materials
- Anne brand yarn (bordeaux; or yarn weight of your choice)
- Silk thread (for fringes, optional)
- Standard hand sewing needle
- Crochet hook, 2.5 mm
- Measuring tape
- Stitch markers
Measurements / Sizing
- Each panel: 76–90 cm length (as per your preference), 30 cm width
- Finished blouse: Approx. 76 cm wide, fits most sizes as a layering garment (adjust chain count for your own fit)
- Fringe: As long and full as desired; cut to match garment length
Stitch Abbreviations
- ch = chain
- dc = double crochet (high point)
- sc = single crochet (low point)
Gauge Swatch Tips
To ensure accuracy, crochet a small swatch (15 ch x 4 rows):
Measure length after blocking. If your gauge varies, adjust hook size or add/remove chain stitches to close in on your desired measurement.
Gauge (and Stitch Pattern if applicable)
- The pattern consists of 2 dc, 1 ch (chain space), repeated across the row.
- The initial chain should be a multiple of three to ensure clean repeats.
- Each row: [2 dc, ch 1, skip 1]—repeat.
Special Stitches
- dc (double crochet): Yarn over, insert hook, yarn over, pull up loop, yarn over, pull through 2 loops, yarn over, pull through remaining 2 loops.
- Chain space: ch 1, skip the next base stitch.
The Crochet Pattern
Panel One (Front or Back)
- Using Anne brand bordeaux yarn, and 2.5 mm hook, create chain stitches to measure 30 cm.
(Approx. 65 ch for 30 cm; add 1 extra for starting.) - Add 1 more sc for a neat foundation—66 ch total.
- Ch 3 (counts as first dc for row 1).
- Begin row 1:
- dc in 4th ch from hook.
- (2 dc, ch 1, skip next ch, 2 dc into next ch) across the row.
- Continue this pattern until end of chain.
- To turn, ch 3 (counts as dc), turn work.
- Row 2:
- dc into next stitch.
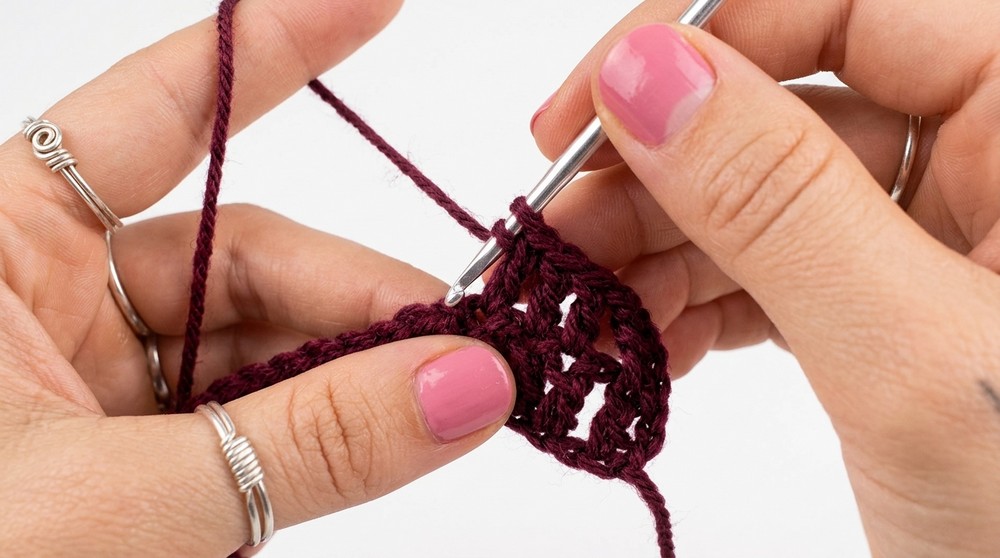
- ch 1 (separation), skip next space, dc in next stitch, dc in next, ch 1, skip 1, repeat to end.
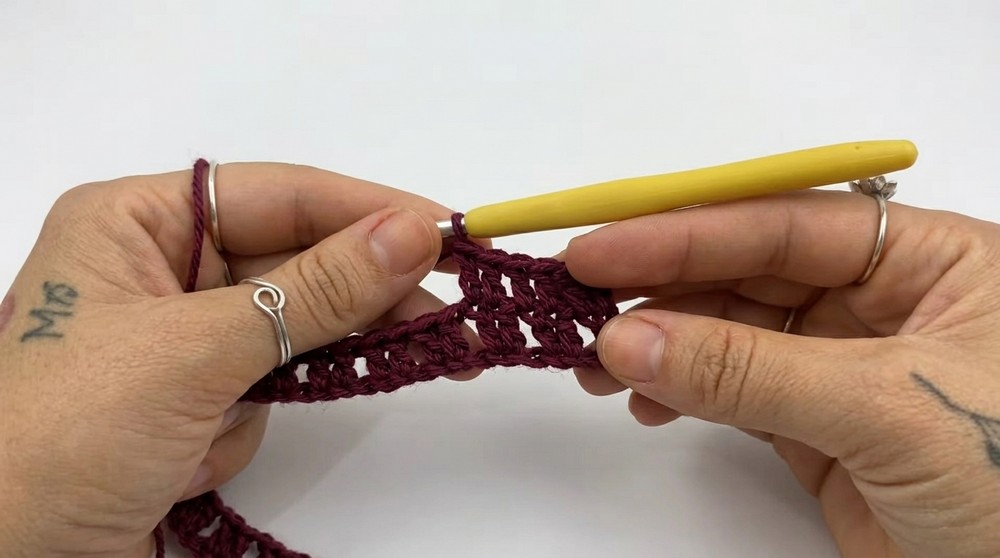
- Repeat row 2 for every subsequent row.
- Continue until panel measures 76–90 cm, or desired length.
Panel Two (Back)
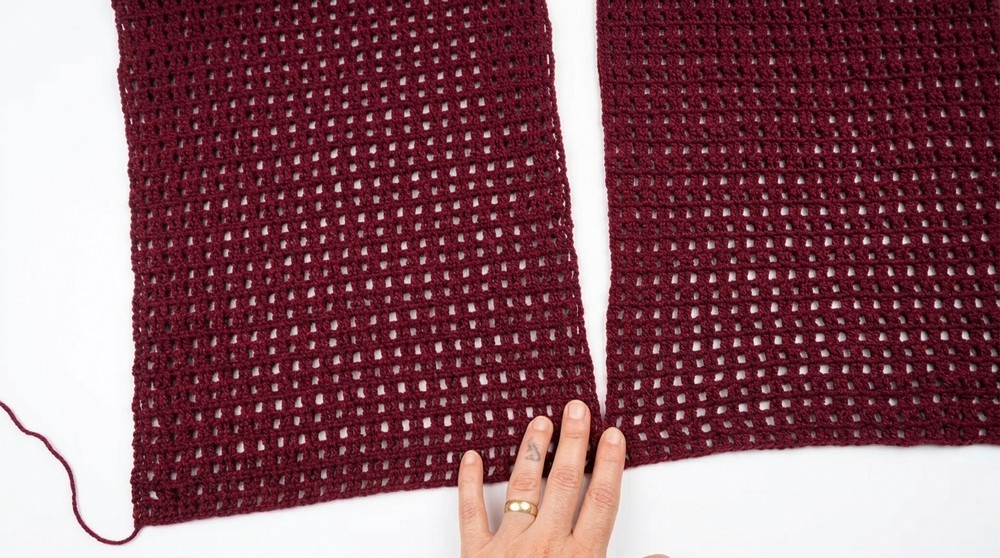
- Repeat as above for second panel.
- Ensure same starting ch and row count.
- Work to same length (76–90 cm).
Joining Panels
- Place both rectangles side by side.
- Fold panels at the middle to mark center.
- With sewing needle and black yarn, sew side seams:
- Match up edges and whipstitch together for five rows at the sides and shoulders—only at edges, not all along the length.
- Sew two rows at armholes (sides), leave an opening for arm movement.
- Sew shoulder seams for five rows at the top.
- Ensure seams are invisible by using hand sewing, passing the needle thread by thread.
- Secure ends.
Neck & Back Ties
- Decide where you want your back ties.
- Crochet a small cord with the same yarn:
- Ch 15–20, slip stitch back to base.
- Make two cords.
- Attach at the desired back spots, so you can tie for a perfect fit (move placement if needed).
Fringe and Ruffles
- To make fringe, wrap yarn or silk thread around a book or notebook for consistency.
- Cut one end open; this forms uniform fringe lengths.
- Trim longer bits as desired.
- To attach fringe:
- At each stitch along panel edges, fold fringe in half, pull loop through with hook, then pull yarn ends through loop to secure.
- Add one strand to each point, for dense volume.
- Repeat until you have a full fringe at hem and sides.
- Use silk thread for a softer drape; if needed, apply a small amount of glue to ends.
Assembly & Finished Size
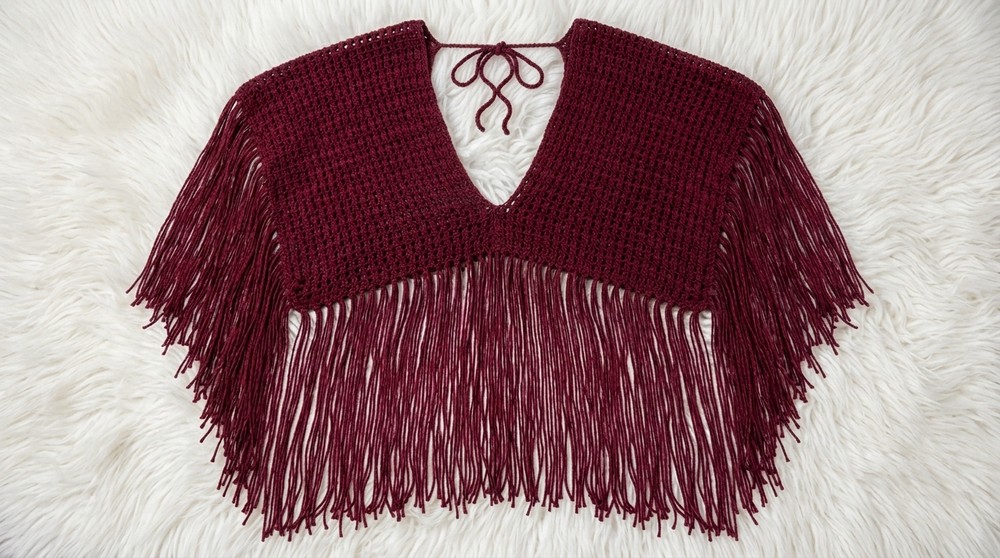
- The blouse will now be two panels, joined at sides and shoulders, with open armholes, neck/back ties, and a lush fringe at hem and sides.
- Finished garment will be airy, full of movement, and perfect for layering.
Conclusion and Ending Words
Congratulations on your new ruffled blouse. This beginner-friendly pattern blends basic stitches and simple assembly for bold results. Customize length, fringe, and fit as you wish. Use silk thread for elegant movement or experiment with color for more flair. Wear solo or layer for casual, beachy, or festival looks.