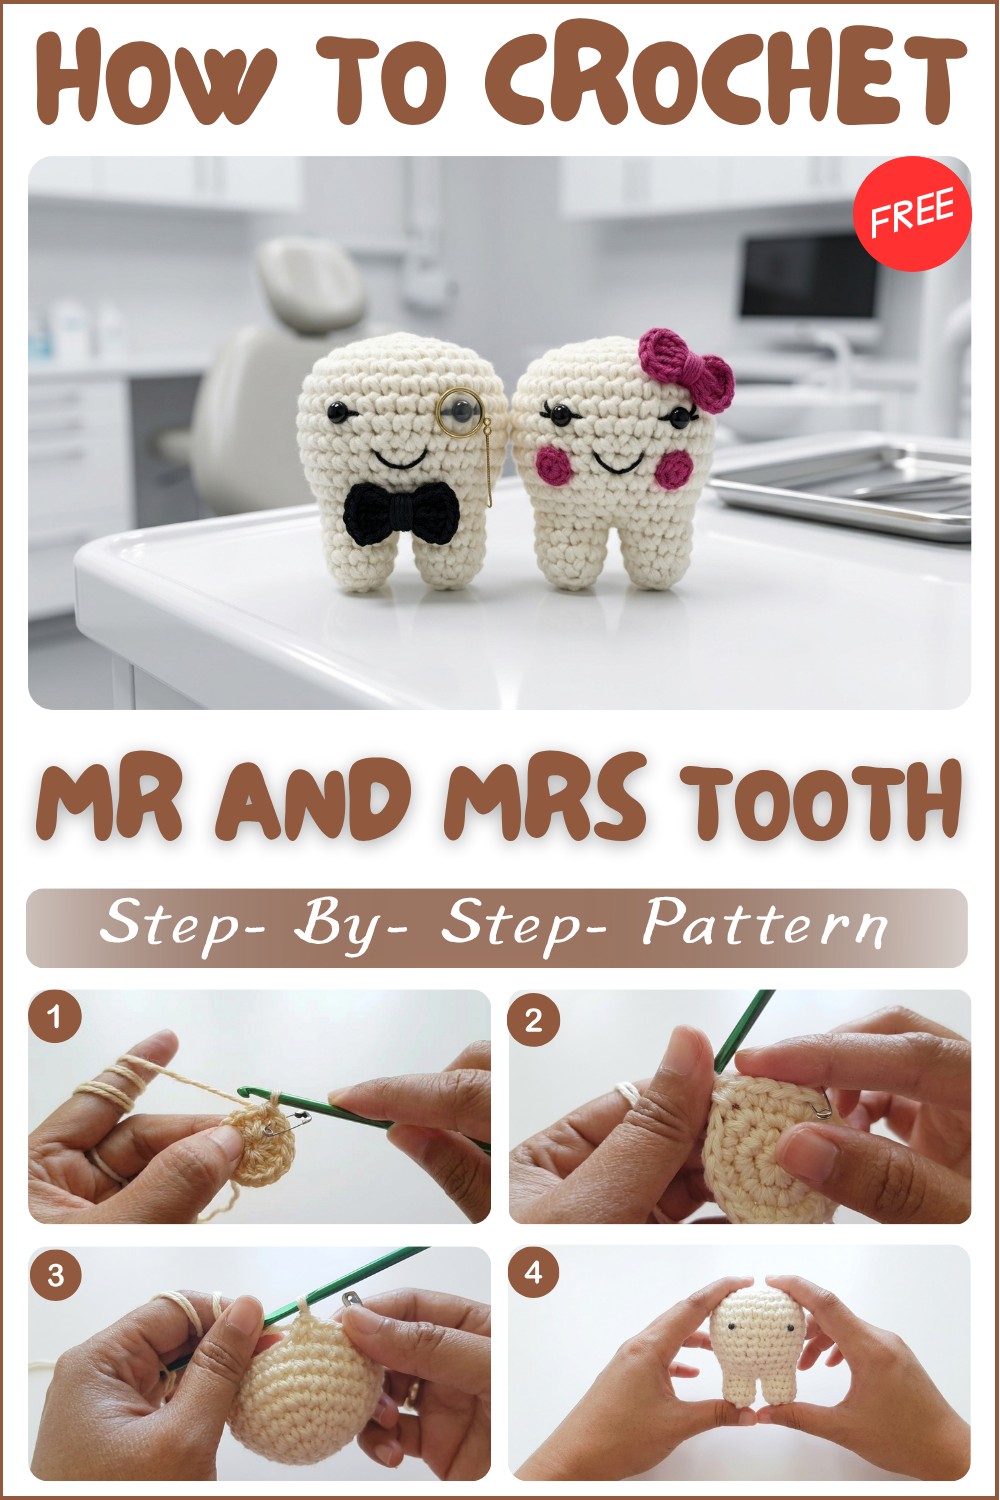
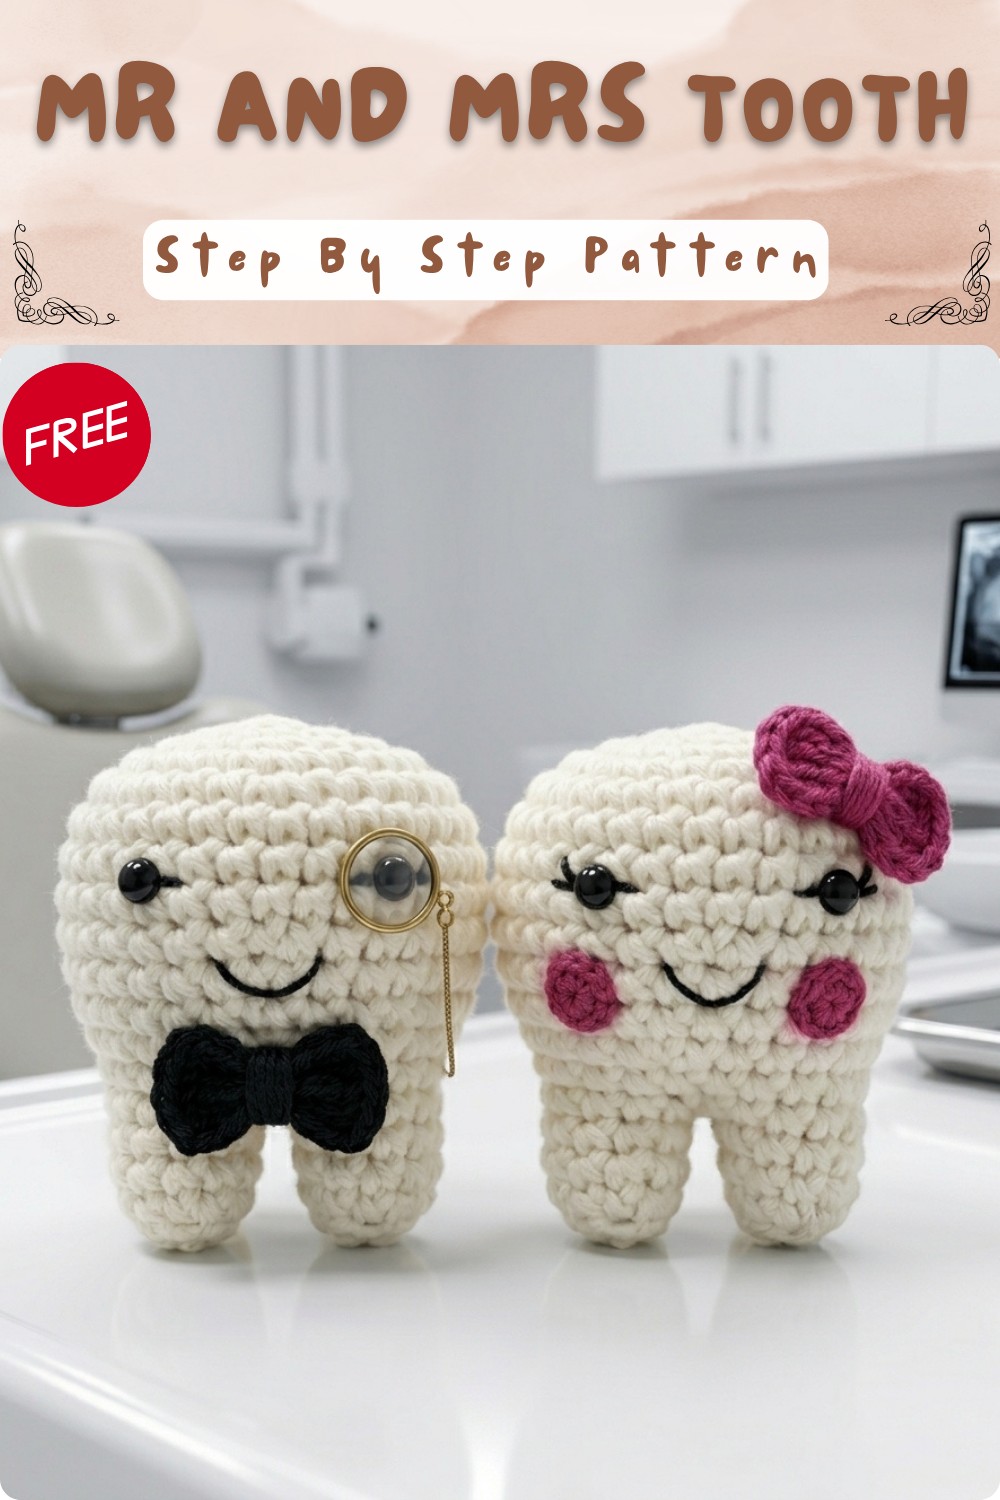
Crochet Mr And Mrs Tooth Amigurumi Pattern To Gift Dentists
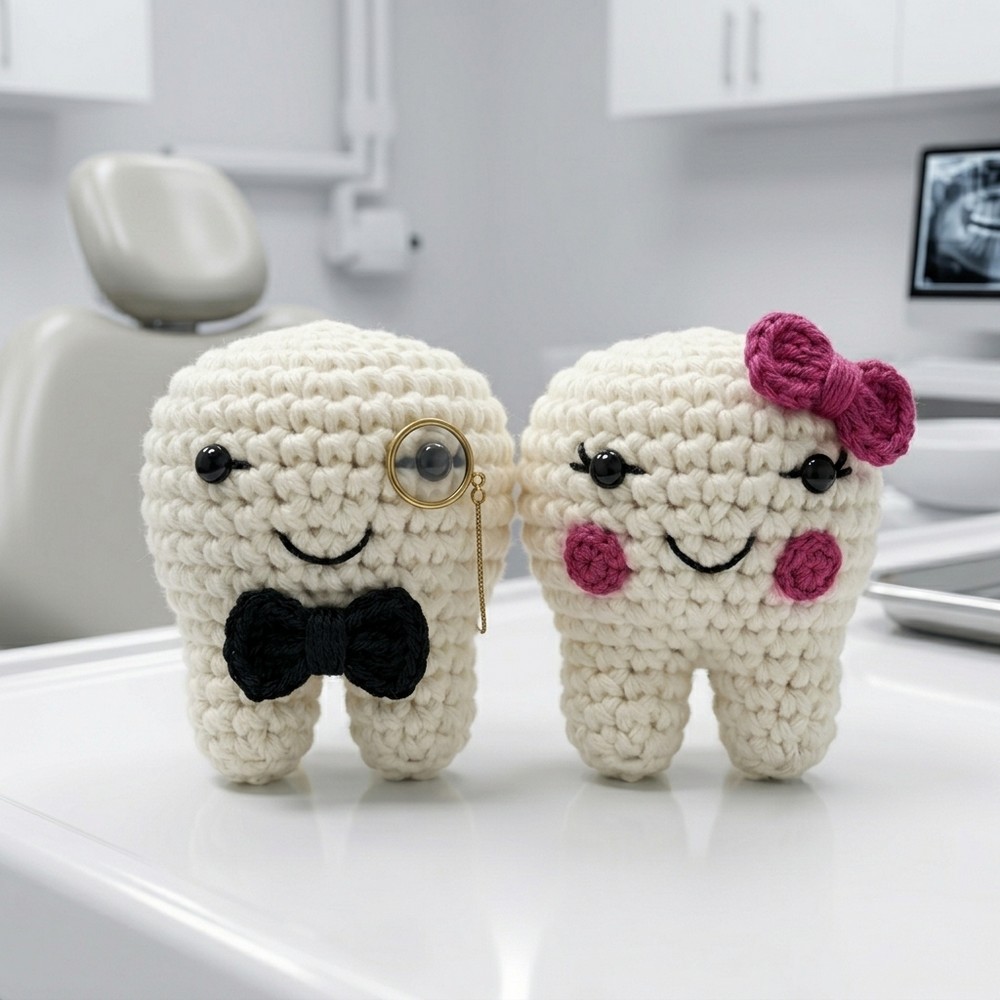
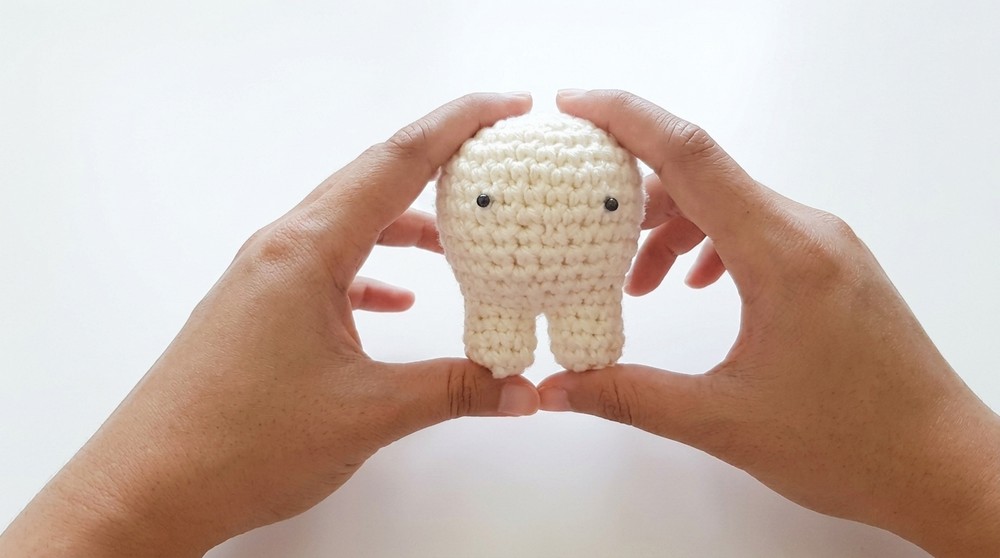
Creating your very own Crochet Amigurumi Tooth Pattern is not only fun but also super rewarding! This adorable pattern lets you crochet a cute, tiny tooth that’s perfect for kid gifts, dentist offices, or just a fun decoration. The tooth takes shape through simple stitches using cream yarn, with added features like beady eyes and a tiny red smile for character. The final look is an irresistibly charming tooth that anyone will love having around!
Why Love This Pattern?
- Simplicity and Clarity: The video provides a clear, step-by-step tutorial that is easy to follow, making it accessible even for beginners.
- Customization: The pattern allows for some degree of customization, such as using one or two strands of yarn to adjust the size of the amigurumi or personalizing with different facial expressions and accessories like a bow.
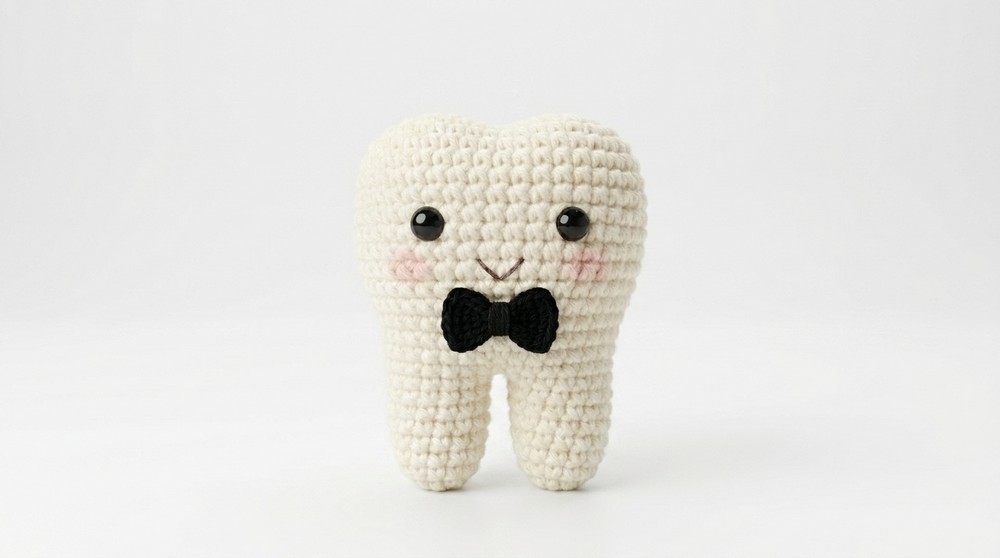
- Adorable Finished Product: The end result is a cute amigurumi tooth, which can be a charming gift or a decorative item for dental-themed events.
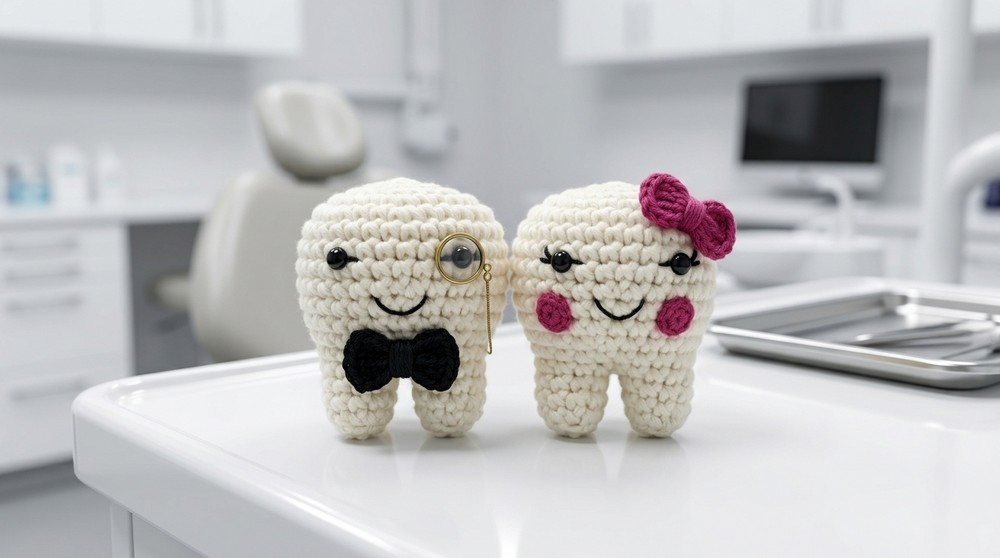
Create a charming amigurumi tooth, perfect for gifting to kids, decorating a dental office, or using as a tooth fairy pouch! This beginner-friendly pattern yields a soft, plump stuffed tooth with two adorable roots (partitions), a sweet embroidered smile, and safety eyes or sewn-on beads for added character. Thorough instructions, step-by-step rounds, and helpful tips will guide you to a neat, professional finish. You can customize the size by using different yarn weights or adding bows or other embellishments.
Amigurumi Tooth Crochet Pattern
Pattern Notes
- The body is crocheted in continuous rounds (do not join unless instructed).
- Two root “partitions” at the base are worked separately after dividing the main body stitches.
- Use a stitch marker or safety pin to mark the first stitch of each round and move it up as you go.
- Stuff the body firmly but not excessively before closing the partitions.
- You may use two strands of yarn for a larger, sturdier tooth, or one strand for a smaller, softer version.
- Embellish with beads or embroidered features; a bow or accessory can be added for personal flair.
Skill Level
Beginner – Only basic stitches, shaping, and simple assembly required
Materials
- Cream Color cotton yarn (or acrylic); use 2 strands held together for best results
- 4.0 mm crochet hook
- Polyester stuffing
- 2 small beads (for eyes) or safety eyes
- Black thread or yarn (for sewing on eyes)
- Red thread or embroidery floss (for mouth)
- Needle
- Safety pin or stitch marker
- Scissors
Measurements / Sizing
- Height: approx. 3.5-4 inches (9-10 cm) when using worsted/4mm and double strands
- Width: approx. 2.5-3 inches (6-7.5 cm) at widest point
- Customizable by changing hook/yarn size or using single strand
Gauge
- Gauge is not critical for this project. Work tightly enough so stuffing does not show, and both partitions match.
Stitch Abbreviations
| Abbr. | Stitch |
|---|---|
| ch | chain |
| sc | single crochet |
| inc | increase (2 sc in one st) |
| dec | decrease (sc 2 together / invisible decrease) |
| st(s) | stitch(es) |
| sl st | slip stitch |
| rep | repeat |
Special Stitches
- Magic Ring: Form a loop, work stitches into ring, pull end to close.
- Invisible Decrease: Insert hook into front loop of next 2 sts, yarn over, pull up loop, yarn over, pull through both loops (creates a less-visible decrease).
The Crochet Pattern
Body of Tooth
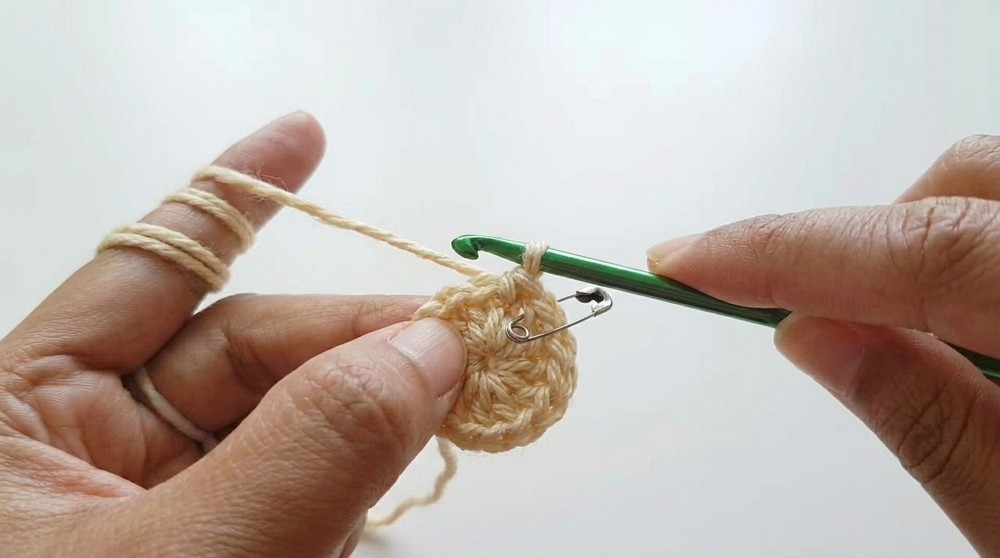
Work in rounds; do not join. Use a stitch marker for the first stitch in each round.
Round 1:
- Make a magic ring.
- Ch 1, work 6 sc into ring (6 sts).
Round 2:
- Inc in each st around (2 sc per st) (12 sts).
Round 3:
- [Sc in next st, inc in next st] rep around (18 sts).
Round 4:
- [Sc in each of next 2 sts, inc in next st] rep around (24 sts).
Round 5:
- [Sc in each of next 3 sts, inc in next st] rep around (30 sts).
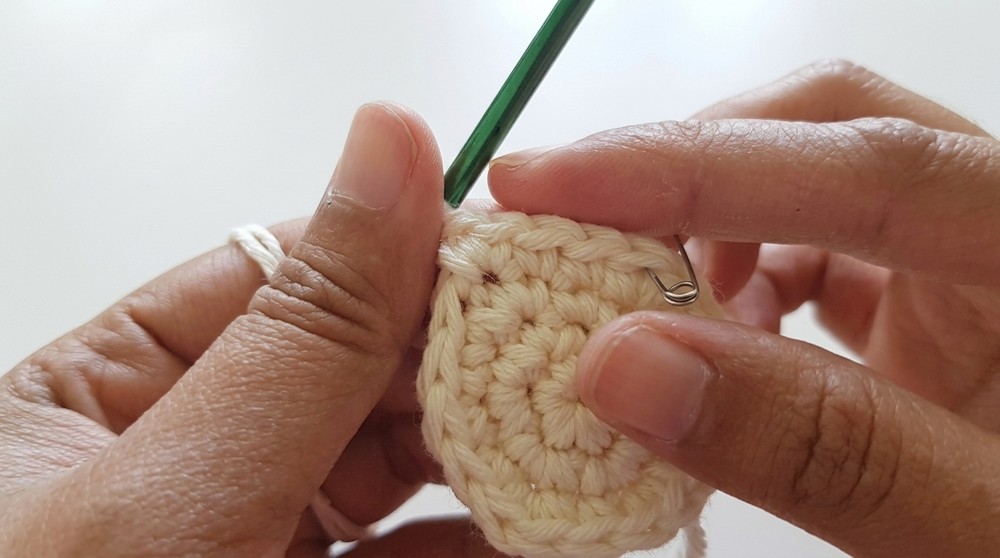
Rounds 6–8:
- Sc in each st around (3 rounds, 30 sts each).
Shaping the Tooth (Tapering Down)
Round 9:
- [Sc in each of next 3 sts, dec over next 2 sts] rep around (24 sts).
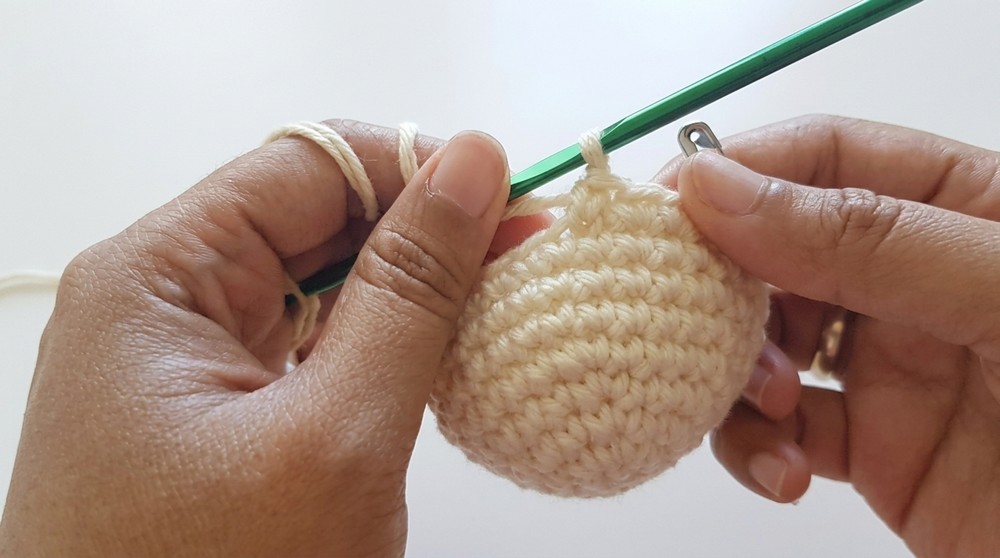
Rounds 10–11:
- Sc in each st around (24 sts per round, 2 rounds).
Round 12:
- [Sc in each of next 2 sts, dec over next 2 sts] rep around (18 sts).
Round 13:
- Sc in each st around (18 sts).
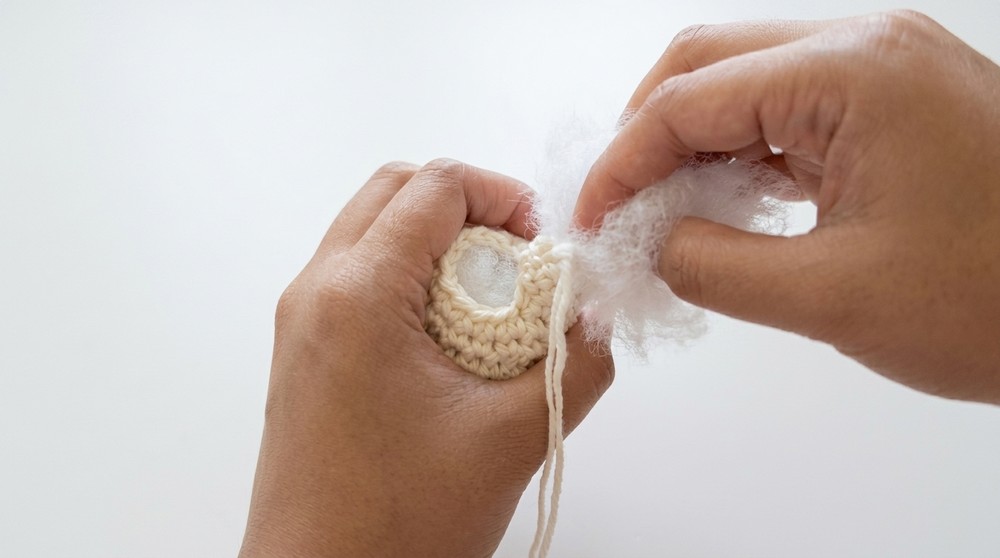
Add Stuffing
- Stuff the tooth body firmly with polyester stuffing. Shape as you go.
- Make sure the top “crown” is plump and rounded.
Forming Tooth Roots (Partitions)
You now have 18 sts: divide equally into 2 partitions, each with 9 sts.
First Partition (First Root):
- Attach marker at the start of these 9 sts.
- Sc in each of the 9 sts.
- Connect to first st of the partition with a sl st.
- Work 3 more rounds of sc in each of the 9 sts (4 rounds total for partition).
- Sl st in next st, ch 1, and fasten off. (Leave a long end for closing if desired.)
- Add a small bit of stuffing if needed.
- Use tapestry needle to weave yarn in and out of each st around opening, pull tightly to close, weave in ends.
Second Partition (Second Root):
- With right side facing, join yarn in the first unworked st from remaining 9 sts on main body.
- Ch 1, sc in same st, sc in next 8 sts (9 sc total).
- Sl st to first sc.
- Work 3 more rounds of sc in each st (4 rounds total).
- Sl st, ch 1, and fasten off.
- Add a little stuffing if desired.
- Close end using tapestry needle as for first partition. Weave in all ends.
Finishing (Facial Features)
- Eyes:
- Sew 2 beads/safety eyes to front of tooth using black thread/yarn, spacing evenly near the center of the “crown” portion.
- Secure with needle, knot on inside, and trim excess.
- Mouth:
- Embroider a smile or straight line using red thread/floss, just below and centered between eyes.
- Bow or Accessories (Optional):
- Add a mini crochet bow on side (find separate bow pattern or make up a simple one).
- Stitch or glue into place.
- Hide any remaining yarn ends securely within the tooth.
Assembly & Finished Size (Bullet Points)
- Shape body evenly while stuffing for a rounded “crown” and two distinct roots.
- Stuff both roots lightly before sewing closed to keep tooth end firm.
- Attach eyes close together above the “roots” for cuteness.
- Embroider smile with red floss for friendly expression.
- Finished size: approx. 4” (10 cm) tall, 2.5–3” (7 cm) wide.
- Weave in all ends, shaping gently as needed.
Tips and Customization
- For a smaller tooth, use a single strand of yarn and a 2–2.5 mm hook.
- Use colored thread or felt to add cheeks, or glue on lashes for more expression.
- Attach a keyring or loop if using as a keychain or tooth fairy pouch.
Congratulations! You’ve completed your amigurumi tooth. Enjoy gifting it to a child, giving it as a keepsake, or simply making someone smile. If you make more, feel free to add accessories, personalize with initials, or add a little pocket for a lost tooth.