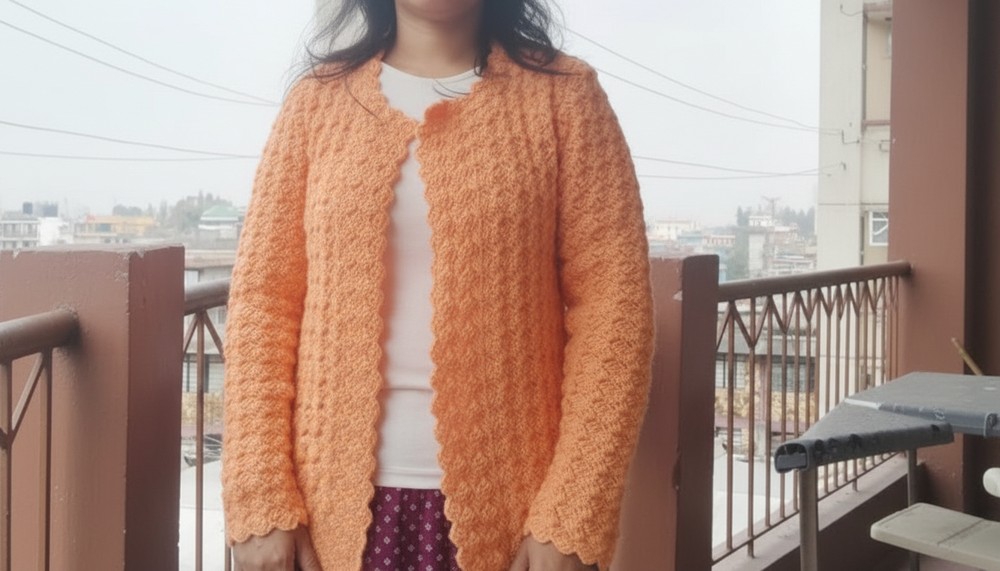
Free Crochet Slanted Shell Cardigan Pattern for Layering
Refresh every autumn wardrobe with free crochet slanted shell cardigan pattern because it offers modern textures and grace for any cool day.
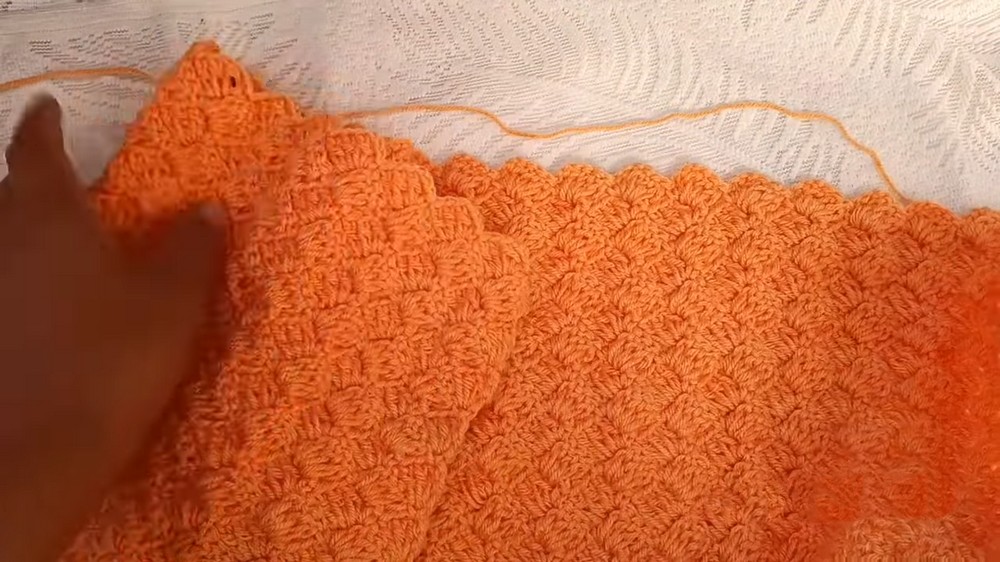
Golden waves of thread dance along your shoulders to keep you warm and stylish while you go about your day. This lovely jacket has a special shape where the loops lean to one side like tiny ocean shells resting on the sand. A crochet slanted shell cardigan pattern helps you make a strong piece of clothing that looks very fancy and high-class. It works well for a trip to the market or a happy dinner with your family under the stars.
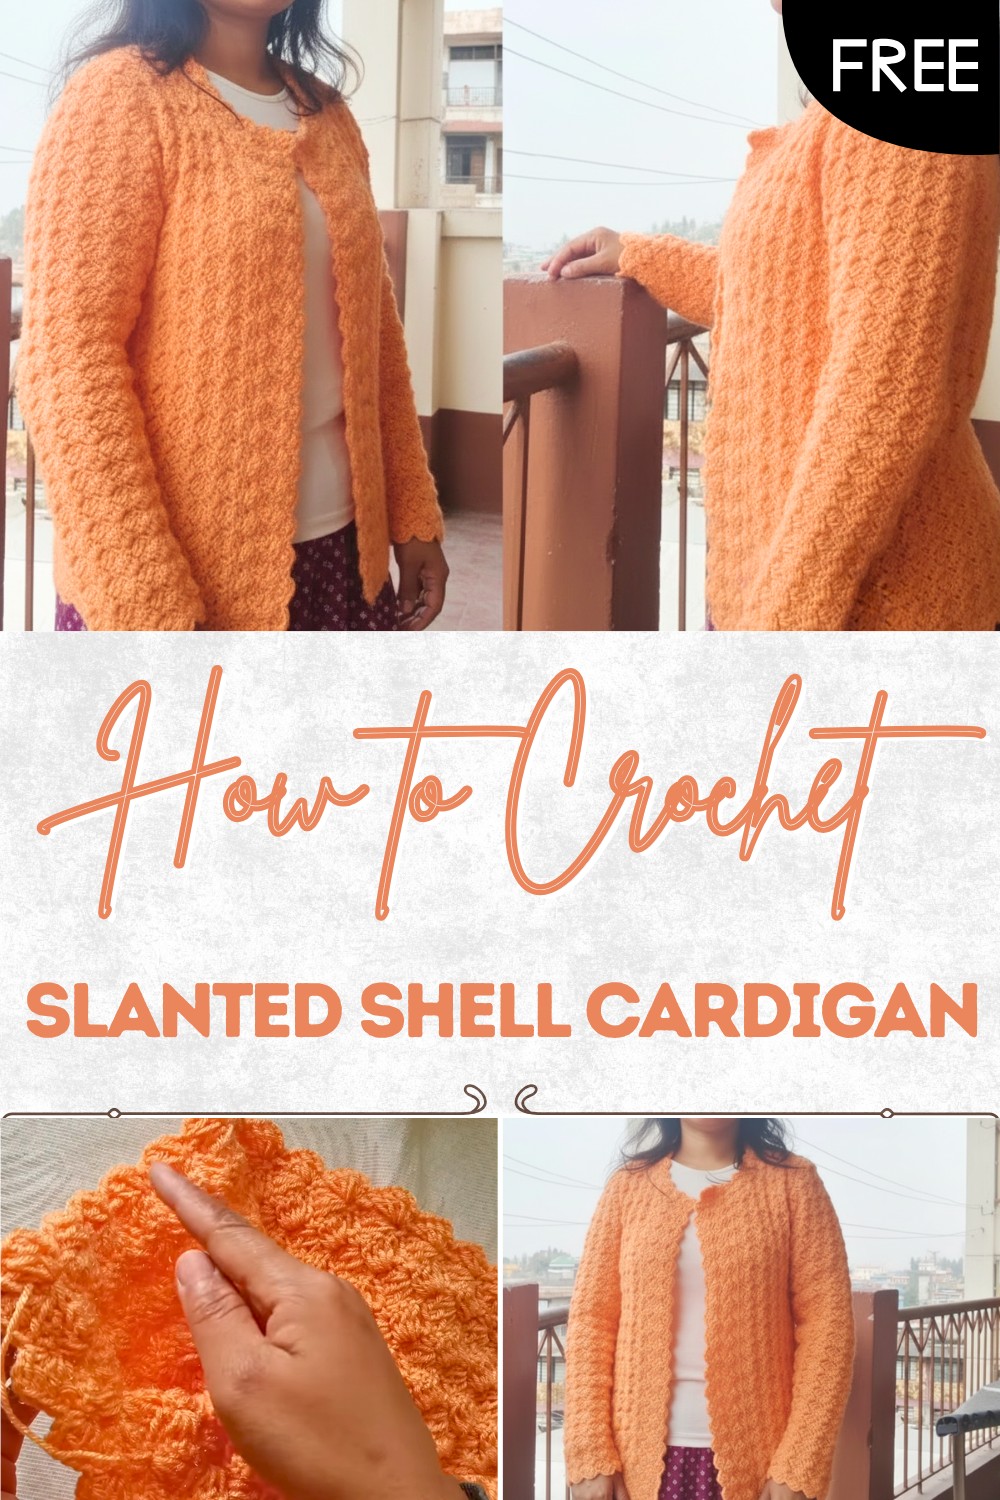
How to Crochet Slanted Shell Cardigan Free Pattern
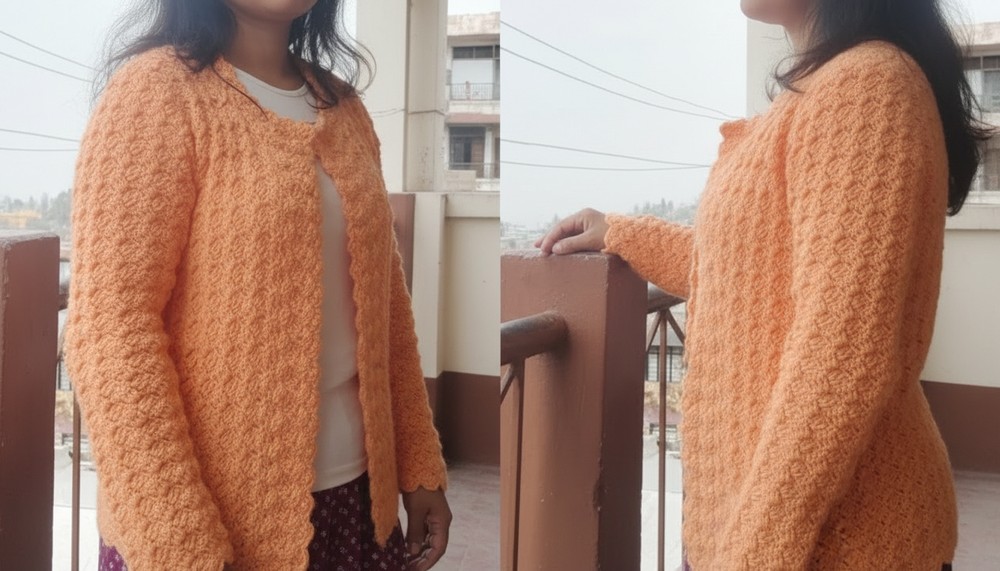
The leaning loops make the fabric look like a field of flowers bending in a soft wind. This special item is great because it feels very soft on your skin and moves easily with your body. A helpful feature is that the open shells let just enough air in so you feel fresh but never cold. This single jacket can turn a simple dress into something very grand and beautiful. It stays tough for a long time and keeps you looking very neat and happy.
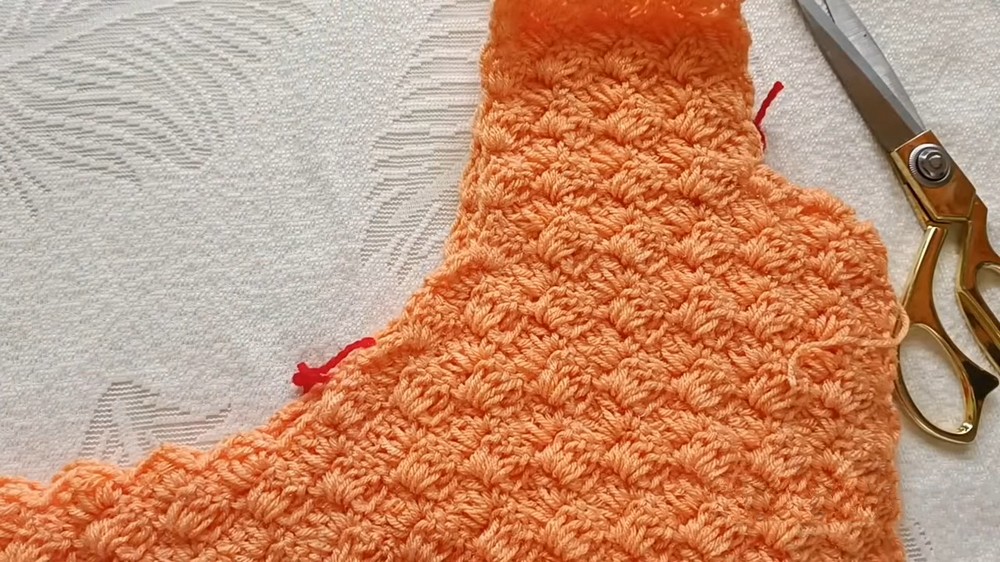
Slanted Shell Stitch Crochet Cardigan Pattern
Materials
- Yarn: 4-ply weight 3 yarn (or your preferred weight and fiber)
- Hook: 3.5 mm crochet hook (or size needed to obtain gauge)
- Scissors
- Yarn needle (for sewing and weaving ends)
- Stitch markers (optional, recommended for keeping track of shaping)
Key Abbreviations (US Terminology)
| Abbreviation | Meaning |
|---|---|
| ch | chain |
| sc | single crochet |
| dc | double crochet |
| hdc | half double crochet |
| sl st | slip stitch |
| st(s) | stitch(es) |
| rep | repeat |
| sp | space |
Special Notes
- The pattern is worked in one piece for the body, with only shoulder and sleeve seams.
- Multiples: Chain a multiple of 8, plus 5 for the foundation chain. (Pattern is based on multiples of 4, but for shell alignment use multiples of 8.)
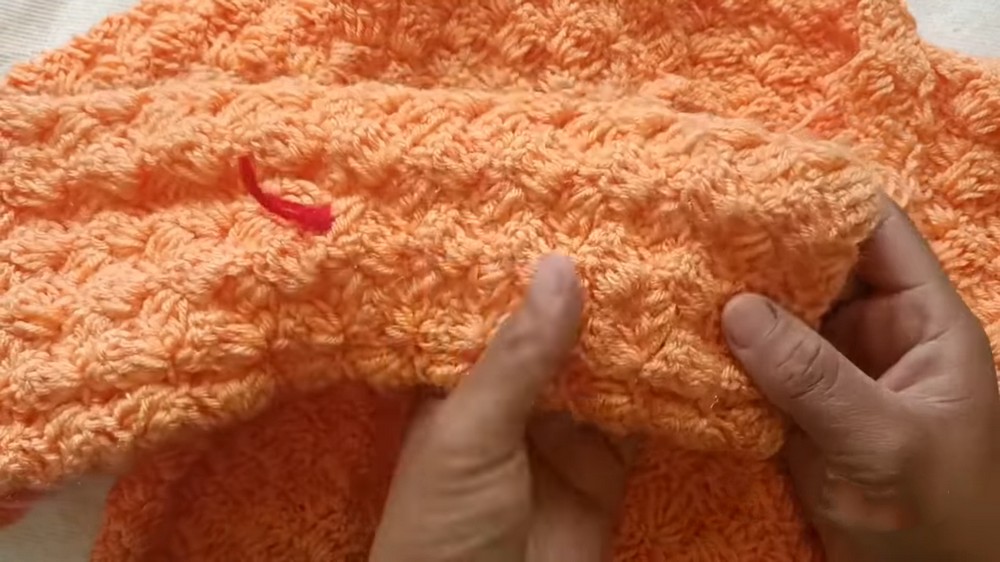
- Shell: (sc, ch 3, 3 dc) in one space.
- Use your bust measurement for foundation length. Always check fit as you go—add or subtract rows for your desired length.
The Cardigan
Step 1: Foundation & Main Body
- Measure the widest part of your body (usually bust).
- Make a slip knot and chain a multiple of 8 to match this measurement (not too tight!).
- Add 5 chains to your total.
Step 2: Set Up First Row (Row 1)
- Starting in the 5th ch from hook:
- 3 sc in that chain (creates first shell base).
- Skip 3 chains, sc in the 4th ch.
- Ch 3, 3 dc in same ch as sc.
- Skip 3 ch, sc in next ch.
- Ch 3, 3 dc in same ch.
- Repeat until you reach the end.
- End with 1 sc in last chain.
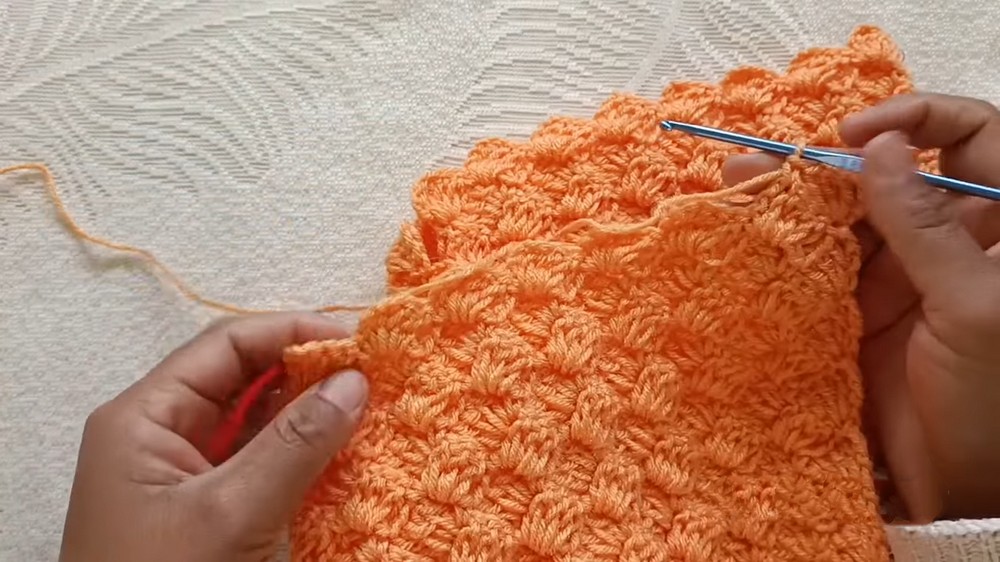
Step 3: Shell Stitch Repeats (Row 2 & Up)
- Ch 4, turn.
- In the first ch-3 sp: 3 dc.
- In next ch-3 sp: sc (insert hook into chain space).
- Ch 3, 3 dc in same ch-3 sp.
- Repeat across:
- sc in next ch-3 sp, ch 3, 3 dc in same sp
- End with 1 sc in last sp.
- Repeat Row 2 until reaching your desired length (from lower edge to underarm).
Step 4: Divide for Fronts and Back
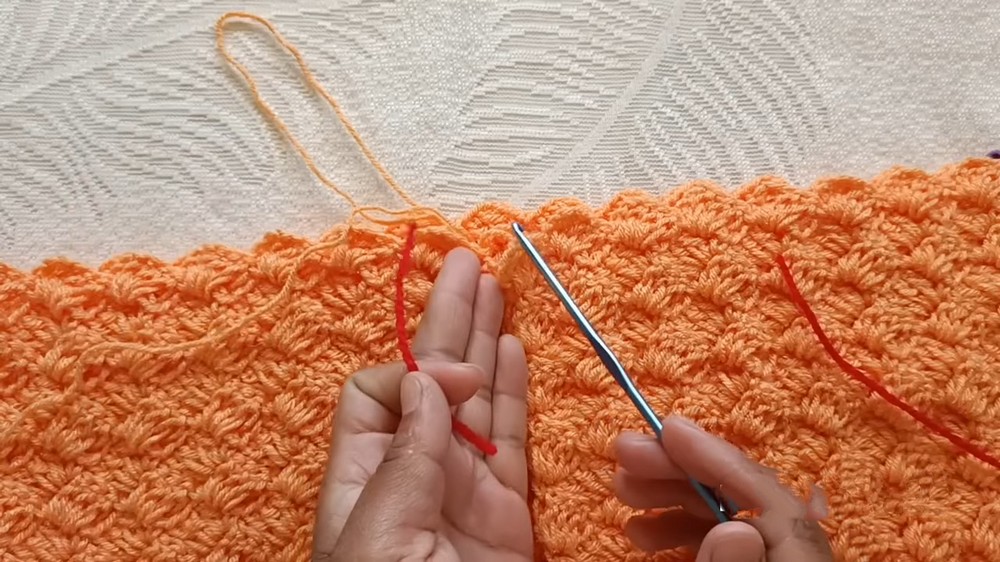
- Mark the number of shells for each front and the back. Fold your panel to visualize these sections.
- Adjust number of shells according to desired cardigan width and armhole depth.
- Work on the front panel: Start your rows at the arm edge and work decreases for shaping neckline and armhole as follows.
- To decrease at armhole/neckline edge: Use sl st to reach the next shell base before starting a row.
- In shaping rows: Ch 3 instead of ch 4 for a more even neckline.
- Work in shells as before, following fit and size for your body measurements and referring to armhole and neckline shaping in video steps.
Step 5: Armhole & Neckline Shaping
- Armhole:
- Measure how deep your armhole should be.
- Mark where to stop for each front piece.
- Neckline: Start shaping (with partial shells/using hdc and dc as shown) when you are a few inches from neckline edge.
- For final neckline rows: sc, 2 hdc, 1 dc (reduces shell height).
- For final neckline rows: sc, 2 hdc, 1 dc (reduces shell height).
Step 6: Back Panel
- Join yarn at the back panel position (between front panels).
- Work the same number of rows and shaping as done for the fronts for a seamless join at shoulder.
Step 7: Seaming Shoulders
- Use sc or preferred seaming method to join shoulder edges from both front panels to the back.
Step 8: Sleeves
- Measure wrist circumference.
- Chain in multiples of 4 + 5 to match wrist, join and work back and forth in shell pattern.
- Increase as your arm widens (every few inches), mirroring frequency of increases in the video.
- To increase: Add shell in first/last sc of row.
- Continue until sleeve matches armhole opening.
- Shape sleeve cap:
- Dec rows at sleeve top by starting/stopping short (use sl st to edge of next shell base).
- Final rows: sc, hdc, dc for flatter sleeve cap.
- Sew sleeves into armholes using sc or mattress stitch.
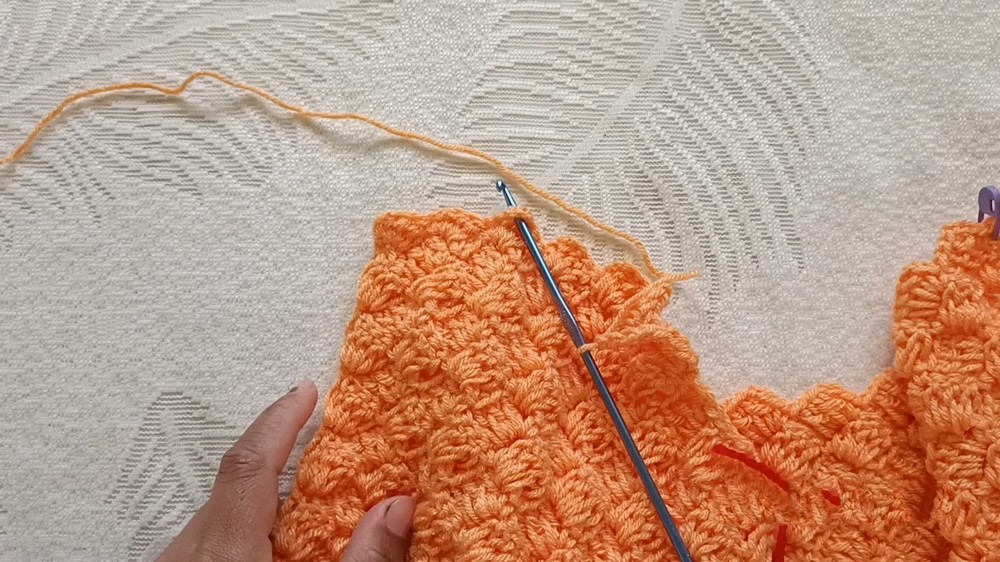
Step 9: Borders & Edges
- With right side facing:
- Work additional rows of shells along front edges and neckline, as in video.
- At cardigan bottom and sleeve cuffs: Work 2–3 rows of shell stitch for a uniform, neat finish.
Step 10: Finishing
- Sew in all ends neatly.
- Block garment gently, if desired, for best shape.

Correction & Pattern Tips
- Gauge and measurements: Always adjust chain count and the number of rows to your unique measurements. The video’s approach allows flexibility.
- Decreases and shaping: Mark rows on one front and repeat exactly for the mirrored side and back for a professional, symmetrical result.
Tips
- Use markers at shaping points (neckline, armhole) for more accuracy.
- Keep edge tension consistent for a neat look.
- Try on as you go to fine-tune fit, especially for neckline and sleeve length.
Conclusion
This slanted shell stitch cardigan is a highly adaptable and beginner-friendly project. Its seamless construction and flexible measurements make it easy to customize for any size or style. Pay close attention to the placement of decreases and shaping for a polished, well-fitted garment.