Free Crochet Mesh Cardigan Pattern Perfect for Beachwear
Stay light and stylish with free crochet mesh cardigan pattern, that feels airy looks modern and suits layering over outfits for any season,
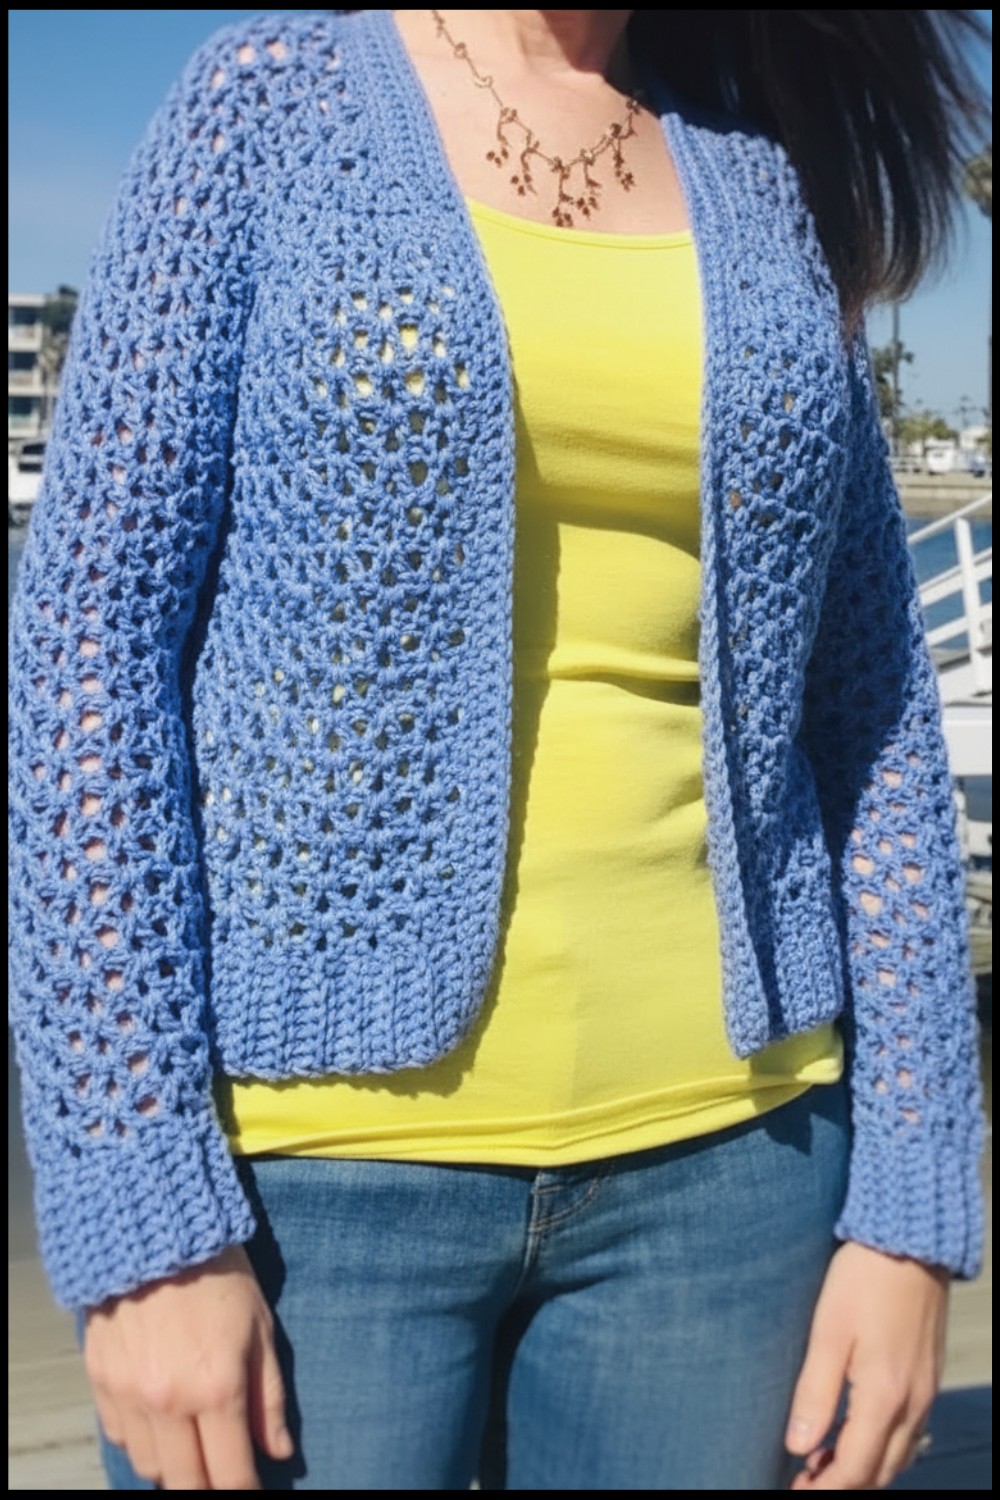
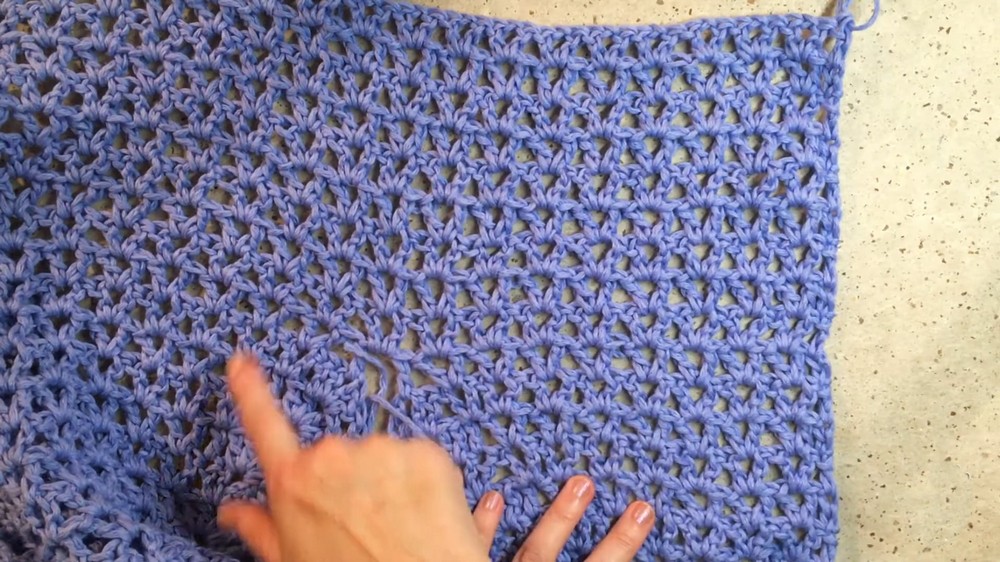
A light layer can make any outfit feel fresh and comfortable. The Crochet Mesh Cardigan pattern creates an airy and open design that looks soft and stylish while allowing air to pass through easily. It feels gentle on the skin and is perfect for layering over simple clothes without feeling heavy. This cardigan is great for daily wear travel outings or casual gatherings because it adds beauty without extra weight. The mesh style gives it a unique look that feels modern and relaxed at the same time.
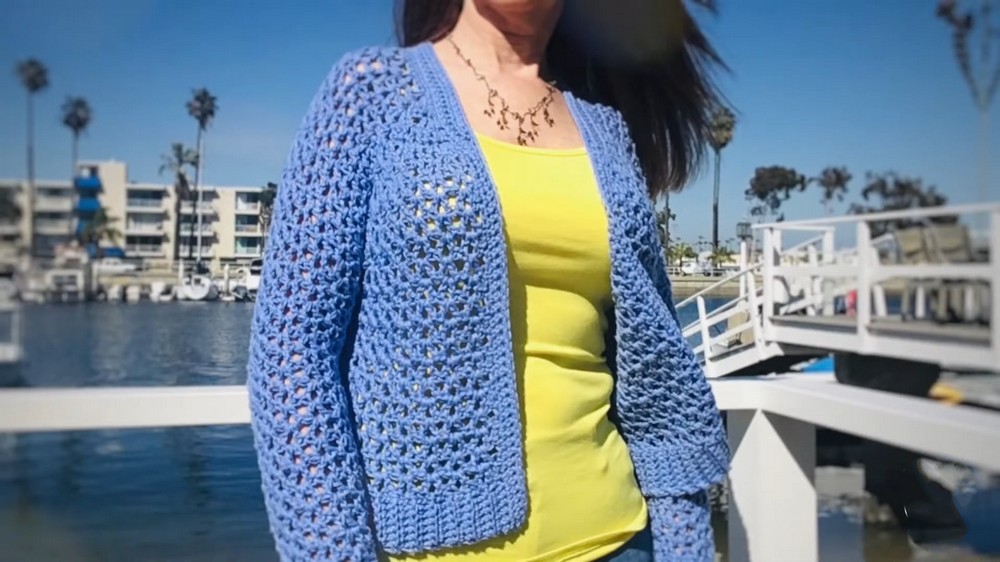
Stylish Mesh Cardigan Using This Free Crochet Pattern

One special feature is its breathable structure which keeps you cool while still offering a bit of warmth. It is easy to follow so beginners can enjoy learning and making something useful with confidence. You can choose soft tones or bright colors to match your personal style. It also makes a lovely handmade gift full of care and creativity. Crochet Mesh Cardigan pattern turns simple yarn into a beautiful and useful piece that adds comfort style and charm to everyday life in a very easy and enjoyable way.
V-Stitch Mesh Raglan Bomber Cardigan
Materials
- Yarn:
- Worsted weight (Size 4) cotton blend (~650 yards for size Small; adjust yardage for larger sizes)
- Hook:
- K / 6.5 mm crochet hook (Body)
- J / 6.0 mm crochet hook (Ribbing)
- I / 5.5 mm crochet hook (Collar, optional for tighter rib)
- Stitch markers
- Yarn needle (for weaving ends)
- Scissors
- Measuring tape
Key Abbreviations (US Terminology)
| Abbreviation | Meaning |
|---|---|
| ch | chain |
| sc | single crochet |
| dc | double crochet |
| hdc | half double crochet |
| sl st | slip stitch |
| st(s) | stitch(es) |
| sp | space |
| rep | repeat |
| v-st | v-stitch (dc, ch 1, dc in same st/sp) |
| dc2tog | double crochet 2 together |
Special Notes
- Chainless DC – Used at the start of some rows for a cleaner edge. Can substitute with ch 2 or 3 if preferred.
- Raglan Shaping – All increases happen at four corners to shape the yoke; sleeves and body created seamlessly.
- Bomber Collar – Worked at the end in ribbing, slightly shorter hook for a more snug finish.
PATTERN
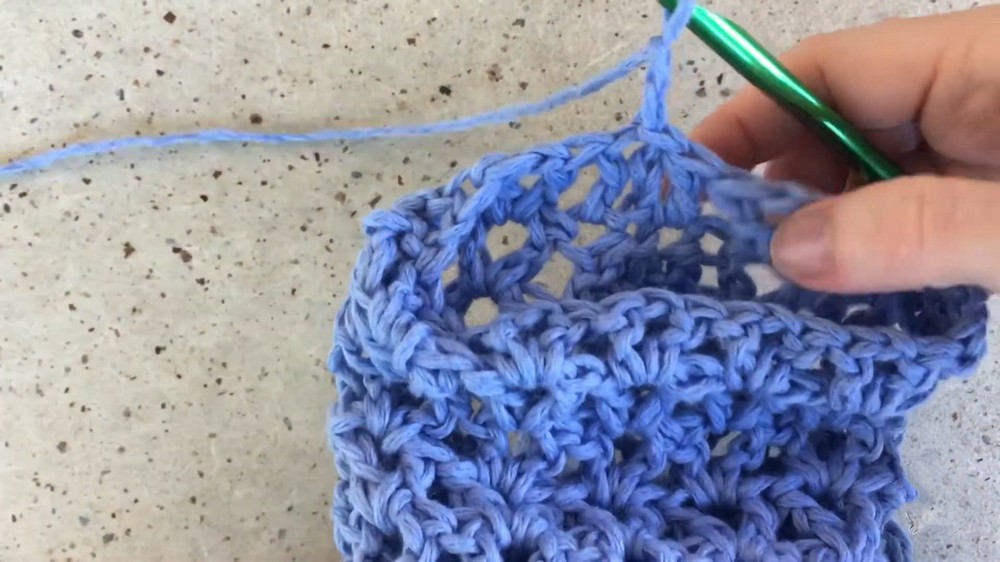
1. Yoke Foundation
With K / 6.5 mm hook:
- Ch 50.
- Row 1:
- Turn the chain; in 2nd ch from hook, sc.
- Sc in each ch to end.
- (49 sc)
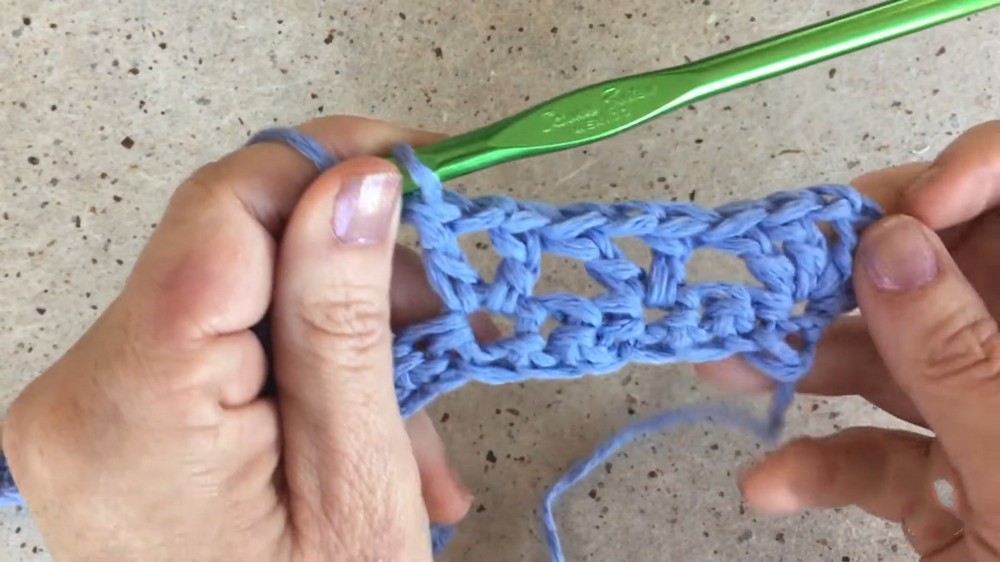
- Row 2 (Set-up & First Raglan Increase):
- Ch 2 (counts as dc), turn, (dc, ch 1, 2 dc) in same st (corner increase).
- Skip 2 sts, v-st in next st; rep 3x for 4 v-st along edge.
- Skip 2 sts, (2 dc, ch 1, 2 dc) in next st (corner).
- Skip 2 sts, v-st in next st; rep 5x for 5 v-st along edge.
- Skip 2 sts, (2 dc, ch 1, 2 dc) in next st (corner).
- Skip 2 sts, v-st in next st; rep 4x for 4 v-st.
- Skip 2 sts, (2 dc, ch 1, 2 dc) in last st (corner).
Section breakdown:
- Corner / Front / Corner / Sleeve / Corner / Back / Corner / Sleeve / Corner / Front / Corner
2. Raglan Yoke Increases
Work as follows, always increasing at four corners:
A. “A” Increase Row (Odd Rows)
- Begin with 2 dc in first st.
- In chain-1 spaces of corners:
- Dc in first st of corner, (2 dc, ch 1, 2 dc) in ch-1 sp, dc in last st of corner.
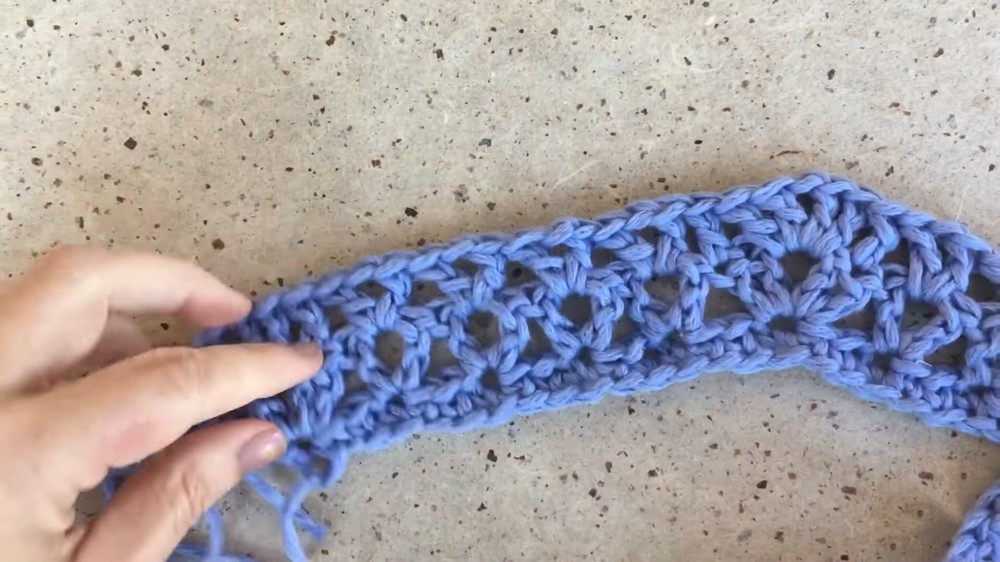
- V-st in each v-st across, passing over each section.
- End row with 2 dc in last st.
B. “B” Increase Row (Even Rows)
- Begin with dc in first st.
- In chain-1 spaces of corners:
- V-st in dc before corner, (2 dc, ch 1, 2 dc) in ch-1 sp, v-st in dc after corner.
- V-st in each v-st.
- End row with dc in last st.
- Alternate “A” and “B” rows for the yoke increases.
- At each edge, maintain consistency so the garment is symmetrical.
- Each section will grow, forming a square/rectangle.
Continue until:
- Sleeves measure ~14 inches across (for Small).
- Back measures half finished bust (i.e. back is 18″ for a 36″ bust).
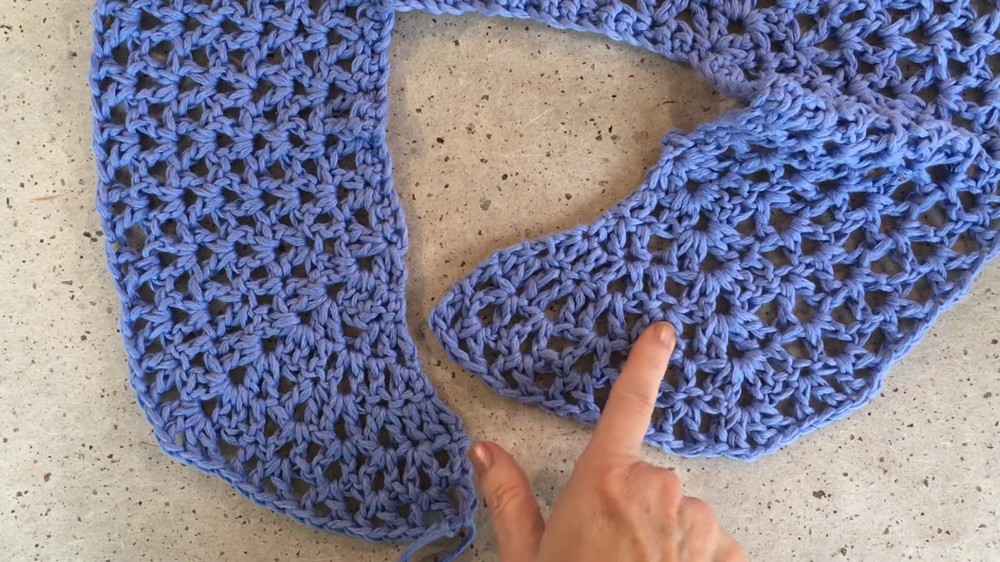
3. Divide for Body and Sleeves
On the last yoke row:
- Work across front and first sleeve as established.
- At sleeve: In ch-1 sp of corner, dc, ch 1, skip all sleeve sts, dc in next ch-1 sp (across underarm gap).
- Continue v-stitch across back section, repeat for other sleeve.
- Resume v-st rev pattern to end front.
4. Body
- Continue working dc in first st, v-st in each v-st across (place v-st in ch-1 sp at underarm as needed).
- Work until body measures desired length, minus ~2″ for ribbing.
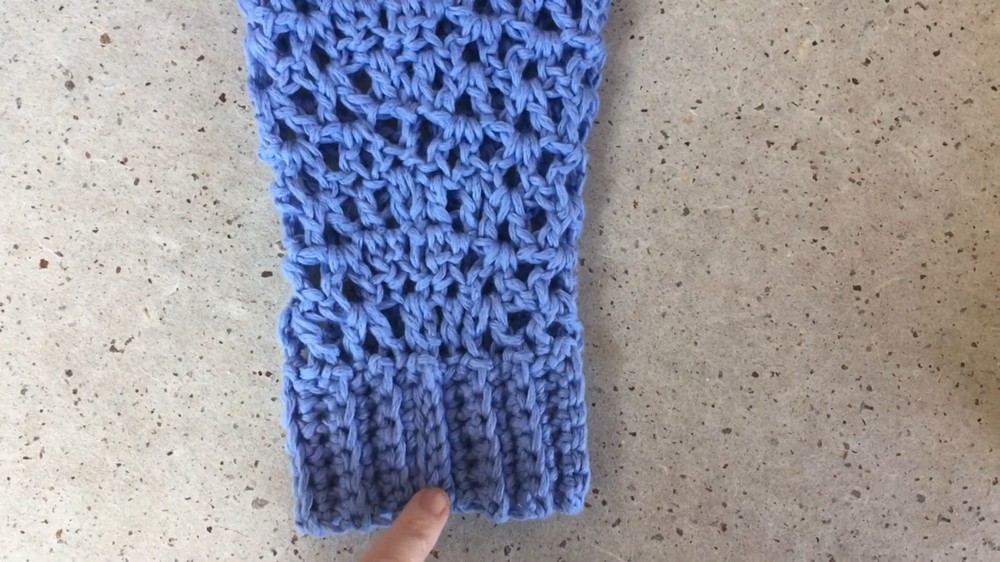
5. Body Ribbing
Switch to J / 6.0 mm hook:
- With RS facing, join at body edge.
- Ch 8.
- Row 1: Sc in 2nd ch from hook and each ch (7 sc). Turn.
- Sl st to next body st, and in next st. (Attach rib to row edge.)
- Row 2: Turn, skip sl sts, sc in BLO each sc (7). Turn.
- Row 3+: Continue as for Row 2, attaching ribbing as you go.
- End, seam ribbing ends together. Fasten off.
6. Sleeves
Work sleeves in rounds off armholes:
- Place markers at underarm corners.
- (RS facing): Join yarn in ch-1 sp, ch 1, sc to anchor, then (as for first dc) work into side.
- Dc in next st, v-st in each v-st around.
- At round join, sl st to first st, ch 2, turn.
- Continue working in rounds (turning each round for a flat stitch look), v-st in each v-st.
Sleeve Decreasing
- Last 8 rows:
- First decrease row: Dc in first st, skip ch-1 sp, dc in next st, v-st as usual.
- Next decrease row: Dc2tog over first 2 sts, v-st in each v-st, dc2tog over last two.
- Repeat decrease as above, until sleeve fits, ending with enough rows for ribbing (measuring as you go).
Sleeve Cuff Ribbing
- Switch to J/6 mm hook:
- Ch 8, sc in 2nd ch from hook and each ch (7).
- Sl st to edge, turn, sc BLO, etc. as for body.
- Seam ends with sl st or sew.
- Repeat for second sleeve.
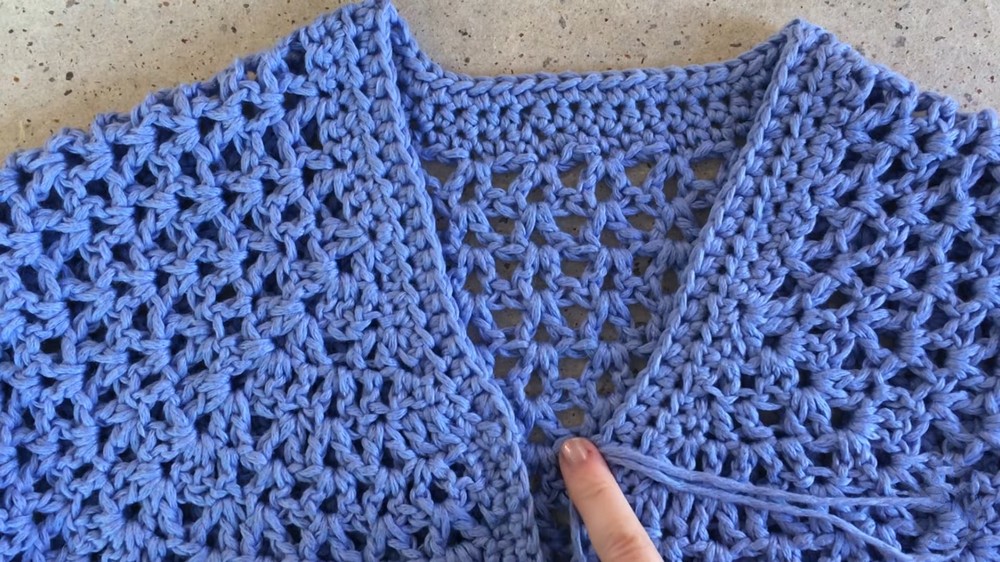
7. Collar and Front Edging
Marker: Place at neckline curve edges.
- Work 2 rows of sc evenly up each front edge (leave long tail to finish the last row after completing the other side).
- Around the neck, work row(s) of hdc — use a smaller (I/5.5 mm) hook for the final round for a firmer collar.
- Optionally add another round of sc to finish.
- Use tails to close any small gaps at neck marker point.
Finishing
- Sew in all ends.
- Seam underarm gap as needed with tail yarn or whip stitch.
- Block lightly for best results.
Pattern Correction & Tips
- Pattern Correction: When dividing for the sleeves, ensure the chain-1 underarm spaces match up on both sides for comfortable, symmetrical armholes.
- Tip:
- Try garment after yoke is worked before dividing for sleeves—adjust number of increase rows for your body.
- Keep all increases and v-sts centered for neat raglan lines.
- Count your stitches and v-sts regularly to keep sections even.
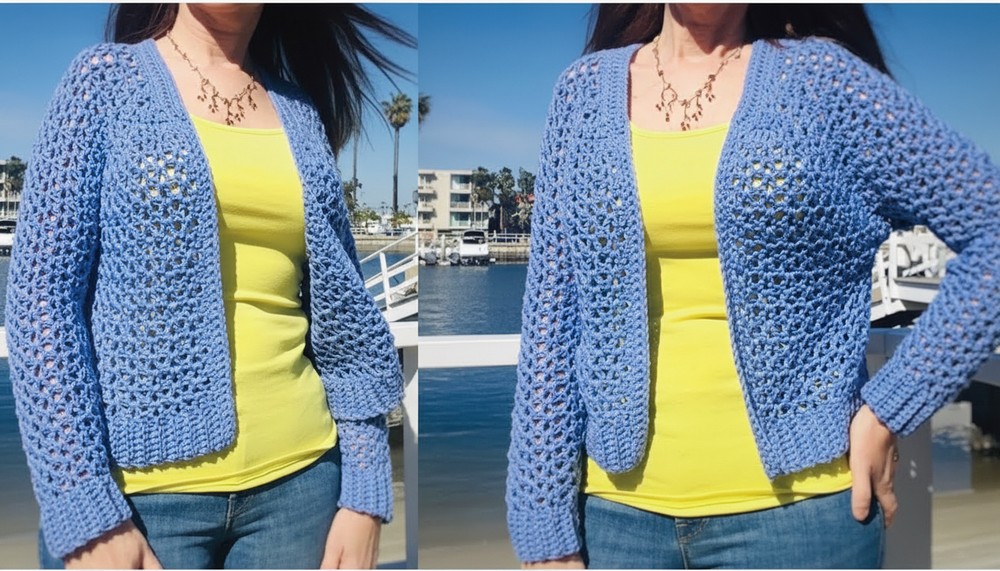
Conclusion
This V-stitch mesh raglan cardigan is a quick, seamless garment with built-in style. The top-down construction provides an easy fit, and the sporty ribbed edges add a modern touch. Adjust length, sleeve width, and color to make it your own.