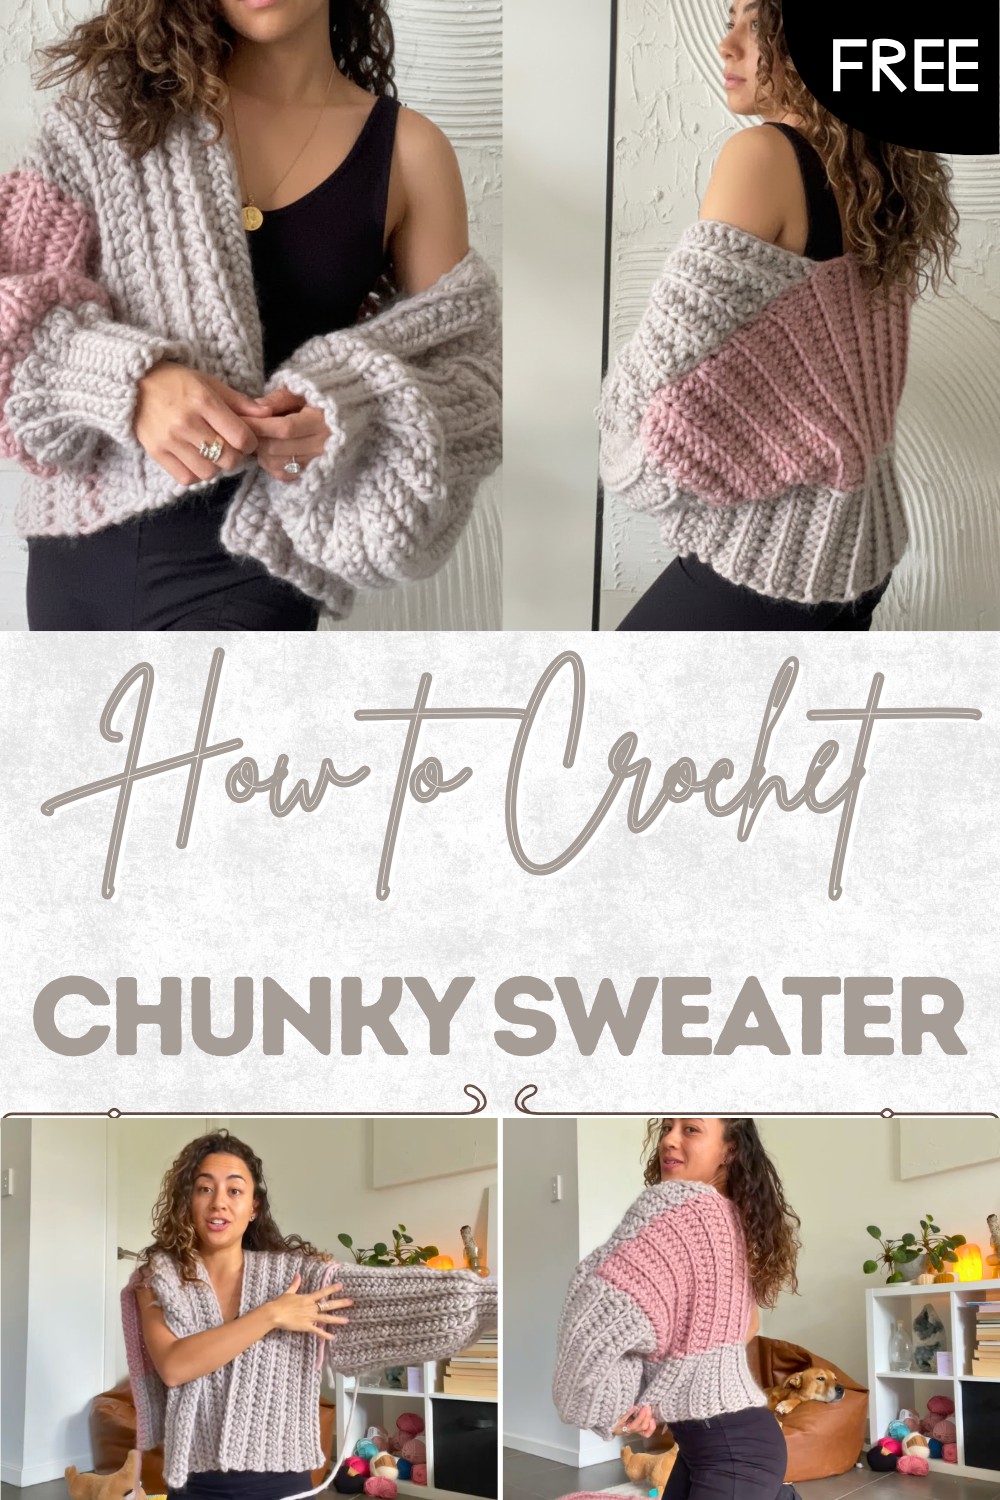
How to Crochet a Chunky Sweater – Free Pattern Inside
Choose comfort and style on chilly days with this free crochet chunky sweater pattern that guides you to create a warm and fashionable layer.
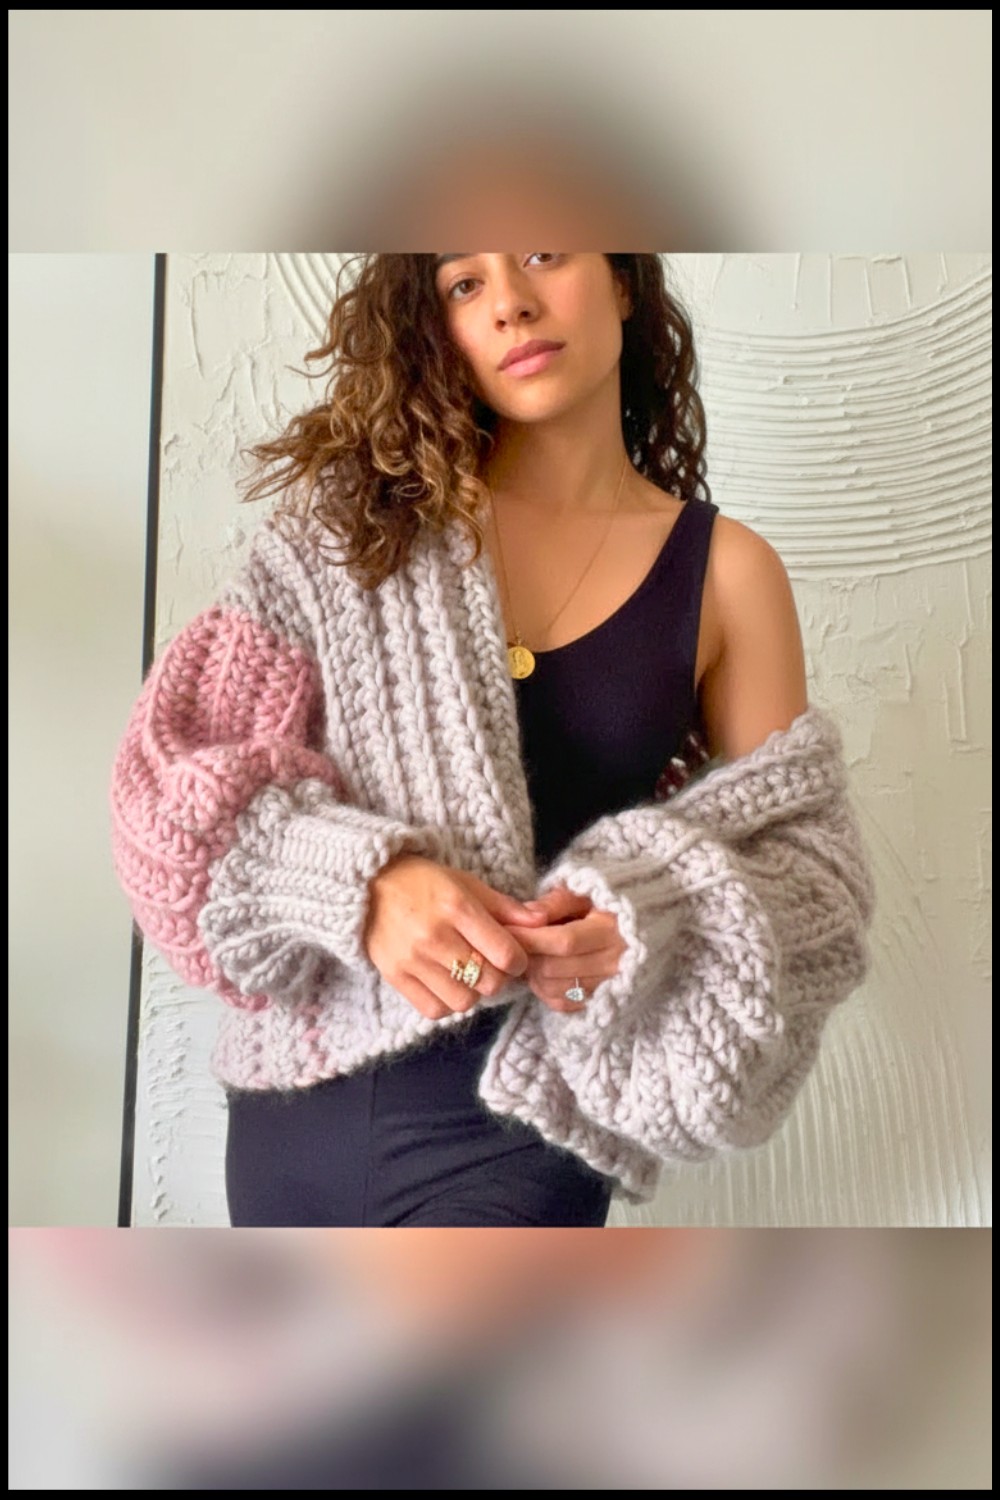
Everyone loves the feeling of something warm and snuggly to wrap themselves in when the weather turns cool. Imagine putting on a sweater that feels as soft as a gentle hug and looks beautiful too. With a crochet chunky sweater pattern you get the chance to make your very own cozy sweater in any color you like. This sweater is thicker than normal ones so it keeps you warmer and is perfect for a chilly day.
Free Chunky Sweater Crochet Pattern for Effortless Style
It has wide sleeves and a soft touch that makes it super comfortable for anyone. Wear it to the market or keep it on while relaxing at home. The best thing is you can make it to fit any size so it is just right for you. The crochet chunky sweater pattern is easy to follow and gives you a stylish and useful piece of clothing that you will love for years to come.
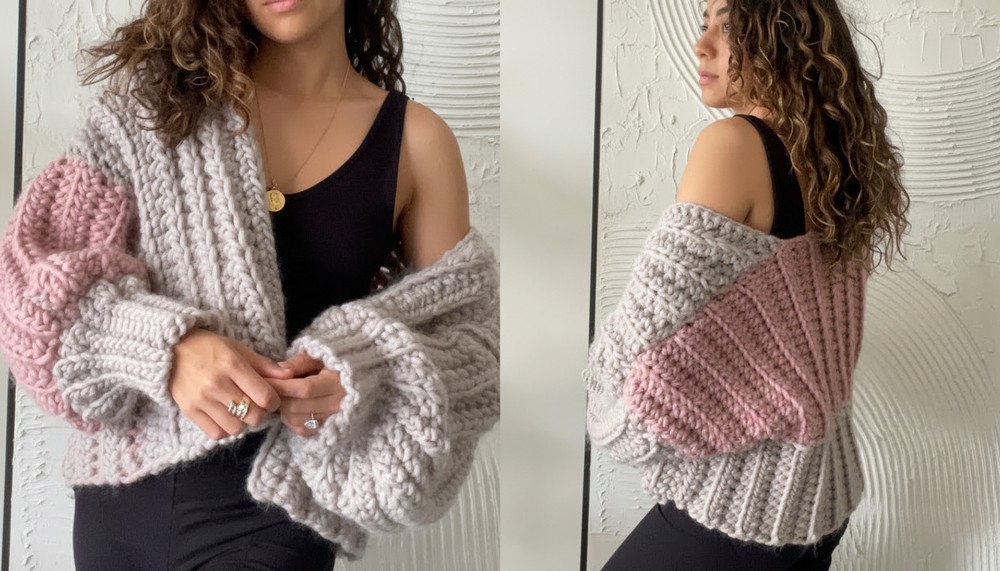
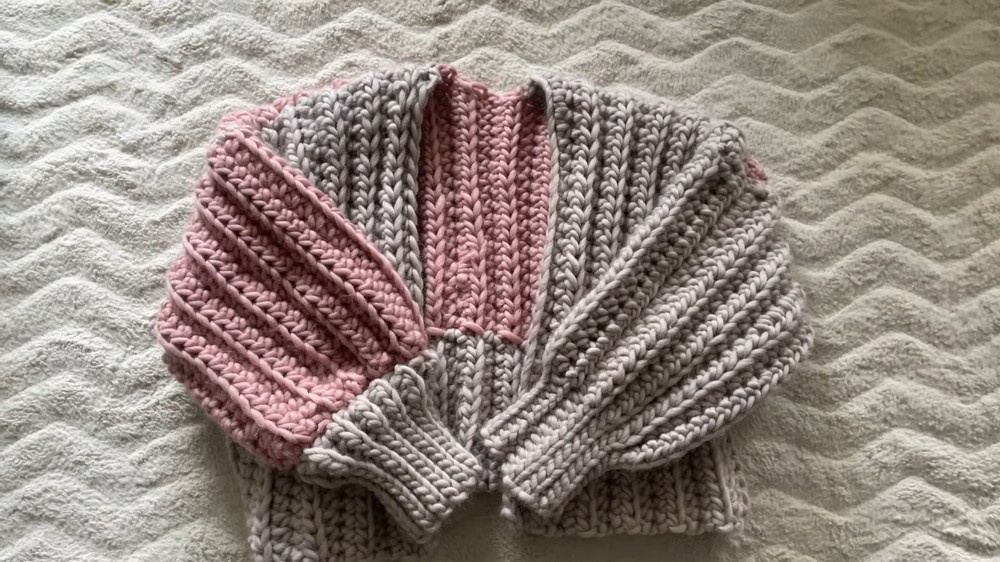
Crochet Marshmallow Cardigan Pattern
Materials
- Yarn: Super chunky/bulky weight yarn in at least two colors for the duo-tone and color-block effect; amounts depend on size.
- Hook: 8.00 mm (or size needed to achieve gauge and desired drape).
- Other:
- Yarn needle
- Stitch markers (optional for alignment)
- Scissors
- Measuring tape
Key Abbreviations (US Terms)
| Abbreviation | Description |
|---|---|
| ch | chain |
| hdc | half double crochet |
| sl st | slip stitch |
| sc | single crochet |
| BLO | back loop only |
| st(s) | stitch(es) |
| rep | repeat |
Special Notes
- Sizing: Base all panels on your preferred measurements! Add 5–7 cm to length/width measurements to accommodate shrinkage due to ribbing.
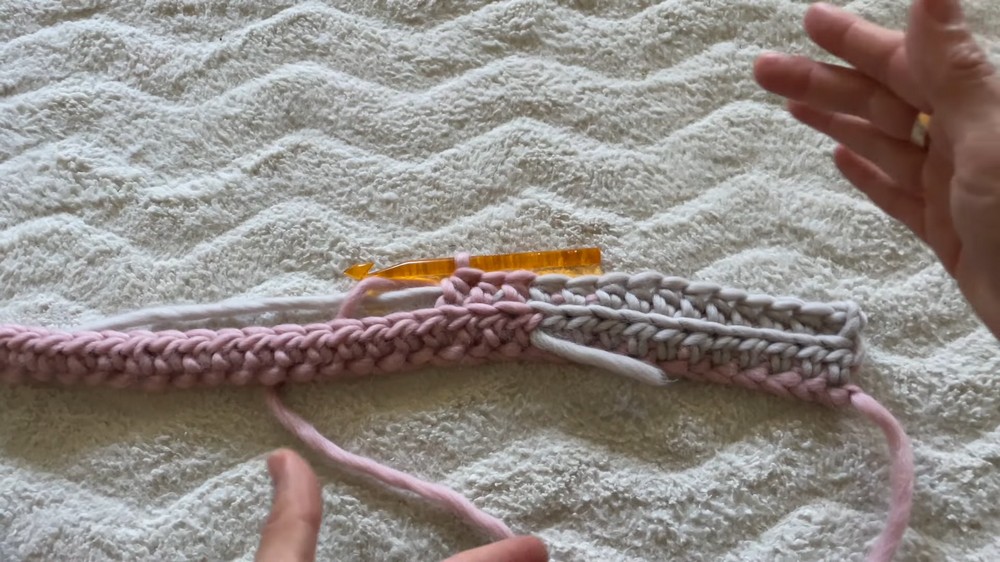
- Color Changes: For duo-tone sections, work to color change point, drop first color, join and continue with second, carrying the unused color for smooth transitions.
- Assembly: Pieces are joined seamlessly with slip stitches or single crochet, RS/WS as noted.
- Panels: Made flat and then seamed; easy to adjust panel size for custom fit.
Pattern Instructions
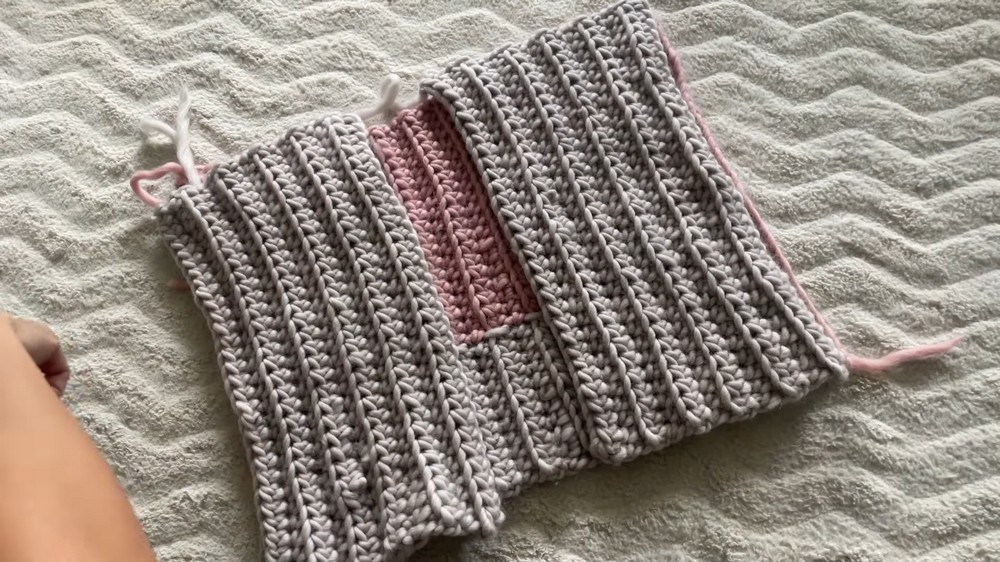
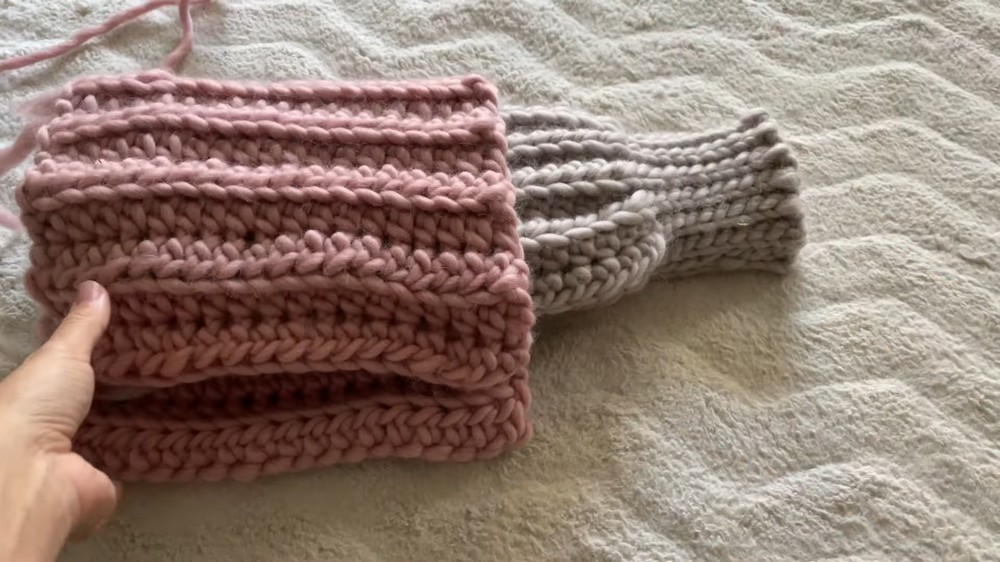
1. Back Panel (Duo-Tone Rib)
- Foundation Chain:
- Ch enough for the desired width of your back panel (e.g., 30 ch ≈ 48 cm to allow for shrinkage, aiming for ~45 cm finished width).
- Row 1:
- Ch 2 (does not count as a stitch), hdc in each ch to ~¾ of the width for Color A (e.g., 19 hdc).
- Insert hook, join Color B, hdc to end of row (carry Color A behind stitches to anchor).
- Row 2:
- Ch 2, turn. Hdc BLO with Color B across the B section, changing back to Color A in the last stitch of B section.
- Hdc BLO with Color A to end, carrying Color B behind as above.
- Repeat Row 2:
- Continue in established color pattern, always working hdc BLO and changing color at the same points, until desired length is reached (measure against your torso/back).
- Finish off and weave in ends.
2. Front Panels (Make 2)
- Foundation Chain:
- Ch for the desired width of one front panel (suggested: 30 ch, matching back panel height).
- Row 1:
- Ch 2, hdc in each ch across.
- Row 2 and all rows:
- Ch 2, turn. Hdc BLO in each st for entire panel.
- Repeat until panel matches back panel length.
Note: For proper overlap, front panels should each be slightly less than half the width of the back panel.
- Finish off and weave in ends.
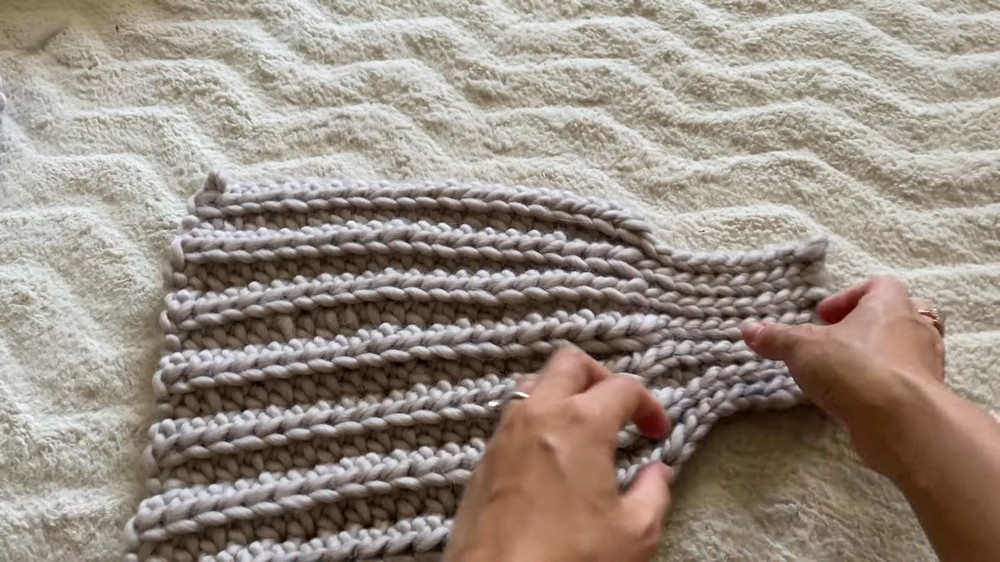
3. Sleeves
First Sleeve (Ribbed Cuff)
- Foundation Chain:
- Ch for sleeve length from shoulder to wrist (e.g., 30 ch ≈ 44 cm, allowing for shrinkage).
- Row 1:
- Ch 2, hdc in each ch to last 10 sts.
- Sl st in next 10 sts for ribbed cuff.
- Row 2:
- Ch 1, turn.
- Sl st BLO in first 10 sts (cuff section).
- Hdc BLO in remaining stitches.
- Repeat Rows 1–2 until sleeve panel is wide enough to go around your arm as desired (suggest length for balloon sleeve: plenty of width/rows).
- Join sleeve:
- Fold in half lengthwise and slip stitch edges together to form a tube.
- Fold in half lengthwise and slip stitch edges together to form a tube.
Second Sleeve (Color Block/Contrast)
- Upper:
- Ch for partial sleeve width in Color A (e.g., ch 18), work for desired length.
- Cuff:
- Ch additional stitches in Color B (e.g., ch 12). Attach with slip stitch/hdc as established.
- Follow same ribbed cuff routine: sl st for ribbing, hdc for body.
- Continue as for sleeve one, matching total number of rows/stitches.
- Join and seam as with first sleeve.
4. Assembly
- Shoulder Seams:
- Place panels RS together, slip stitch along top edges to join front panels to back at shoulders.
- Sleeve Insertion:
- With body inside out, attach sleeves to armholes: seam using single crochet (sc) for secure join, matching cuff edge to opening.
- Use tail ends to finish seam up sleeve and down side of cardigan.
- Side Seams:
- Seam underarms and body sides together, using sc or sl st.
- Finishing:
- Weave in all ends neatly.
- Turn right side out; block gently if desired.
Pattern Corrections & Tips
- Shrinking: Add extra chains/length to panels to allow for rib stretch and shrinkage.
- Color joins: Always change color at the last yarn-over before the new section for a clean transition.
- Panel fit: Align “braids” (rows) when joining for a professional finish.
- Seaming: Use markers or clips to ensure even seaming, especially at sleeves.
- Editing cuffs: Adjust number of slip stitches for longer/shorter cuffs.
Conclusion
You have completed a squishy, on-trend marshmallow cardigan with a luxurious ribbed texture, patchwork sleeves, and duo-tone design! Customize your colors and sizes to match your style. This project is beginner-friendly, fast, and perfect for gifts or a modern wardrobe staple.