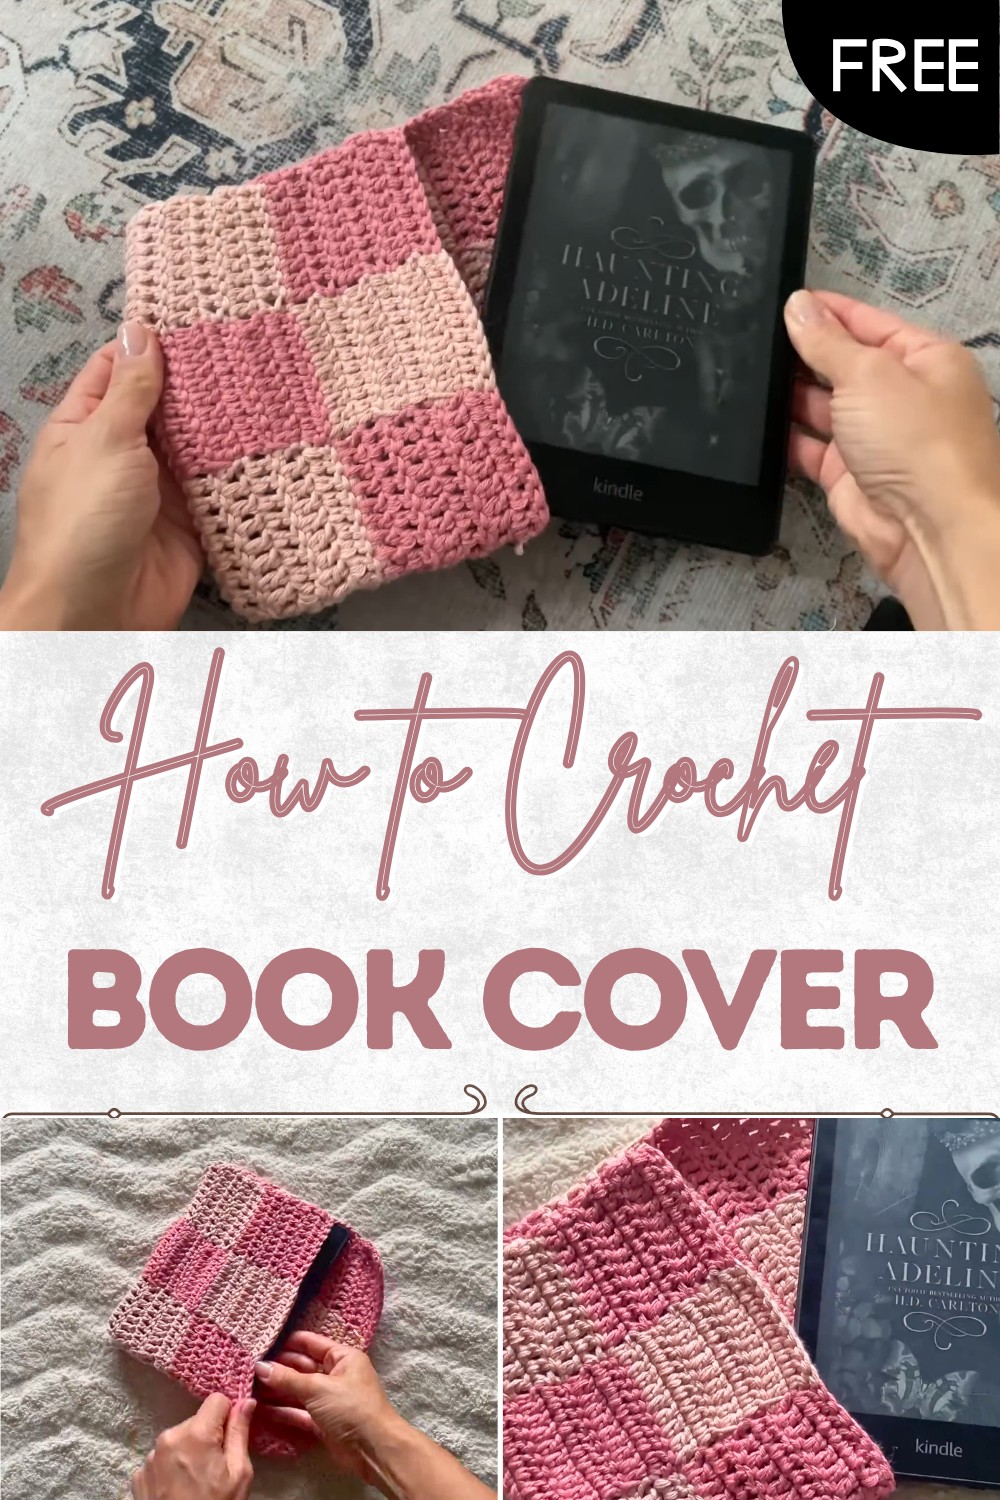
Free Crochet Book Cover Pattern for Any Size Book
Protect your favorite reads in style with this free crochet book cover pattern that adds color and charm to every book in your collection.
A simple piece of fabric can turn any book into a treasure that feels extra special and safe. With bright colors and soft textures, a crochet book cover pattern lets you wrap your favorite stories or notebooks in comfort and charm. Creative details like buttons or ribbons add a lovely touch that make every cover unique and welcoming.
Free Crochet Book Cover Pattern for Beginners
Not only do this cover help keep pages clean and protected from dust or damage, but they also make it easier to spot your book on a crowded shelf. The beauty of a crochet book cover pattern shines in its ability to combine useful protection with eye-catching style. It can turn an old book into a thoughtful gift or make study time feel more joyful. Soft and cozy to the touch, each cover brings a smile and a sense of pride every time you hold your special book.
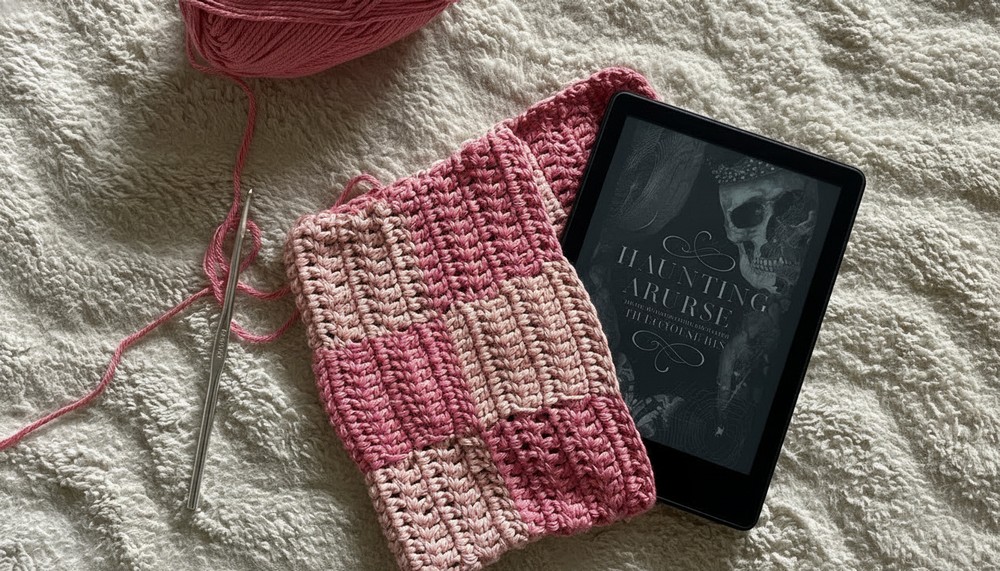
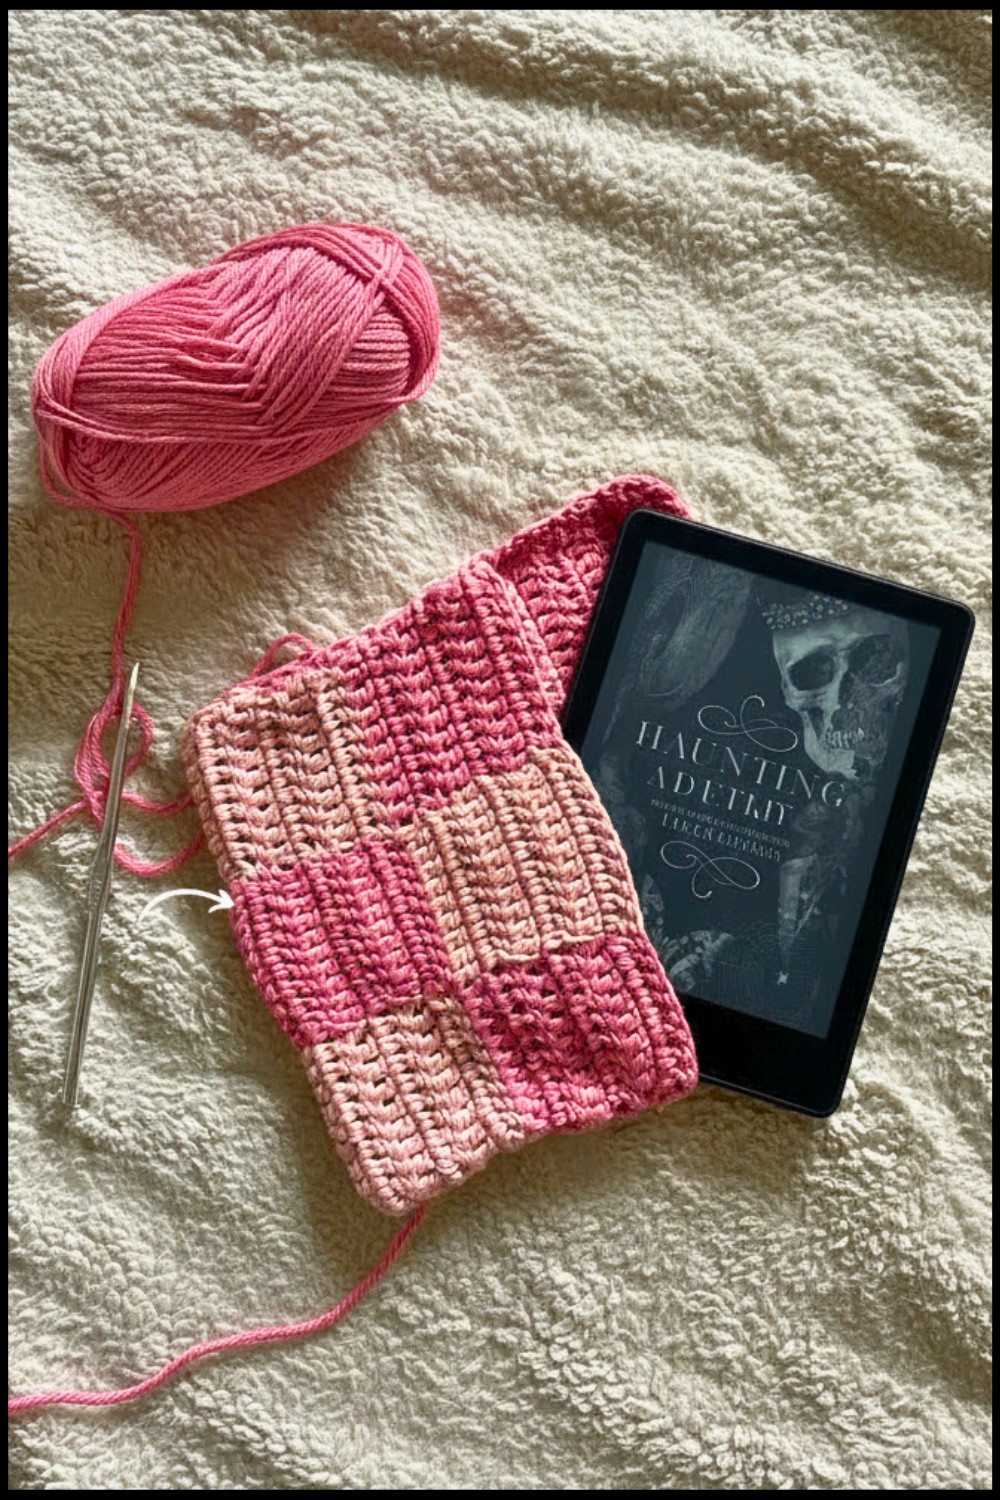
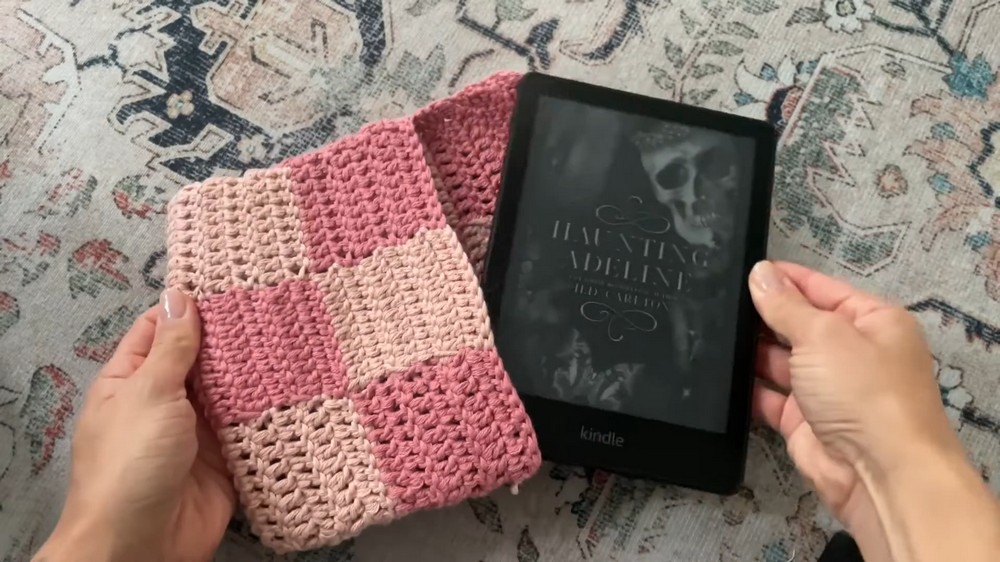
Crochet Checker Print Book/Device Cover Pattern
Materials
- Yarn: 2 contrasting colors of worsted (category 4) yarn
- Hook: 4.0 mm crochet hook (or size called for by your yarn)
- Notions:
- Yarn needle (for sewing ends and seaming)
- Scissors
- Stitch markers (optional, for alignment)
- Tape measure or ruler (for sizing)
Key Abbreviations (US Terms)
| Abbreviation | Stitch Name |
|---|---|
| ch | chain |
| dc | double crochet |
| sl st | slip stitch |
| st(s) | stitch(es) |
| rep | repeat |
| RS | right side |
Special Notes
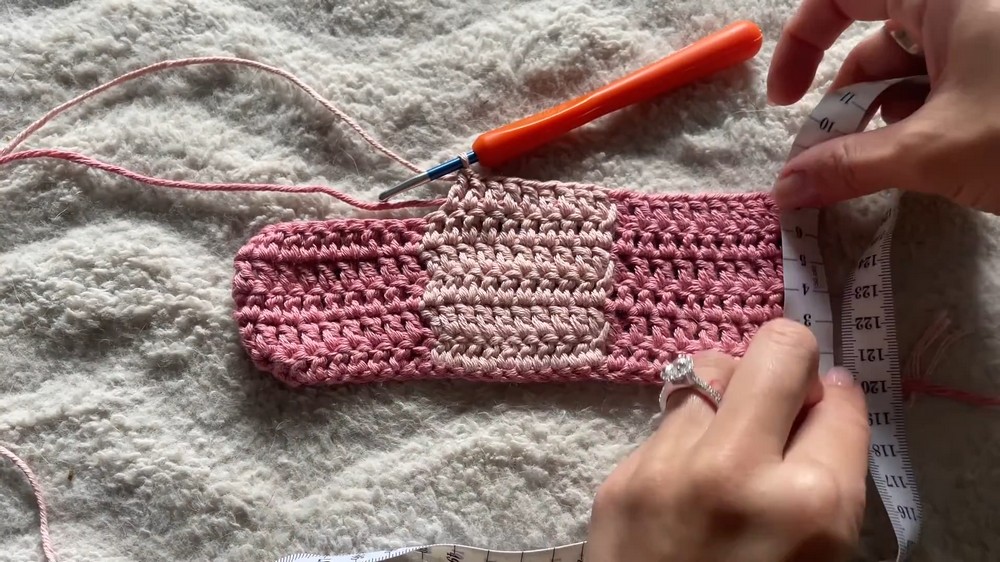
- Gauge & Sizing: Measure your device and adjust your starting chain and rows for the perfect size. Each checker “block” is 10 stitches wide and 6 rows tall (adjust for larger/smaller squares if you wish).
- Always finish the last yarn over of the final double crochet in a section with the new color to maintain clean color changes.
- Carry the unused color across the work, crocheting over it to minimize ends to weave in and keep the fabric even.
- This cover is designed as a single panel, then slip-stitched together along the sides for a seamless folded cover.
Pattern Instructions
1. Choose Your Sizing
- Measure the width of your device. Each checker square = 10 stitches wide.
- Calculate your starting chain:
Number of checker squares desired × 10.
(e.g., Kindle example: 3 squares × 10 = 30 ch for width) - Add chains if you want a looser fit for books or thicker devices.
Sample: Chain 30 for a Kindle, covering ~20 cm (will shrink a little with DC fabric).
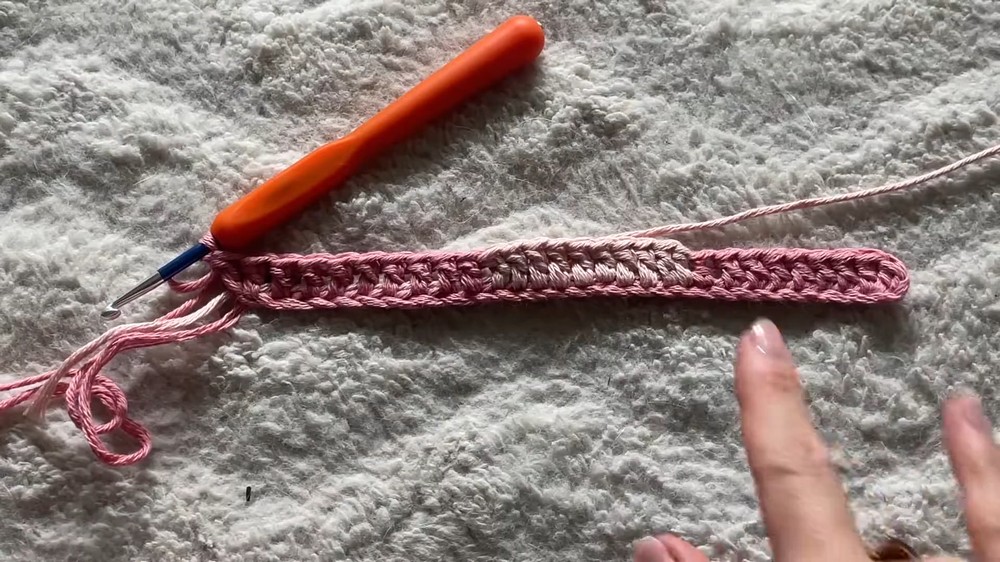
2. Foundation Row
- With Color A (e.g., dark pink):
- Ch the desired length (e.g., 30).
- Row 1:
- Ch 2 (counts as first dc).
- Dc in the last ch and in each ch across for the first 10 chs (including ch-2).
- Color Change: Switch to Color B (e.g., light pink) on the last yarn over of the 10th dc.
- Dc in the next 10 chs with Color B, carrying Color A along the row by crocheting over it.
- Switch back to Color A (using same method) for the last 10 chs.
- [You have 10 dc in A, 10 in B, 10 in A.]
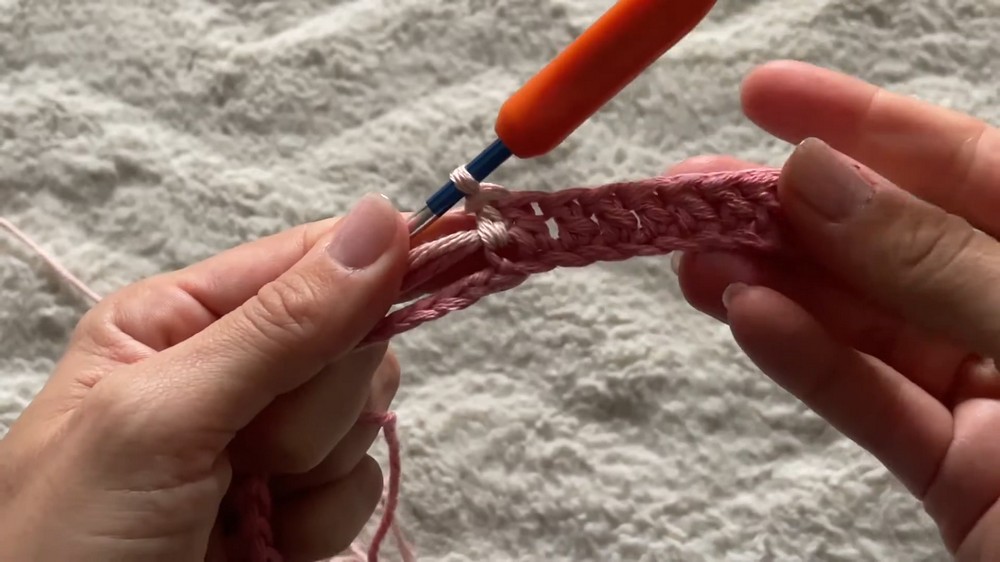
3. Checker Pattern Body
Basic Checker Stripe (Repeat for Each Checker Square):
Each square: 10 stitches wide × 6 rows tall
- Rows 2–6 (and every subsequent set of 6 rows):
- Ch 2, turn.
- Dc across, following color order of previous row, changing color every 10 dc as before.
- On last dc of each color section, switch to next color. Always carry unused yarn along and crochet over it within the corresponding color block.
- Always check your stitch number: 30 sts each row (unless customized).
- Continue until each checker square is as tall as it is wide (i.e., 6 rows for 7 cm squares if using similar yarn and gauge). After 6 rows, swap the starting color position for the next checker row.
Switching Checker Rows:
At the start of a new checker stripe (Row 7, 13, etc.), swap colors to keep the checker effect:
- Start the row with Color B over the first 10 sts, Color A over the next 10, Color B for the last 10 (if your previous row started with Color A).
- Repeat the 10-stitch-wide block pattern, working 6 rows per color arrangement.
- Repeat the 6-row checkerblock sequence until the panel is twice as long as your device (to allow foldover closure) or the length you want for a simple sleeve.
4. Finishing the Panel
- Fasten off, leaving a long tail for seaming.
- Weave in trailing ends from color changes as you go, or at the end with the yarn needle.
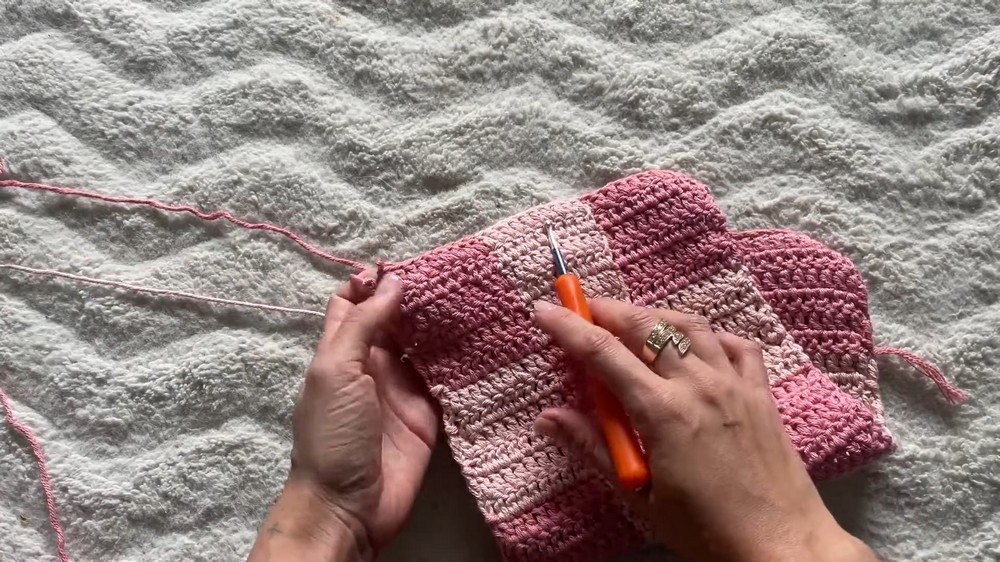
5. Assembly
- Fold Panel:
- Fold your completed checker panel right sides together, aligning checker rows and columns.
- If making a fold-over flap, align so flap is facing out.
- Side Seam:
- Using long yarn tail and yarn needle (or slip stitch with hook), join the sides:
- Work matched pairs of squares together, ensuring checker continuity.
- Use slip stitch or whipstitch close to edge (for each double crochet, you may use 1-2 stitches for firmness).
- Repeat for second side.
- Using long yarn tail and yarn needle (or slip stitch with hook), join the sides:
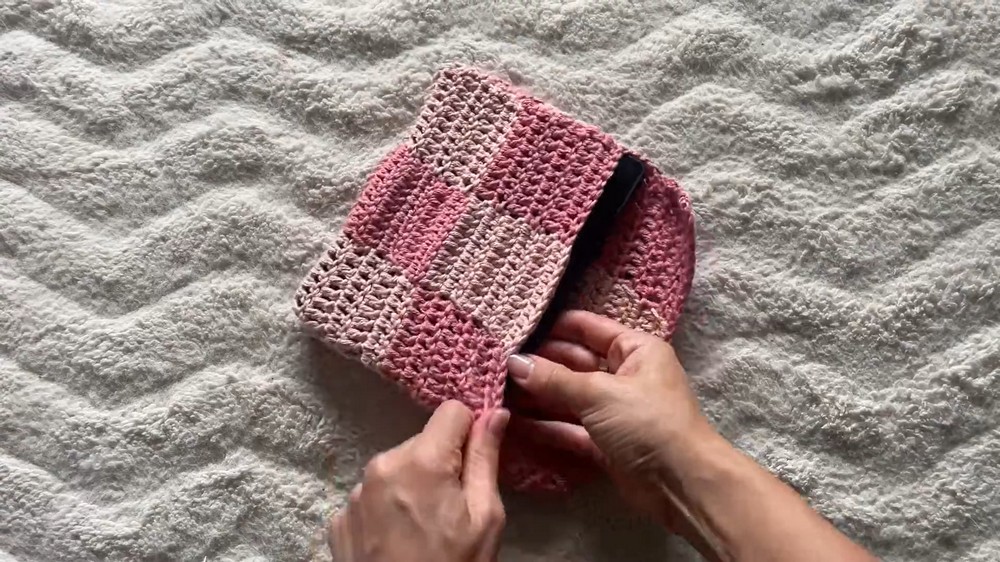
- Turn RS Out:
- Flip cover right side out so seams are hidden inside.
- Flip cover right side out so seams are hidden inside.
6. Final Touches
- Weave in all remaining ends.
- Test the fit; adjust by blocking or add a button/snap if a secure closure is desired.
- Optionally add a lining for extra protection if using for electronics.
Pattern Correction & Tips
- If your colorwork “pulls” at the edges, ensure the carried yarn is not too tight.
- Tighten color changes by gently tugging floats when switching colors.
- Make squares larger or smaller by adjusting the 10-stitch/6-row ratio.
- If you want a flap, make the panel longer and only sew sides halfway up.
Conclusion
You’ve created a trendy, customizable checker print crochet cover—perfect for books, e-readers, tablets, or laptops. This method is easily adaptable for any size and makes an excellent personalized gift. Experiment with colors and checker sizes for modern or retro looks.