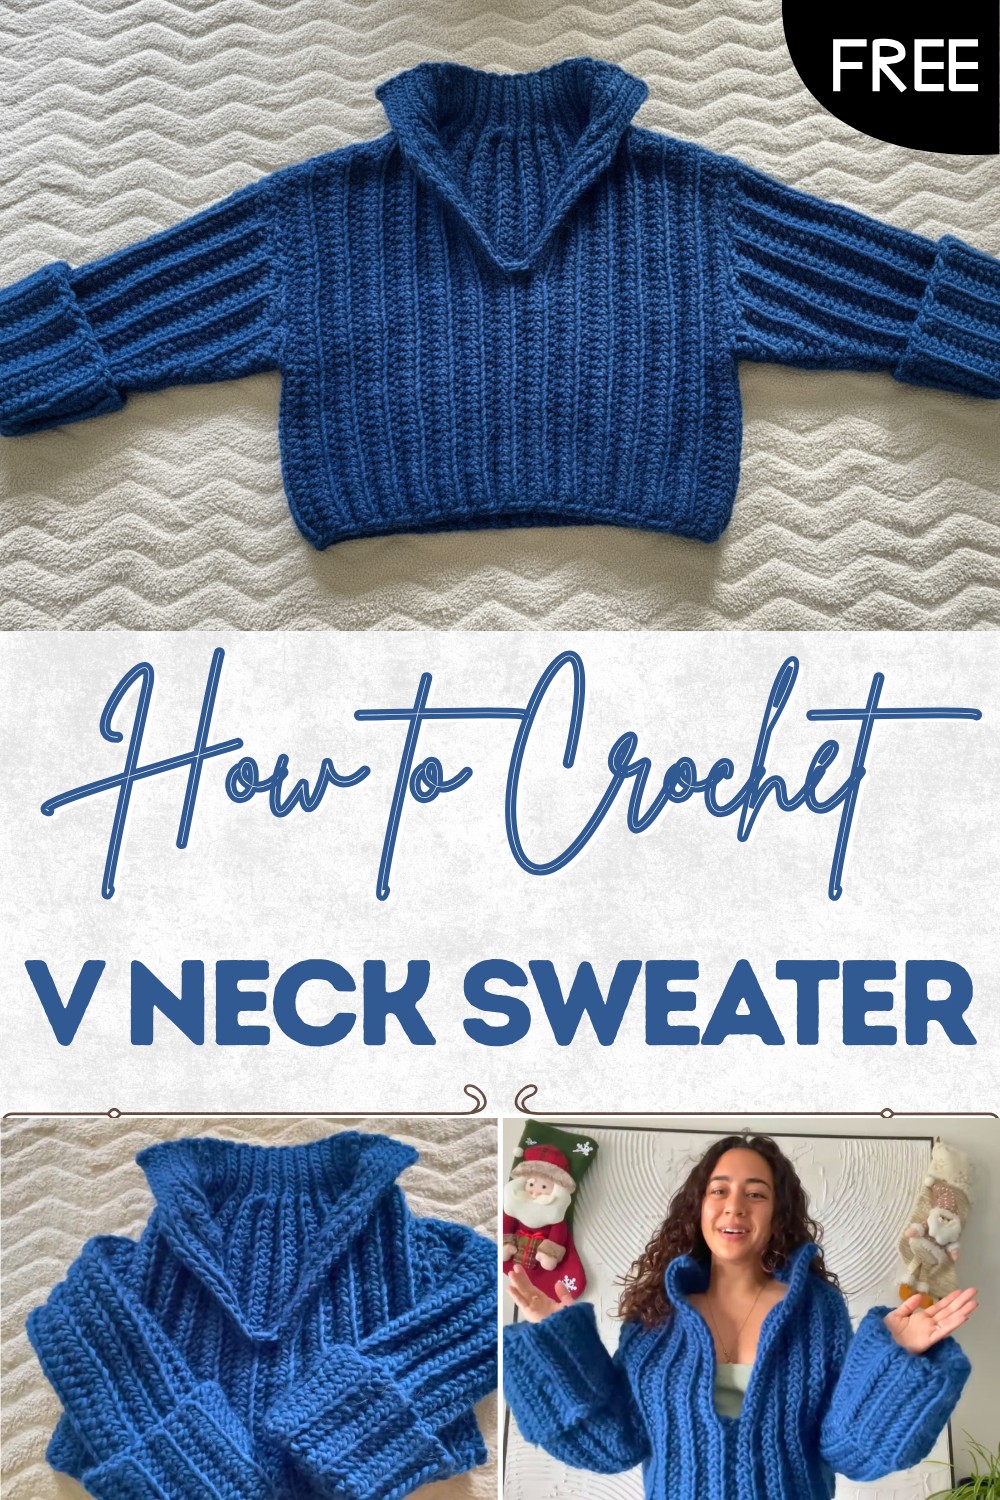
Free Crochet V Neck Sweater Pattern with Step-by-Step Guide
Relax in style with this free crochet V neck sweater pattern that brings warmth and elegance to your look for cozy days and cool evenings.
Feeling the soft touch of yarn against your skin can bring comfort like a gentle hug every time you wear it. A sweater that shows a little space at the neck is perfect for layering over your favorite top or dress making you feel stylish and snug. The crochet V neck sweater pattern uses simple stitches to create a lovely design that looks smart and graceful on anyone. Its special shape lets your necklace or scarf shine while keeping you warm when the air is cool.
Trendy Free Crochet V Neck Sweater Pattern for Fashion Lovers
Easy to pull on for any outing or stay-at-home day this sweater adds beauty and warmth to your everyday life. The pattern lets you try fun colors or keep things plain giving the sweater its own look. Soft to wear and pleasing to the eye it becomes a favorite choice for comfort and charm in any season.
Crochet Deep V-Neck Ribbed Cuff Sweater Pattern
Materials
- Yarn: Chunky/bulky weight yarn (look for “super soft and chunky” for best results). Yarn amount varies by size; allow extra for larger sizes.
- Hook: 8.0 mm (or size needed to achieve drape/comfort)
- Notions:
- Yarn needle (for sewing seams and weaving in ends)
- Stitch markers
- Tape measure
- Scissors
Key Abbreviations (US Terms)
| Abbreviation | Stitch Name |
|---|---|
| ch | chain |
| hdc | half double crochet |
| sl st | slip stitch |
| st(s) | stitch(es) |
| BLO | back loop only |
| rep | repeat |
| RS/WS | right/wrong side |
Special Notes
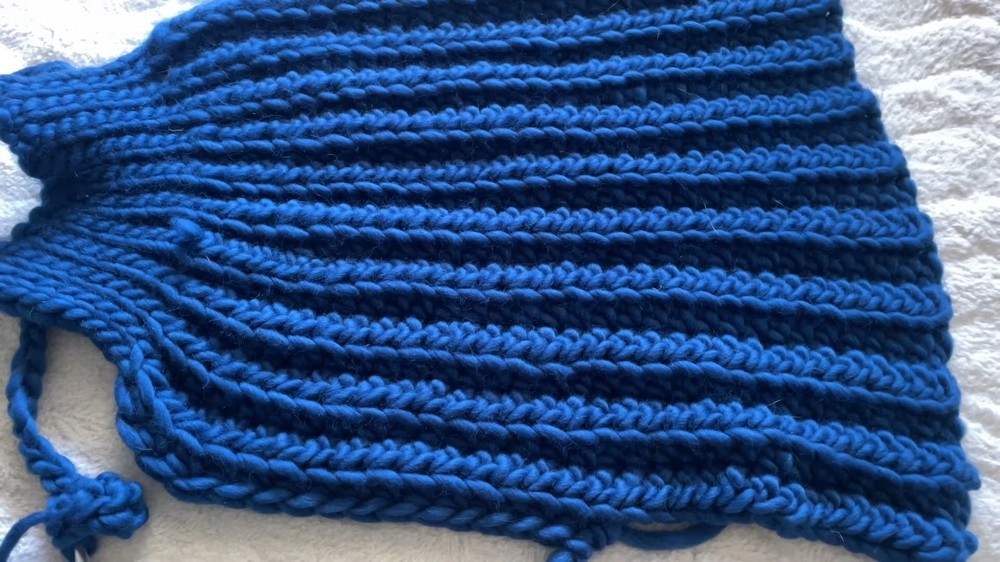
- Back loop only (BLO): All hdc and slip stitches are worked in the back loop for ribbing effect.
- The pattern is written for a deep V-neck and long fold-over cuffs. You may customize the width, length, and V-depth as desired.
- Sizing is very flexible; measurement suggestions are given, but try on your panels as you go!
- The front panel is split for the V-neck.
Pattern Instructions
1. Back Panel
- Ch 45, or desired width (Emma’s chain = 58 cm) — this determines your sweater length from neck to hem, considering foldover collar.
- Row 1: Mark the first 10 stitches at the beginning of the row (for the collar).
- Ch 2 (does NOT count as st), hdc in 3rd ch from hook and across until 10 sts from end.
- Sl st in BLO in final 10 sts.
- Row 2: Ch 1, TURN. Sl st BLO in first 10 sts (collar), hdc BLO in remaining sts to end.

- Row 3: Ch 2, turn. Hdc BLO across to last 10 sts, sl st BLO in next 10.
- Repeat Rows 2–3 until your panel reaches desired sweater width (shoulder to shoulder), or matches half of your body circumference minus a bit for ease (Emma did 21 rows).
- Fasten off and weave in ends.
2. Front Panel (Make 2)
Each front panel is a half-width version of the back, with an additional V-neck extension.
Step 1:
- Ch 45 (same as back panel for length).
- Row 1: Ch 2, hdc in each st until 10 from end, sl st BLO across last 10 sts.
- Row 2: Ch 1, turn. Sl st BLO in first 10, hdc BLO to end.
- Alternate as for the back panel, but work ONLY 11 rows (or half the back panel’s row count).
Step 2: V-neck shaping
- At the end of row 11 (where V-neck will start), ch 22 (this must match the number of stitches for your V opening).
- On the following row, sl st BLO across these new chs and into collar section, finish the row as established.
- Keep working in established rib pattern (hdc BLO, sl st BLO) until you reach the back panel row count (e.g., row 22), so the panel is symmetrical.
Tip: Want a higher or lower V? Adjust where you “split” the panel and start the neck extension.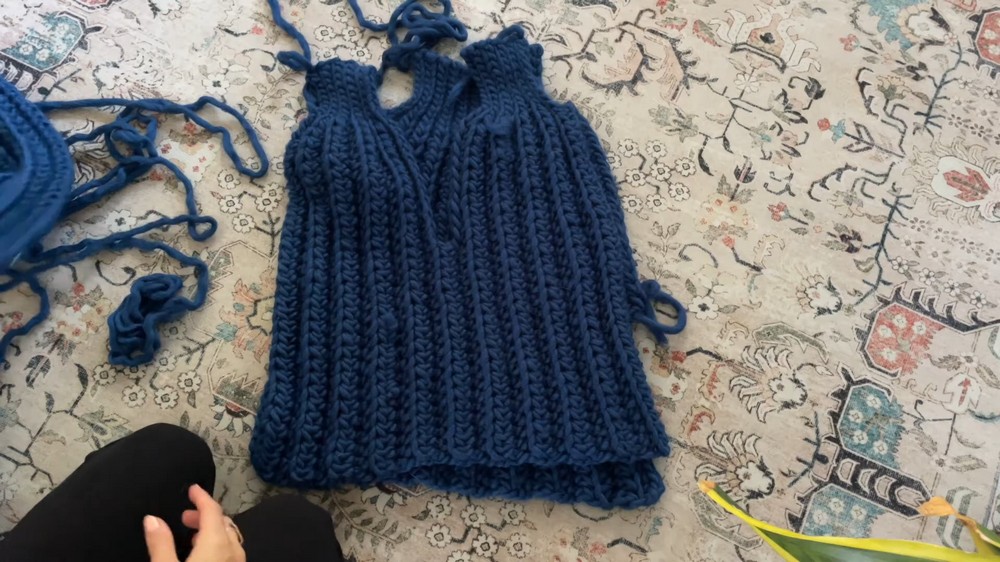
3. Sleeves (Make 2)
- Ch 70 (or desired sleeve length; Emma’s sleeve = shoulder to fingertips for folding).
- Row 1: Ch 2, hdc in 3rd ch from hook and each across.
- Row 2: Ch 2, turn. Hdc BLO across.
- Rep Row 2 for 15 rows (or to desired width/size).
- Do NOT fasten off (leave long tail for seaming).
Seaming Sleeve:
- Fold panel lengthwise (RS together).
- Sl st edges together in BLO along long side to form tube.
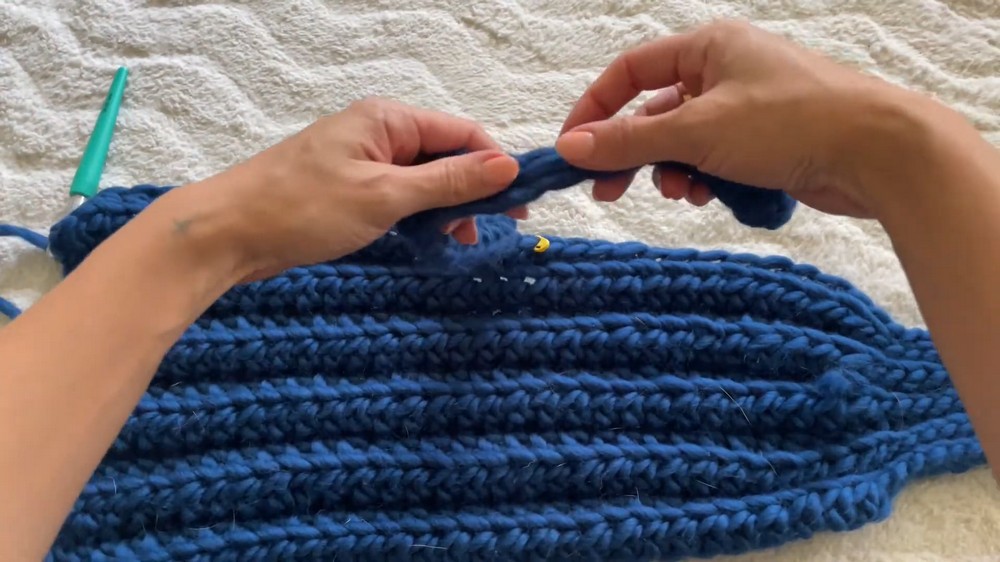
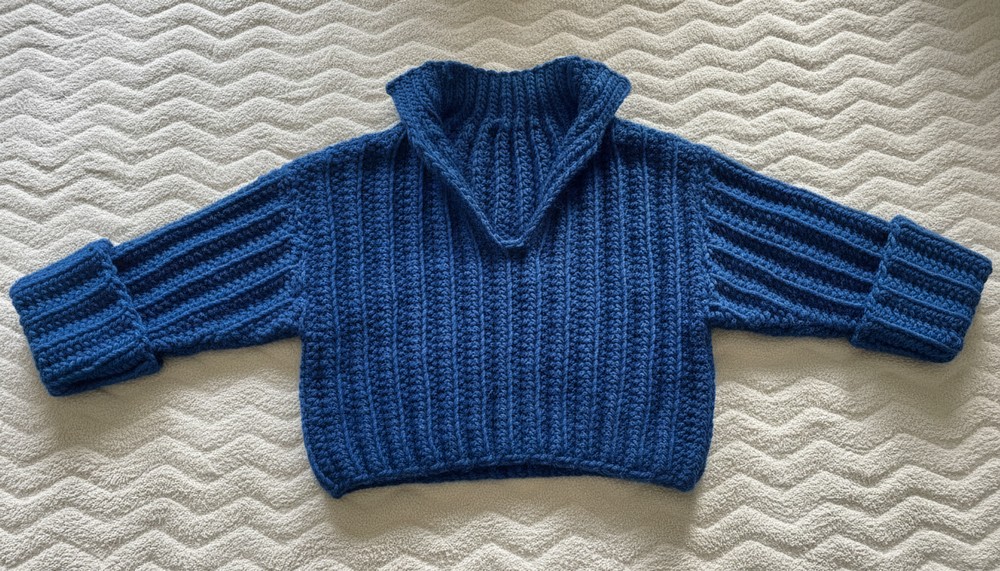
4. Assembly
a. Attach Shoulders and Sides
- Place back panel RS up; align front panels at shoulders, matching slip stitch ribbing for collar.
- Seam shoulders using slip stitch or whipstitch, leaving space for the neck/V.
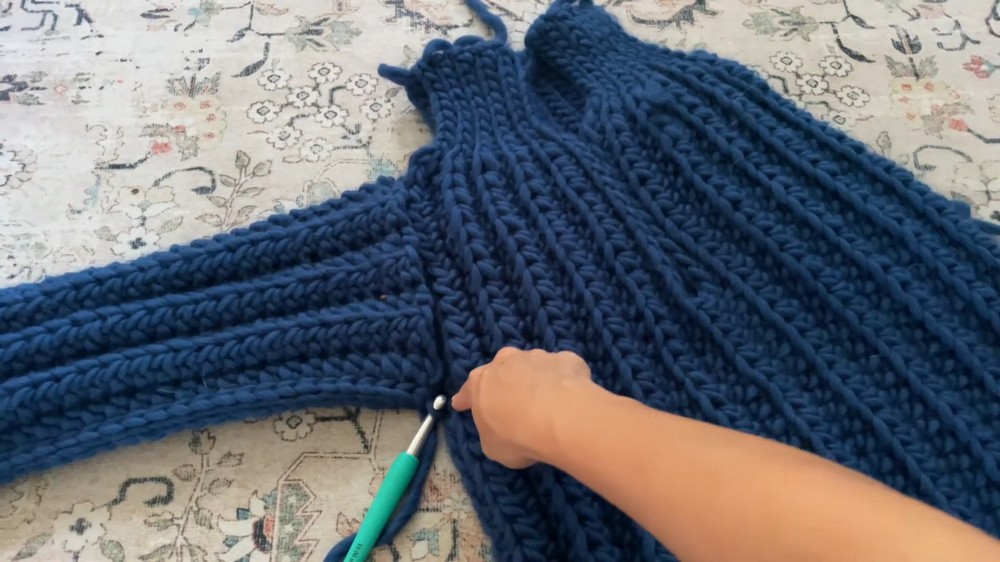
- Seam sides: Slip stitch (or whipstitch) from armhole down, leaving bottom open.
b. Attach Sleeves
- Turn body RS out.
- Place sleeve tube RS out; insert into armhole, aligning seams.
- Sl st (or whipstitch) around armhole to join sleeve to body.
c. Seam Underarms
- Fold sweater at shoulder; slip stitch sleeve seam to side seam at armpit for tidy join.
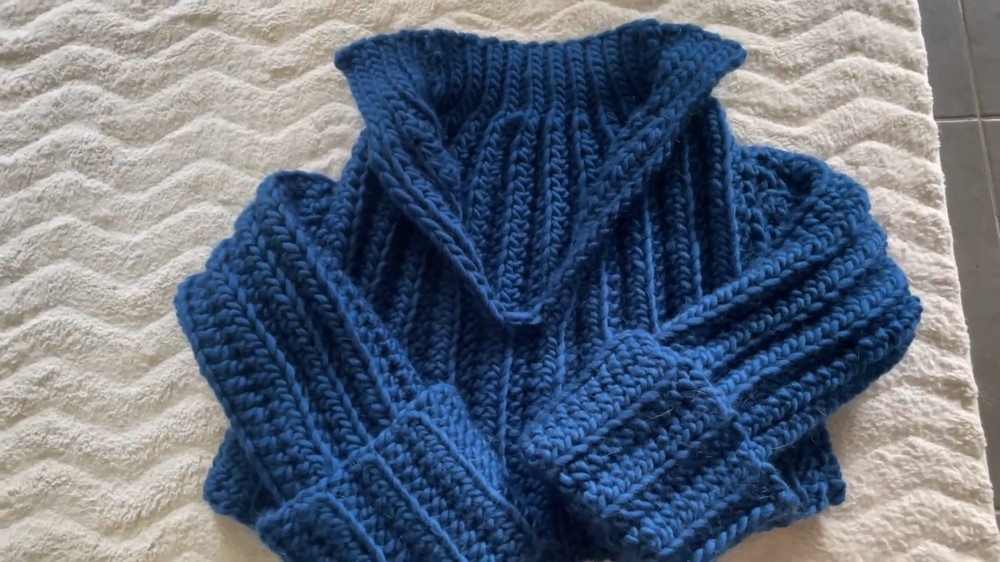
d. Finishing
- Fold ribbed collar down; fold sleeve cuffs to desired length.
- Sew in all ends.
Pattern Correction & Tips
- For a more fitted look, reduce back/front width and sleeves.
- For extra coziness, make collar or cuffs deeper by increasing slip stitch sections.
- The “BLO” technique gives great stretch and ribbing; don’t skip it!
- If seams are bulky, slip stitch loosely or try mattress stitch with needle.
- Sweater “grows” a bit with wear; block gently to shape if desired.
Conclusion
You have created a chic, oversized ribbed sweater with a dramatic V-neck and plush fold-over cuffs—perfect for holidays, lounging, or gifting! The modular rectangular construction makes this a super approachable project for any skill level.