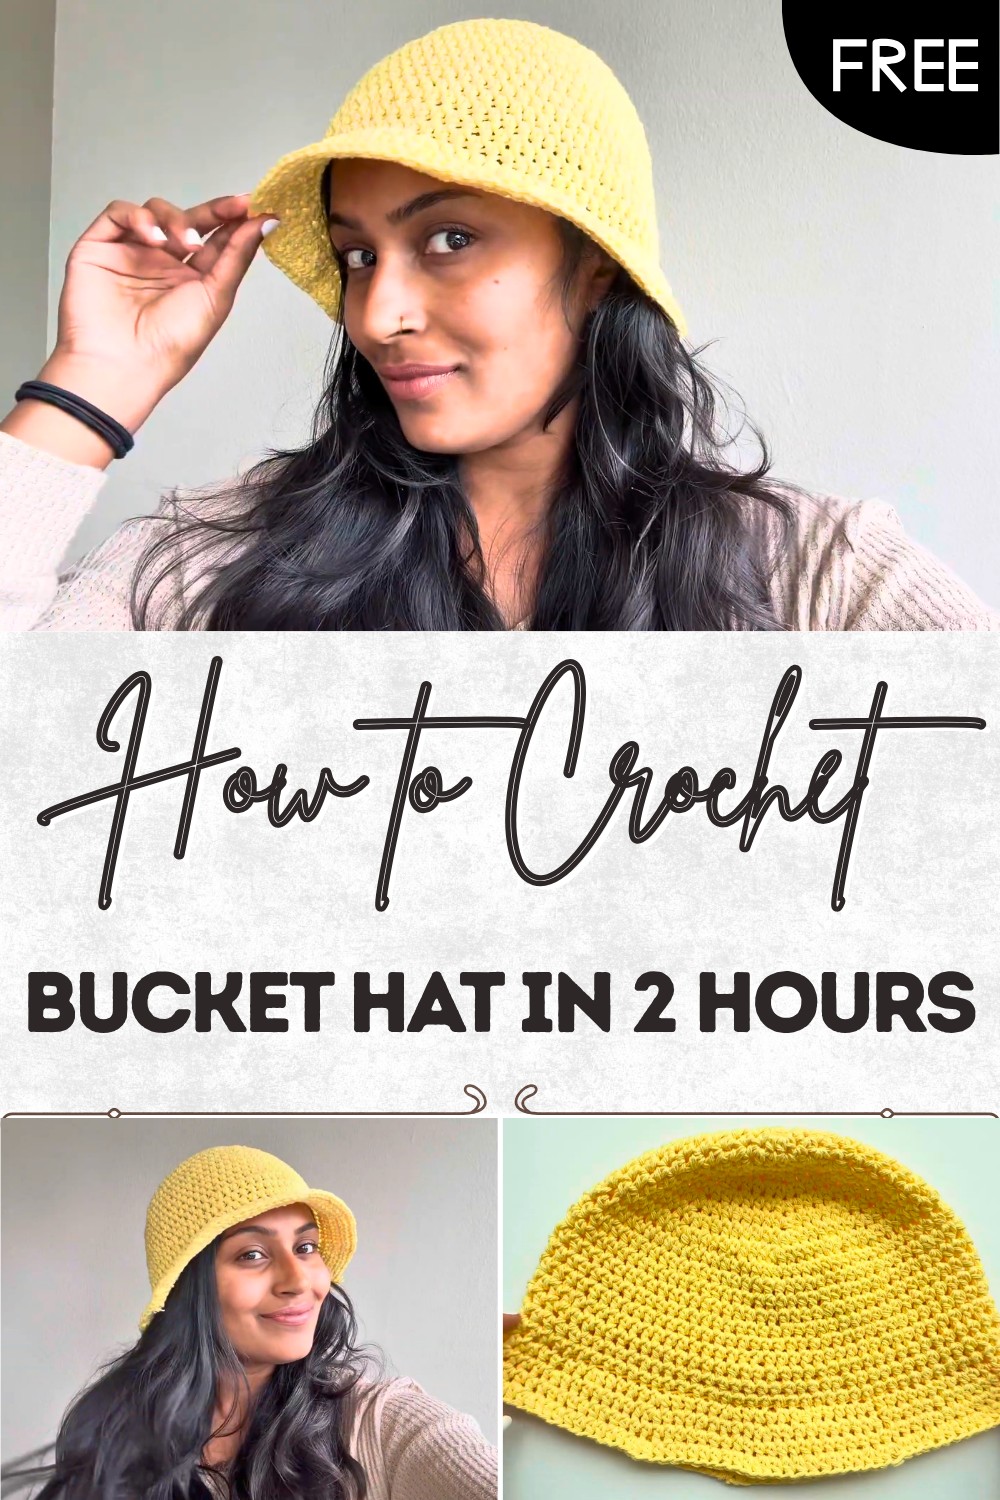
Free Crochet Pattern – Bucket Hat In 2 Hours
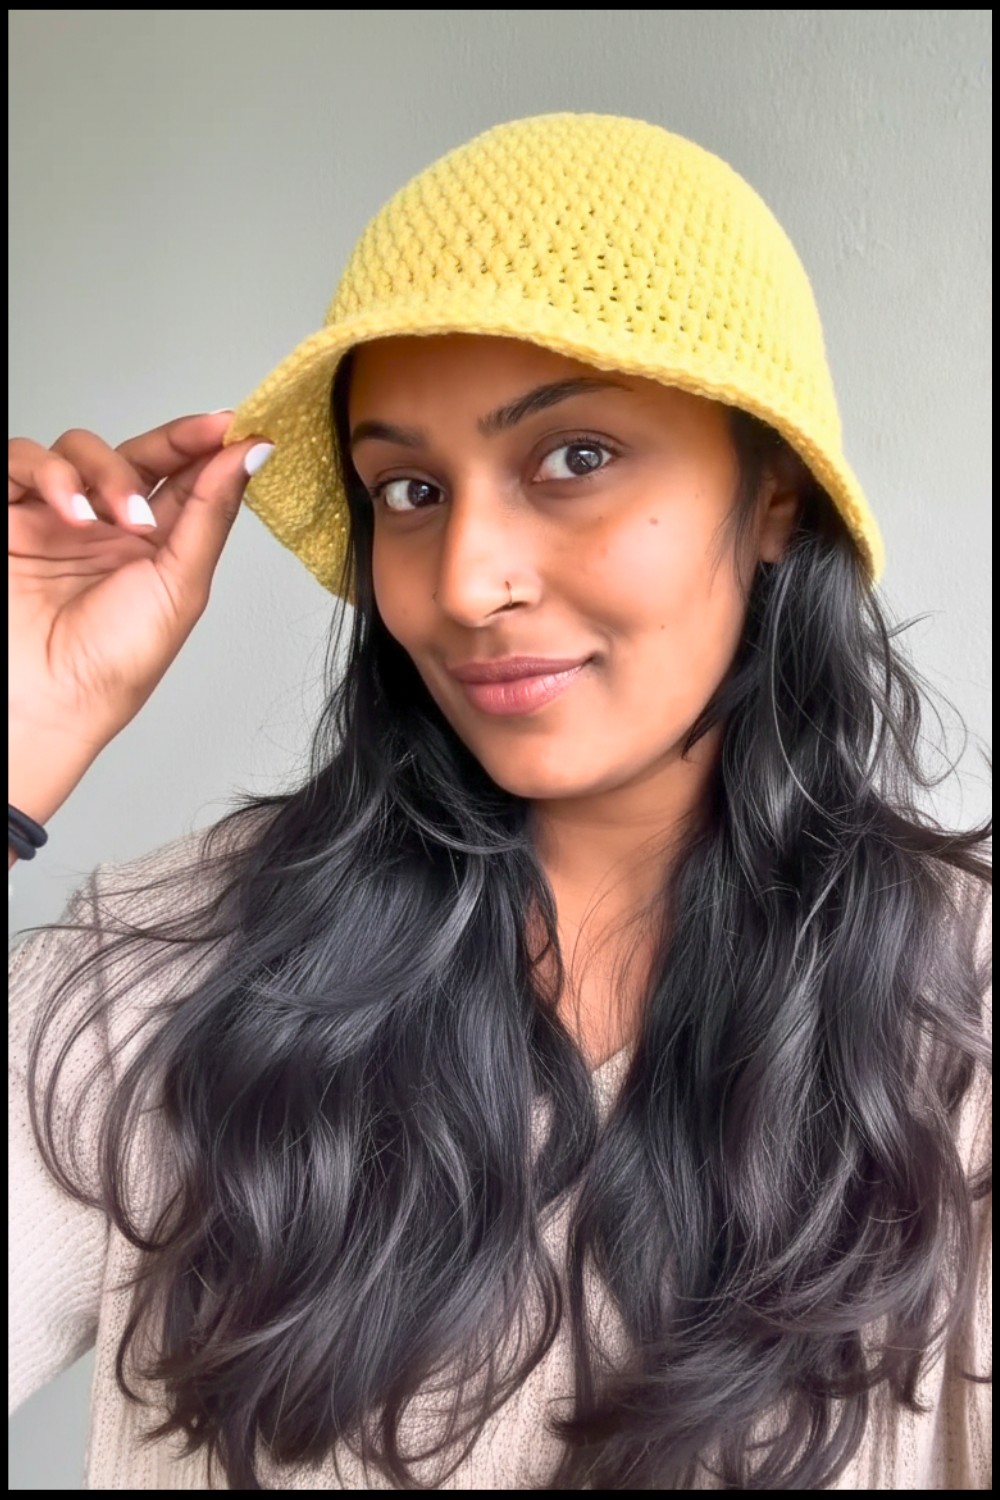
Top off your look with this free crochet bucket hat pattern that adds playful charm keeps you comfy and gives any outfit a fun cheerful vibe.
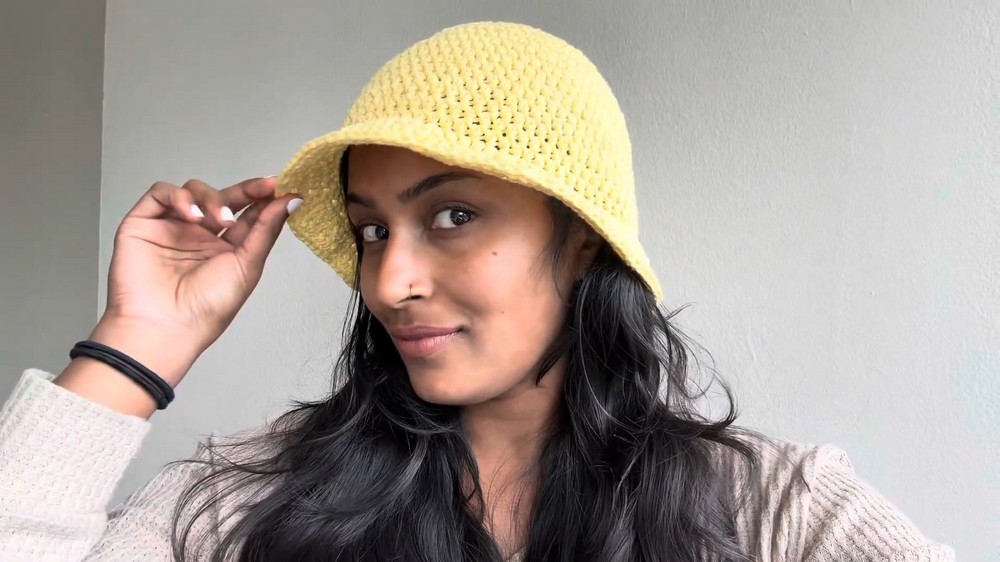
A cozy piece slowly takes shape over your hands bringing both charm and practicality to everyday outings. The Crochet Bucket Hat pattern creates a soft hat with a gentle brim that rests comfortably while giving a neat and stylish look. Its rounded form and textured finish make it ideal for walks, casual trips, playground fun, or as a thoughtful little accessory for children and adults alike. The instructions are simple to follow so anyone can enjoy producing a wearable piece that feels personal and cheerful.
Easy Crochet Bucket Hat – Free Pattern Guide
Each round adds shape, comfort, and a sense of pride as the hat grows. This small yet functional creation offers sun protection, light warmth, and a playful touch to any outfit. Its appealing form and easy-to-use style turn basic materials into a useful and attractive accessory that brings satisfaction to the maker and joy to anyone who wears it.
Crochet Lemon-Colored Bucket Hat Pattern
Materials
- Yarn: Approx. 80g of Lily Sugar’n Cream (Medium Weight #4, 100% cotton) or similar; Lemon Yellow shown
- Hook: US G/6 (4mm) crochet hook
- Scissors
- Stitch Marker
- Yarn Needle for weaving in ends
- Measuring Tape (optional, for sizing adjustments)
Abbreviations (US Terms)
- ch = chain
- sl st = slip stitch
- hdc = half double crochet
- hdc inc = half double crochet increase (2 hdc in the same stitch)
- flo = front loop only
- st(s) = stitch(es)
- rep = repeat
Special Notes
- Pattern is worked in a spiral. Always use a stitch marker to mark the first st of each round.
- Increase as needed: For different sizes, adjust the number of increase rounds as indicated in the pattern.
- Check fit: The disc should measure approx. 6.1″ (15.5cm) wide for adult small before working down the sides.
- For a seamless join, do not sl st at the end of each round unless specified.
Pattern
1. Top of the Hat
Start:
- Make a slip knot and ch 4.
- Sl st to the first ch to form a ring.
Rnd 1:
Work 8 hdc into the ring. Pull yarn tail to tighten center.
Rnd 2:
Work 2 hdc in each st around (hdc inc in each stitch). (16 sts)
Rnd 3:
*[1 hdc in next st, hdc inc in next st]; rep from * around. (24 sts)
Rnd 4:
*[1 hdc in each of next 2 sts, hdc inc in next st]; rep from * around. (32 sts)
Rnd 5:
*[1 hdc in each of next 3 sts, hdc inc in next st]; rep from * around. (40 sts)
Rnd 6:
*[1 hdc in each of next 4 sts, hdc inc in next st]; rep from * around. (48 sts)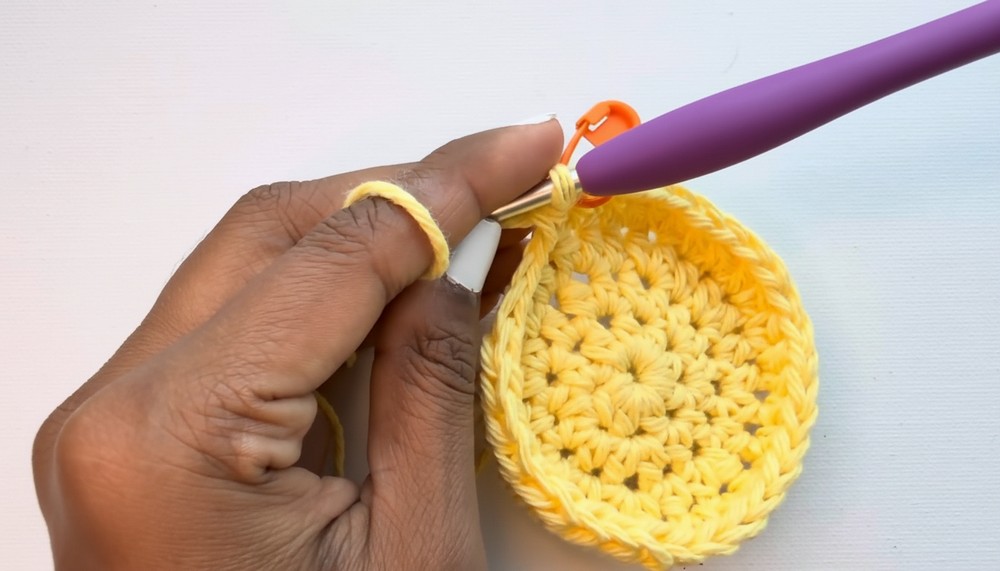
Rnd 7:
*[1 hdc in each of next 5 sts, hdc inc in next st]; rep from * around. (56 sts)
Rnd 8:
*[1 hdc in each of next 6 sts, hdc inc in next st]; rep from * around. (64 sts)
Rnd 9:
*[1 hdc in each of next 7 sts, hdc inc in next st]; rep from * around. (72 sts)
Rnd 10:
*[1 hdc in each of next 8 sts, hdc inc in next st]; rep from * around. (80 sts)
Adjust increasing rounds for different sizes:
- For a larger size, continue increase rounds as established (next rnd: 9 hdc, hdc inc; etc.).
- For a smaller size, stop when reaching approx. 5–6″ in diameter.
2. Body of the Hat
Rnd 11:
Work hdc in FLO in each st around (80 sts). This round will start shaping the hat sides.
Rnd 12:
Work hdc in both loops in each st around. (80 sts)
Optional: Turn hat inside out to hide the round of front loop stitches, creating a neat edge.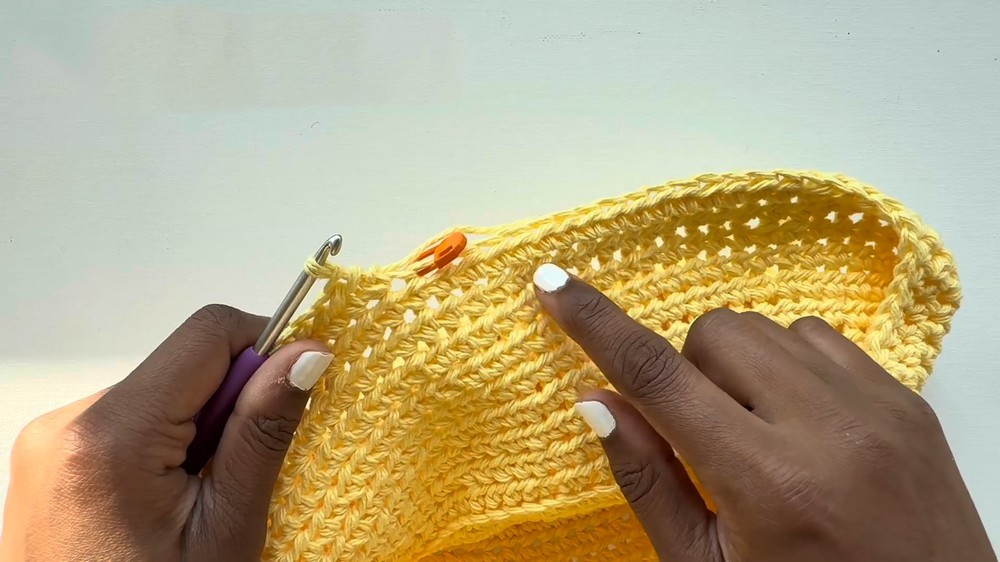
Rnd 13–20:
Work hdc in each st around for 8 more rounds (for a total of 9 body rounds or to desired depth, hat should reach about 1 inch above your eyebrow). Continue moving the stitch marker up each round.
Tip: Try the hat on your head at this stage and adjust the number of rounds to fit; remember the brim will add length.
3. Brim
Rnd 21:
*[1 hdc in FLO in each of next 4 sts, hdc inc in FLO in next st]; rep from * around.
Rnd 22:
*[1 hdc in each of next 8 sts, hdc inc in next st]; rep from * around.
Rnd 23:
Work hdc in each st around (no increases).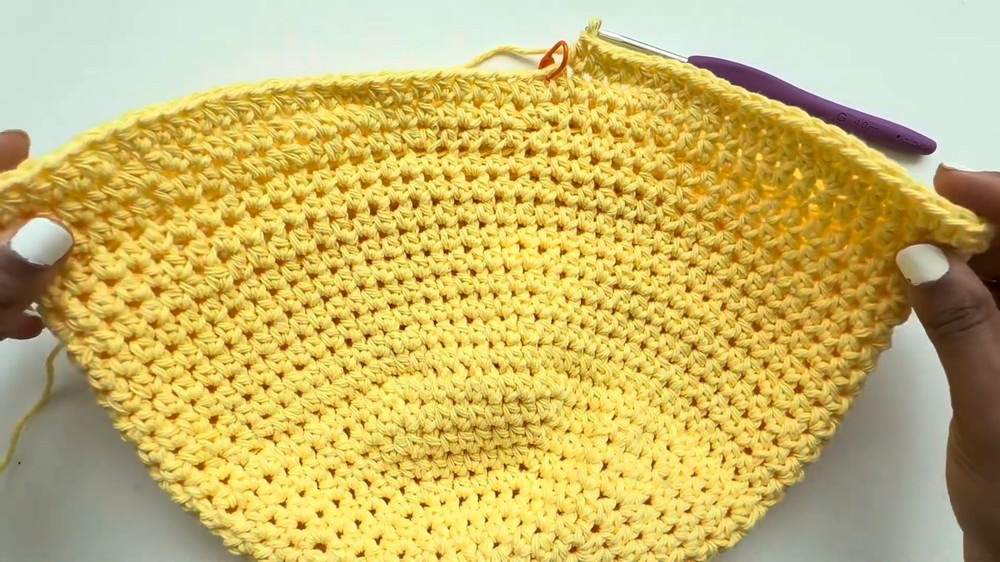
Rnd 24 (Final Increase Round):
*[1 hdc in each of next 9 sts, hdc inc in next st]; rep from * around.
Note: For a wider brim, continue the established increase pattern, increasing the number of regular hdc before each inc.
4. Finishing
- After your last round, sl st to the next st to join. Ch 1 and fasten off.
- Weave in all yarn tails with a yarn needle.
- For a neat finish, whip-stitch the yarn tail gently along the inside of the brim.
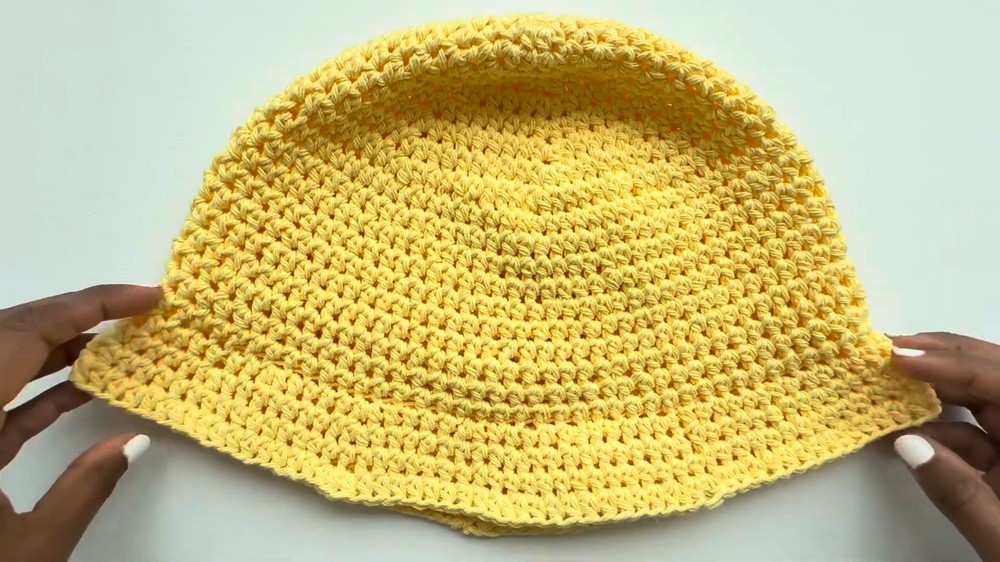
Conclusion
You’ve now completed a chic and versatile crochet bucket hat!
Adjust color, body, and brim length for endless style options.
Pattern Corrections & Tips
- Correction: Some rounds may not end perfectly with an increase; this will naturally stagger increases and shouldn’t affect the hat.
- Tip: Use a cotton yarn for structure, or try acrylic for extra stretchiness.
- Tip: Always check fit by measuring the top circle diameter and the depth before starting the brim.
- Tip: To avoid a visible seam, work continuously in a spiral, always moving the stitch marker up as you start each new round.