Free Crochet Magic Potholder Pattern By Using One Stitch

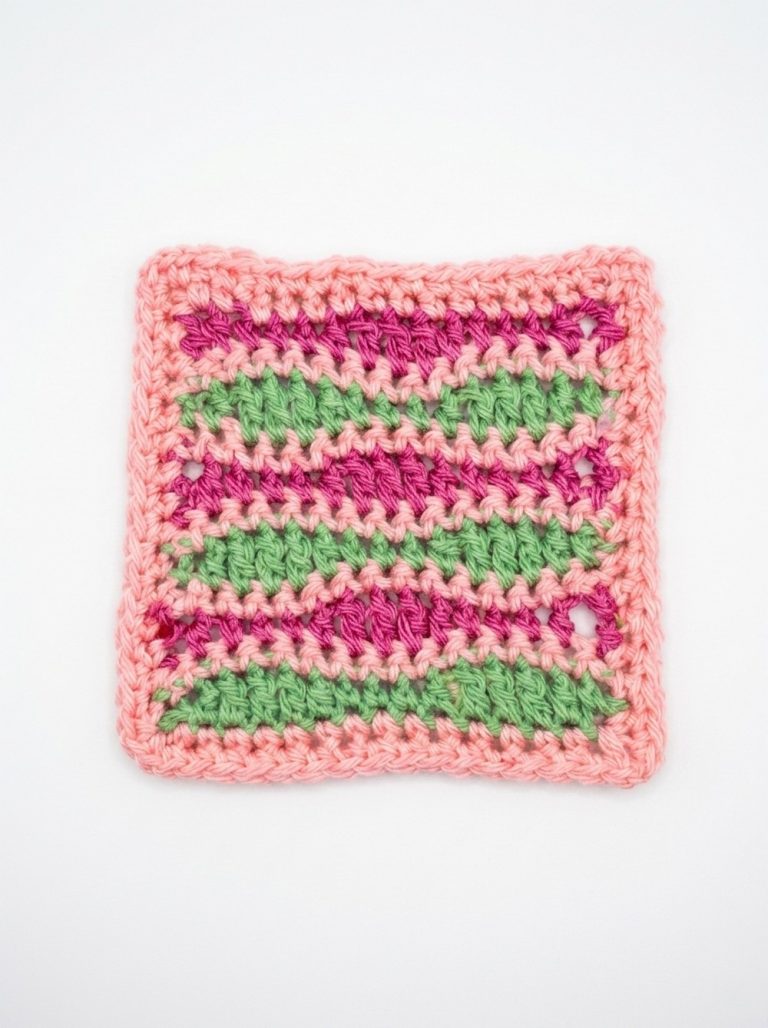
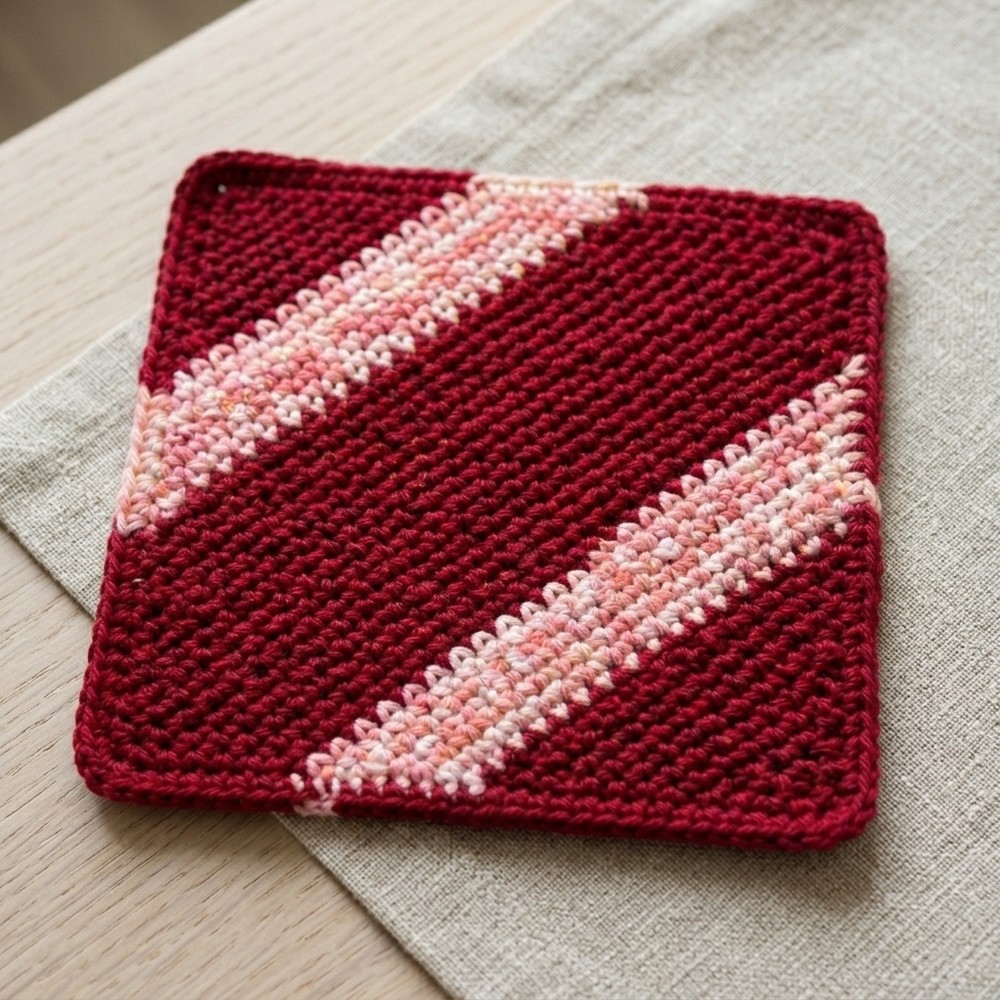
If you are a beginner, here is the pattern for you to make a practical crochet potholder using one stitch only. This Magic Potholder Pattern, crafted entirely with single crochet stitches, is perfect for mastering the basics while creating something useful. The potholder is designed in a continuous round, making it double-thick for extra protection. It can be made in various colors, from solid to variegated yarns, allowing for endless creativity. Typically square in shape, this potholder is not only practical but also visually appealing, making it a charming addition to any kitchen. Enjoy making many of these fun and functional pieces!
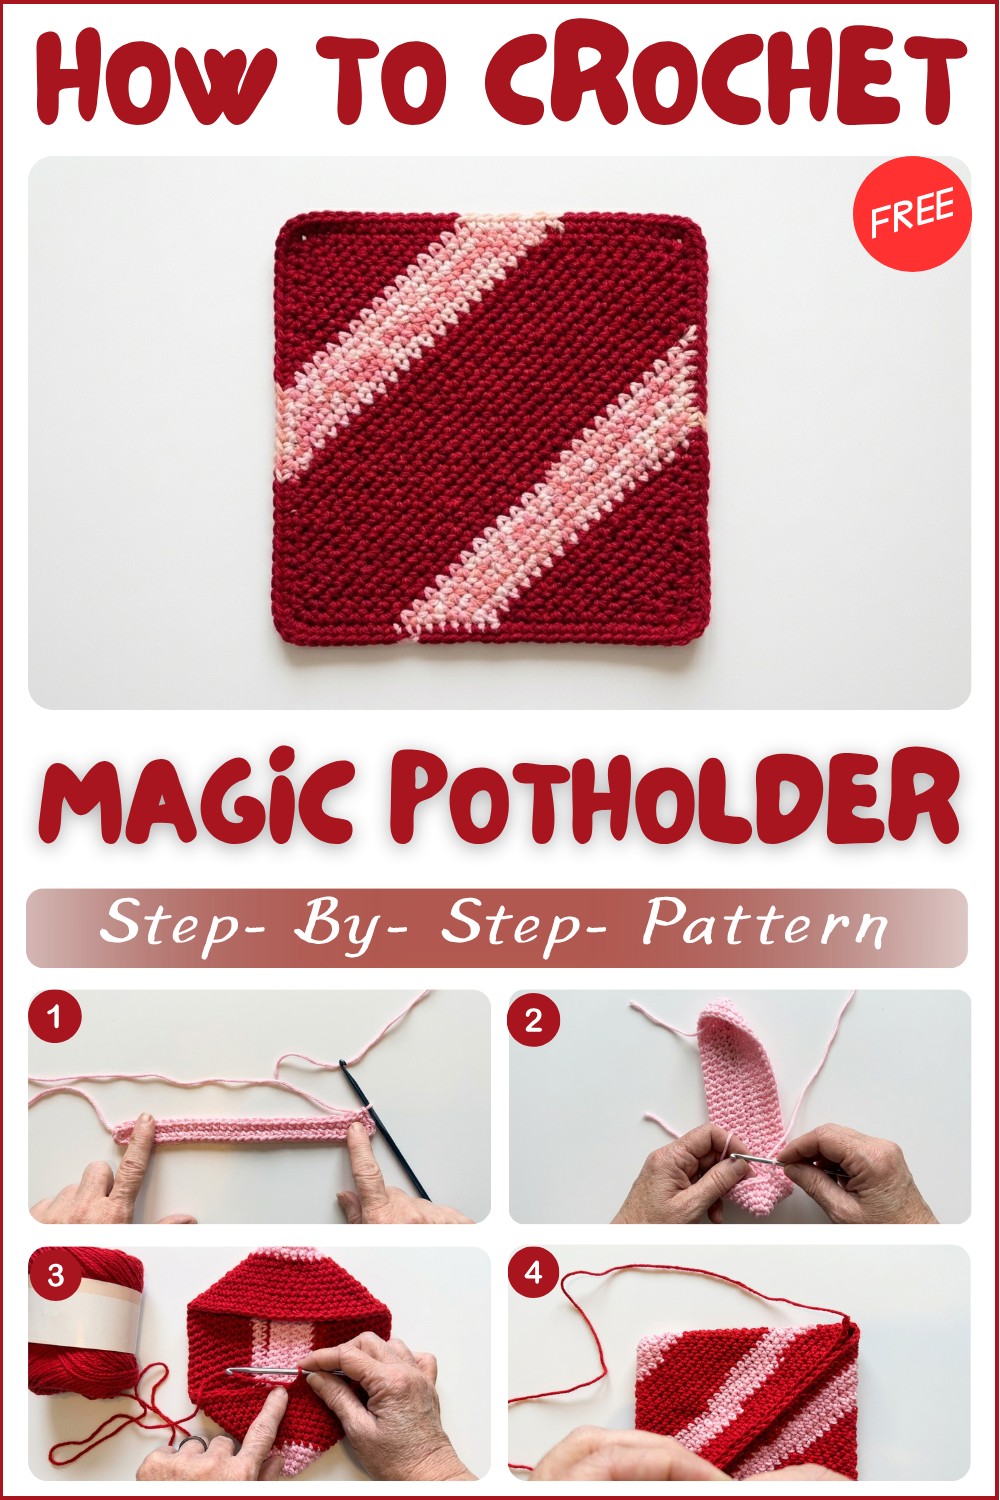
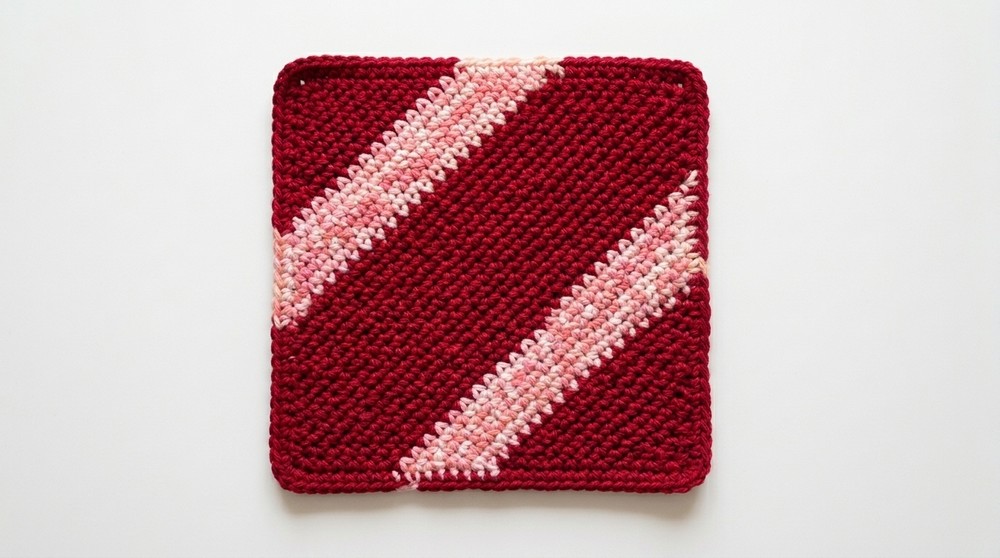
This simple double-thick crocheted potholder is a classic beginner project perfect for mastering single crochet while producing a beautiful, sturdy household essential. Made in the round with 100% cotton yarn and finished with a virtually invisible flat seam, each potholder is thick, durable, and ideal for protecting surfaces from hot dishes. Make one in your favorite solid or variegated color, or experiment with stripes for a vibrant touch. This project is quick, practical, and a great way to improve your single crochet skills.
Why Love This Pattern?
Ease of Creation:
- The pattern primarily uses a single crochet stitch, making it ideal for beginners to learn and practice.
- The simple, repetitive nature of the stitch allows you to build confidence and get comfortable with the technique.
Practicality:
- The resulting pot holder is double-thick, providing excellent protection against heat and ensuring durability.
- It’s made from 100% cotton, which is better suited for handling hot items compared to acrylic yarns that can melt.
Versatility:
- You can experiment with different color combinations, using solid colors, variegated yarns, or a mixture of both.
- You can adjust the size and shape to your preference, making it a versatile project.
Simplicity and Speed:
- Once you get the hang of it, you can create these pot holders quickly, often within an hour.
- This makes it an ideal project for creating last-minute gifts or developing a quick stock if you plan to sell them.
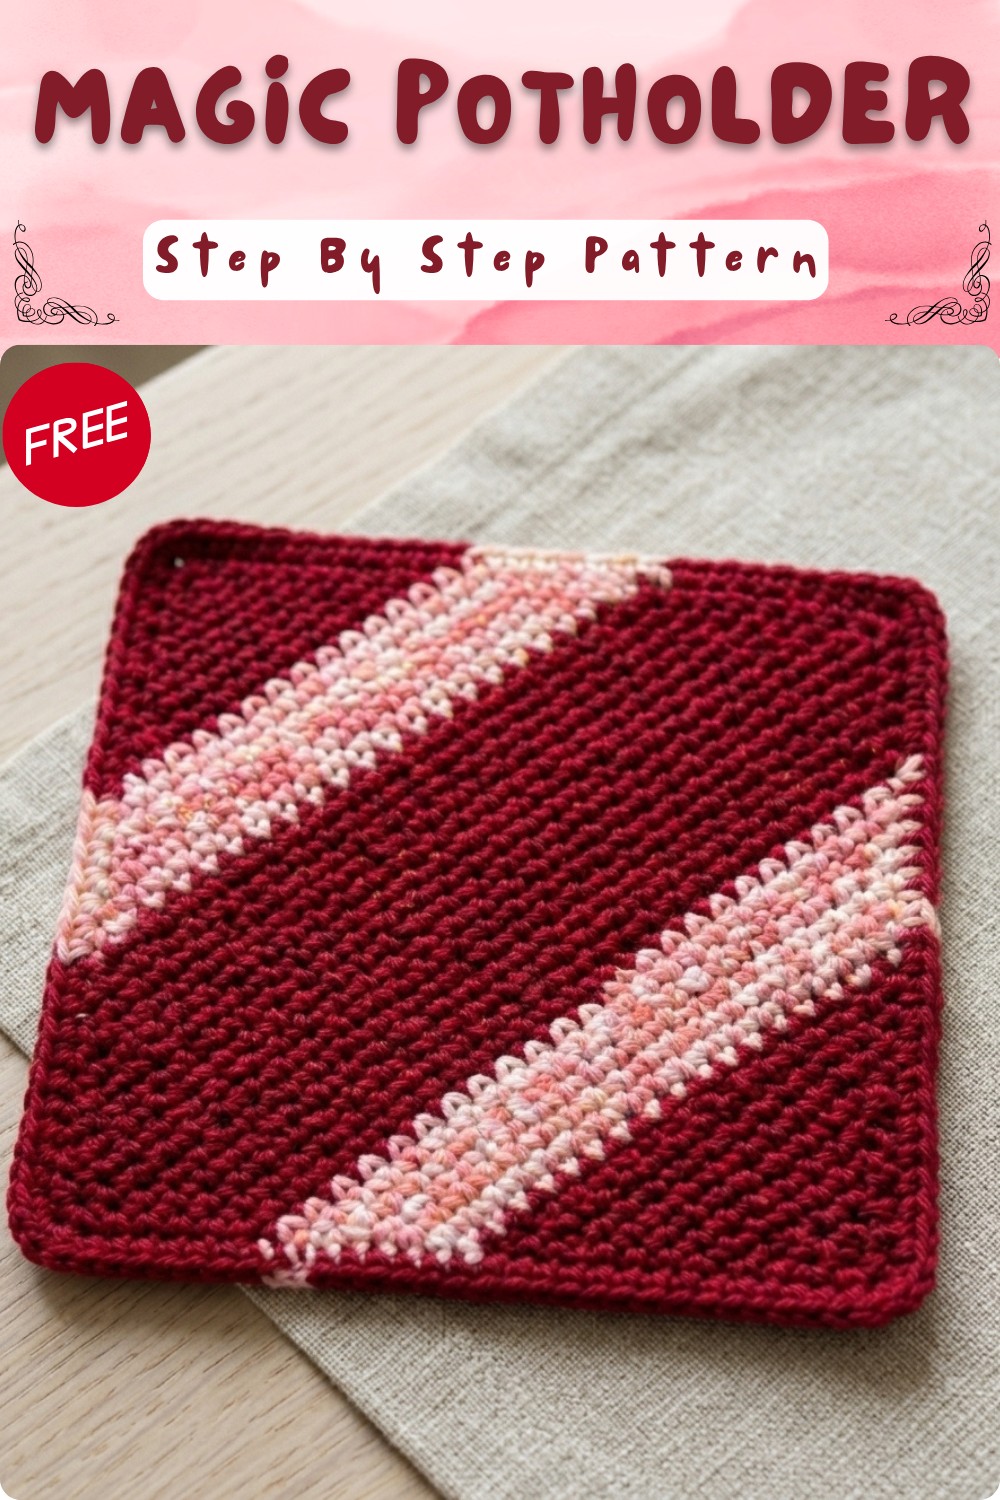
Simple Crochet Magic Potholder Pattern
Pattern Notes
- Work rounds continuously: The entire potholder is made with single crochet in a continuous spiral.
- Double-thick fabric: The pattern forms a double fabric for better heat resistance.
- Construction: After working in the round to the desired width, fold in half and seam shut across the back.
- Cotton only: Always use 100% cotton yarn for potholders for heat resistance; acrylic will melt when exposed to heat.
- No wrong size: Make your potholder as small or as large as you want by adjusting the initial chain.
- Color changes: For stripes, change yarn colors on the side curve (suggested after even rows for symmetry).
- All loose ends: Will be hidden inside after joining, so no need for perfect finishing on the inside tails.
Skill Level
Beginner.
This pattern is perfect for first-time crocheters and those practicing single crochet.
Materials
- 100% cotton worsted weight yarn (#4); approx. 40–60 g per potholder (e.g., Red & Pink)
- 5 mm (H/8) crochet hook
- Scissors
- Yarn needle for seaming
Measurements / Sizing
- Approx. 6.5–7.5″ (16–19 cm) square or oval, depending on number of rows worked
- Size easily adjustable by altering starting chain (see Notes)
Gauge
- 33 chains, 10 rows of single crochet stripe ≈ 6.5–7″ width and height after joining
- Not critical; stitches should be tight and even for safety and durability
Stitch Abbreviations
| Abbreviation | Stitch |
|---|---|
| ch | Chain |
| sc | Single crochet |
| st(s) | Stitch(es) |
| sl st | Slip stitch |
| FO | Fasten off |
Special Stitches
- Single Crochet (sc): Insert hook into indicated stitch, yarn over, pull through (2 loops), yarn over and pull through both loops.
- Invisible Seam: Mattress stitch or slip stitch through both thicknesses to close the back.
The Crochet Pattern
Foundation Chain
- With 100% cotton yarn, ch 33 (or adjust for the width you want).
- Tip: For a square potholder, ch between 28–36 based on your gauge and desired size.
First Round (Around the Chain)
- Beginning Edge
- In 2nd ch from hook, work 3 sc (this creates the corner).
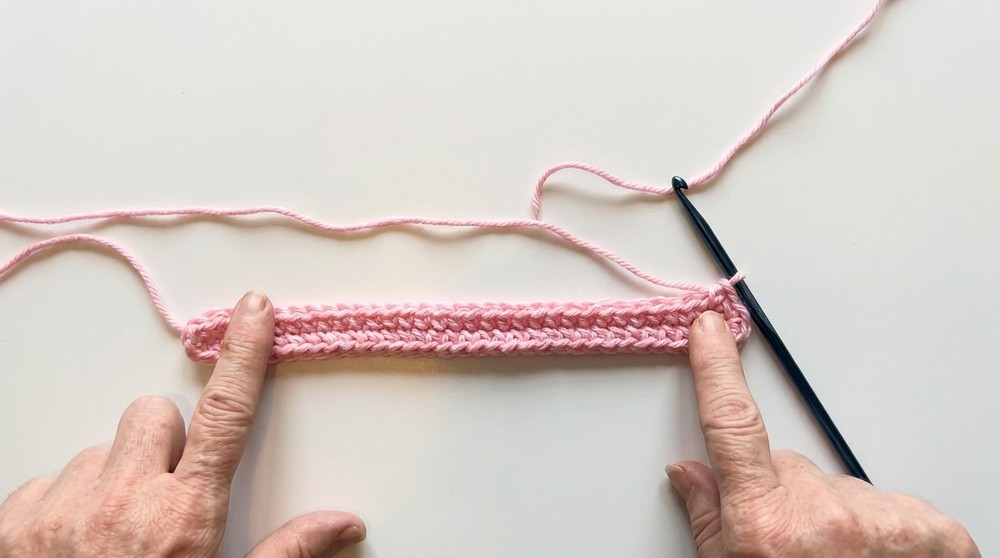
- In 2nd ch from hook, work 3 sc (this creates the corner).
- First Long Side
- Sc in each ch across (end before the final ch).
- Far End
- In last ch, work 3 sc (other corner; it will be tight).
- Second Long Side (Back of Chain)
- Turn your chain upside down.
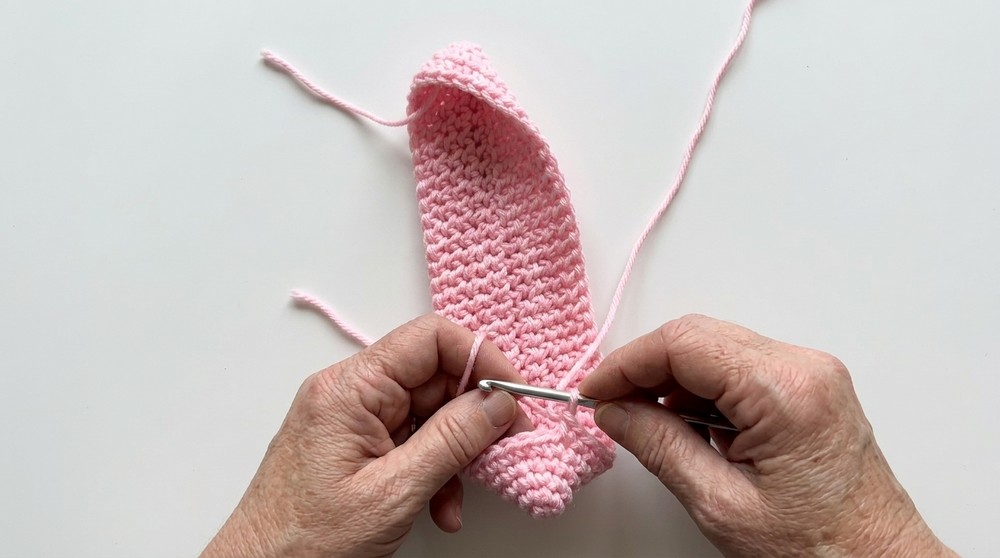
- Sc in each “back bump” (other side of starting chain) across to where you started.
- You’ve just made an oval with 3 sc at each end.
- Turn your chain upside down.
Color Changes (Optional)
- At the side or corners, finish a sc as usual but pull through new yarn on the last “yo.”
- Securely tie new and old yarn together on the inside. All ends will be hidden, so no worries about appearance.
Second and Remaining Rounds
- Continue working in continuous rounds (do not join).
- At each end:
Always work 3 sc in the center-most stitch of each end (these are the “corner” stitches made in previous round), so your work continues to expand as an oval. - Along the sides:
Work 1 sc in each stitch down the sides.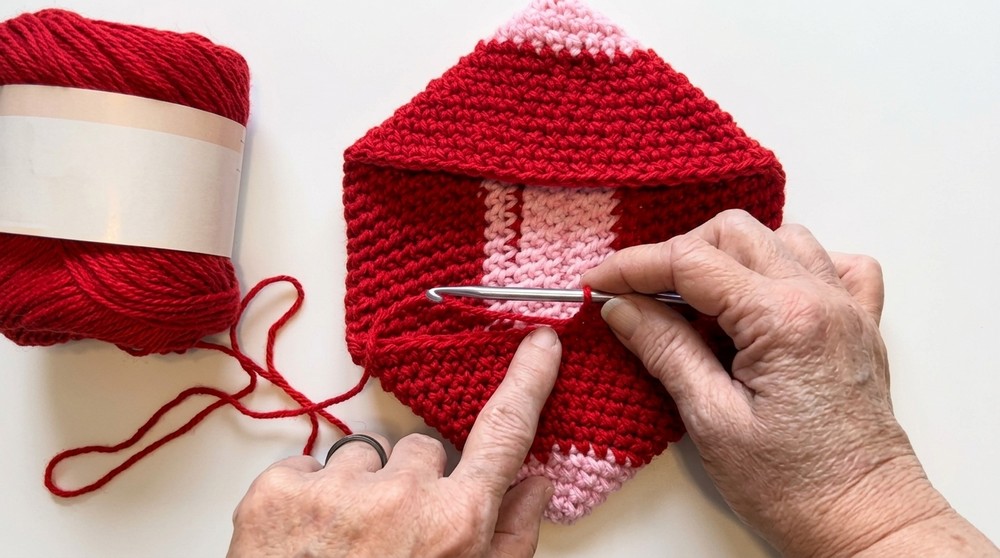
- At each end:
TIP:
Place a stitch marker in the first st of each round if needed. The “side” stitches begin to curve upwards as you build up the rounds.
Sizing & Rounds
- The number of rounds determines how large your potholder becomes.
- Count your rounds along a side (not across the corner).
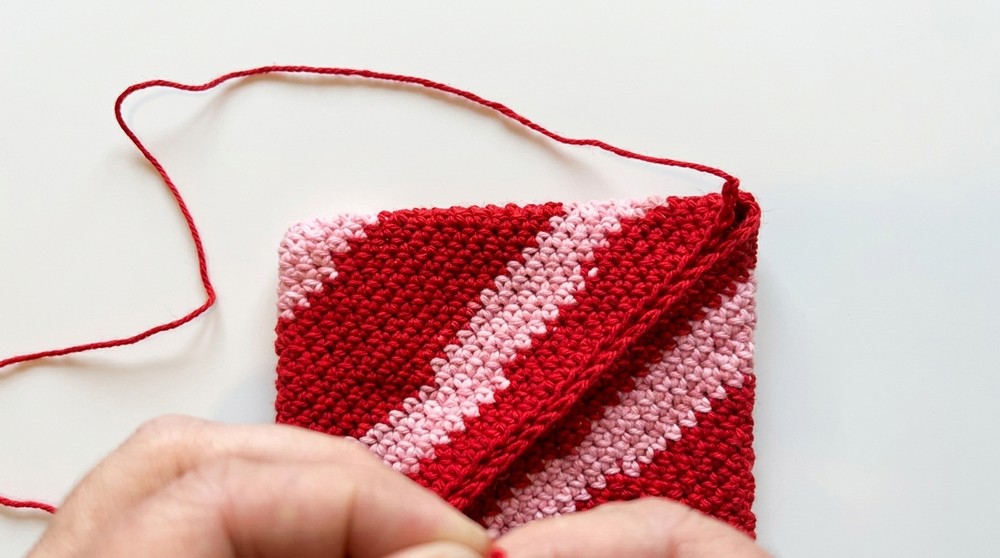
- For most, 10 rows/rounds from top to bottom (not counting starting chain round) yields a nice square or oval, about 7″ across.
- Remember: Each round appears as two “rows” (one per side), so adjust your total count accordingly (i.e., five rows per side = 10 rounds).
Finishing & Seaming
- Lay your potholder flat. Fold it so the sides meet, making a neat square.
- With RS out, whip stitch or slip stitch the opening closed, sewing through both layers for a double-thick pad.
- Hide all yarn ends inside the pot holder.
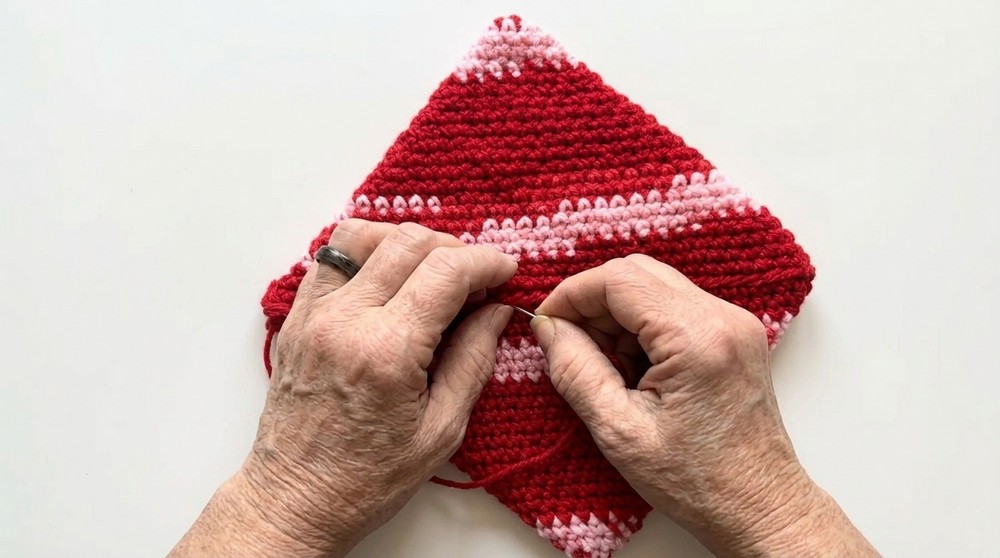
- Hide all yarn ends inside the pot holder.
Assembly & Finished Size
- Ensure all ends, including color join tails, are inside the potholder before seaming closed.
- Final project is double-thick, with a flat seam on one side.
- The seam can be placed on the back; the smoother side can be used on top.
- The finished holder will be approx. 7” square or oval, depending on personal preference.
Congratulations! You’ve made a classic, double-thick cotton potholder.
Make several in different colors for your kitchen, for gifts, or as a great way to use up scraps—all while improving your single crochet!