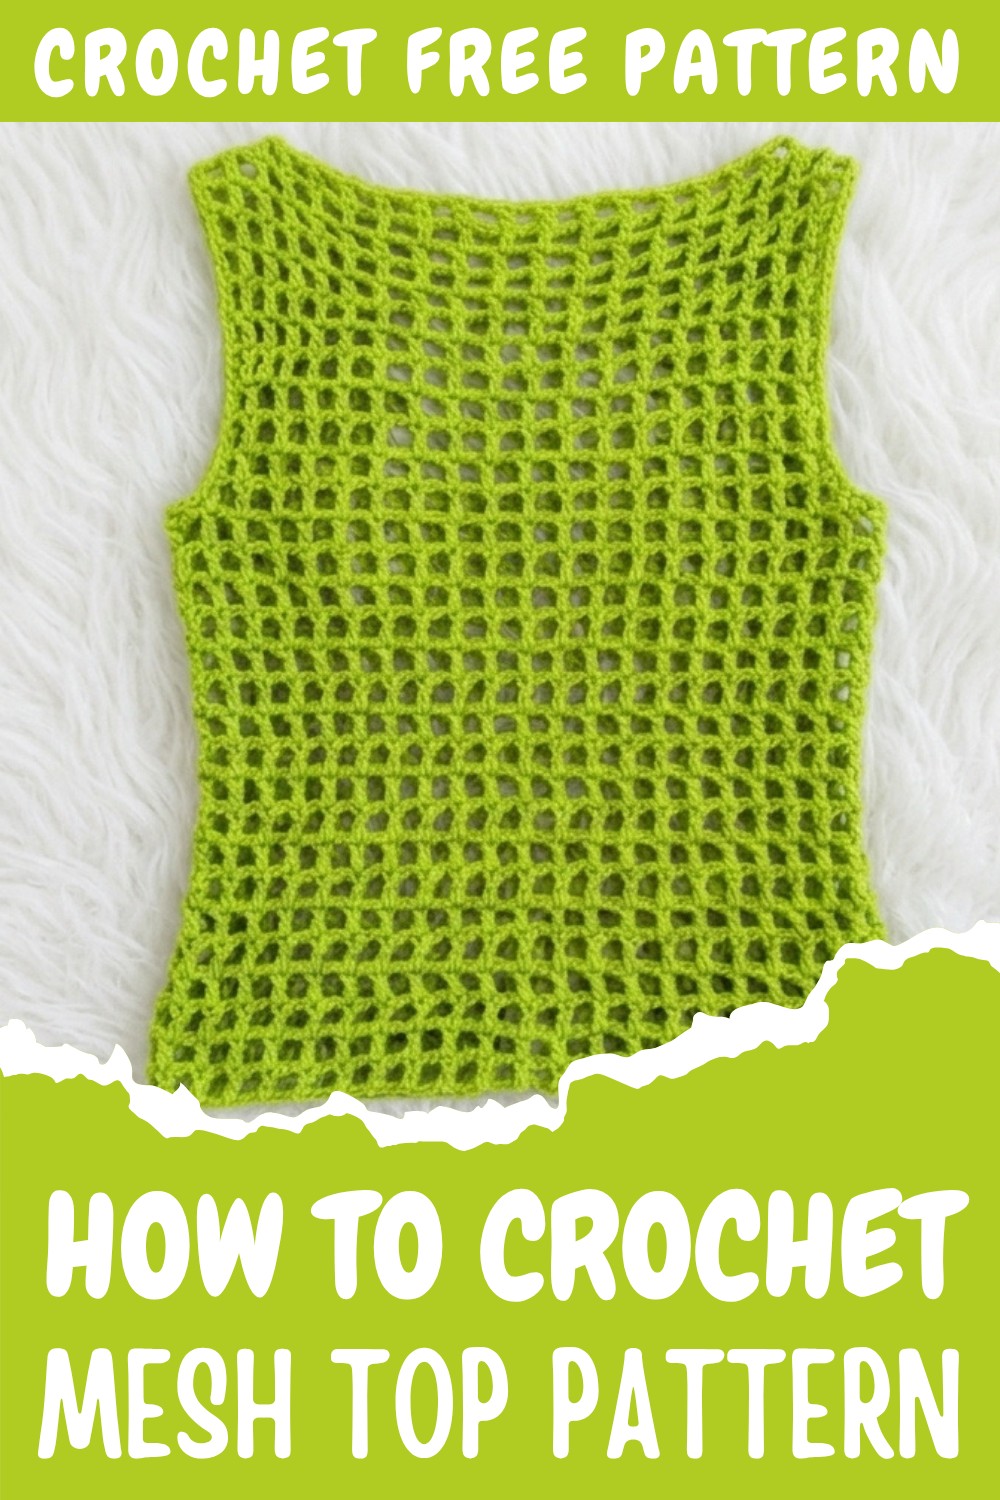
Mesh Top Free Crochet Pattern for a Gorgeous Look
Create a stylish crochet mesh top for girls with this easy-to-follow pattern, perfect for adding a trendy and lightweight touch to any outfit.
Keep your hands busy and try something new that’s simple and rewarding. I wanted an easy project that wouldn’t take forever, so I decided to crochet a lightweight top for myself. The process felt relaxed and beginner-friendly, and I was excited to see something stylish come together as I worked. Starting with just a few supplies and some quick measuring, I liked how I could adjust everything to my own size no guessing or confusing steps.
The open, mesh look starts to appear pretty quickly as you work, turning into a top that feels just right for warm days or as a layer over another shirt. Choosing a color I liked made the top feel even more special. I ended up with something I could wear both at home and out with friends, and it didn’t look like every other shirt you find in stores.
Free Crochet Mesh Top Pattern With Perfect Shape
You can absolutely make this, even if you’re new to crocheting. The steps are simple and repeat so you’ll quickly get the hang of forming the mesh design. The project shows how basic counting and measuring, plus a few easy joins, can create something you’re proud of. You’ll learn how to shape simple panels and sew them together for a real wearable piece.
This top pattern helps you build the kind of skills that open the door to more clothing projects. After making this, you’ll see how easy it is to use the same method to create other pieces, like summer vests, beach cover-ups, and even tunics or dresses. When I finished, I was really happy to have something handmade that actually felt comfortable and looked good. If you want a relaxing, useful project that boosts your confidence, this top is a great place to start.
Crochet Mesh Top Pattern
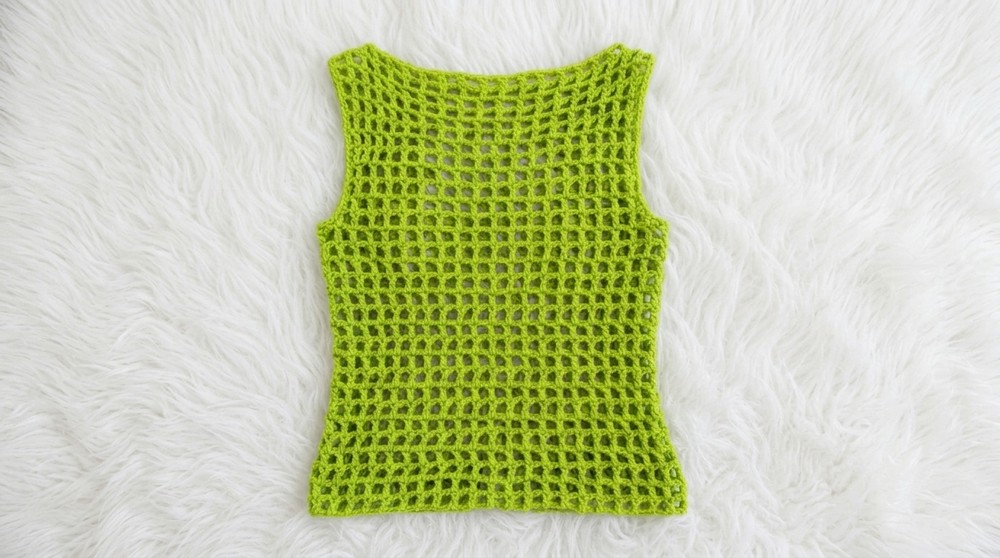
This breezy mesh crochet top is a versatile and stylish garment, perfect for layering or wearing on its own during warmer months. Designed with beginners in mind, the construction is simple and approachable: two identical panels are crocheted flat in rows, shaped minimally at the armhole with decreases, and then joined at the shoulders and sides for a clean finish. The mesh stitch used throughout creates a modern, openwork effect that is both easy to execute and visually striking. This pattern is fully adjustable for custom sizing, so you can tailor your top for the perfect fit and desired length.
Skill Level & Terminology
- Skill Level: Beginner
- Terminology: US crochet terms are used throughout this pattern.
Materials & Tools
- Yarn: 4-ply (worsted weight) acrylic yarn or any smooth yarn of similar weight.
- Yardage: Approx. 450–700 yards, depending on size.
- Hook: 5.5mm crochet hook
- Notions: Tapestry needle, scissors, stitch markers, measuring tape
Gauge
For proper fit, make a mesh stitch gauge swatch before starting:
- 13 mesh stitches x 8 rows = 4” x 4” (10cm x 10cm)
(Mesh = 1 dc + ch 2)
To measure: Work a 4″x4″ swatch following the pattern’s mesh stitch instructions. Block swatch lightly, then count mesh spaces and rows to ensure your piece matches the stated gauge.
Abbreviations
| Abbreviation | Meaning |
|---|---|
| ch | Chain |
| dc | Double crochet |
| sk | Skip |
| st(s) | Stitch(es) |
| sp | Space |
| rep | Repeat |
Special Stitch Instructions
- Mesh Stitch: [dc, ch 2, sk 2]—makes a chain space and skips two stitches. This pattern forms the airy mesh netting.
- Turning Chain: Each row begins with either ch 5 (counts as dc + ch 2) for mesh sections or ch 3 (counts as dc) on decrease rows.
Finished Size
- Width: Customizable—sample fits 40″ bust (each panel 20″ wide).
- Length: Customizable—sample length is 18” (from underarm to hem).
- Armhole Depth: Sample uses 7–8″ for comfort.
To modify: Adjust foundation chain for width and create more/less rows for length.
Pattern Notes
- Panels: Work two identical rectangles, flat, in rows.
- Sizing: Reference your own bust, shoulder, and body length when measuring foundation and subsequent rows.
- Assembly: Join panels at shoulders and sides, leaving gaps at the top/side for neckline and armholes.
Crochet Pattern
1. Creating the First Panel
1.1 The Foundation
- Using 5.5 mm hook, ch enough for half the bust circumference. For the sample (40” bust), make chains until the row measures 20” across.
- Work in multiples of 3, then add 1. (For 20″, typically 73 ch.)
If you are uncomfortable reading pattern language, simply measure your chain against your bust width—half your full bust measurement should match your chain’s relaxed length. Always finish with a multiple of 3 plus 1.
1.2 Mesh Section (Rows 1–15)
- Row 1:
- Ch 6 (counts as 1 dc + ch 3 for mesh).
- Dc in 7th chain from hook.
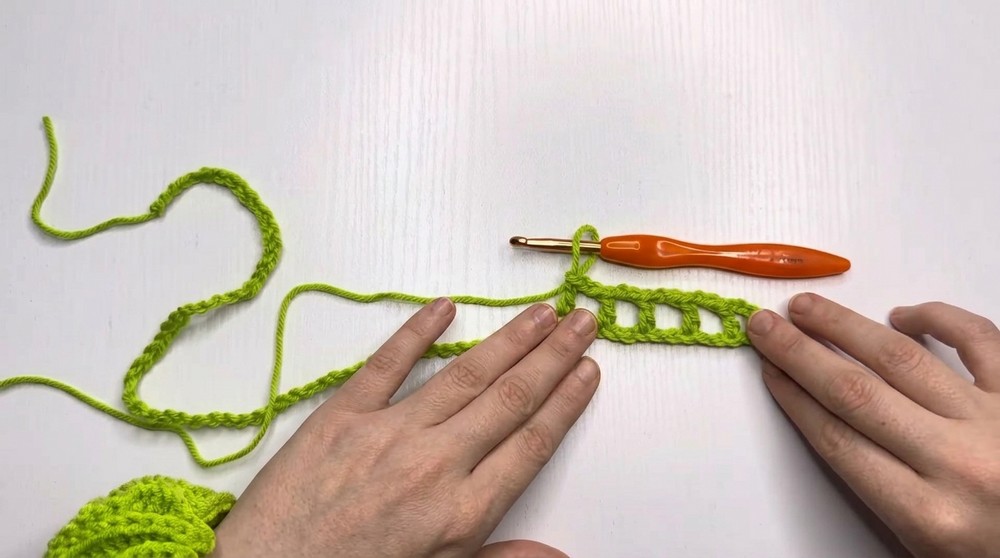
- Ch 2, sk 2 ch, dc in next ch; repeat across.
- End with ch 2, sk 2, dc in last chain.
- Turn.
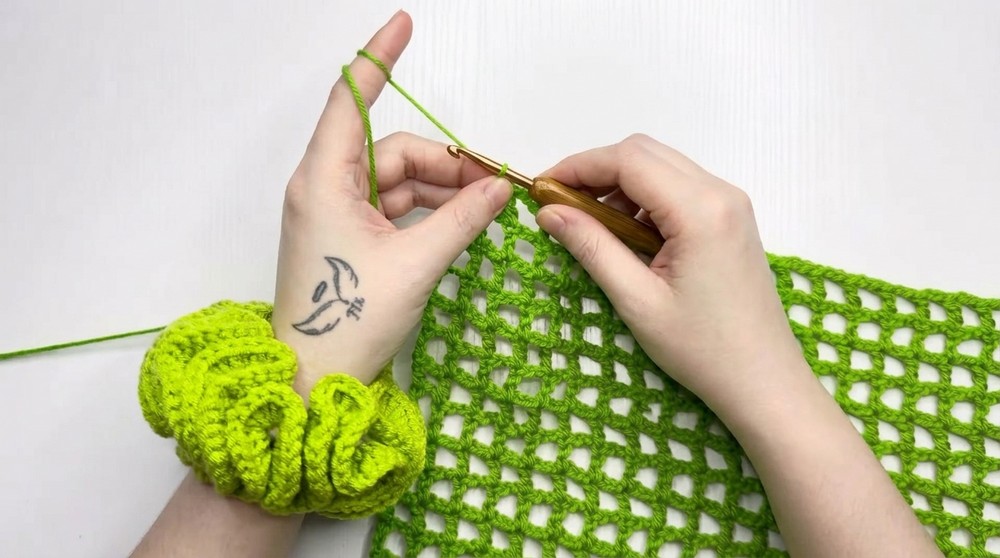
- Row 2:
- Ch 5 (counts as dc + ch 2), turn.
- Sk next sp, dc in top of previous row’s dc, ch 2; repeat across.
- At end, dc in the 3rd ch of turning ch.
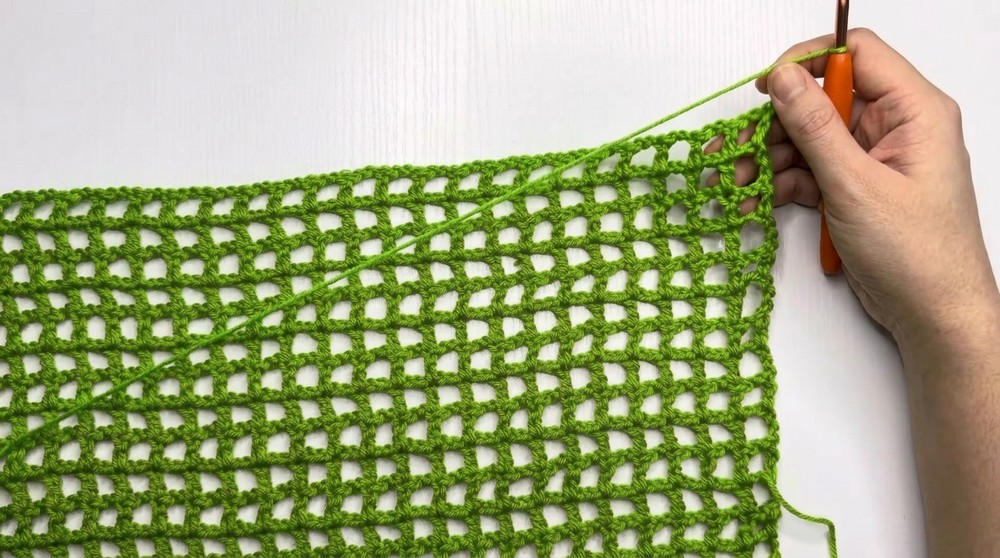
- Rows 3–15:
- Repeat Row 2 until the piece measures from the hem up to your underarm (sample: 15 rows ≈ 9”).
To recap: After chaining, alternate rows of dc’s and ch 2 spaces, always working the dc into the previous row’s dc, until you have the length from hem to underarm.
1.3 Armhole Decreases (Rows 16–18)
- Row 16 (First Decrease):
- Ch 3 (counts as dc), turn.
- Sk sp, dc in dc, ch 2; repeat across.
- At end, dc in 3rd ch of turning ch (skip ch 2 before last dc).
- Row 17 (Second Decrease):
- Ch 3, turn.
- Sk next sp, dc in dc, ch 2 across.
- At end, dc in last dc.
- Row 18 (Third Decrease):
- Repeat Row 17 for one more row.
In plain terms: Begin working three rows with fewer stitches at each row’s end. This narrowing creates the gentle slope for your arm opening.
1.4 Top/Shoulder Rows (Rows 19–33)
- Rows 19–33:
- Ch 5, turn.
- Work regular mesh pattern: sk sp, dc in dc, ch 2; repeat.
- Dc in dc at end.
- Continue until you’ve covered the top-of-panel/shoulder distance (sample: 15 rows ≈ additional 9”).
Simply return to the original mesh row until your panel is long enough to cover from underarm to the top of your shoulder.
- Fasten off yarn and weave in ends with a tapestry needle.
2. Repeat for Second Panel
Repeat steps 1.1–1.4 to make a second identical panel.
3. Assembly & Finishing
3.1 Sew Shoulders
- Lay both panels flat, right sides facing up.
- Mark neck opening: Leave approx. 8” centered un-seamed (or as desired; sample leaves 3 mesh spaces).
- Thread your tapestry needle with yarn and whipstitch the shoulder edges together, working from edges inward, leaving neck open.
3.2 Sew Sides
- Mark armhole depth: Sample skips 7–8″ (15 rows) from the top edge for arm opening.
- Whipstitch sides below armhole marker down to hem.
Essence of assembly work: Stitch shoulders together at top, leaving enough room in the middle for your neck. Side seams are attached leaving roomy armholes at the top.
3.3 Edging (Optional)
- For a polished look, work a round of sc or sl st around armholes and neckline.
- Weave in all ends, block lightly if desired.
Summary for Beginners
- Make each piece as a big ‘net’ rectangle, starting from the hem.
- Add three short rows to create the arm slope.
- Then, make the rest to reach your shoulder.
- Sew the pieces together, leaving holes for your head and arms.
- Add edging if you like, and weave all ends.
Customization & Tips
- To lengthen/shorten your top, simply add or subtract mesh rows before shaping armholes.
- To widen/narrow, work more/fewer foundation chains.
- Try this pattern with cotton, linen, or blends for different seasonal effects.
- Always measure as you crochet for best fit.
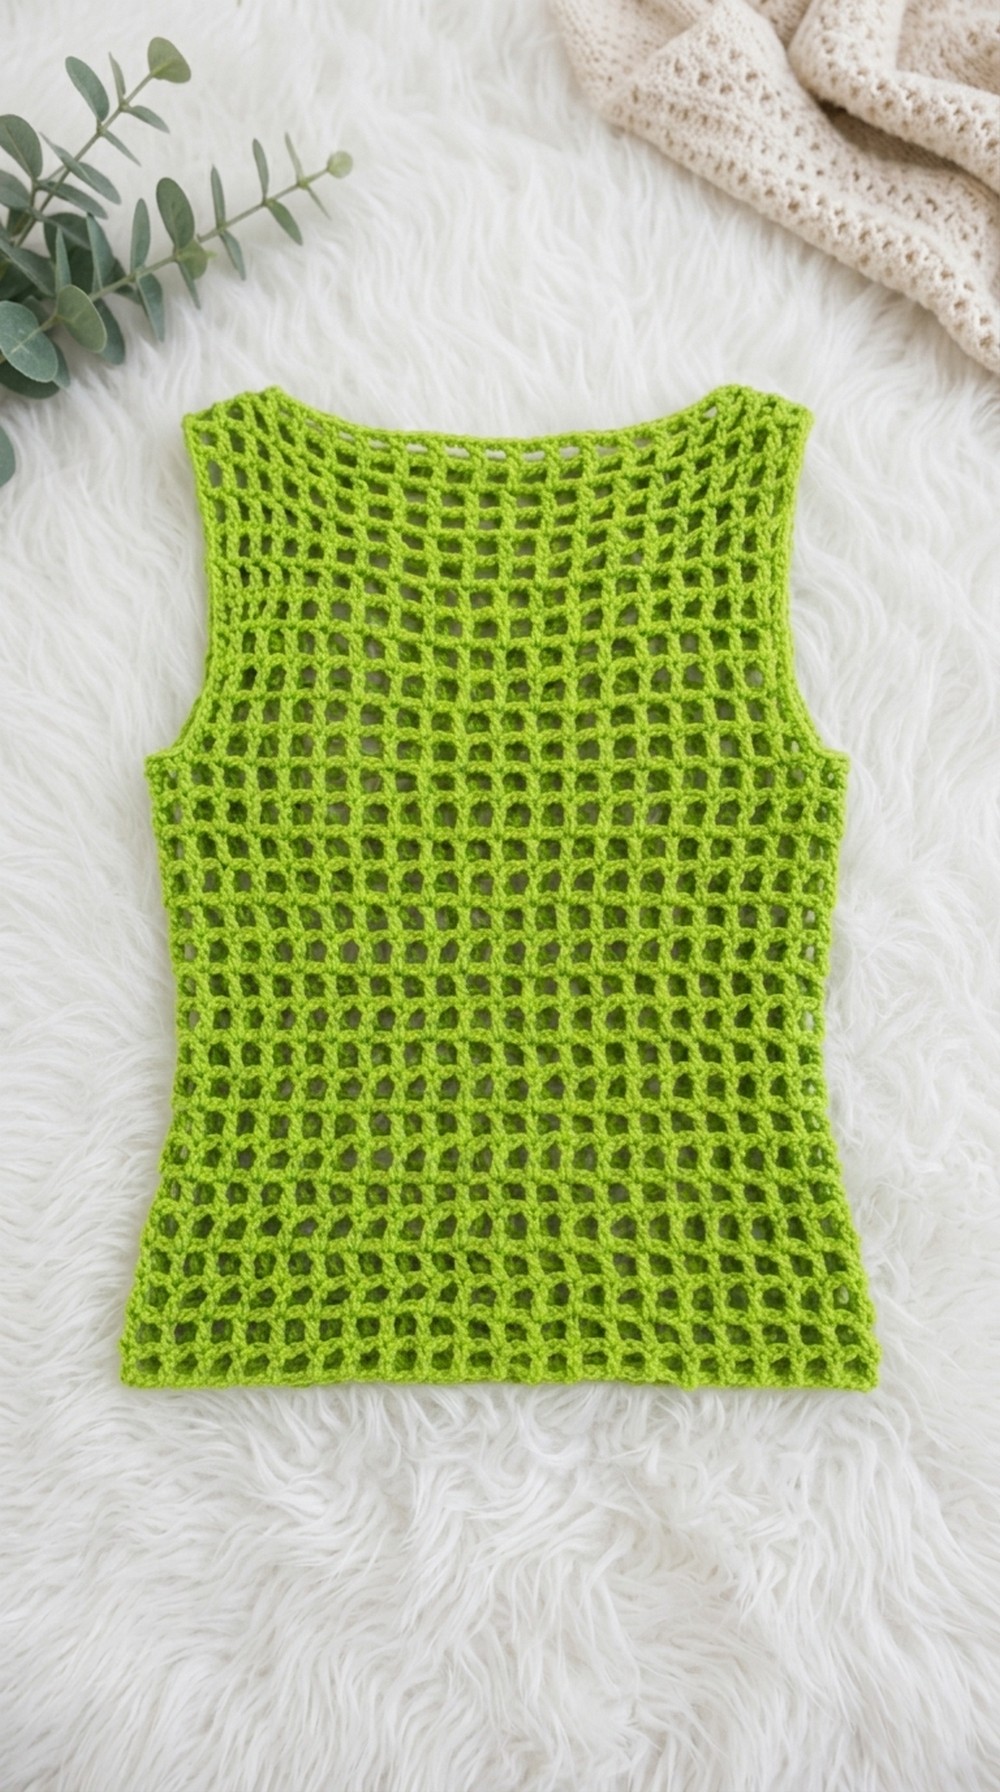
Finished Garment
When completed, your crochet mesh top will be a light, airy wearable piece perfect for pairing with camis, bralettes, or even layered over dresses. This modern essential project is ideal for beachwear or daily chic looks.