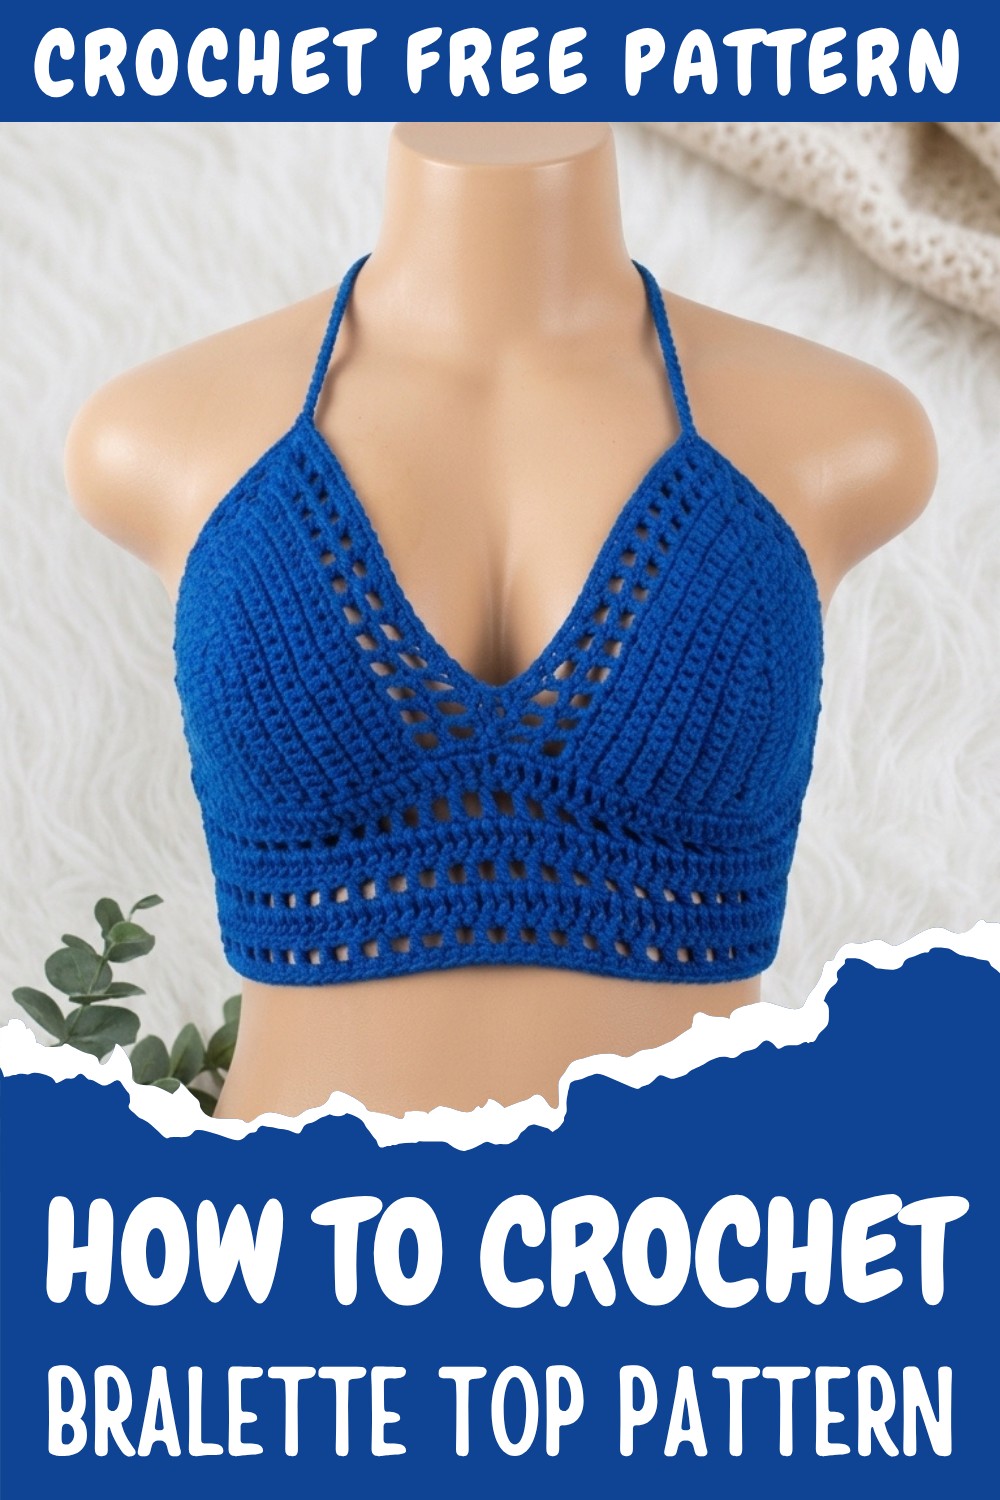
Trendy Crochet Bralette Top Free Pattern for Summer Fashion
Crocheting a bralette top was something I never thought I’d try, but I’m glad I did. I found a free crochet bralette top pattern and decided to give it a go one weekend. What surprised me most was how simple the whole process felt. Just some soft yarn and a crochet hook got me started, and before I knew it, I was creating a piece that actually looked cool.
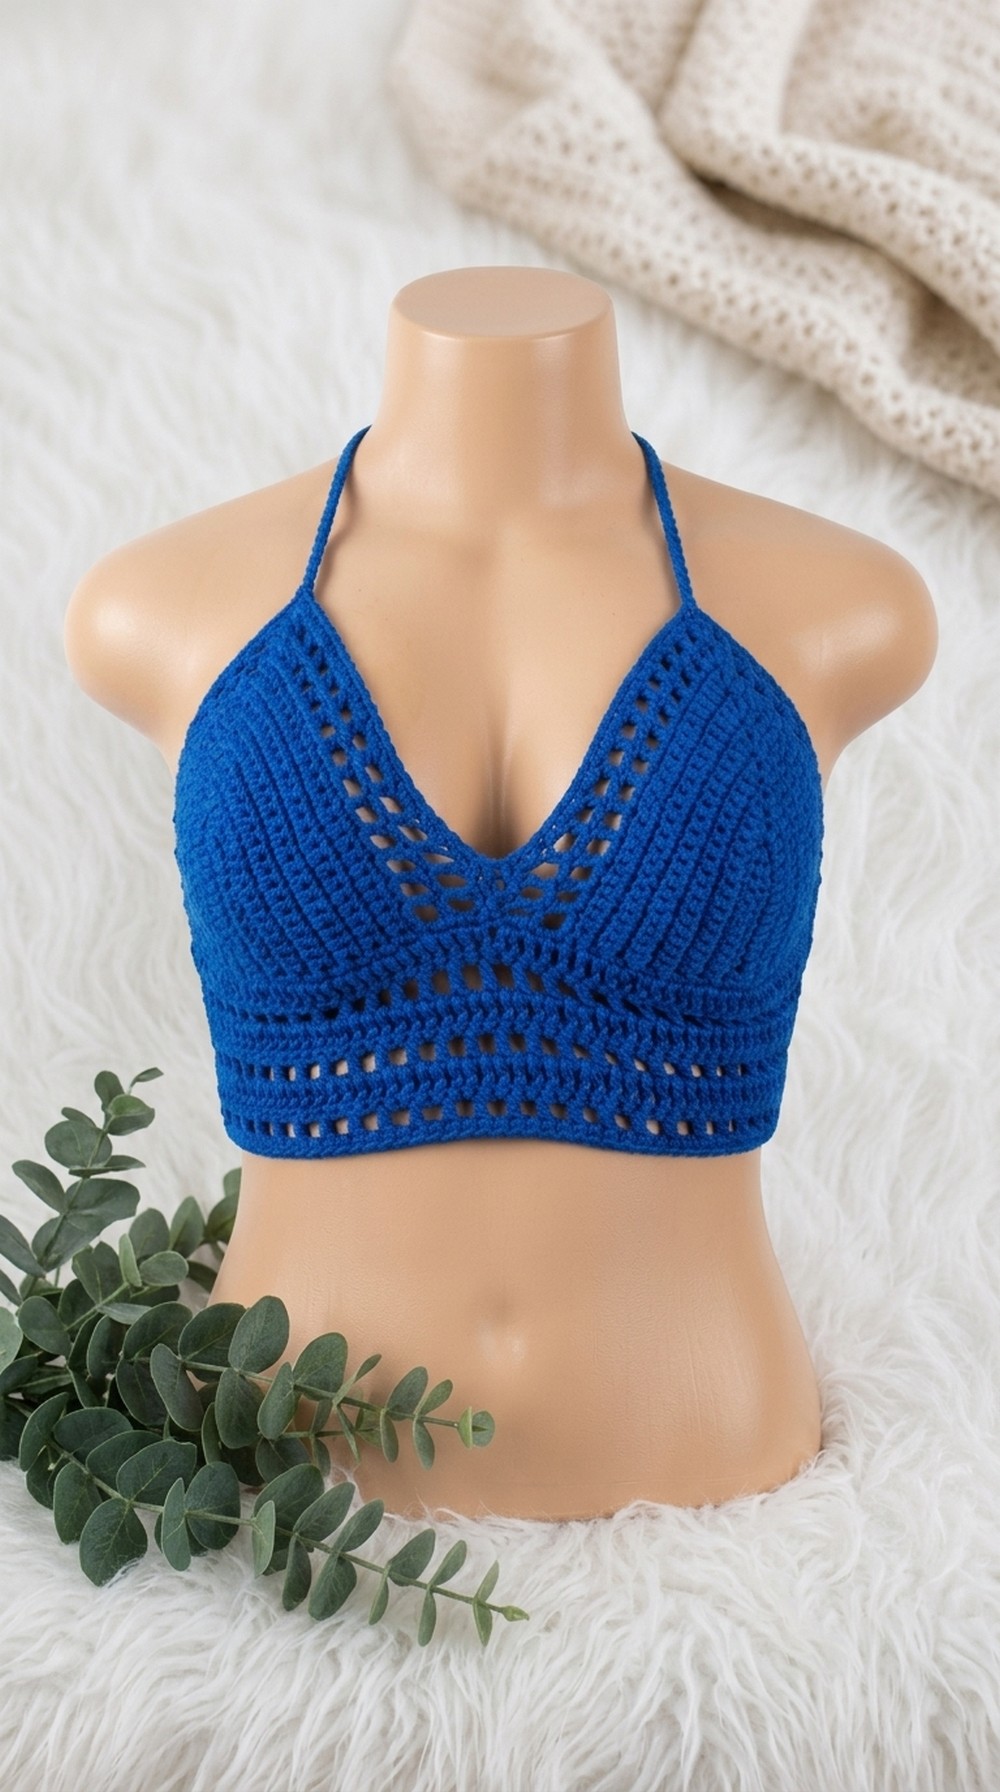
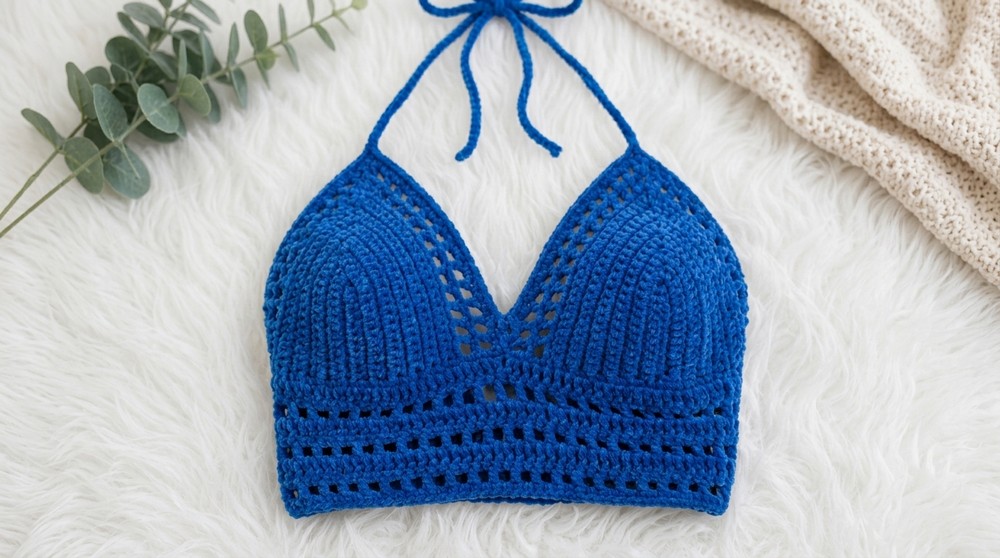
The bralette turns out stylish and light, with a neat little design under the bust and tie straps around the back and neck. It looks great as a summer top for lounging at home or paired with a shirt for going out. Choosing your own yarn color means you can make it bright and fun or go with something calm and simple. I loved how the final bralette felt comfortable, fit me well, and had a look you definitely don’t find in shops.
Free Crochet Bralette Top Pattern
Trying this pattern makes sense for beginners because you practice all the basics but still wind up with something you’re proud to wear or give as a gift. You get to start by making two simple cups and then join them together, which is easier than it sounds. Working on the band that goes around your chest, you use easy stitches to create a cool see-through pattern. The straps are just long chains, so no tough shaping is needed at all.
While making this, you learn how to measure for a custom fit and pick up skills to shape other projects. What’s nice is once you get the hang of this bralette, you can use the same ideas to make a bikini top, a summery crop top, or even turn it into a funky bag. You’ll feel good seeing your progress and enjoying something you made yourself. If you’ve never made wearable crochet before, a bralette top is an easy way to start and have some fun along the way.
Classic Crochet Bralette Top Pattern
This detailed bralette pattern features two cups worked in single crochet with subtle increases, topped with mesh rows, and joined by a sturdy band and adjustable ties. The result is a trendy, fitted crop bralette suitable for all body types, with custom sizing ensured through simple measurements. The step-by-step instructions below are written in US terminology and designed to guide you through an intermediate-level garment project, even if you’re new to pattern reading. Stitches used are mostly single crochet, double crochet, mesh, slip stitch, and chain.
Skill Level & Terminology
- Intermediate
- US Crochet Terms
Materials & Tools
- Yarn: 5-ply cotton yarn
- Hooks: 4.0 mm (for cups), 4.5 mm (for mesh/body)
- Notions: Measuring tape, stitch markers, tapestry needle, scissors
Optional: Use a mannequin or body for measurements and fitting.
Gauge
- Make a swatch with sc rows and measure the length of 13 chains while gently stretching.
- Adjust hook size or chain length to achieve a 4-inch (10 cm) chain foundation (for cup vertical).
- Sample: 13 chains ≈ 4 in (for cup height, adjusted as needed).
Abbreviations List
- ch – chain
- sc – single crochet
- dc – double crochet
- sl st – slip stitch
- st – stitch
- rep – repeat
- mesh – (ch 1, skip 1, dc in next st)
Special Stitch Instructions
- Mesh Pattern:
ch 1, skip 1 st, dc in next st (creates airy mesh). - Single Crochet Increase:
3 sc in same st (used for building cup curve). - Slip Stitch String:
After chaining desired length, work sl st in each ch for a neat tie.
Finished Size
- Custom, based on body measurements:
- Cup size: Nipple to under-bust (~4 in vertical) and bust width (~6–7 in across per cup).
- Band width: Under-bust measurement minus 5-6 in for exposed back (sample: 26 in minus 6 in = 20 in ties; customizable).
- Cup height: Sample uses 24 sc rows, 2 mesh rows, total ~7 in.
- Strings: Neck tie, back ties, ~100–70 chains each (as specified below).
Pattern Start & Stitches Used
You begin the pattern by measuring yourself or a mannequin and creating the cups first. The main stitches used are single crochet for structure, double crochet for mesh, chain for ties and mesh, and slip stitch for connecting.
The Pattern
A. Cup Construction (Make 2 Identical Cups)
1. Measure & Foundation Chain
- Measure nipple to under-bust distance.
- Sample: 4 in = 13 chains.
- With 4.0mm hook, ch 13.
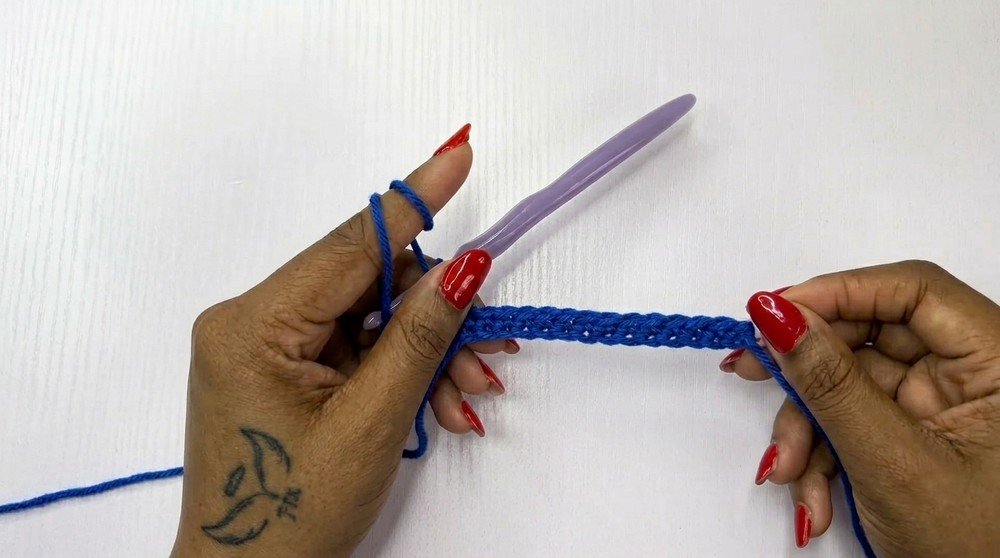
2. Row 1:
- Ch 2 (counts as turning chain; NOT a stitch).
- Working in 13th chain from hook:
- 1 sc (place stitch marker here).
- Work 1 sc in each chain to end (13 sc).
If you can’t read patterns:
Make a chain to match your nipple-to-under-bust, then work single crochet into each chain for your first row.
3. Row 2 (Cup Edge Increase):
- Ch 1, turn.
- 1 sc in first st, then 1 sc in each st to end.
- In turning chain space (with stitch marker):
- Remove marker, 3 sc in this st (mark the middle one for next increase).
- Work 1 sc in each st back to start.
Summary for beginners:
Each row ends with 3 sc in the corner to shape the cup. Always mark the middle of these 3 stitches for easy reference.
4. Row 3 and Onward:
- Ch 1, turn.
- 1 sc in each st until marker, remove marker, 3 sc in same st (mark middle), continue 1 sc in each st to end.
- Repeat each row, increasing 1 stitch per row (due to 3 sc in the corner).
- Work until cup is desired size (sample: 24 rows for ~6 in vertical).
Explanation:
The increase creates a triangle/curved cup shape. Always mark and increase at the middle stitch corner.
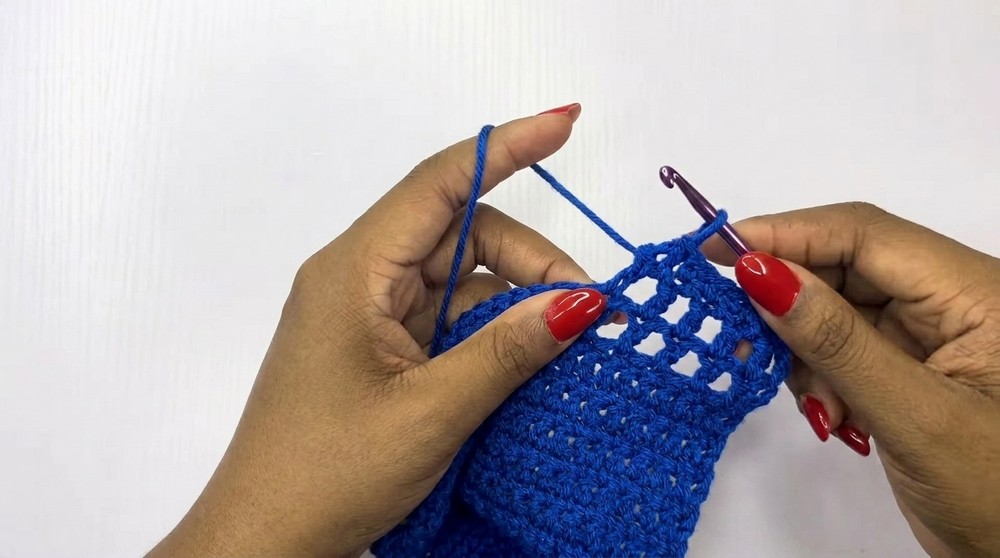
5. Mesh Rows (Cup Top)
Switch to 4.5mm hook.
- Row 1 (Mesh):
- Ch 3 (dc + turning ch), turn.
- Skip next st, dc in following st, ch 1, skip 1 st, dc in next st – repeat until marker.
- At marker:
- Work dc, ch 1, dc in marked st (for increase).
- Mark ch-1 between dc as center for next row.
- Continue mesh pattern to end.
- Row 2 (Mesh):
- Ch 3, turn.
- As before, work mesh pattern, increase in center.
- Complete mesh rows; measure cup for total height.
Closer look:
Mesh pattern is chain one, skip one, double crochet in next. At the center, always work two double crochet with a chain between to shape.
B. Join Cups and Create Band
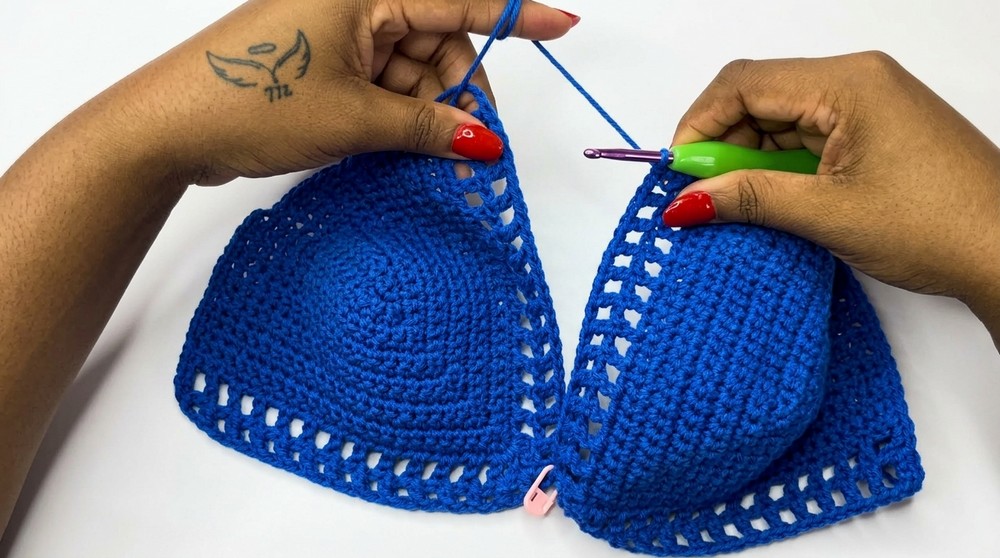
1. Single Crochet Join
- Work sc across the bottom edges of both cups:
- From cup’s mesh edge, working left to right (or vice versa), 2 sc in each mesh space, 1 sc in every sc to join.
- At joining (middle mesh), 1 sc in middle, slip stitch to join to second cup.
- Continue across both cup bases.
If unsure:
Simply place cups side by side and stitch across the bottom edge, connecting them with single crochets. (Don’t worry about perfection; stretch and adjust as needed.)
2. Side Band Chains
- At each end of joined cups, attach yarn, ch 20 (or length to fit your band width; sample: 20 chains = ~6 in).
- Secure ends. For stretchy fit, adjust chain length.
Beginner summary:
Side ties are chains attached to each side of your cups, making the bralette adjustable.
C. Body and Mesh Rows
1. Body Row 1 – Double Crochet
- Working across the side chains and bottom edge of cups,
- Ch 2, turn.
- 1 dc in each chain st and cup, working all across for a full row.
- At cup midpoint:
- Work dc2tog (double crochet decrease) across the slip stitch/join for smoothness.
- Continue across.
2. Body Row 2 (Mesh):
- Ch 3, turn.
- Skip 1 st, dc in next st, ch 1, skip 1 st, dc in next st – repeat across.
3. Body Row 3 (Double Crochet):
- Ch 2, turn.
- 1 dc in each st and mesh space across.
4. Body Row 4 (Mesh):
- As above, ch 3, mesh pattern.
- Repeat to desired length (sample: 3 rows dc, 3 rows mesh).
- Fasten off.
Note for non-pattern readers:
Alternate between solid double crochet rows and mesh rows to make the band as long as desired.
D. Edge & Neck/Back Ties
1. Single Crochet Edging
- Starting at top edge, sc evenly around the entire bralette for a neat border.
- In corner mesh spaces at cup tops, chain 100 for neck tie, then sl st in each chain for sturdy cord (repeat for other side).
- Work sc around cups, at lower edges, chain 70 for back side ties; sl st in each chain.
- Fasten off, weave in ends.
Tip:
The ties make the top adjustable and customizable for your best fit.
E. Assembly & Finishing
- Double-check length, ties, and cup fit.
- Weave in ends with tapestry needle on the inside.
- Block lightly for a finished look and cup shape.
For all users:
Lay out your bralette, attach ties in corners and lower edges as shown, weave away loose ends, and try on for fit.
Conclusion
Congratulations! You’ve completed your classic crochet bralette top. The design is flexible, fitted, and chic, featuring all the basic stitches—single crochet, double crochet, mesh, chain, slip stitch—and simple increases. Adjust the cup, band, and ties to your body for a perfect custom fit every time.
Pattern Corrections & Tips
- Pattern Correction: If cups curve too sharply, add fewer increases per row or use smaller hooks.
- Tip: Always use stitch markers in corners, and count stitches per row for symmetry. Stretch foundation chains when measuring, since cotton yarn will stretch with wear.