Crochet Heart Keychain Free Pattern A Loving Handmade Gift

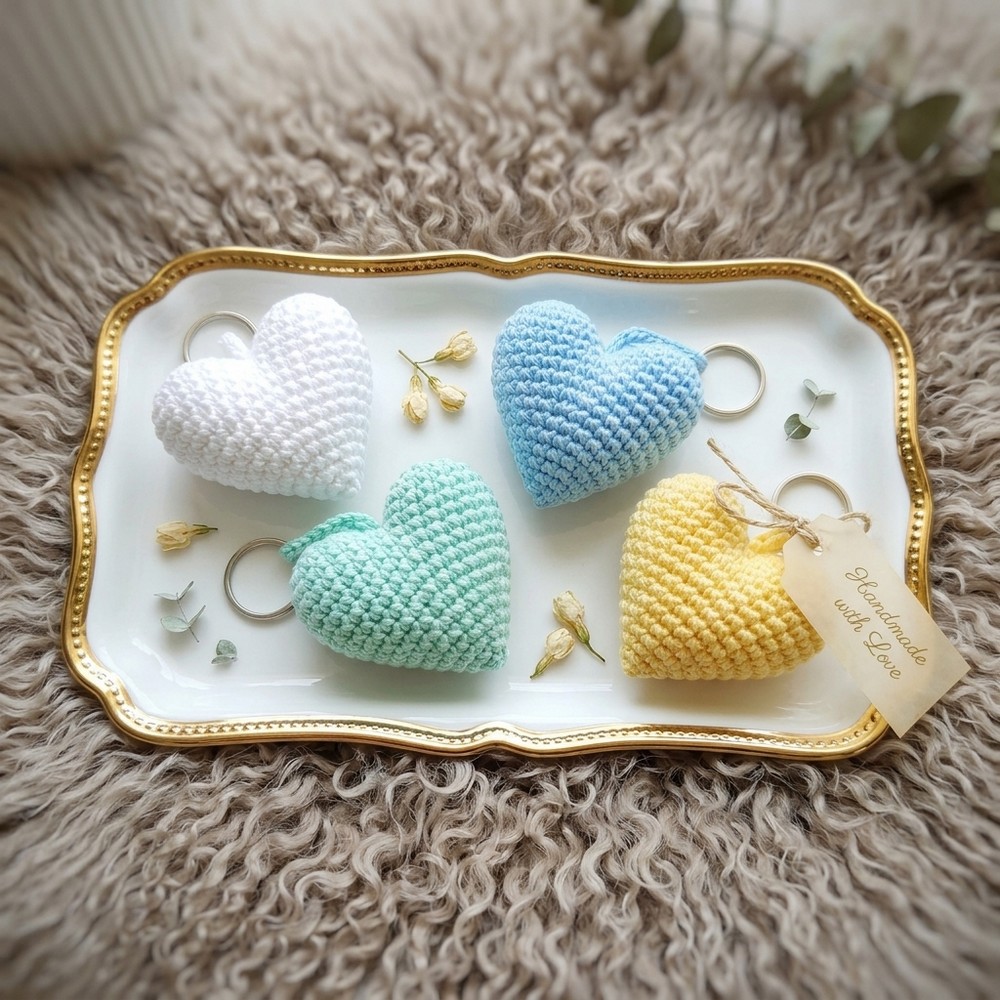
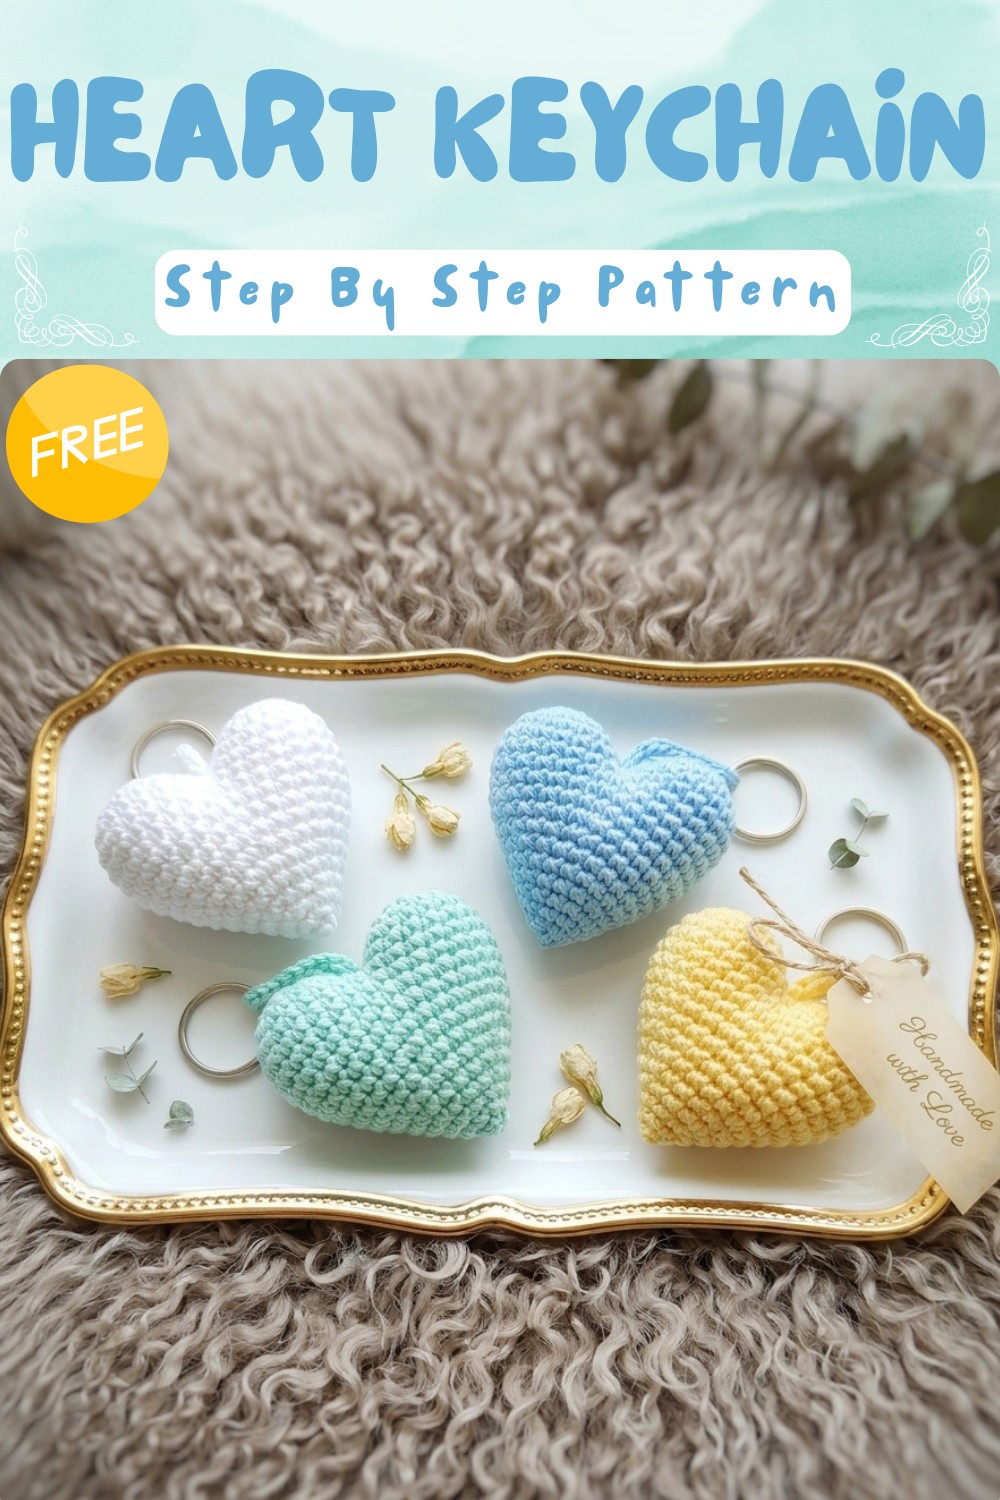
A heart is a lovely shape that many people like, and making one with yarn is even more fun. With the free crochet heart keychain pattern, you can create a small, soft heart that looks beautiful and feels nice. This pattern is easy to follow, so anyone, even kids, can make it. Besides keychains, you can also use this pattern to make bag charms, gift tags, or even little ornaments to hang around your home.
Free crochet heart keychain Pattern
The heart you make is bright and cheerful. You can choose any color you want, white, pink, sky blue, or even a mix of colors, to make it special. You can make the heart smaller to fit on your keys or a little bigger if you want to use it for decoration. The shape is simple but clear, with smooth edges and a soft texture, which makes it nice to hold. The heart looks neat because it is made with tight stitches that keep it from falling apart.
The main stitch used in this project is the single crochet, which is one of the easiest stitches you can learn. You will also work in rounds, which helps form the heart shape evenly. This makes it a great project for people who are just starting to learn crochet or anyone who wants to make a quick and pretty little item.
This free crochet heart keychain pattern is perfect for making gifts, decorating your bags, or just having a cute little thing to brighten your day. It is small, light, and easy to personalize with your favorite colors. If you like simple and sweet projects, this heart pattern is just right for you to try.
Crochet Heart Keychain – Step-by-Step Detailed Pattern
Before You Start
- Read through the entire pattern to familiarize yourself with construction.
- Ensure you have all materials ready: yarn, hook, stuffing, scissors, needle, and keychain ring (optional).
- Amigurumi is made in spirals; use a stitch marker to mark the first stitch of each round.
- Stuff the heart firmly before closing for a plump, attractive shape.
- Work the pattern at your own pace and enjoy the process!
Pattern Notes
- The heart is crocheted in two parts, then joined and finished as one seamless piece.
- Stitch counts are included to help track your progress; check them at the end of each round.
- Decreases are worked carefully to minimize visible bumps or marks.
- Chains create the loop for attaching your keychain ring, but you can skip them and attach the ring directly if you prefer.
- This model is designed to avoid visible decrease lines on the heart, for a smooth, professional result.
How I Made the Crochet Pattern
- Created two identical spheres, then joined them forming the heart “lobes”.
- The main body is shaped with decreases to bring the heart to a point.
- Used a chain to create a loop for the keychain, later attached to the main body with slip stitches.
- Closed the tip securely, using a “inverted magic ring” technique for a neat finish.
- Stuffed the heart, then assembled and finished with sturdy weaving.
Skill Level
Beginner to Intermediate – ideal for those with basic amigurumi experience and familiar with increasing/decreasing.
Finished Size
- Approx. 4–6 cm (1.5–2.5”) wide
- Approx. 5–7 cm (2–2.75”) tall (excluding chain)
Materials
- Worsted or DK weight cotton or acrylic yarn in your choice of color (less than 20g)
- 2.5–3.5 mm crochet hook (adjust size for firmer fabric)
- Polyester stuffing/fiberfill
- Yarn needle
- Scissors
- Stitch marker
- Keychain ring (optional)
Measurements / Sizing
- Heart lobe diameter: 3 cm (1.2”)
- Height to point: 7 cm (2.75”)
- Chain loop: 10–15 cm long, depending on preference
Gauge / Stitch Pattern
Amigurumi should be tightly stitched; stuffing should not show through.
For reference:
10 sc x 12 rows = approx. 2” x 2” (5 x 5 cm)
Stitch Abbreviations
| Abbreviation | Meaning |
|---|---|
| ch | chain |
| sc | single crochet |
| inc | increase (2 sc in same st) |
| dec | decrease (see Special Stitches) |
| st(s) | stitch(es) |
| sl st | slip stitch |
| MR | Magic ring |
Special Stitches
- Magic Ring (MR): Form loop, sc required number in ring, pull tight.
- Invisible Decrease (dec): Insert hook into front loop of next 2 stitches, yarn over and pull through both, yarn over and pull through last 2 loops.
- Inverted Magic Ring: To close, use a tapestry needle, gather only outer loops of the last round, pull tight to seal neatly.
The Pattern!
First Lobe of Heart
- Round 1: In chosen color, MR, 6 sc in ring. (6)
- Round 2: 6 inc (2 sc in each st). (12)
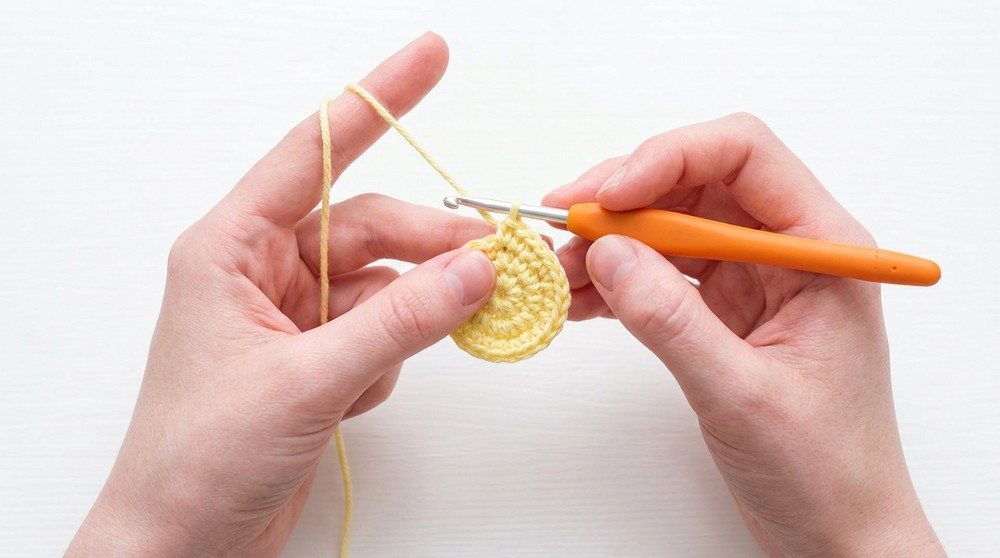
- Round 3: (1 sc, 1 inc) x6. (18)
- Rounds 4–5: 18 sc in each round. (18)
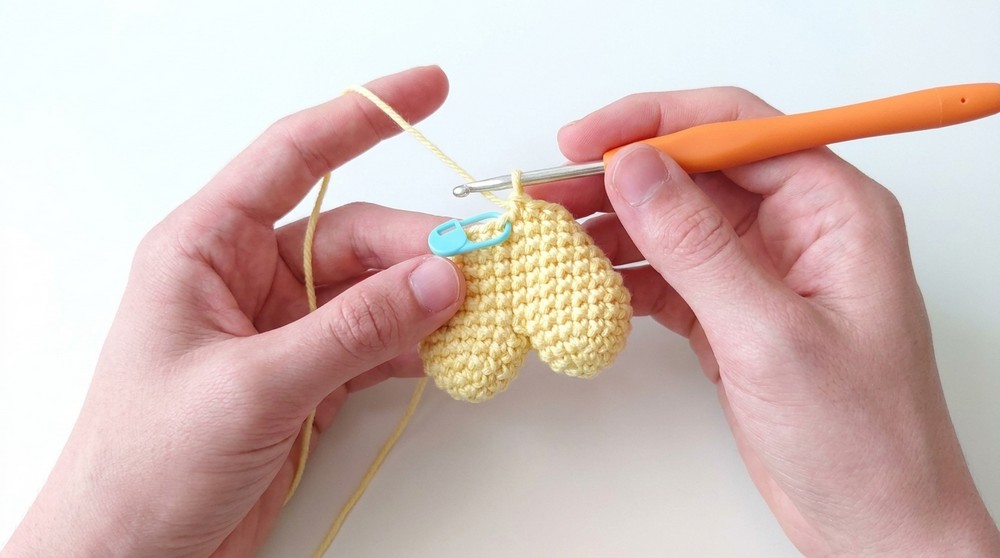
Work the first part as a ball. You’ll notice a rounded shape, the head of the heart. Leave a 15 cm (6”) yarn tail after fastening off, for joining. Repeat to make the second lobe.
Keychain Attachment
- Ch 10 for loop (optional).
- Pass your chain through a keyring or clasp.
- Twist chain, and “skip 5” stitches on the back of the ball, sl st in 6th st, then slip stitch in next loops to secure chain.
You can use a purchased keychain ring or crochet the chain directly and fasten securely to back for strength. This also forms an attractive loop for hanging.
Second Lobe of Heart
- Repeat first lobe steps exactly (Rounds 1–5).
- Don’t cut yarn after finishing the second lobe – this will be used to continue joining both lobes and working the body.
Joining & Shaping
- Round 6:
- Insert hook into first st of first lobe, sc (mark as first st).
- 14 sc around rest of first lobe.
- Skip last 3 sts on first lobe and second lobe.
- Insert hook into 4th st of second lobe, sc.
- 14 sc around rest of second lobe.
- End round with 30 sc in total.
You’ve seamlessly joined the two halves, creating a smooth heart top. For non-pattern readers: stitch both balls together, skip a few stitches to prevent lumps, then crochet around both, forming a single unit.
Round 7:
30 sc (work stitch-for-stitch in a spiral round).
The body starts to expand, giving fullness to the heart shape.
Round 8:
- 5 sc,
- dec (use invisible decrease),
- sc,
- dec,
- 10 sc,
- dec,
- sc,
- dec,
- 5 sc.
(26 sc total)
Careful use of decreases here begins the shaping towards the heart’s point. Stuff the top of the heart now if you wish, and more as you go.
Round 9:
26 sc (work stitch-for-stitch around).
This round maintains the shaping previously established.
Round 10:
- 4 sc,
- dec,
- sc,
- dec,
- 8 sc,
- dec,
- sc,
- dec,
- 4 sc.
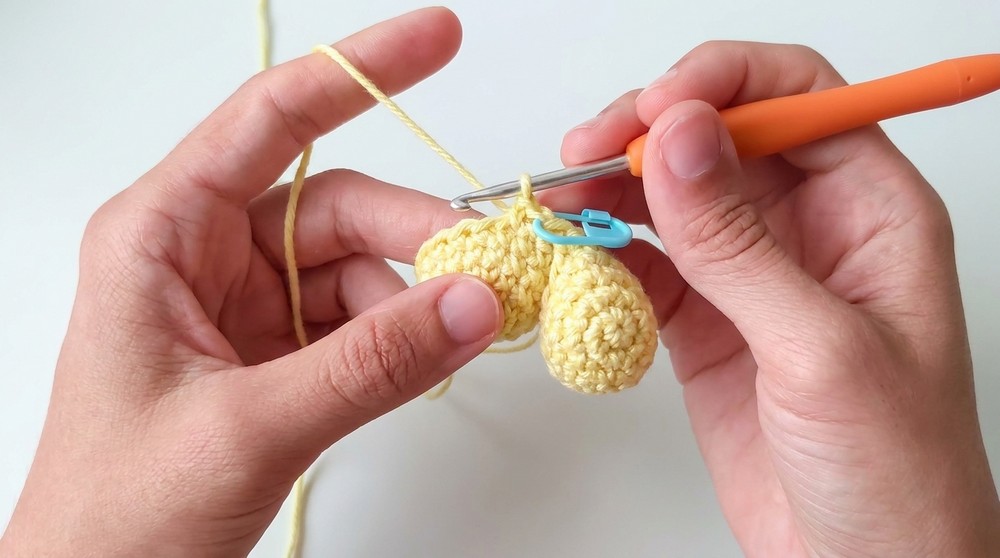
- (22 sc total)
More decreases guide the sides tighter, directing the heart to taper.
Round 11:
22 sc (work stitch-for-stitch around).
The heart should now resemble its classic shape. Continue stuffing as needed.
Round 12:
- 3 sc,
- dec,
- sc,
- dec,
- 6 sc,
- dec,
- sc,
- dec,
- 3 sc.
(18 sc total)
The heart tip is formed; finish stuffing firmly.
Round 13:
- 2 sc,
- dec,
- sc,
- dec,
- 4 sc,
- dec,
- sc,
- dec,
- 2 sc.
(14 sc total) 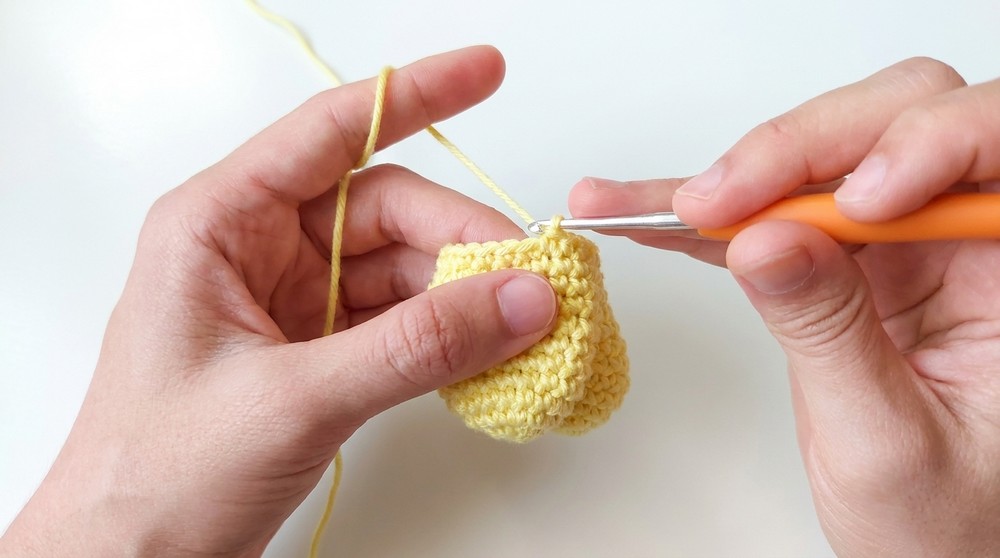
Check shape: it should be slightly elongated and ready to close.
Round 14:
- sc,
- dec,
- sc,
- dec,
- 2 sc,
- dec,
- sc,
- dec,
- sc.
(10 sc total)
After this round, your heart is nearly finished!
Round 15:
5 dec (closing round).
The point is closed; use the inverted magic ring method with a tapestry needle to neatly finish off.
Assembly & Finishing
- Weave yarn tail into last five stitches, pull tight with needle for neat closure.
- Hide all yarn ends inside the heart.
- Attach keychain securely via chain loop or directly with the ring.
- Gently mold the heart for perfect shape.
- Trim excess yarn.
What You Can Make Using These Stitches
- Amigurumi hearts in different sizes and colors
- Keychains and bag charms
- Plush toys for gifts and Valentine’s Day
- Wedding or baby shower favors
- Appliqué for garments, cards, or home décor